
Introduction
Make a singing Christmas tree from scratch using a micro:bit and our Crazy Circuits Bit Board!
Video Overview
Featured Document
-
-
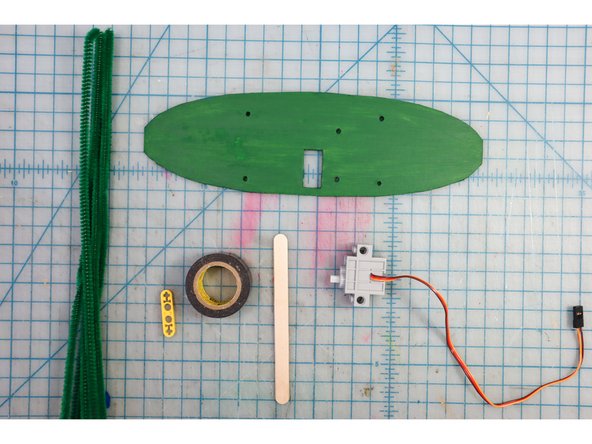
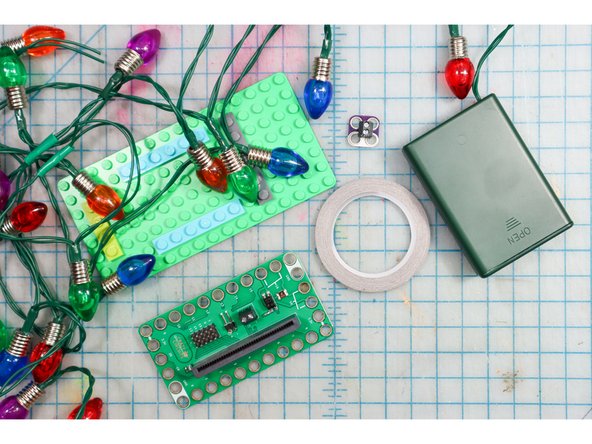
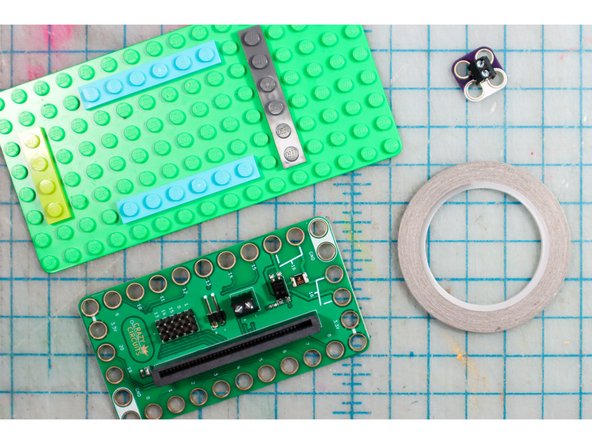
Gather materials.
-
-
-
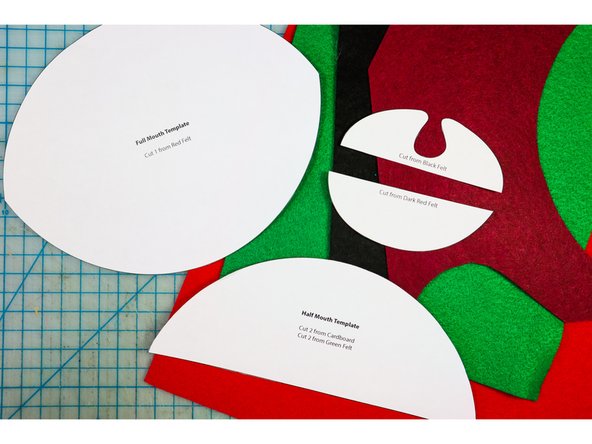
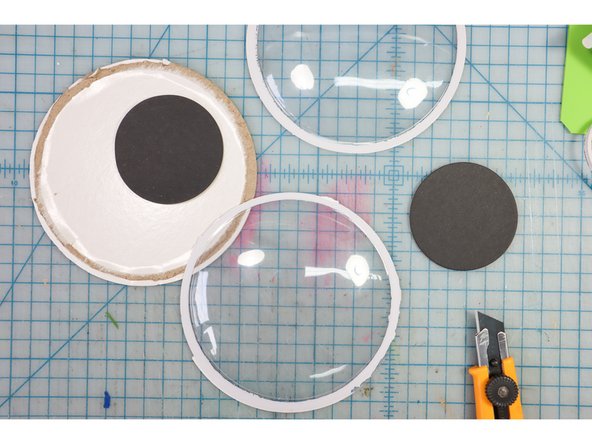
Print and cut out the paper templates.
-
Cut out each template according to the instructions written on it. Some templates will be cut from multiple materials.
-
Start by cutting out all of the cardboard pieces. *The eye circle is set for a 6-inch googly eye. If your googly eyes are a different size, make this piece match the size of your eyes.
-
-
-
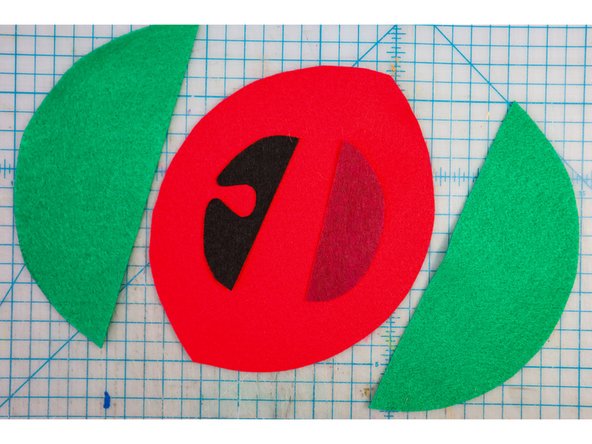
Cut out the felt pieces as shown.
-
-
-
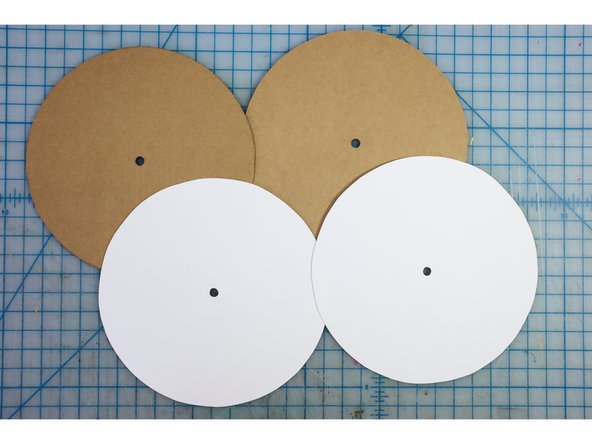
Cut out the circles from white cardstock. If you don't have white cardstock, you could paint the cardboard circles white or reuse the googly eye circles.
-
-
-
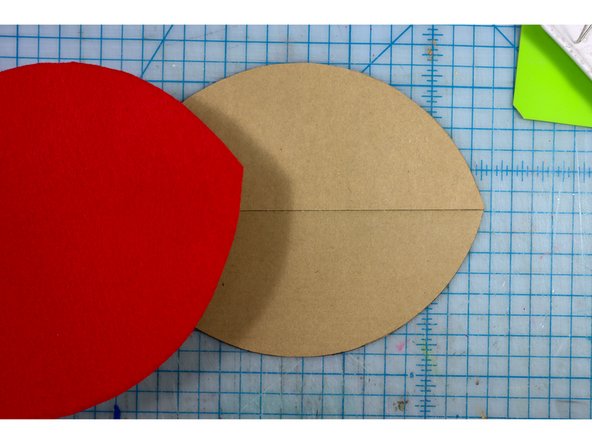
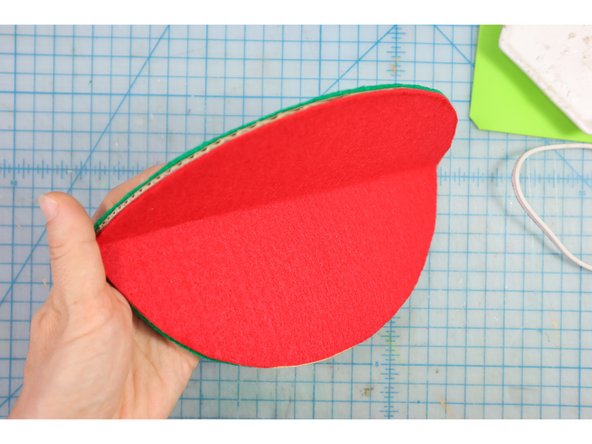
Place the cardboard mouth pieces together as shown, and glue the red felt piece on top of it.
-
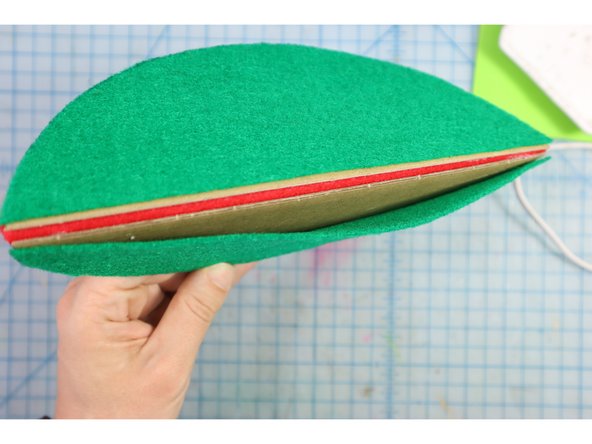
Glue the green felt pieces to the other side of the cardboard. One of the green pieces should be glued down completely. The other should only be glued around the round edge, creating a "pocket" to insert the popsicle stick into later.
-
-
-
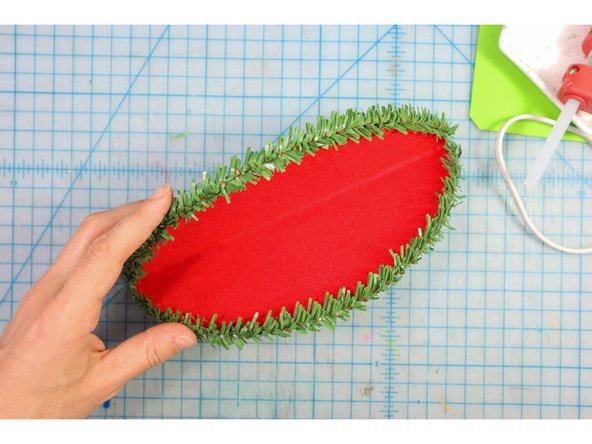
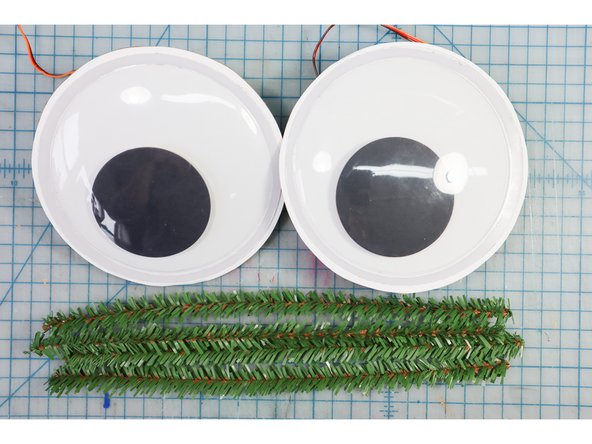
Glue evergreen pipe cleaners or green garland to the edges of the lips as shown.
-
-
-
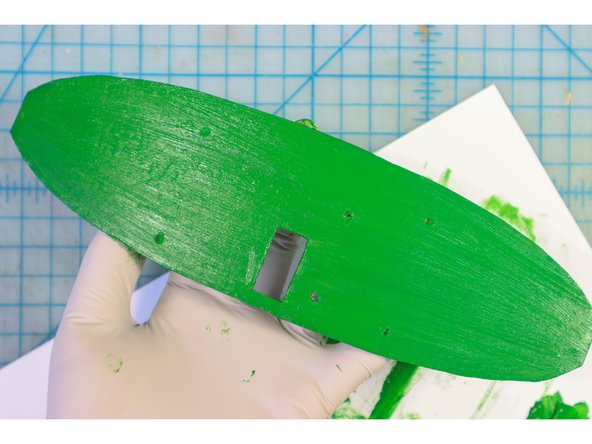
Paint the backplate green to make it blend into the green branches.
-
-
-
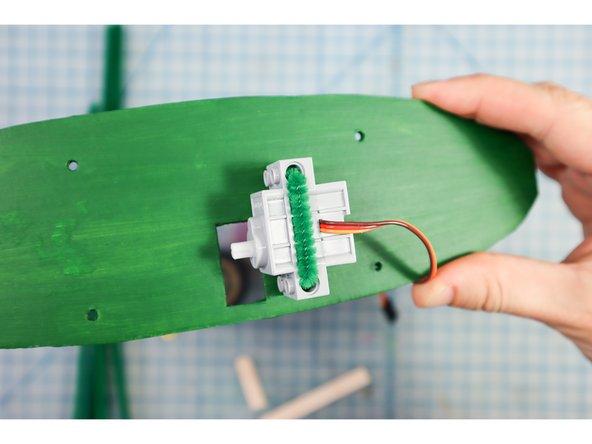
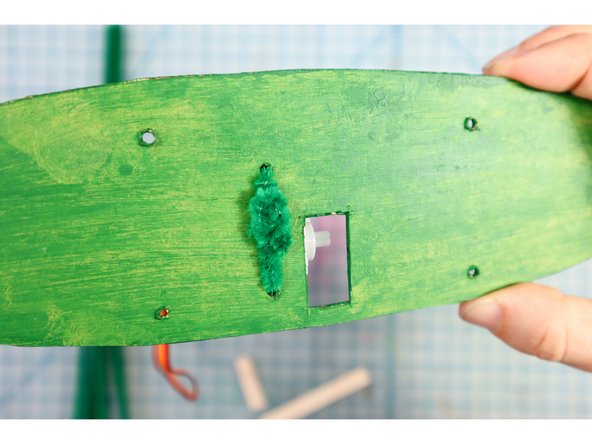
Use a pipe cleaner to attach the motor to the backplate as shown.
-
-
-
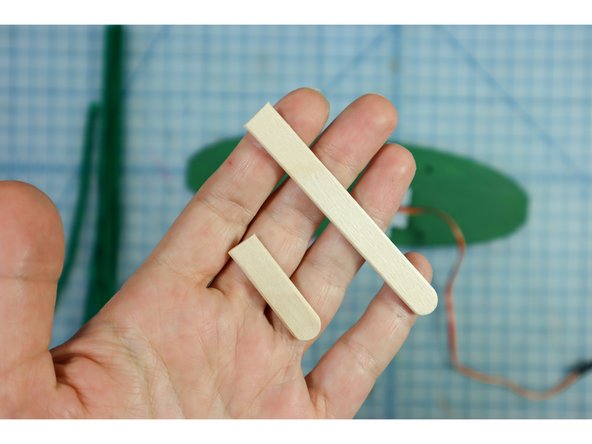
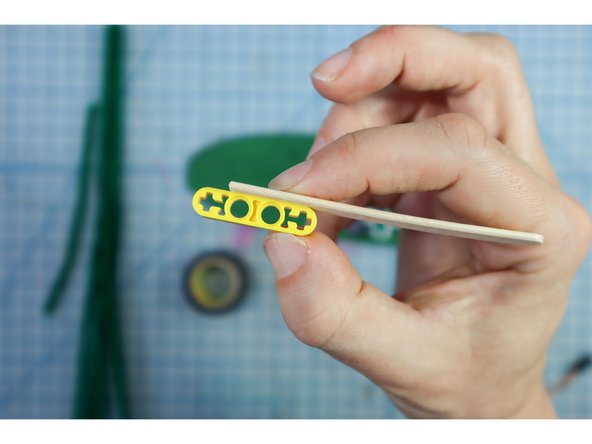
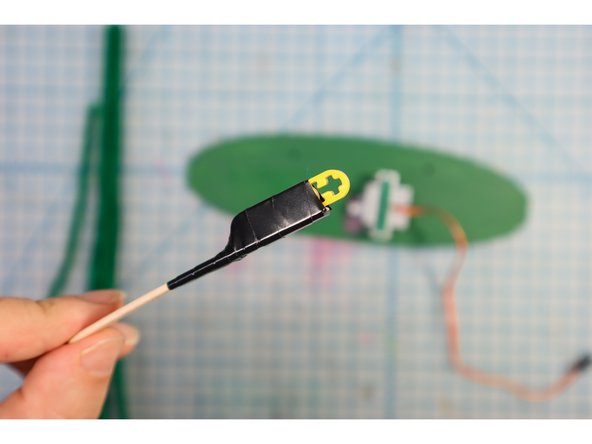
Trim the popsicle stick so that it is 3 inches long.
-
Use electrical tape to attach it to the LEGO, making sure not to cover the "+" at the end, as shown.
-
-
-
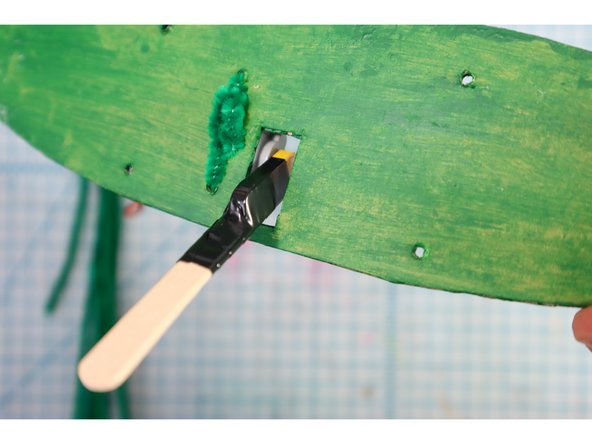
Connect the stick to the motor, placing it through the hole as shown.
-
-
-
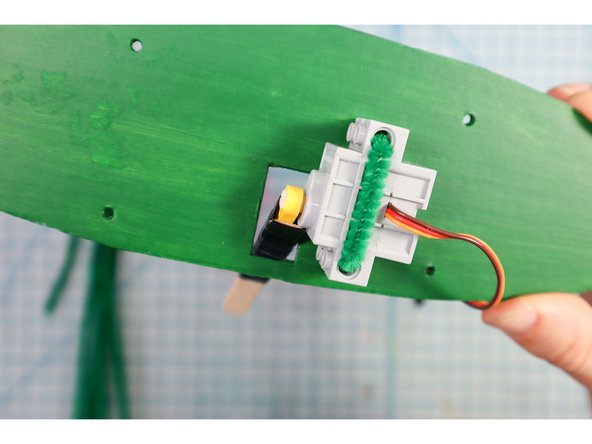
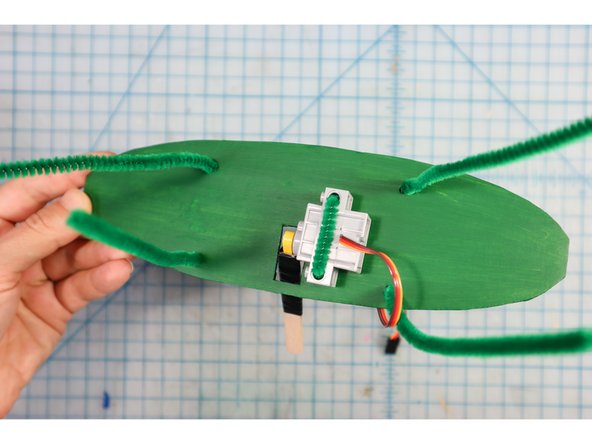
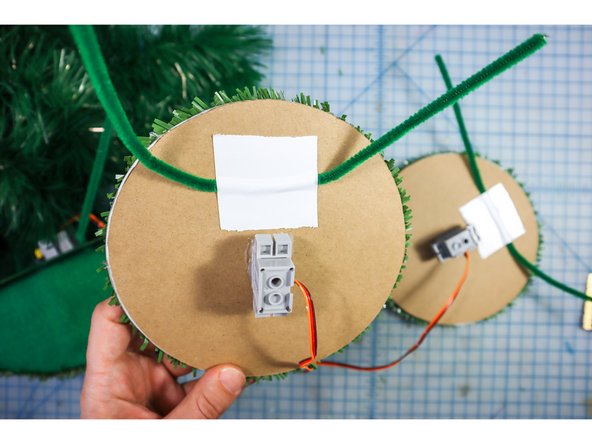
Add pipe cleaners through the remaining holes as shown. These will be used like giant "twist ties" to tie the backplate to the trunk of the tree.
-
-
-
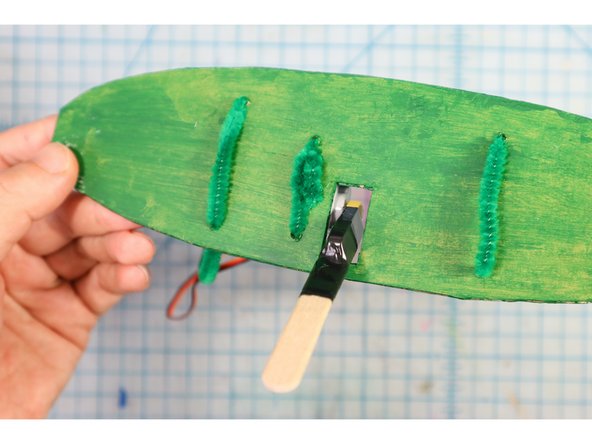
Slip the pocket in the mouth over the popsicle stick and center it on the backplate.
-
Apply hot glue to the joint at the top of the mouth only (so that the bottom is free to move up and down), and glue it to the backplate at 90 degrees.
-
-
-
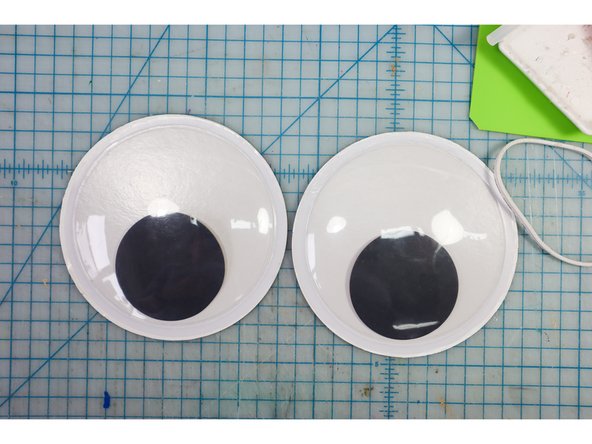
Use a box cutter to carefully remove the plastic from the back of the googly eyes.
-
-
-
Reuse the googly eye pupils, and glue the motorheads to the back, positioning the "+" a bit away from the edge.
-
-
-
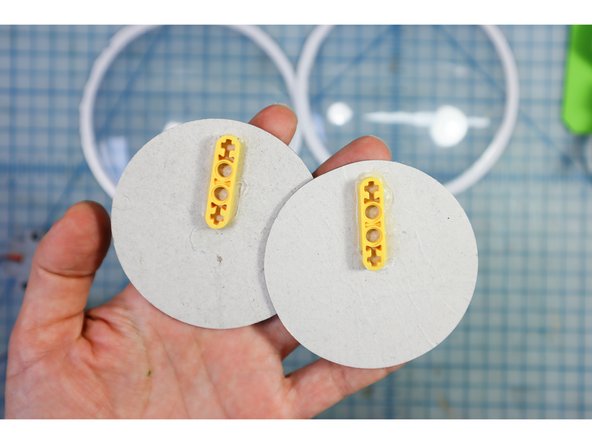
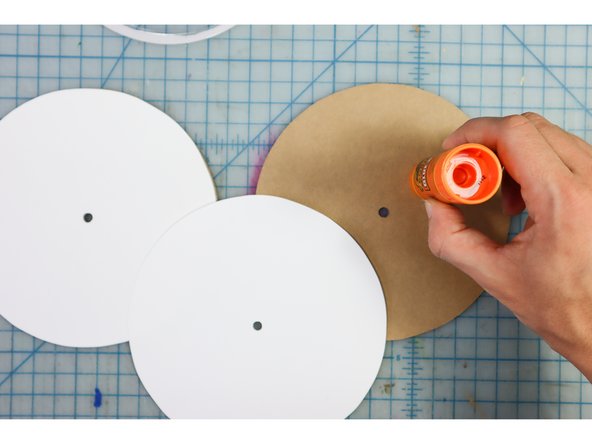
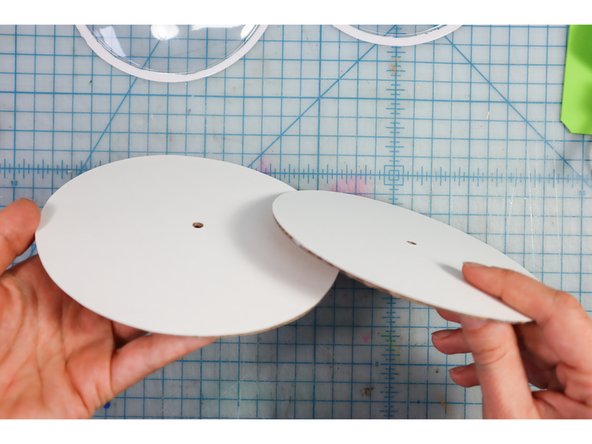
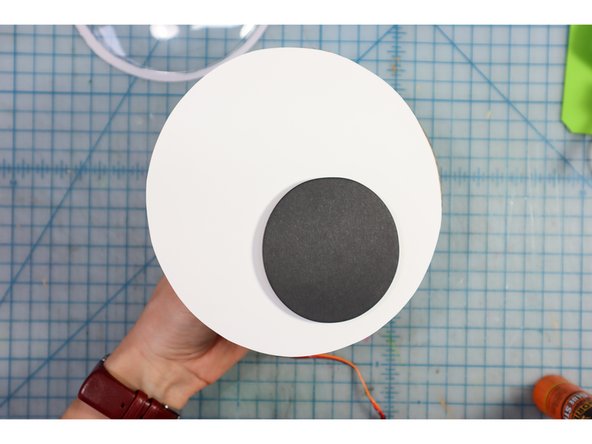
Glue the white cardstock circles to the cardboard circles with a glue stick.
-
-
-
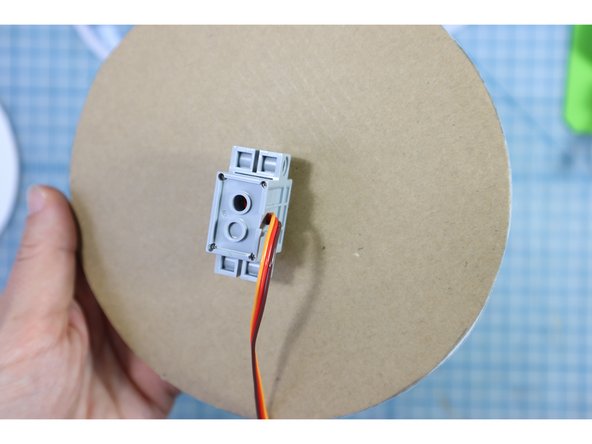
Place the motor through the hole from the back and attach the pupil on top as shown.
-
-
-
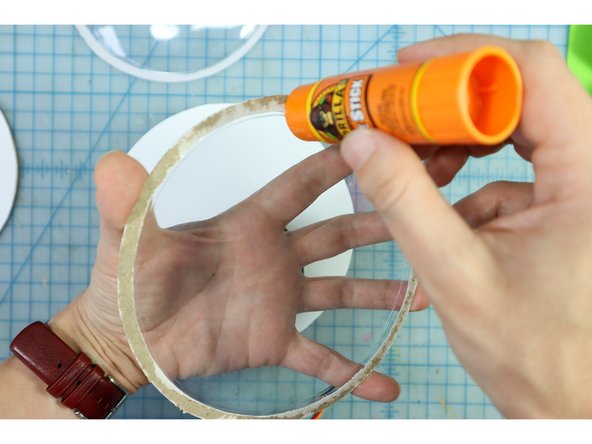
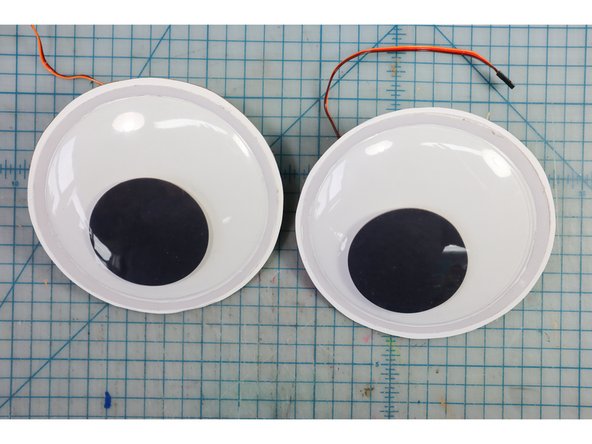
Glue the plastic domes in place with a glue stick.
-
-
-
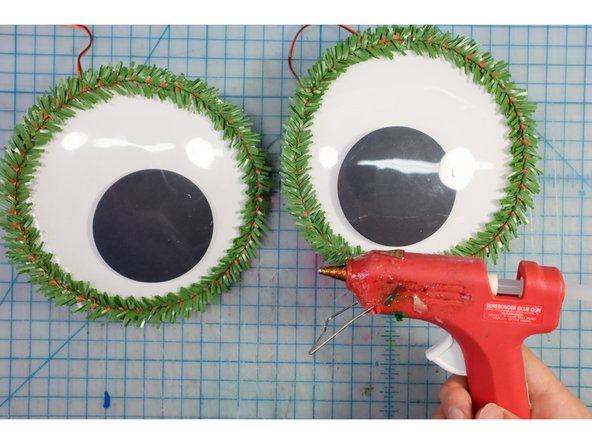
Glue evergreen pipe cleaners around the eyes as shown.
-
-
-
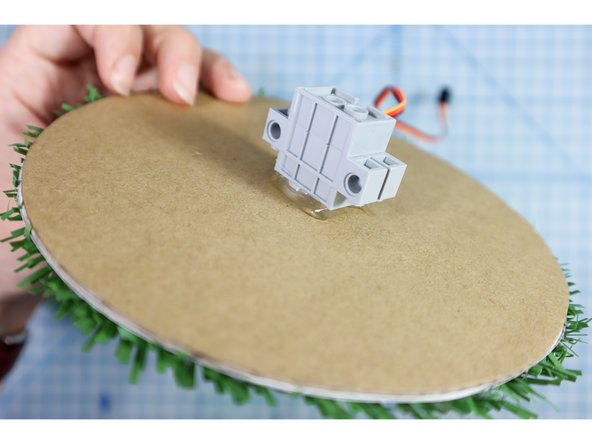
Use hot-glue to secure the motor to the back of the eye.
-
Use duck tape to tape a pipe cleaner to the back of the eyes as shown. This will allow you to attach the eyes to the branches of the tree.
-
-
-
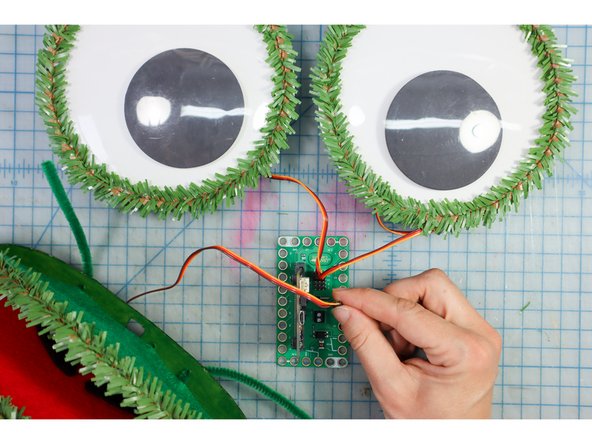
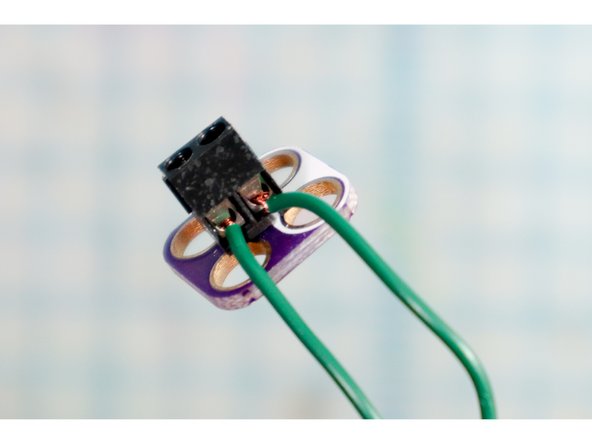
Connect the servo motors in the eyes to Pin 13 and Pin 14 using the pins on the back of the bit board. The brown wire is ground (-).
-
Connect the servo motor in the mouth to Pin 0. The brown wire is ground (-).
-
-
-
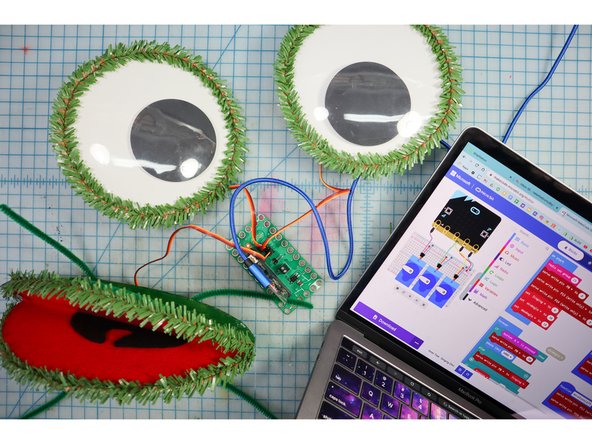
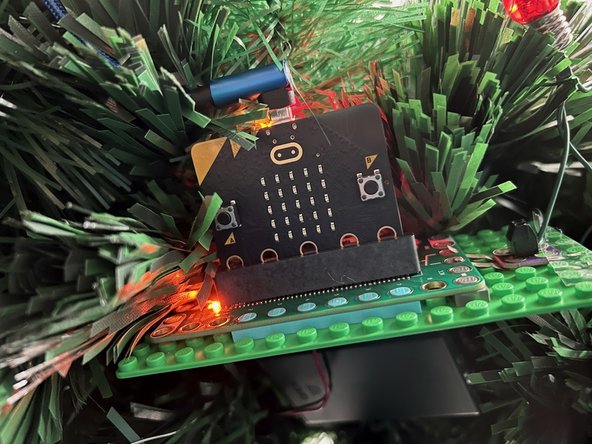
Insert the micro:bit into the bit board.
-
-
-
-
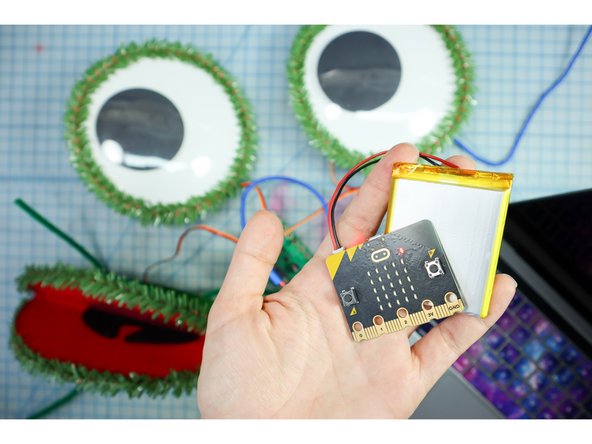
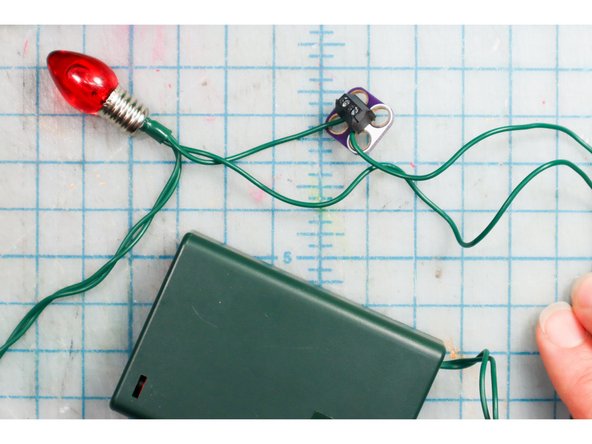
Add a battery pack to the inner tree circuit to make it portable.
-
-
-
Download the "Mic for Tree" code to a second micro:bit, found here.
-
Use the second micro:bit as a microphone to make the tree's mouth move from afar. Plug in a battery to make it portable.
-
-
-
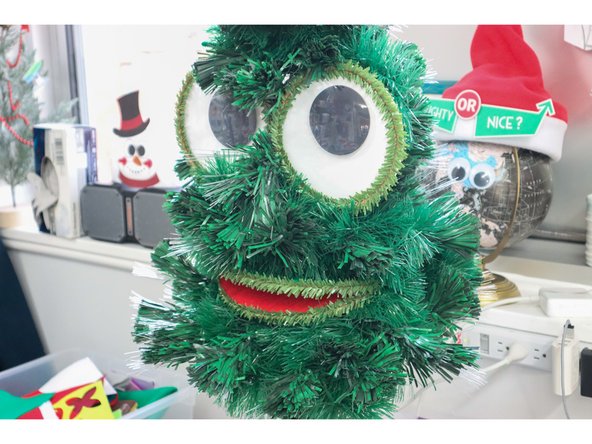
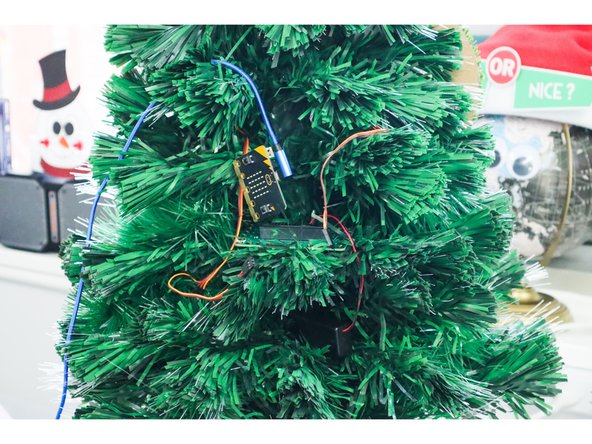
Use the pipe cleaners to attach the eyes and mouth to a Christmas tree. We used a 3-ft artificial tree.
-
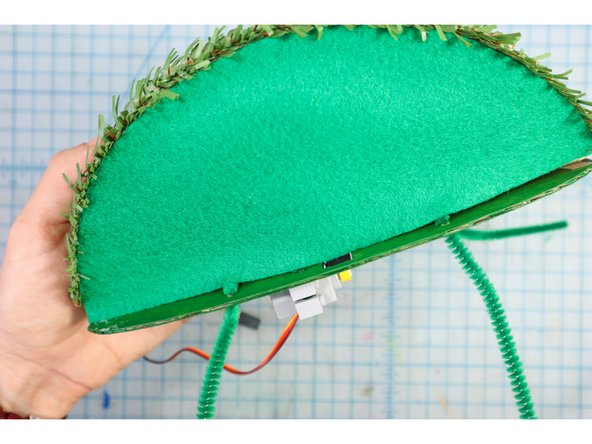
Reassemble the circuit on the tree, then stuff it inside the branches so that you can't see it.
-
You may wish to change the angles of the eyes in the code so that the tree looks wherever YOU want!
-
-
-
Find a set of battery-powered Christmas lights.
-
-
-
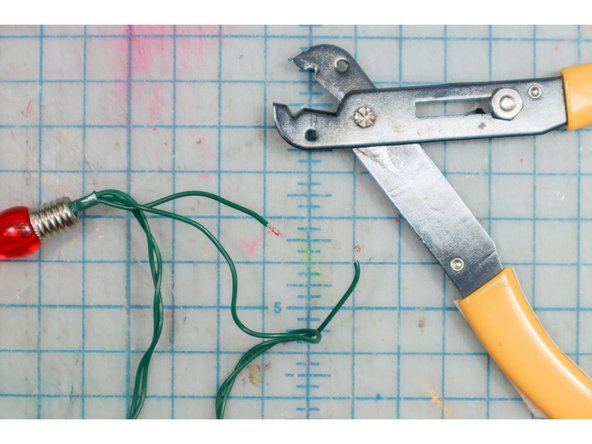
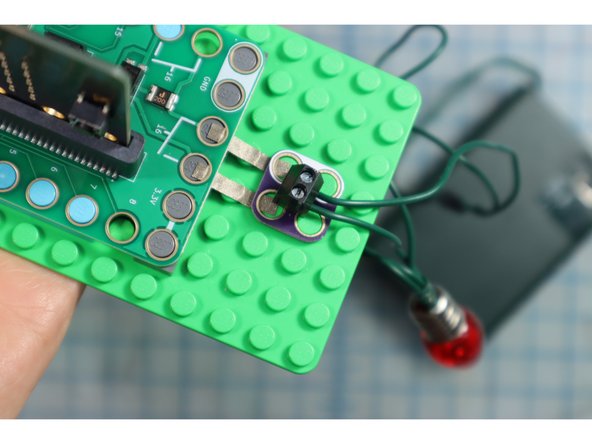
Cut one of the wires coming out of the battery pack and strip the ends.
-
Insert the ends into a Crazy Circuits Screw Terminal Chip.
-
-
-
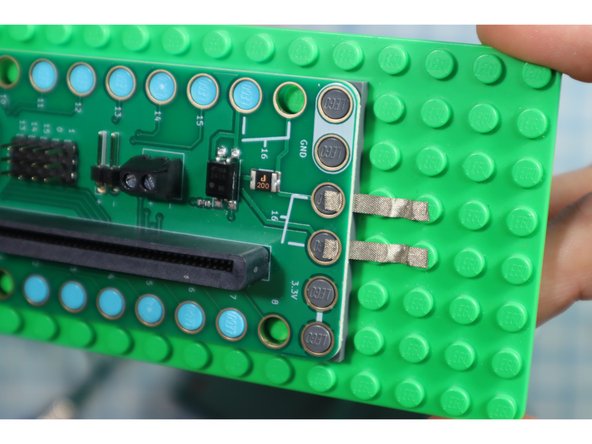
Connect two pieces of Maker Tape to Pin 16.
-
Place the Screw Terminal Chip over the Maker Tape as shown.
-
-
-
Place the lights on the tree, and reassemble the circuit.
-
Add a Santa hat!
-
-
-
Sing into the second micro:bit like a diva and make the tree sing!
-


Attached Documents
