
Introduction
Make a colorful fish with a paper circuit that lights up. (There's also a built in on/off switch!)
Tools
Parts
Video Overview
Featured Document
-
-
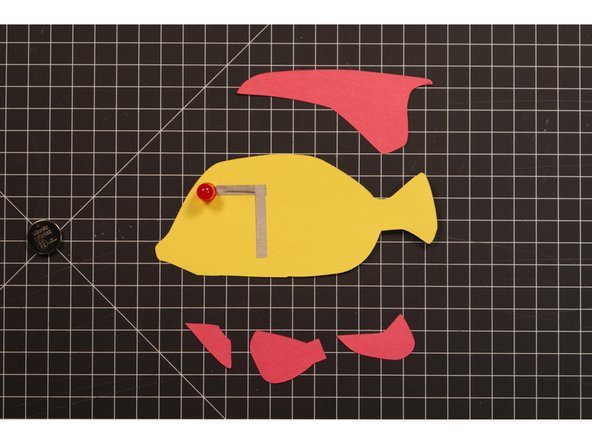
Print the last page of the attached PDF file and use it as a guide to cut out the fish body and the fins.
-
You can print on regular paper and color it, or use it as a template to cut construction paper or colored cardstock.
-
-
-
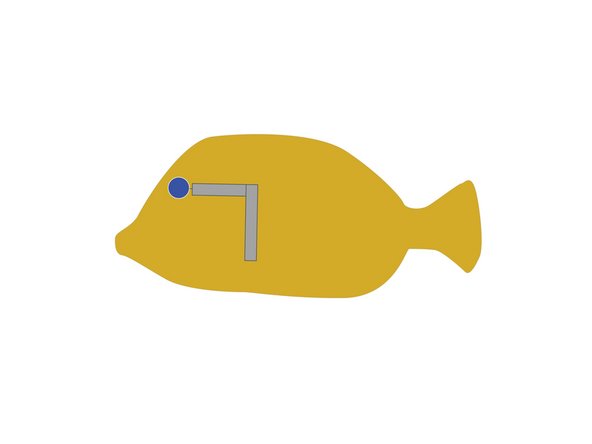
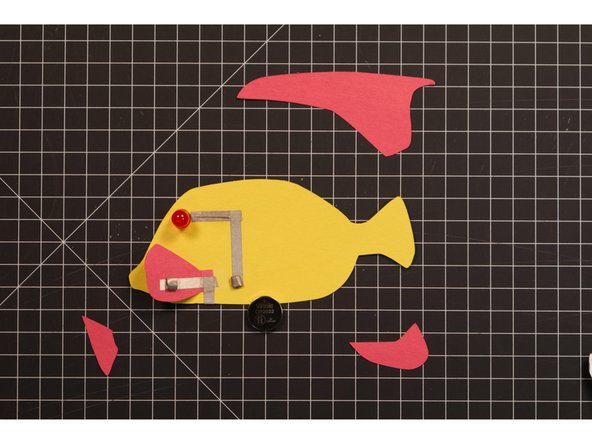
We’re going to add a 10mm LED for the fish eye. We’ll need to bend the legs flat so we can insert one leg through a hole in the head so it is on the back side, and the other leg will be on the top side.
-
Bend the LED legs so they are at a 90 degree angle to the head of the LED.
-
We’re going to poke the positive leg through the head and to the back side.
-
Remember, the longer leg is positive and the shorter leg is negative.
-
-
-
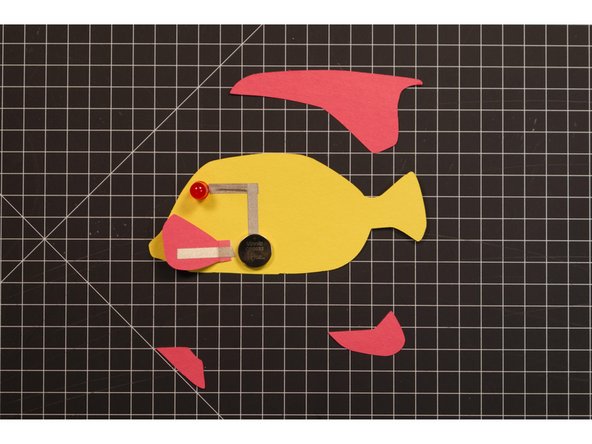
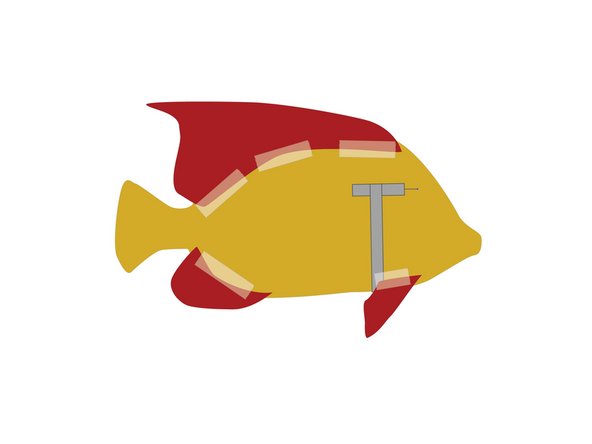
Tape down the negative LED leg (which is on the front side of the fish) using Maker Tape.
-
Run the first piece of tape about halfway down the body of the fish as shown (not including the tail!)
-
Run another piece down towards the belly of the fish as shown.
-
Remember, Maker Tape is conductive on the top and bottom, so if you need to overlap multiple pieces, they will still conduct just fine.
-
-
-
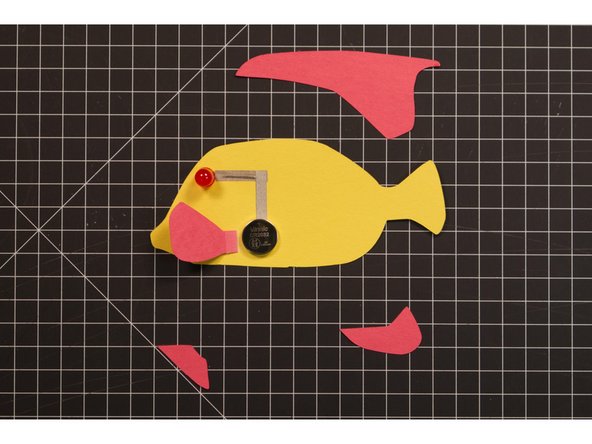
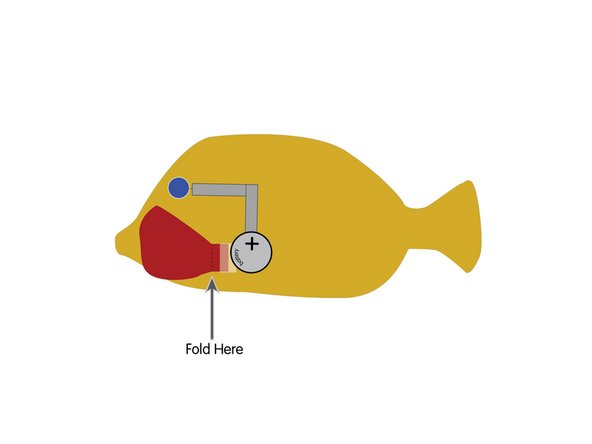
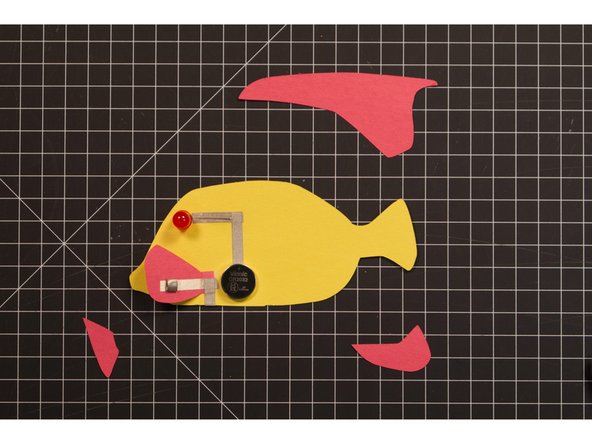
We won’t add our battery yet, but you can put it in place so we know where the pectoral fin needs to go. The fin will connect the circuit and also be used as the battery cover.
-
Add a fold to the fin so you can tape it down and fold it over on itself. It should be positioned so it will hide the battery when you fold it over.
-
You can use glue to hold it down, but tape makes it easy and it will be hidden by the folded fin.
-
-
-
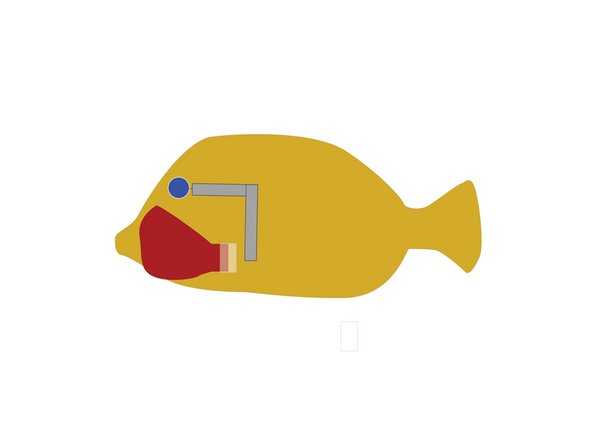
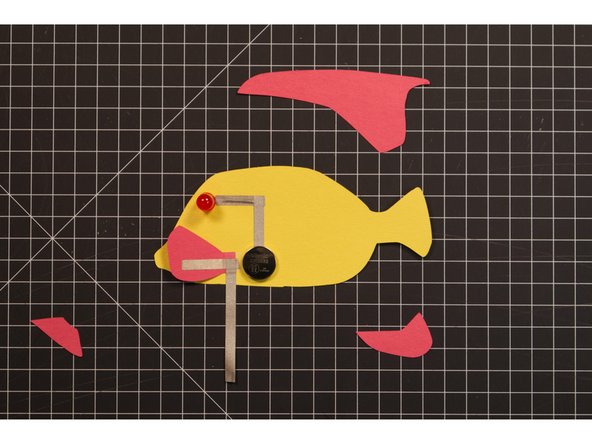
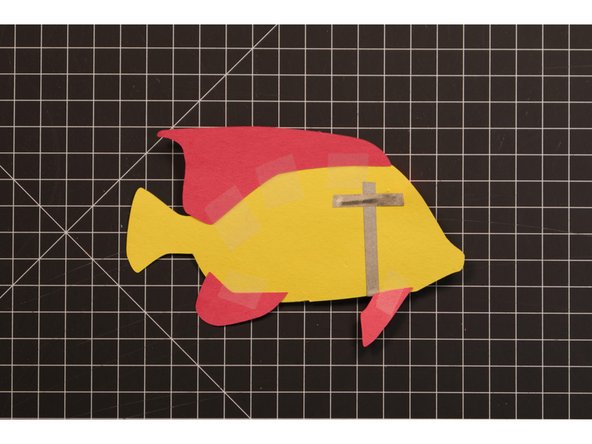
Add a piece of Maker Tape to the fin as shown. It should line up with the battery so it will make contact when the fin is folded over. This is our switch, which completes the circuit, allowing current to flow.
-
Add another piece of Maker Tape, connecting to the first piece, and running down and around to the back of the fish.
-
Don’t worry about the length of the piece of Maker Tape that runs to the back, we’ll just extend it with another piece if needed.
-
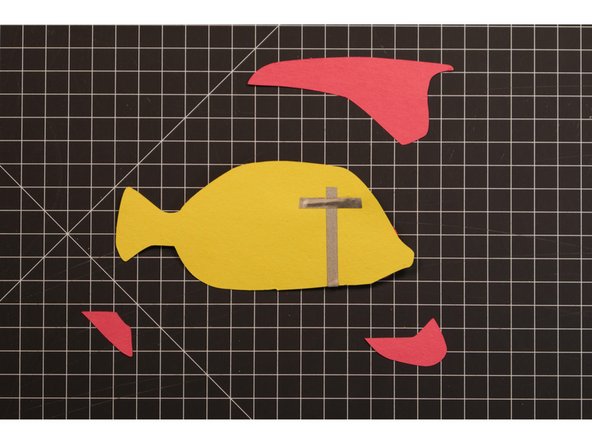
Flip your fish over and connect the tape from the front side to the positive LED leg that we poked through the fish’s head in Step 2.
-
-
-
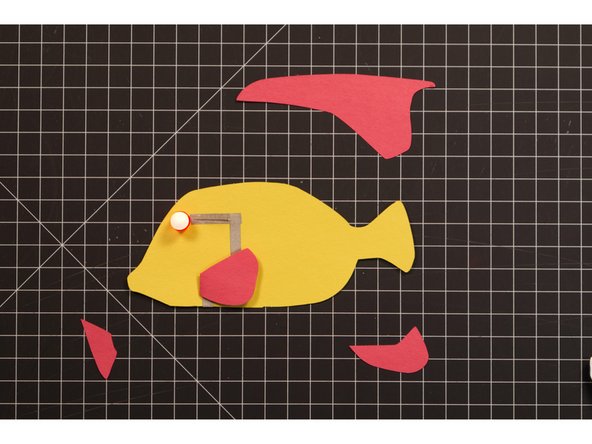
We’re going to make two small tape loops using Maker Tape. One will hold the battery down to the negative tape line, while the other will hold the fin down to the top (positive side) of the battery.
-
Once you’ve got the tape loops in place you can add the battery and then stick the fin down to the top. If you’ve done everything correct the eye should light up!
-
If the LED does not light up try flipping the battery upside down. If you’ve accidentally reversed the legs when you put the LED in place the polarity will be reversed, so flipping the battery might get it working!
-
If flipping the battery does not get the LED to light up make sure your connections are all good. Press down on the tape a bit and add tape if you see any gaps between pieces.
-
-
-
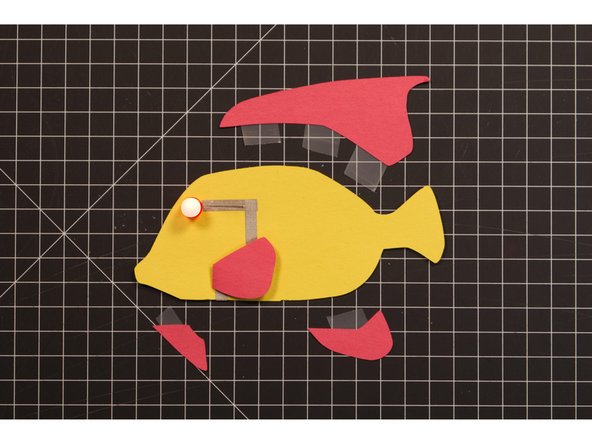
Attach the rest of the fins as shown on the back of your fish.
-
You can use glue, but tape can be a bit quicker and easier, and it will be hidden since it’s on the backside of our fish.
-
-
-
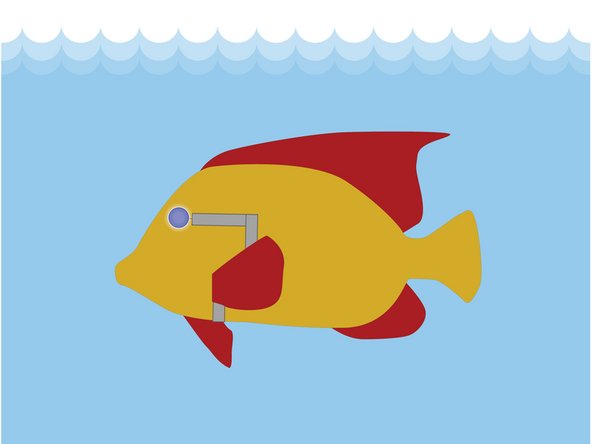
Your new Fish Friend now has an awesome light-up eye!
-
You can turn the LED off by pulling back the pectoral fin so the Maker Tape is not making contact with the top of the battery. This will create an “open” circuit preventing current from flowing to the LED.
-


Cancel: I did not complete this guide.
One other person completed this guide.
Attached Documents
