Introduction
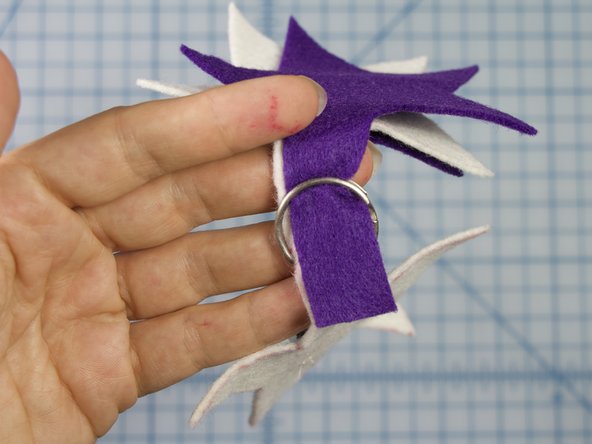
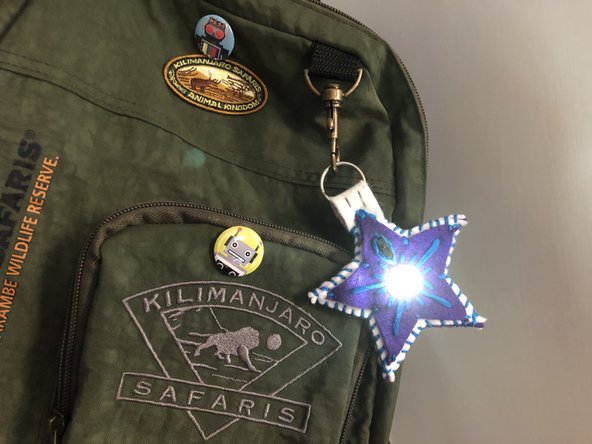
Make this backpack light. Be seen on the trail, or use it as a handy source of light to dig small objects from the bottom of your pack! The entire project takes under an hour and requires just basic sewing skills to complete.
Parts
Video Overview
Featured Document
-
-
Prototype your circuit with lego and Maker Tape
-
-
-
Cut out the template
-
Trace the shapes onto the felt. (The shape with the two attached stars, pictured in white, should be in contrast to the star shape, pictured in purple.)
-
Cut out the felt shapes
-
-
-
Place your crazy circuits according to the diagram on the template
-
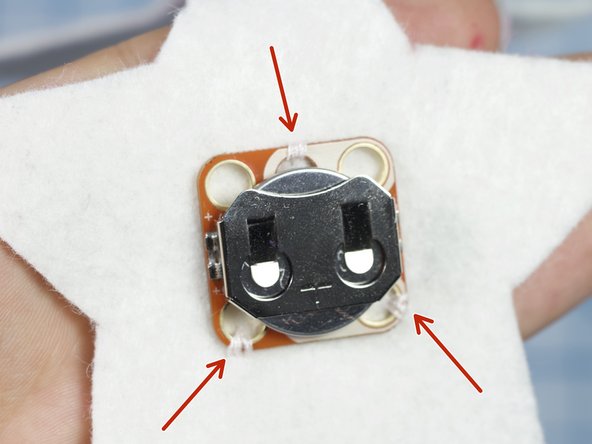
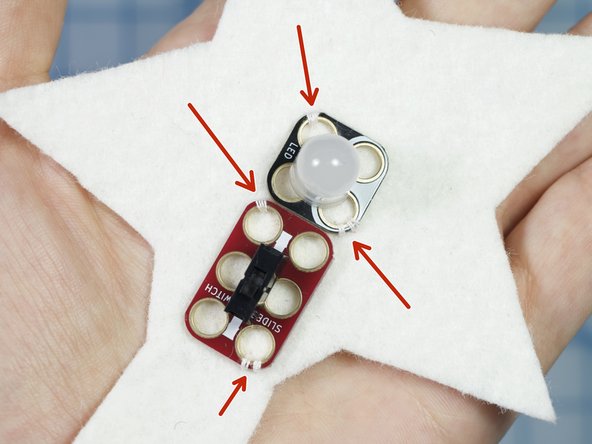
Use a needle and thread to tack the crazy circuits components in place as shown.
-
-
-
Using conductive thread, stitch a secure connection to the battery's positive hole.
-
Tip: Use a series of finishing knots for this step. To create a finishing knot, pass the needle back through each stitches loop just before you tighten the stitch. This will help prevent your knot from untying.
-
Sew a running stitch to the switch's bottom hole and secure with multiple finishing knots. Trim the thread.
-
Starting with a new piece of thread, stitch a secure connection from the switch to the LED using the same method.
-
-
-
Starting with a new piece of thread, connect the negative hole of the LED to the negative hole of the Battery.
-
Tip: Be sure that the thread doesn't go underneath the switch component so that the metal pads are not connected accidentally.
-
Test your circuit by sliding the switch
-
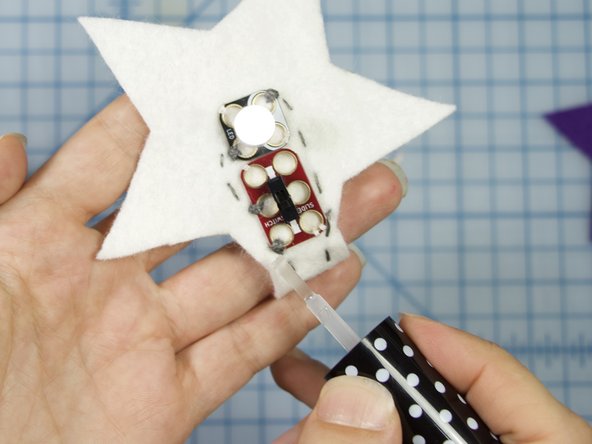
When all connections are working, seal your knots with clear nail polish or a similar adhesive like super glue.
-
-
-
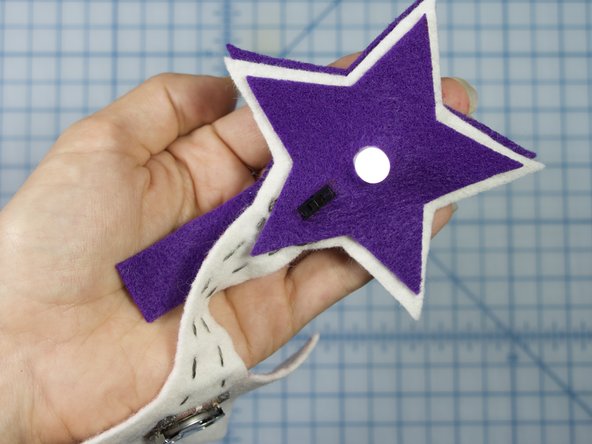
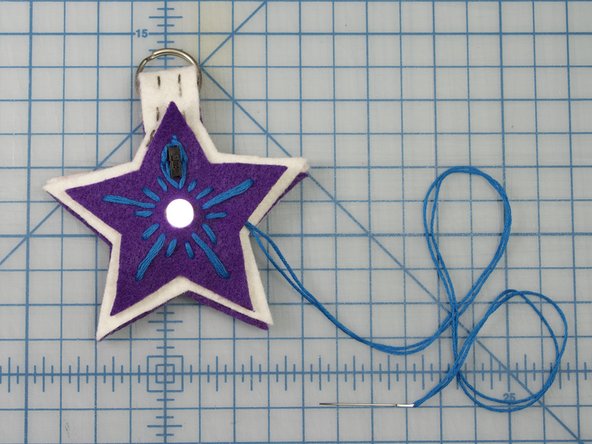
Place the small star over the LED and switch
-
Place the interior star underneath the main star
-
Attach the keychain around both pieces, just like you would add a key to the loop.
-
-
-
Now it's time to decorate!
-
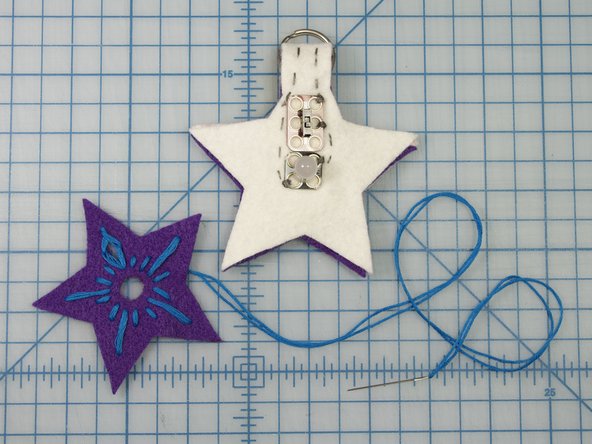
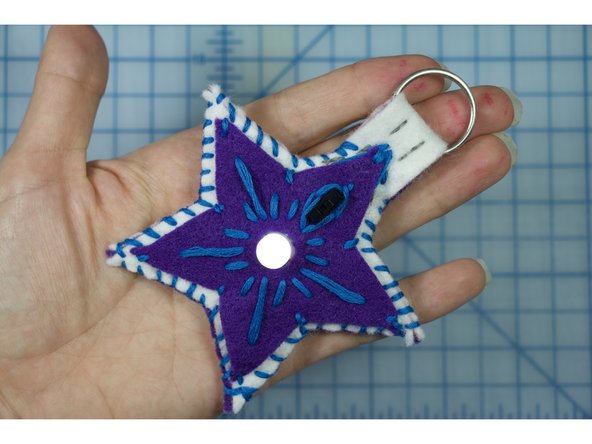
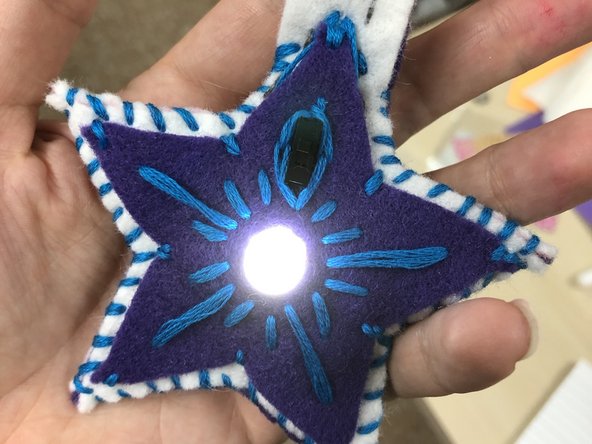
Use embroidery floss to add stitches and embellishments.
-
Tip: Embroider the top star before connecting it to the project for easy stitching.
-
Test your circuit one more time before the next step.
-
-
-
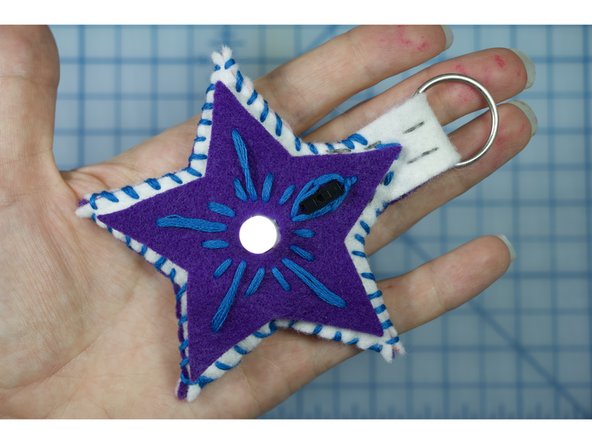
Whip stitch around the edge of your star to hold the project together.
-
Tip: To do a whip stitch, insert your needle through the same side of the felt for each stitch, and allow the thread to wrap over the edge.
-
Add a few more stitches to tack the top star in place.
-
-
-
You're ready for backpack bling!
-


