Introduction
Use the printable template and these instructions to make a spooky light-up wand for Halloween!
You can make this project (and many more!) with our Paper Circuits Kit.
Video Overview
Featured Document
-
-
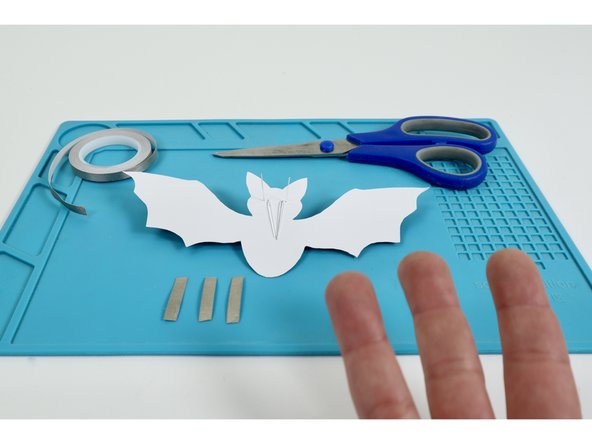
Gather all tools and materials listed/pictured at left.
-
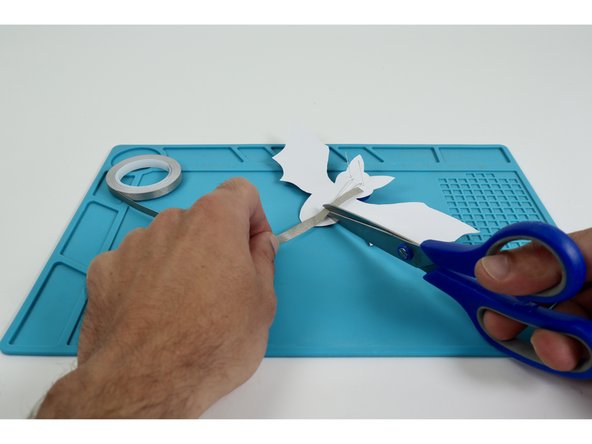
After printing the template version of your choice, use a scissors to carefully cut out the front and back of your bat.
-
-
-
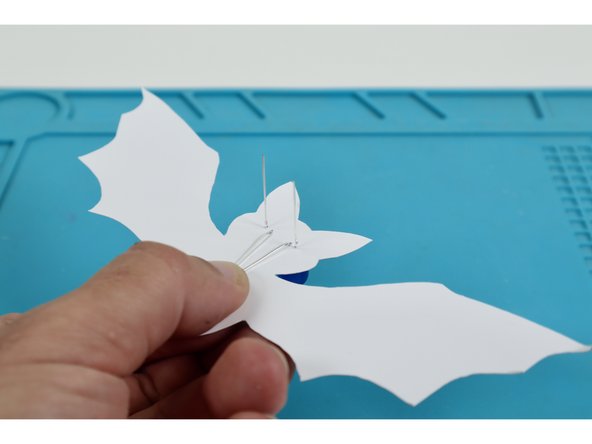
Use a push pin to poke out the four small holes in the areas designated for the bat's eyes.
-
Color both halves of your bat whichever way you wish!
-
-
-
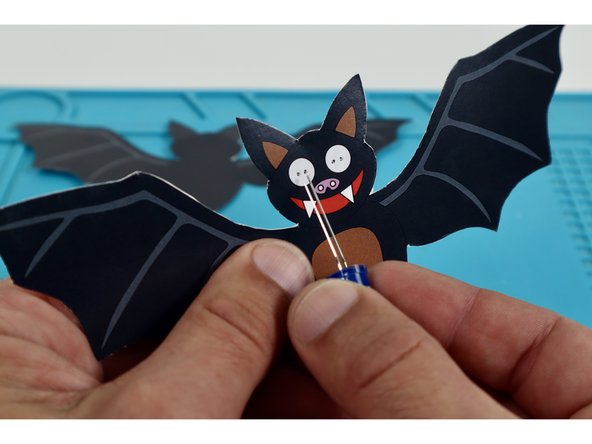
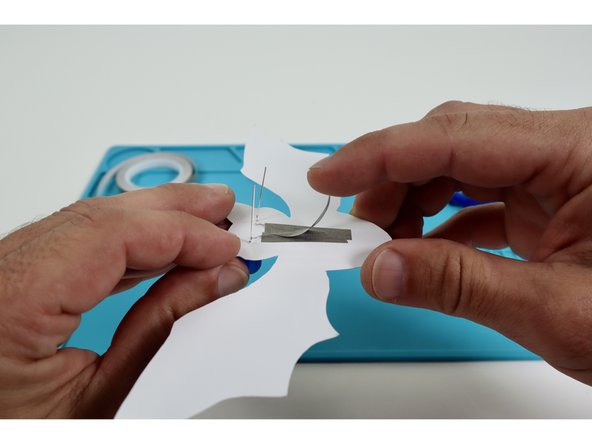
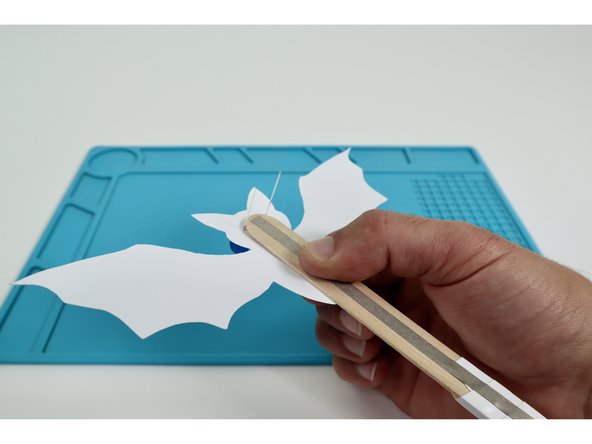
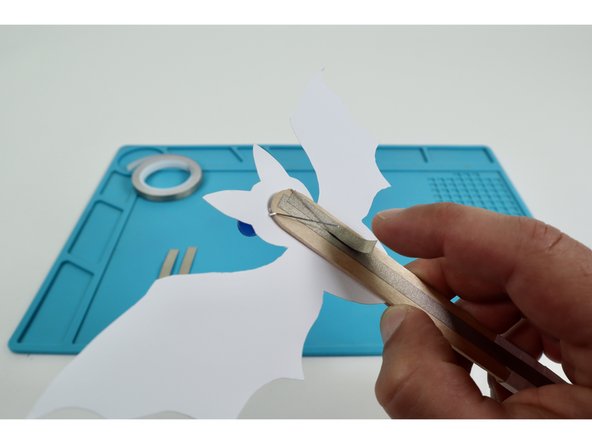
Thread each LED through a pair of holes taking care to orient the LED legs as pictured with the shorter legs toward the outer edges and the long legs through the inner holes nearest the bat's nose.
-
If oriented correctly, the leg length orientation should match photo three.
-
-
-
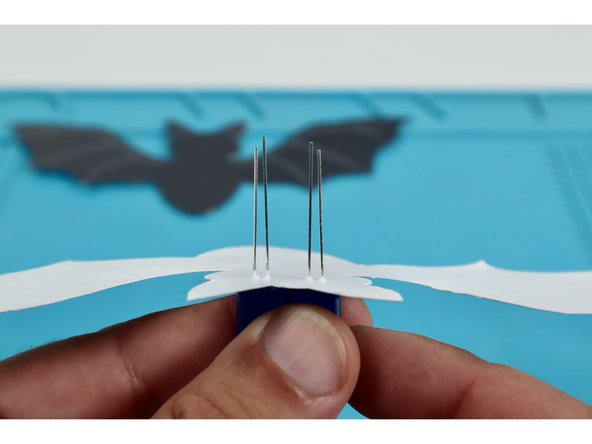
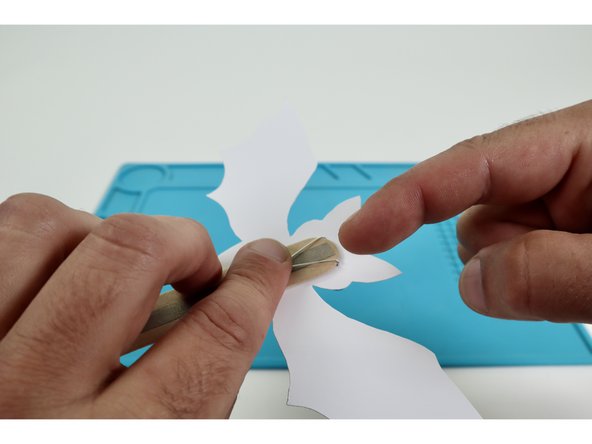
Fold the longer inner LED legs flat against the project in a slight "V".
-
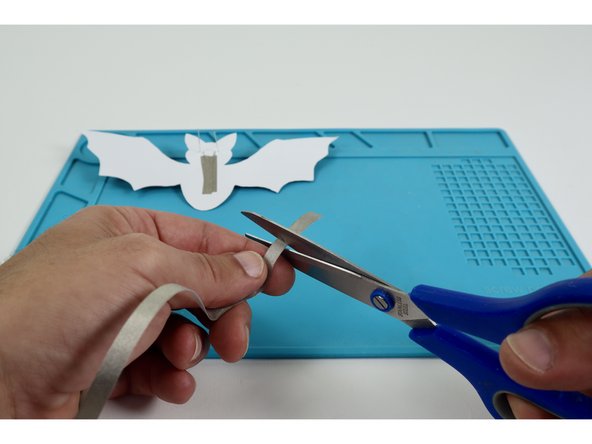
Measure and cut three pieces of Maker Tape that are approximately the length of the Long LED Legs.
-
-
-
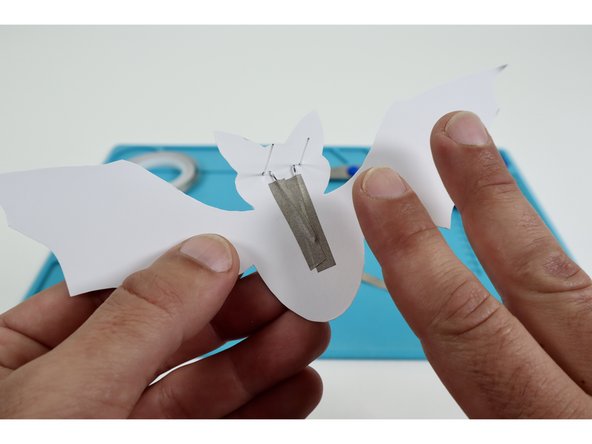
Peel and stick one of your three Maker Tape pieces atop one of the long legs and onto the paper below it.
-
Peel and stick one of your remaining two Maker Tape pieces atop the remaining long leg and onto the paper below it.
-
Peel and stick the last piece of Maker Tape as shown in photo two.
-
-
-
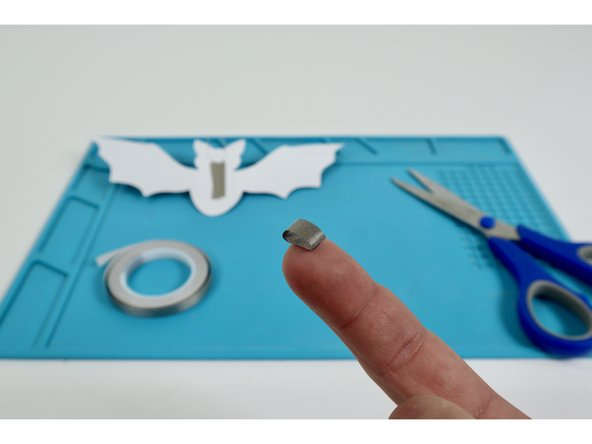
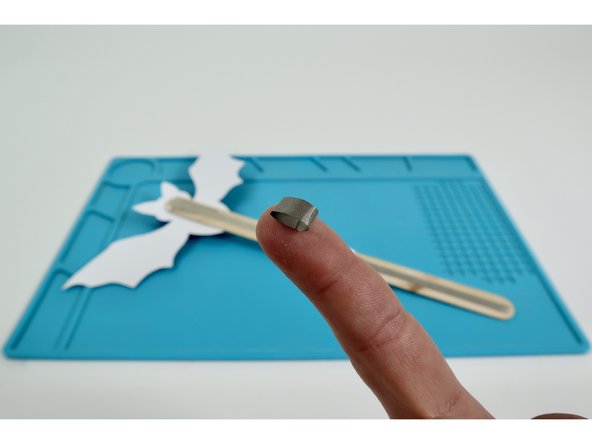
Cut a small length of Maker Tape and create a loop "sticky side out".
-
Place that tape loop atop the center of the taped area that is now atop the Long LED Legs.
-
-
-
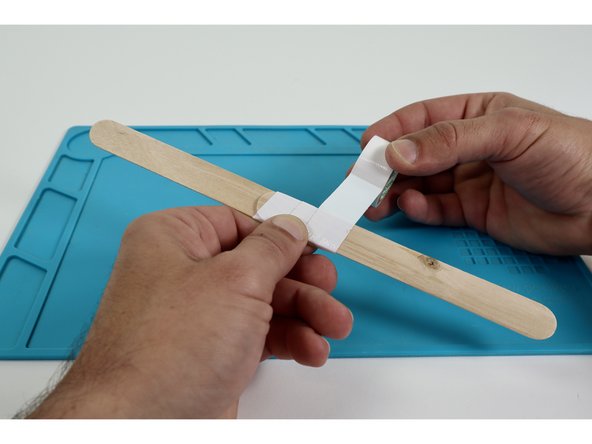
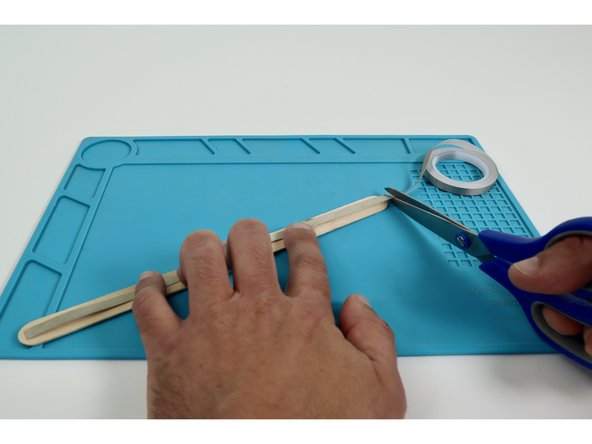
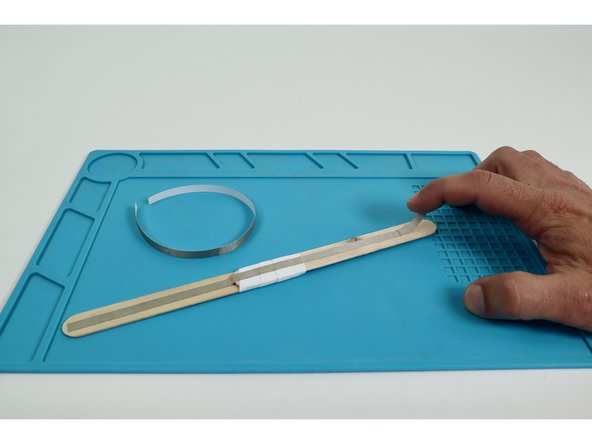
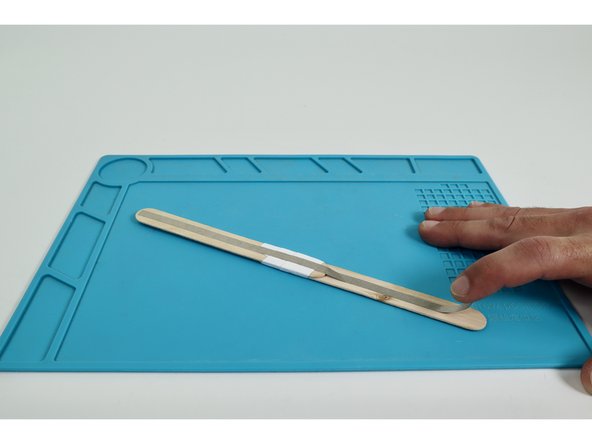
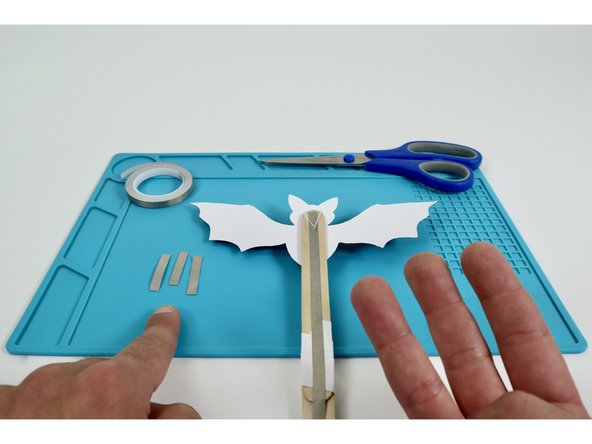
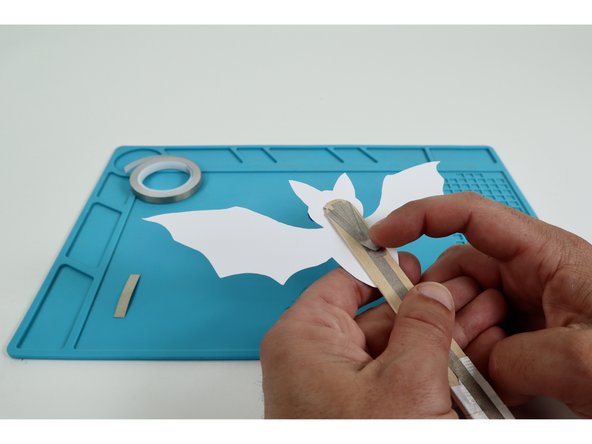
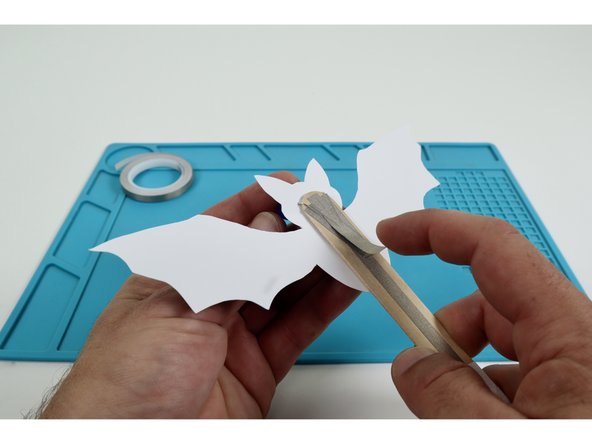
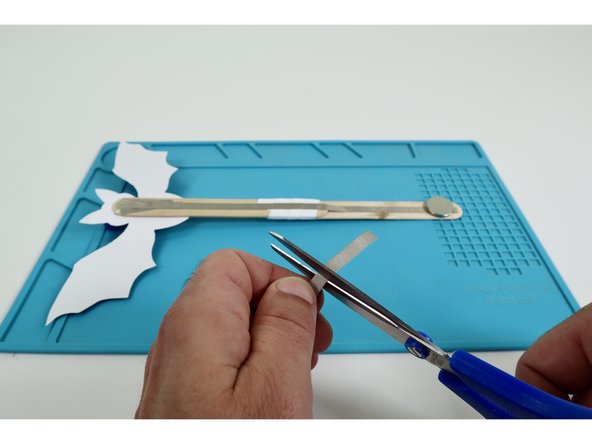
Use masking tape and join your two jumbo craft sticks to effectively create one long handle.
-
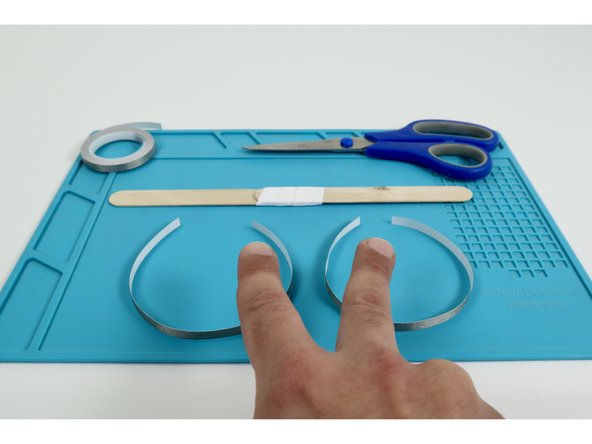
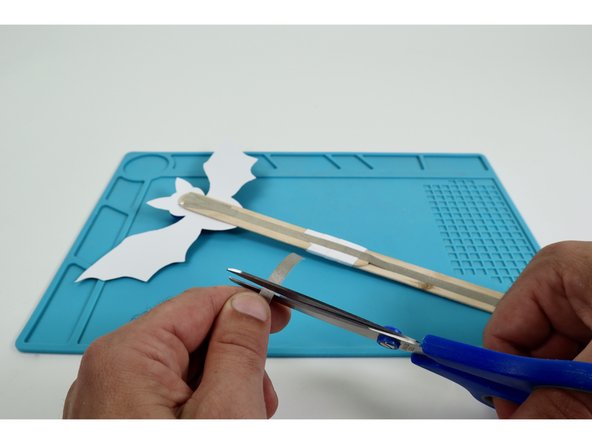
Measure and cut two separate Maker Tape pieces that are approximately the length of the wand handle you created.
-
-
-
Place each of the two long Maker Tape pieces so they run end-to-end down the middle of each side of the wand handle.
-
-
-
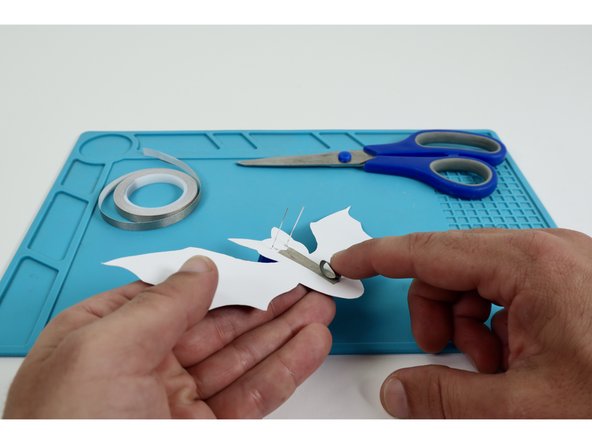
Seat one end of the wand handle between the two outer LED legs and press into place so that the Maker Tape Loop contacts the downward-facing path of the wand handle.
-
Fold the outer (short) LED legs down flat against the upward-facing side of the wand handle in a slight "V".
-
These remaining two LED legs should now be very near to the upward-facing Maker Tape path that runs the length of the wand handle.
-
-
-
Measure and cut three pieces of Maker Tape that are approximately the same length as the Short LED Legs.
-
-
-
Using two of your three Maker Tape pieces, stick one atop each of the two LED legs bent flat in the previous step. Press them into contact with the upward-facing long handle path.
-
Stick the remaining Maker Tape path down as shown in photo three.
-
-
-
Cut a piece of Maker Tape and make one final sticky-side-out Maker Tape Loop.
-
Stick that tape loop in place atop the far end of the long path from the previous step as shown.
-
-
-
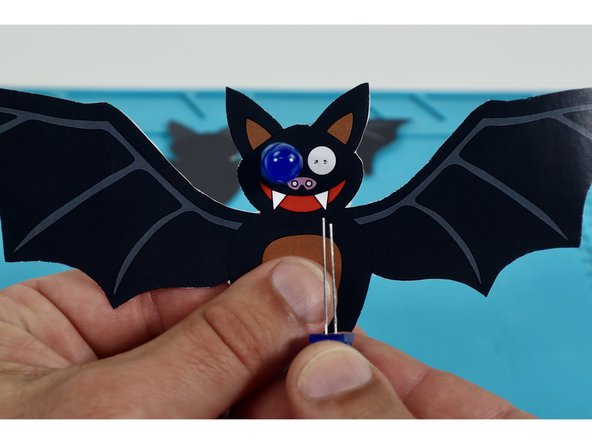
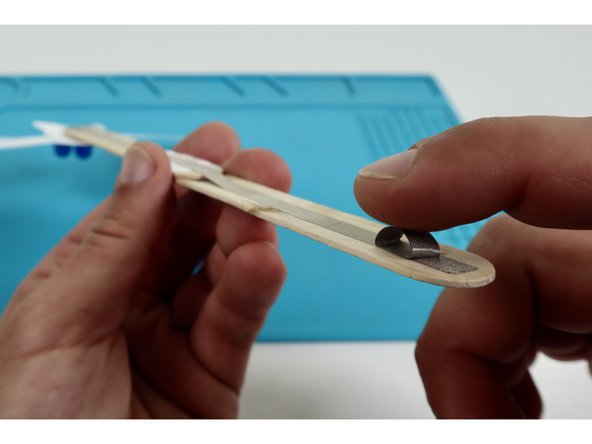
Begin the battery installation by sticking the CR2032 battery atop the tape loop with the positive (+) side facing UP.
-
Note: At this point, the LEDs should still be dark/off.
-
-
-
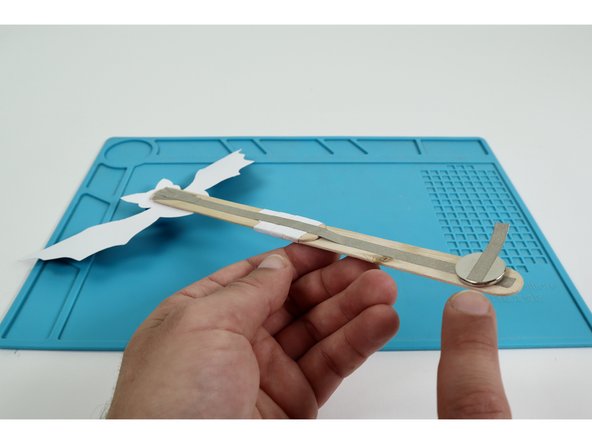
Finish installing the battery and turn the LEDs on. To do this, measure, cut, peel, and stick a piece of Maker Tape that can reach from the top of the battery around to the path on the opposite side of the wand handle.
-
Note: Once this connection is made, your bat's eyes should turn on.
-
-
-
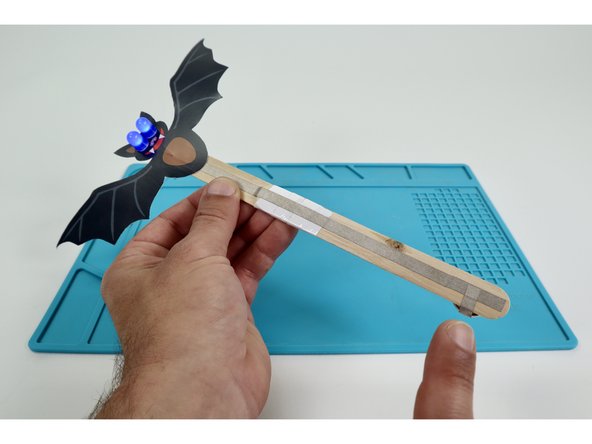
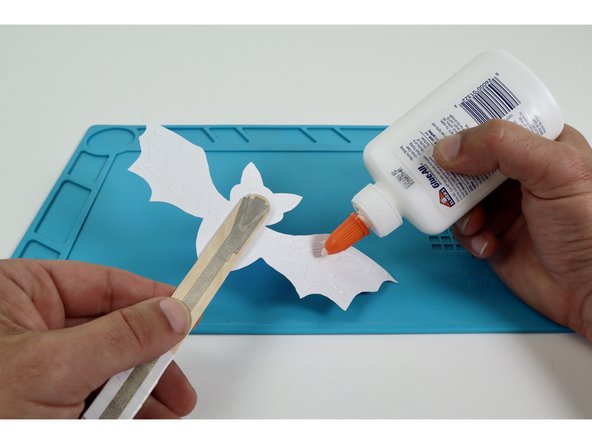
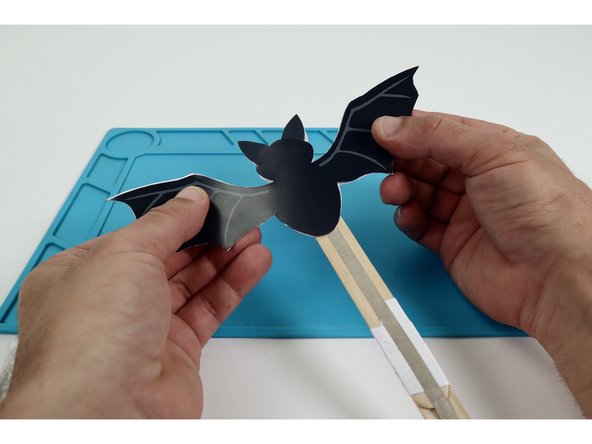
Use some glue to stick the back panel in place as shown to cover the circuitry.
-
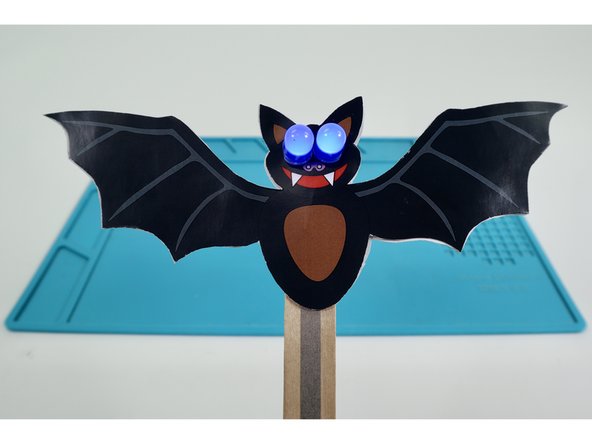
Your bat wand is now ready to light up the night!
-