
Introduction
Use the two built-in buttons found on the micro:bit
Take advantage of the built-in buttons found on the front of every micro:bit board.
Video Overview
Featured Document
-
-
For this guide we won't need Maker Tape or any components. We're just going to put the micro:bit into the Bit Board.
-
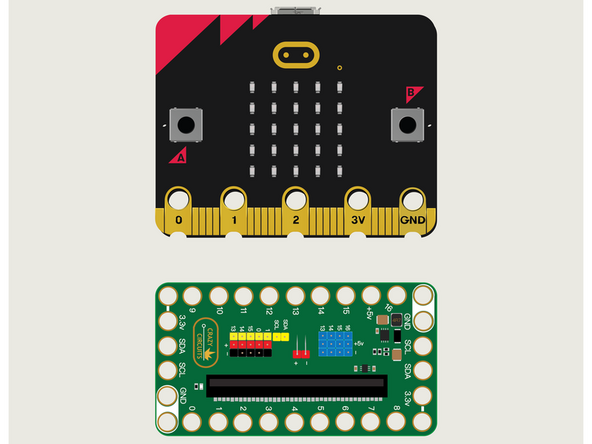
We're only going to connect a USB cable and use the built-in A & B buttons on the front of the micro:bit
-
We'll use the LED Matrix found on the front of the micro:bit as well, to react to our button presses.
-
-
-
If you've never used a micro:bit before you'll want to check out this guide: Bit Board V2 Setup and Use
-
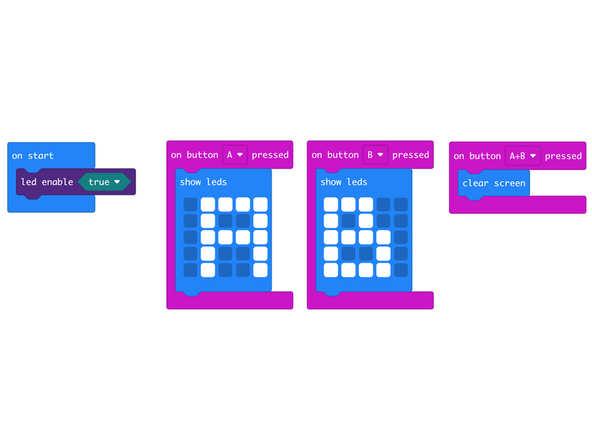
We're going to load the following code for our Press A & B program: https://makecode.microbit.org/_TFccFteE9...
-
Notice this code does not have a forever loop! Instead it uses event handlers to react to specific input, in this case, pressing a button.
-
-
-
Once the code is loaded it should start running immediately.
-
You can power the micro:bit via the USB cable you used to load the code or you can use a battery pack plugged into the Bit Board.
-
When the code starts it will look like nothing has happened...
-
Press the A Button to see an "A" on the LED Matrix.
-
Press the B Button to see a "B" on the LED Matrix.
-
Now press and release both A and B buttons at the same time and the LED Matrix should clear and show nothing again.
-
-
-
Follow along with our recorded Live Stream!
-
You can watch the full video of us walking through this project, along with explaining and exploring the code: https://youtube.com/live/1WLUYItlSTY
-
Attached Documents
