
Introduction
Program the built-in LED Matrix found on the micro:bit
We'll explore how we can control the LED Matrix to show information and animations.
Video Overview
Featured Document
-
-
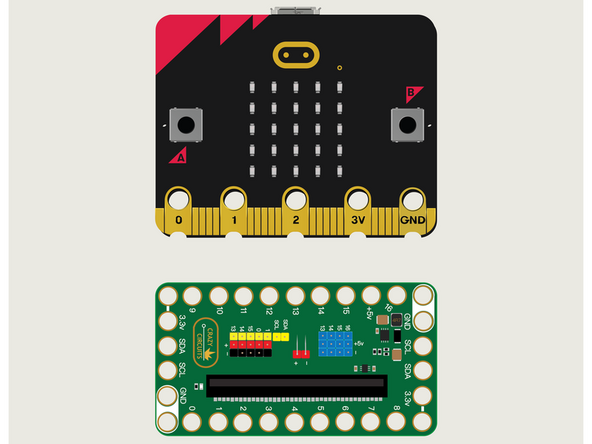
For this guide we won't need Maker Tape or any components. We're just going to put the micro:bit into the Bit Board.
-
We're only going to connect a USB cable and use the built-in LED Matrix found on the front of the micro:bit
-
-
-
If you've never used a micro:bit before you'll want to check out this guide: Bit Board V2 Setup and Use
-
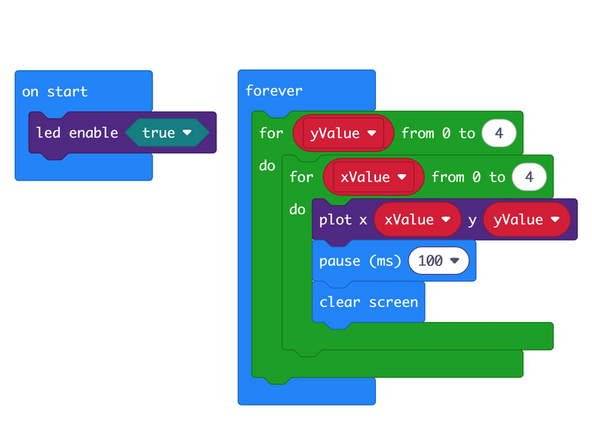
We're going to load the following code for our LED Matrix Loop Loop program: https://makecode.microbit.org/_2UDL7LVsz...
-
We've now got a loop inside a loop! What this does is allow us to iterate through every single LED by plotting them out.
-
While the yValue is 0 the xValue will loop from 0 to 4, which is the top row. Then yValue will increase by one for the second row, again looping from 0 to 4 to light up each LED.
-
-
-
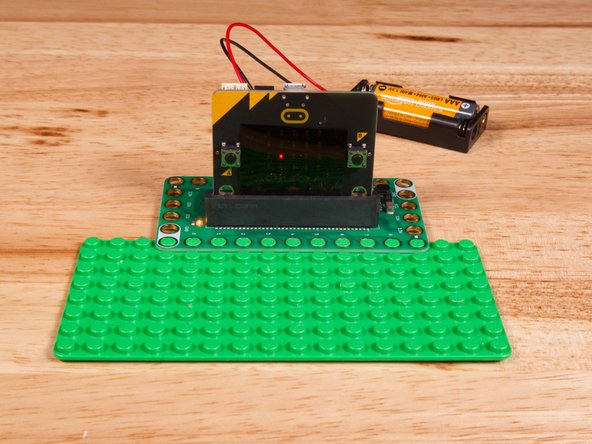
Once the code is loaded it should start running immediately.
-
You can power the micro:bit via the USB cable you used to load the code or you can use a battery pack plugged into the Bit Board.
-
The micro:bit's built-in LED Matrix will turn on the first LED, then clear the screen, and turn on the second, and so on...
-
The LEDs are not numbered 0 through 24 though, so we need to plot each one on an X/Y axes. (Which is easy to do with our nested loops!)
-
-
-
Follow along with our recorded Live Stream!
-
You can watch the full video of us walking through this project, along with explaining and exploring the code: https://youtube.com/live/3A9rYMbcC04
-
Attached Documents
