
Introduction
Make a light-up Holiday badge with our Maker Tape and wait for your tree to arrive!
There's a full-color version as well as a black & white version that makes a great coloring activity.
You can make this project (and many more!) with our Paper Circuits Kit.
Parts
Video Overview
Featured Document
-
-
Print out the front and back of the truck template and cut them out.
-
We recommend printing on a heavier paper like cardstock.
-
-
-
We're going to build our circuit to the back piece of the badge.
-
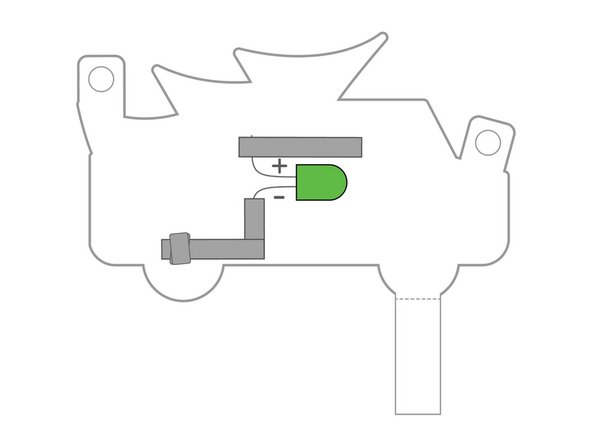
Bend the LED legs so the LED can lay flat on its side against the paper.
-
Choose any color LED you prefer, but you'll want to use a 10mm diffused LED for maximum wow factor.
-
-
-
Use conductive Maker Tape to tape down the LED legs.
-
Make sure the positive LED leg doesn't stick out too far above the tape as we'll need room to add another strip of tape above it in Step 5 and we don't want to short our circuit!
-
-
-
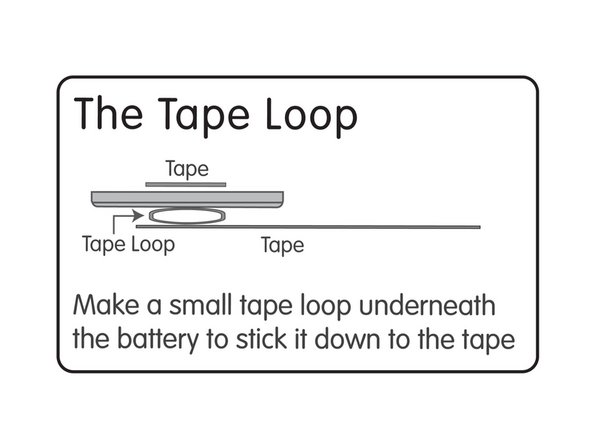
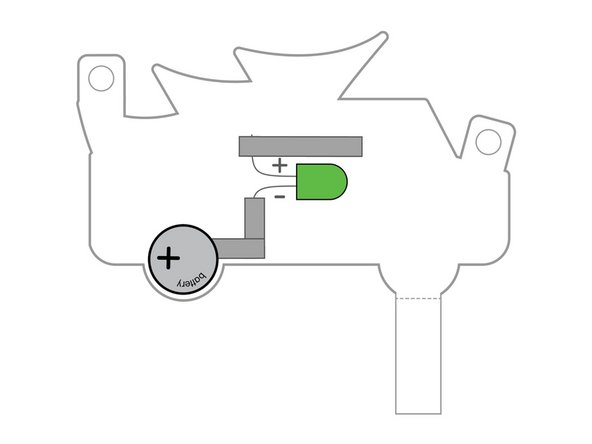
Add a small loop of Maker Tape in place to hold the battery down.
-
Stick the battery down to to the tape loop. (Make sure you stick the negative side of the battery down.)
-
Since Maker Tape is conductive on both sides and all the way through, using it to hold our battery in place and as the connection point is simple and effective!
-
-
-
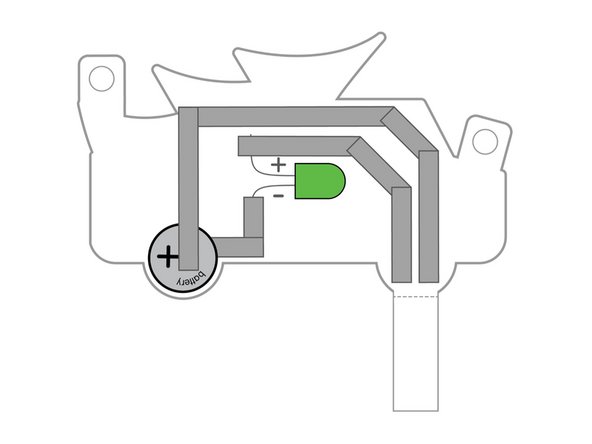
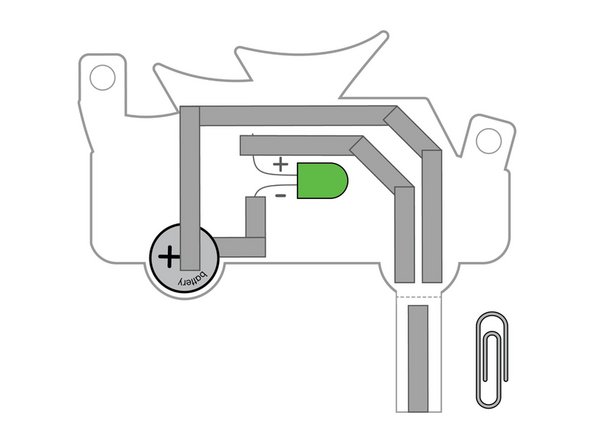
Next we'll add strips of tape so our badge can have an on/off switch.
-
By running tape to our foldover switch but not connecting it we create a gap in the circuit that can be closed when the switch gets folded over. (We'll add the switch in Step 6.)
-
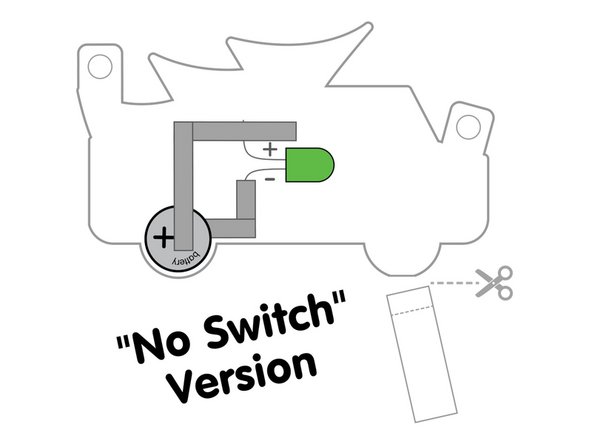
If you prefer a simpler circuit with no switch see the "No Switch" graphic for how you can connect things. Note that you will not be able to easily turn off your badge with this version.
-
-
-
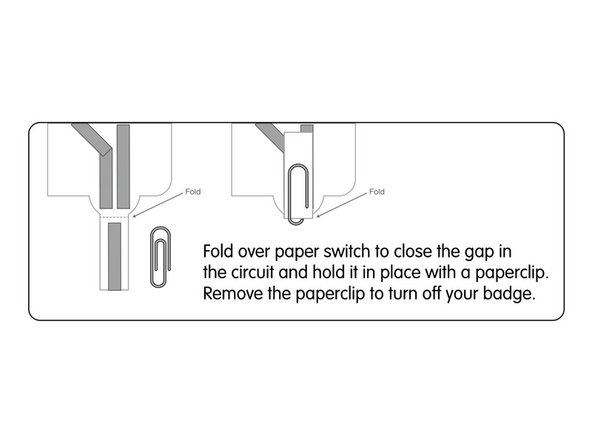
We'll add a switch to our circuit by putting a strip of Maker Tape onto the folding flap.
-
When the flap is folded over the Maker Tape bridges the gap in the circuit and allows current to flow, lighting up your LED!
-
You can then use a paper clip to hold the flap in place so your circuit stays on.
-
-
-
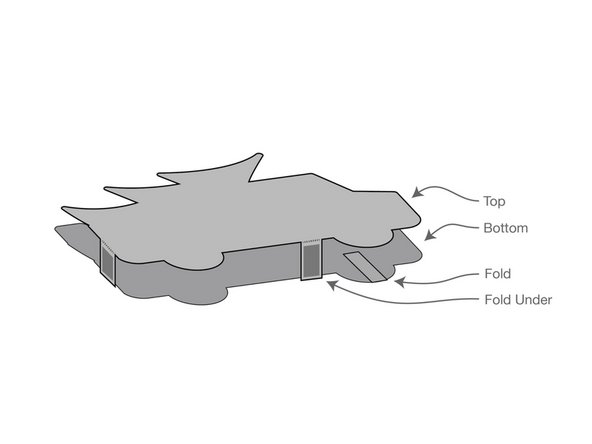
Once your circuit is built you can place the top piece over the bottom piece and then attach the legs to the back of the badge with some tape.
-
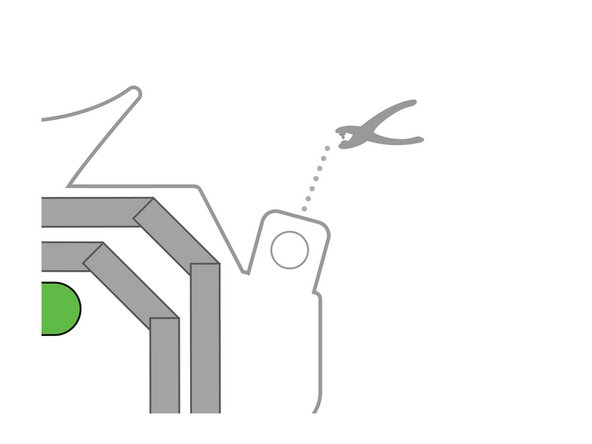
If you have a hole punch available it's the best tool to add holes to the tabs so you can add a string or lanyard and wear your badge.
-
-
-
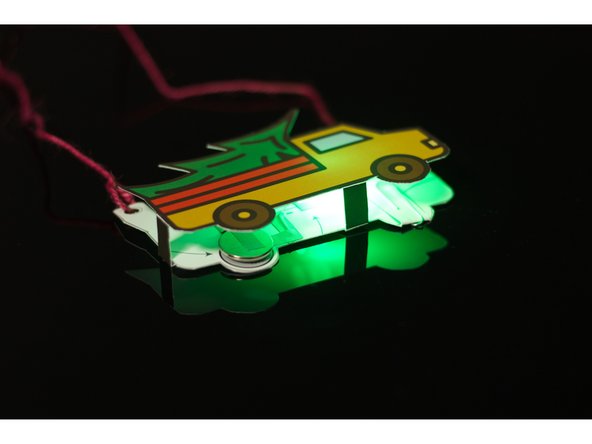
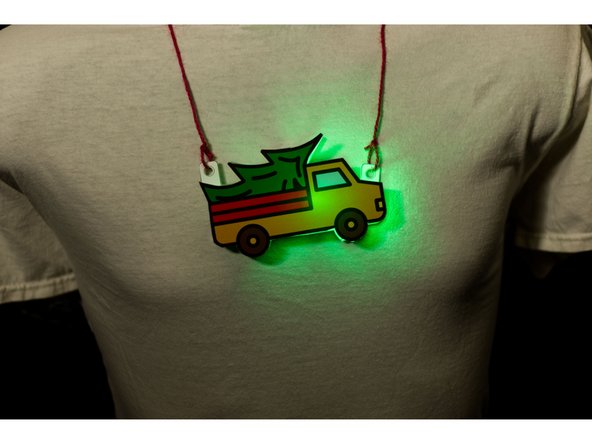
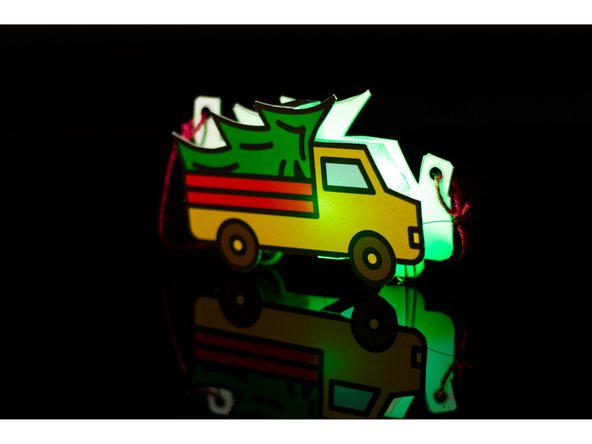
Try out your badge! It'll look great in the evening when the lights are low, but you can wear it anytime!
-


Cancel: I did not complete this guide.
One other person completed this guide.
Attached Documents
