Introduction
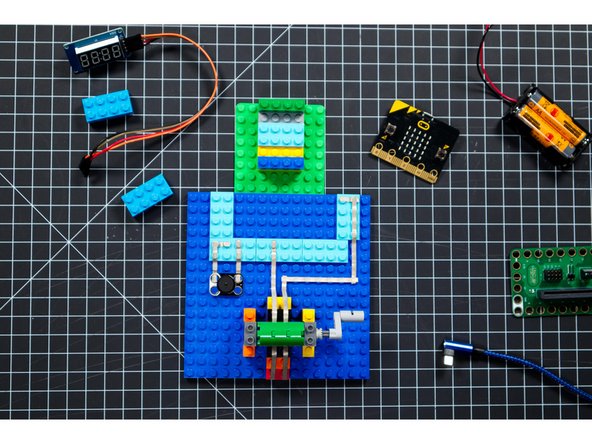
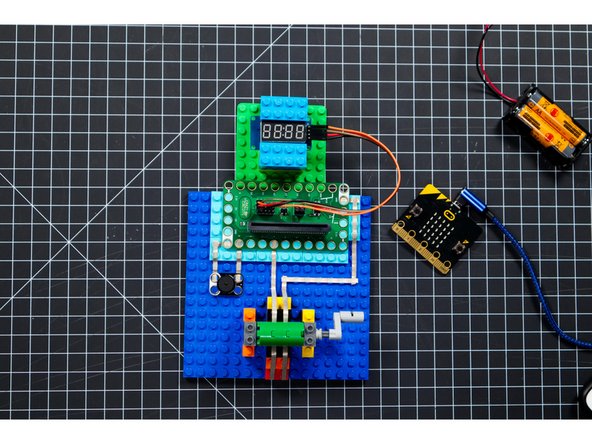
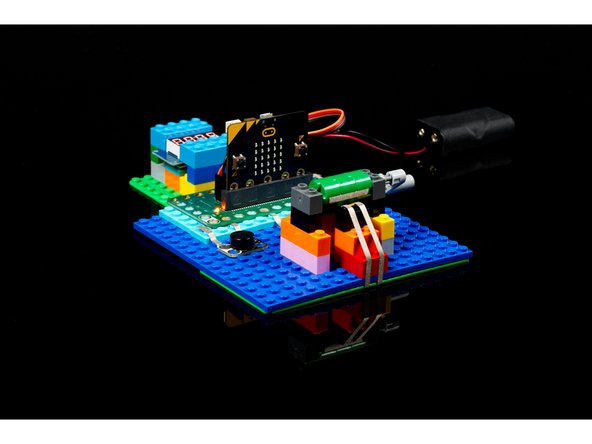
Use a Bit Board along with a micro:bit, 7 Segment Display and some LEGO parts to build a fun device that will count how many times you turn a crank.
Video Overview
Featured Document
-
-
If this is your first LEGO circuitry project with a crank we recommend you check out our Hand-Cranked Circuit guide.
-
As with all of our guides, it's best to understand the basic concept of what needs to be built and then build with LEGO in a fashion that achieves the goal in your own way.
-
There are a wide variety of LEGO parts to build with, and beyond a few simple requirements (axle, round pieces, etc.) you should feel free to explore and build with the parts you have available.
-
Make sure you download the attached PDF file with more info on this build and a detailed look at the code.
-
-
-
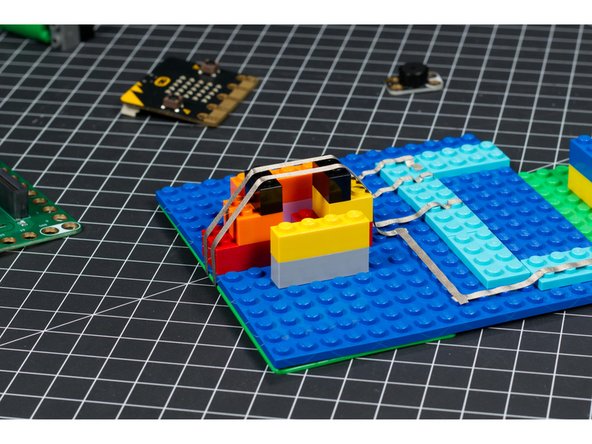
Once you've got your basic LEGO layout set you can build your circuit using Maker Tape.
-
You'll need to add tape for Pin 0 and Ground, and for Pin 3 and Ground.
-
-
-
Note: If you are using a micro:bit V2 (or later) which has a built-in speaker you can skip this step.
-
Add the Piezo chip so that the positive side is connected to Pin 3 and the negative side is connected to Ground.
-
Pin 0 is the default sound output pin on the micro:bit
-
-
-
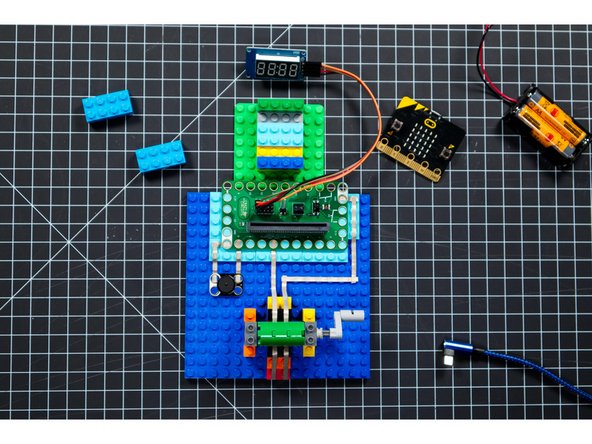
Once you have your Maker Tape and Piezo chip in place you can add your Bit Board to your project.
-
Pay attention to the orientation of the Bit Board. If you put it in backwards your project won't work.
-
-
-
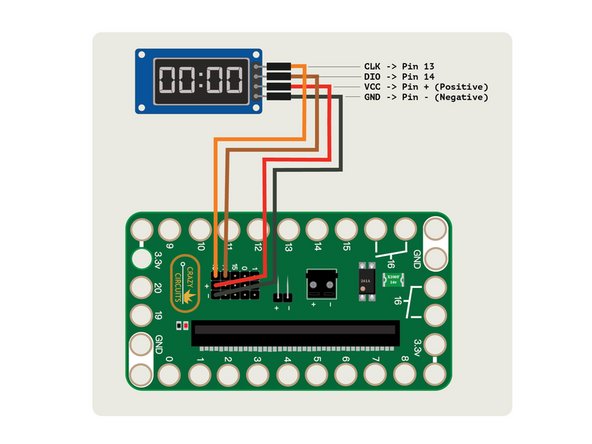
Add the 7 Segment Display by connecting jumper wires to the pins and then plugging them into the correct pins on the Bit Board.
-
It's easier to plug jumper wires into the pins on the Bit Board before you add the micro:bit
-
It's a good idea to make sure your circuit is not being powered when you are plugging or unplugging things.
-
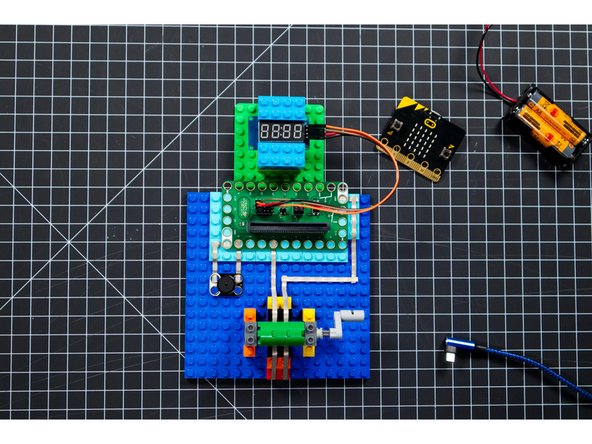
Once you have the jumper wires plugged in correctly you can place the 7 Segment Display where you want it. (We fit ours nicely between a few LEGO bricks to hold it in place.)
-
-
-
Connect a USB cable to the micro:bit and then plug it into your computer.
-
We'll be using makecode.microbit.org to program our board. It uses a simple drag and drop block interface. We'll also provide all the example code you need.
-
We're going to load the following code for our Crank Counter program: https://makecode.microbit.org/_MCjia13Ur...
-
Once the code is loaded you can insert the micro:bit into the Bit Board and it should show 0000 on the 7 Segment Display.
-
-
-
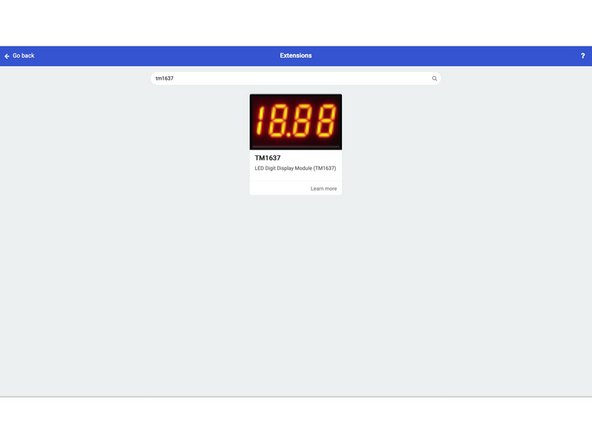
The code uses an Extension to allow the 7 Segment Display to function. The extension is called TM1637 so if you were writing your own code you would need to locate and load that extension from within the MakeCode editor. (The TM1637 refers to the control chip used by the display.)
-
Finding extensions is usually as simple as doing a search by name and then adding it to your code.
-
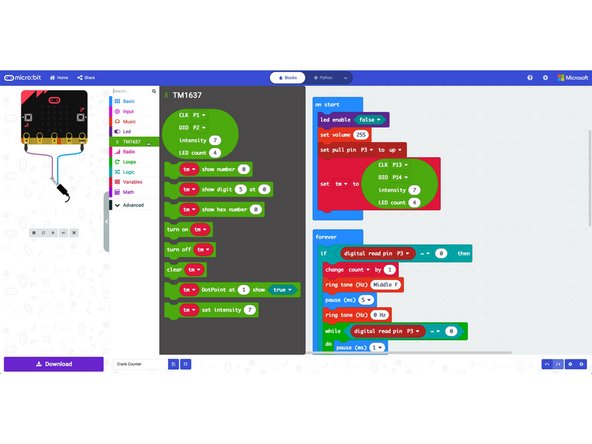
Once your extension is added you'll see a new tab on the left in the code editor. When you click on it you will see the new commands available through the extension.
-
-
-
In computer programming, a variable is a thing that stores a value. For instance we have a variable named count which keeps track of how many times we turn the crank. We then use this variable when displaying the number on the display.
-
We have another variable in our code named tm, which is used to reference the 7 Segment Display in the code. This variable was introduced into our code when we added the TM1637 extension.
-
Variables are often defined in the start of the code, which runs before anything else in a program.
-
-
-
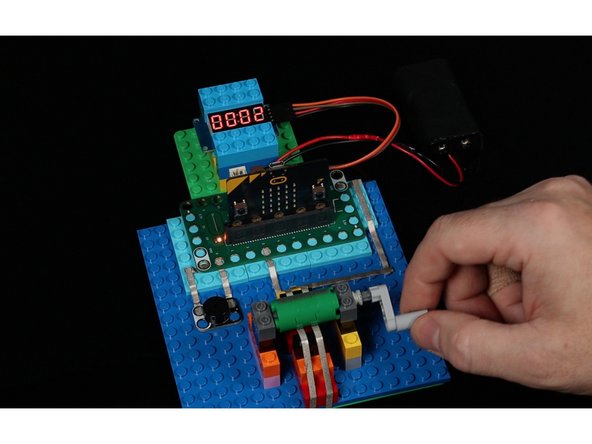
Once you have all the pieces in place and the code loaded you can turn the crank! It should count up increasing the value once per turn.
-
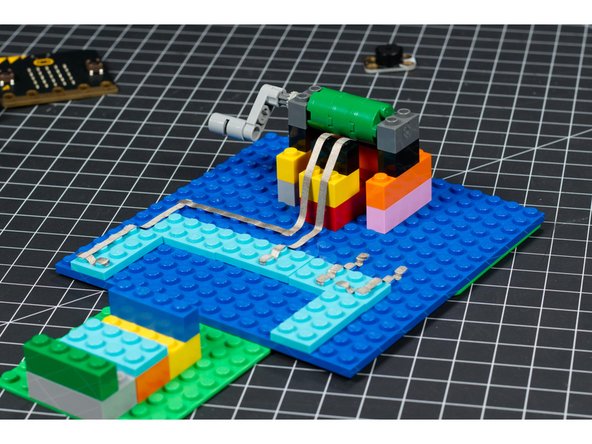
Our circuit completes when the tape on the cylinder bridges the two pieces of tape below it. As the cylinder turns the circuit allows Pin 3 to connect to Ground which our code uses to increase the count.
-
Does it matter which way the crank turns? With our simple circuit turning the crank forward or backward will have the same effect, as the action of completing the circuit is not dependent on direction.
-
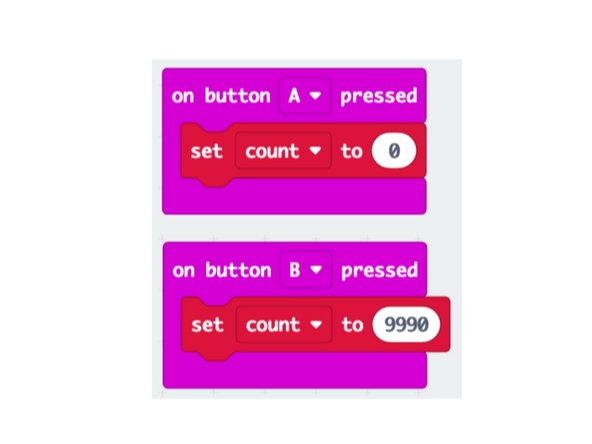
We added two fun features to our code using the built-in buttons on the micro:bit. If A is pressed, the count will reset to zero. If B is pressed the count will set to 9990. This is in case you want to skip ahead and see the count roll over from 9999 to 0 without having to turn the crank 10,000 times.
-
You can provide power via a USB cable plugged into the micro:bit or via a battery pack with 2 AAA or 2 AA batteries.
-
-
-
The trickiest part of the build is adding the crank and the tape below it. You need to add the tape so it is taut, and then add the cylinder on top of it, pressing against the tape.
-
The tape will stretch a bit and provide some friction when you turn the handle. This will ensure good electrical contact is made.
-
Over time if you find the tape has loosened a bit you can easily remove the cylinder and pull the tape off from one side and reapply it so it is once again taut. (Or replace it with fresh tape if needed.)
-
-
-
Now that you've got a Crank Counter how can you do more with it?
-
Can you add another piece of tape to the cylinder so the count increases every half turn instead of every full turn?
-
Can you change the code so that the count increases by 5 or 10 or 50 for each turn?
-
Could you make the count start at 10 (or 100, or 9999) and count down instead of count up?
-
Cancel: I did not complete this guide.
One other person completed this guide.


