
Introduction
Learn to build an LED circuit to light up a wreath, then decorate it with your own unique style!
You can make this project (and many more) with our Paper Circuits Kit.
Video Overview
Featured Document
-
-
Gather supplies.
-
Print the template of your choice.
-
-
-
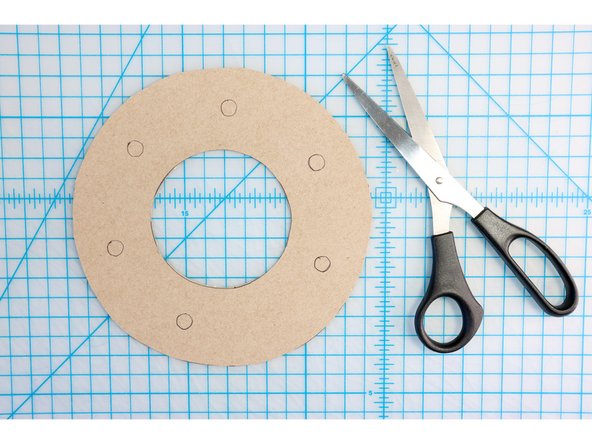
Cut out the template. A craft knife will make cutting the small circles easier.
-
-
-
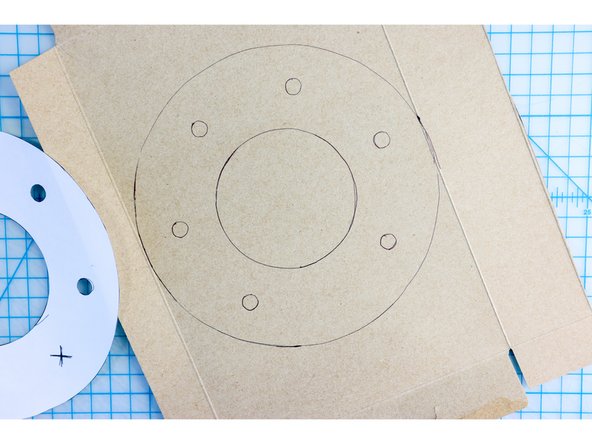
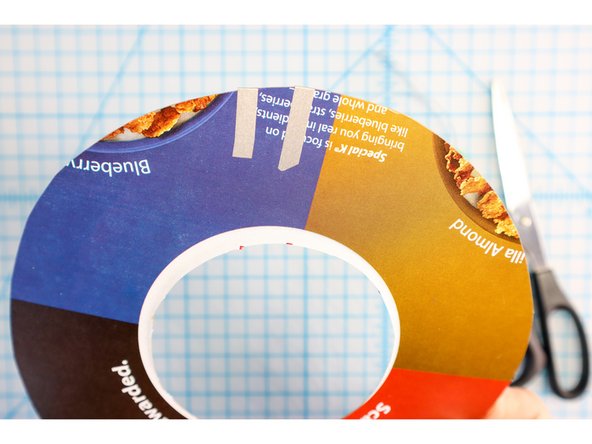
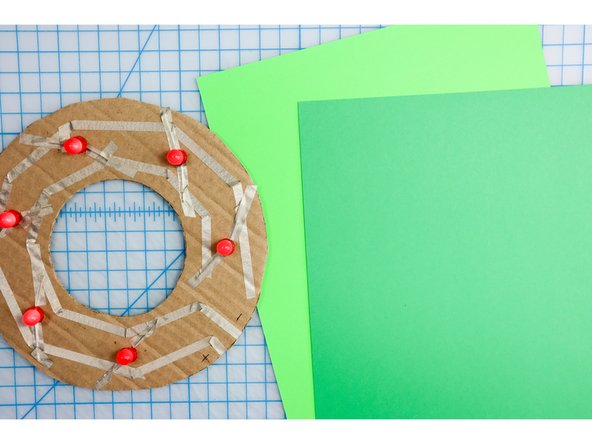
Trace the template onto cardboard or another recycled material like this cereal box.
-
Cut out the shape along the outer and inner circles.
-
*Don't cut out the small circles - these are meant to mark where the LEDs will go.
-
-
-
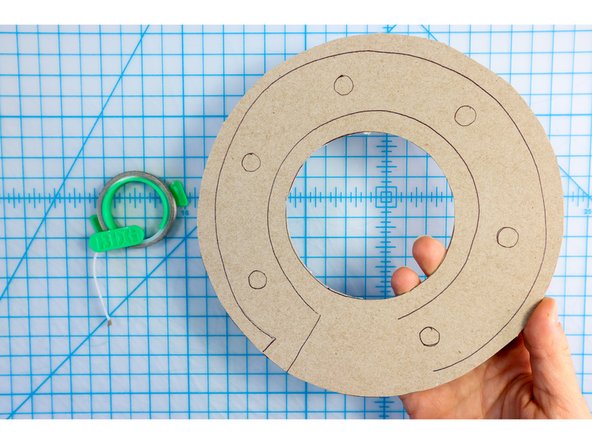
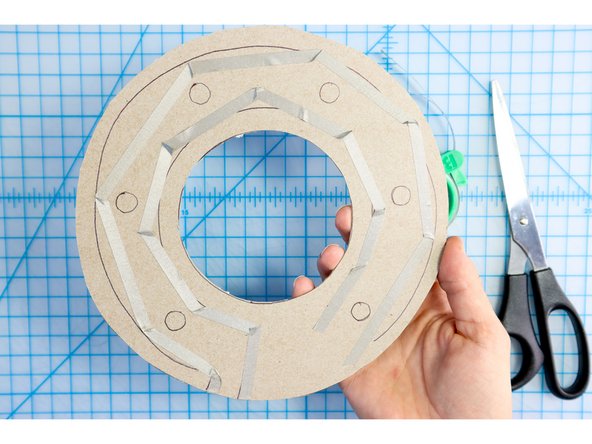
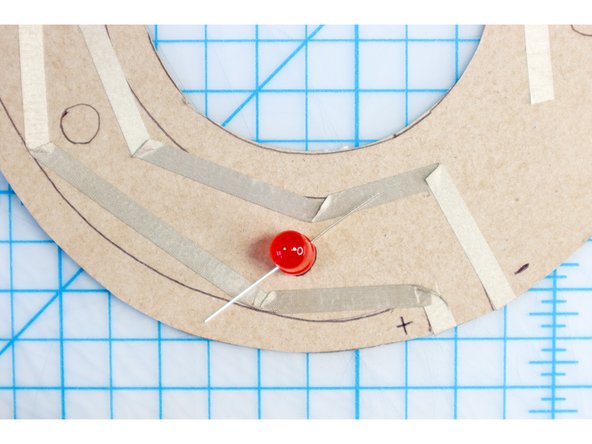
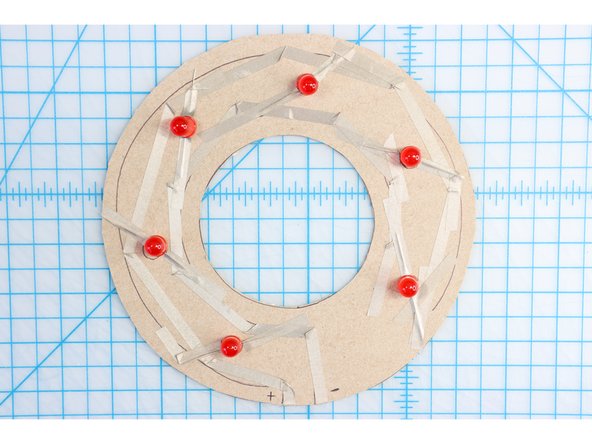
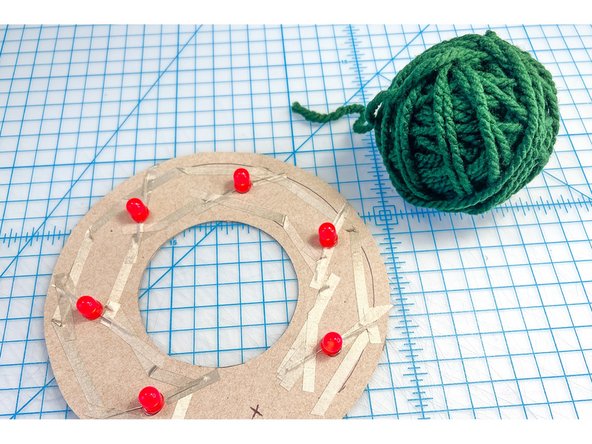
Stick two paths of maker tape to the cardboard. One will start on the back and go around the outside of the LED markers. The other will start about one inch from the first (also on the back) and go around the inside of the LED markers as shown.
-
-
-
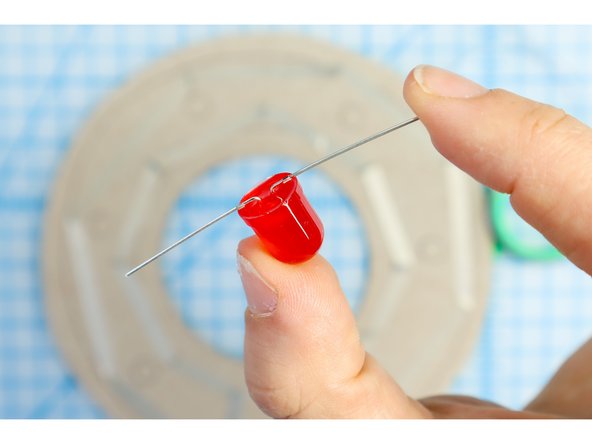
The LEDs have a long positive leg and a short negative leg. Note which is which and bend the LED's legs flat as shown.
-
-
-
Position the LED over the circle template with the long leg touching the outer ring of tape and the short leg touching the inner ring of tape.
-
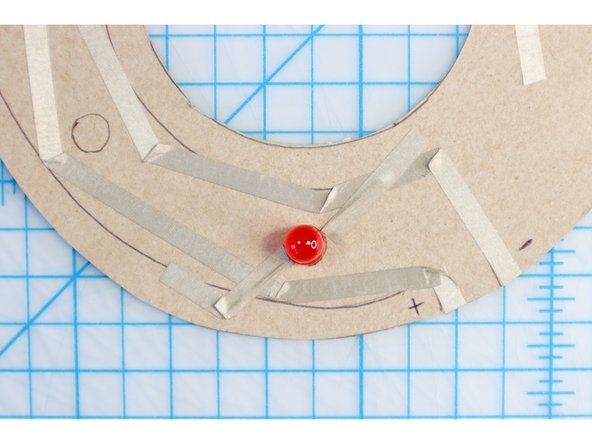
Use a few small pieces of Maker Tape to secure the LED legs in place.
-
Repeat this for each LED.
-
-
-
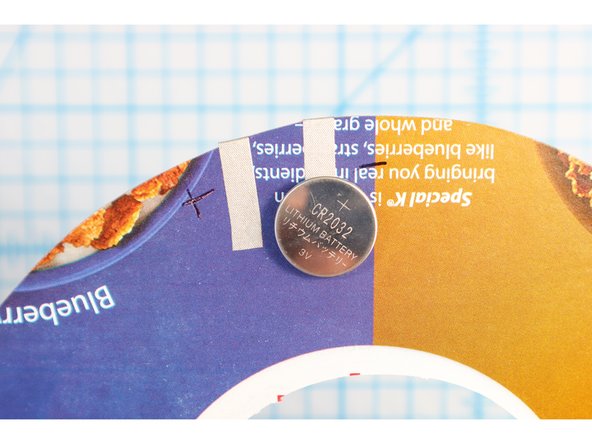
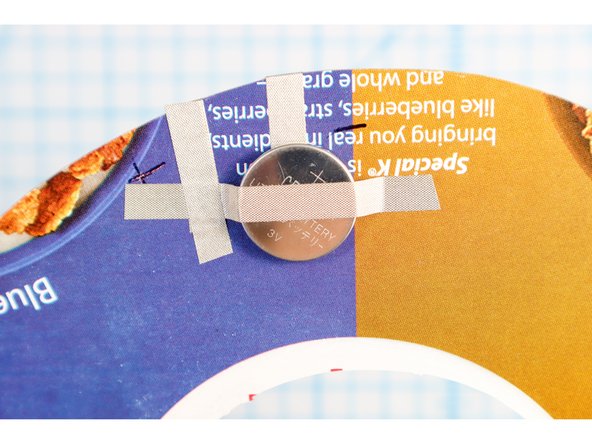
Turn the project over to add the battery. Mark the positive and negative on the back so that you remember which is which.
-
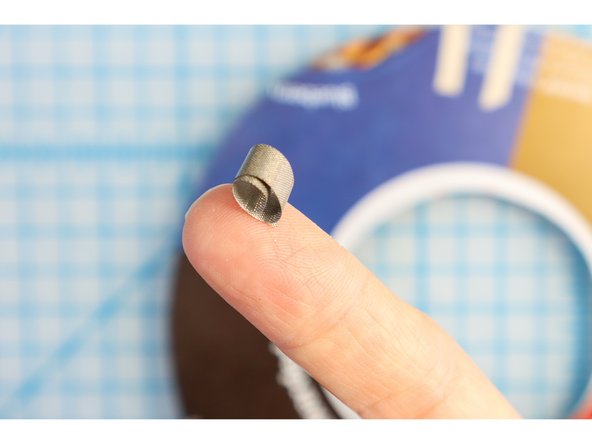
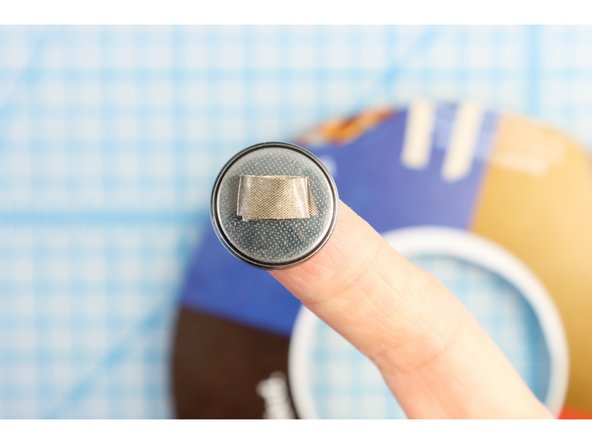
Make a loop of Maker Tape small enough to fit inside the black ring on the negative side of the battery, and stick it on. Place the ring and battery on the negative piece of tape.
-
-
-
Place another piece of Maker Tape over the battery and touch the positive side.
-
The LEDs should now be illuminated!
-
-
-
Here are a few ideas that I came up with to decorate the wreath:
-
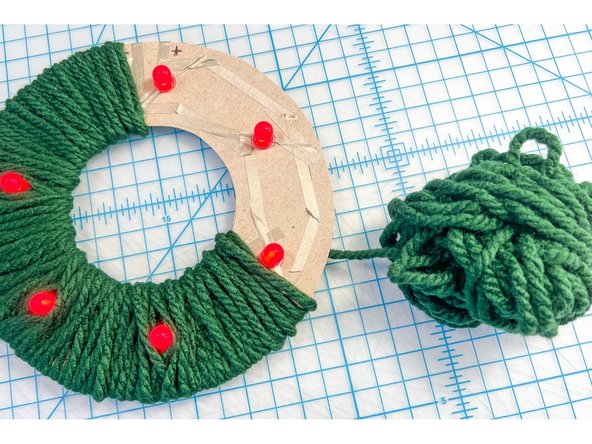
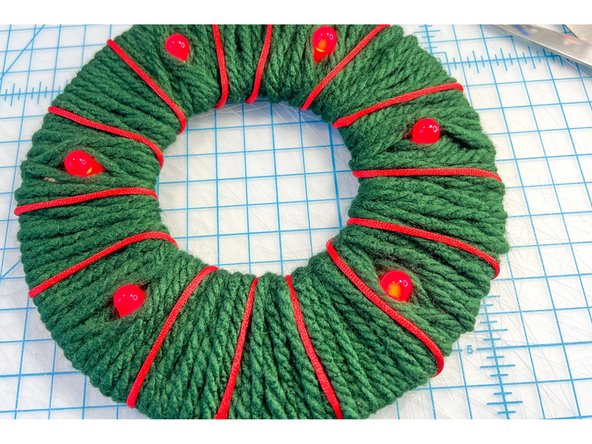
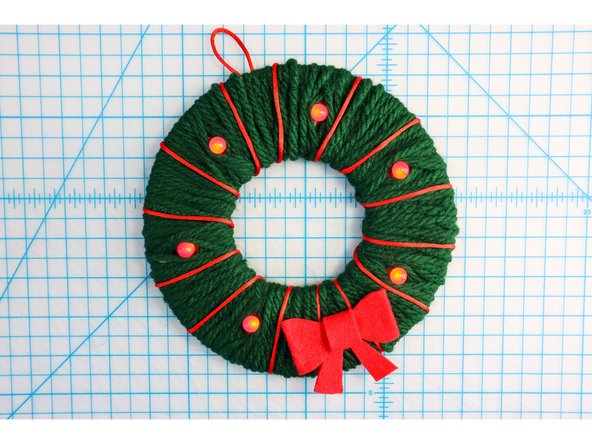
My first idea was to use green yarn. I made a ball of yarn that could fit inside the center opening and wound until the entire circle was covered.
-
I used a contrasting red cable to add an accent.
-
-
-
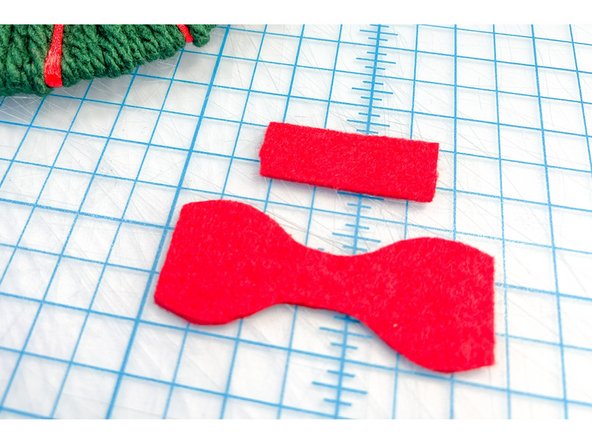
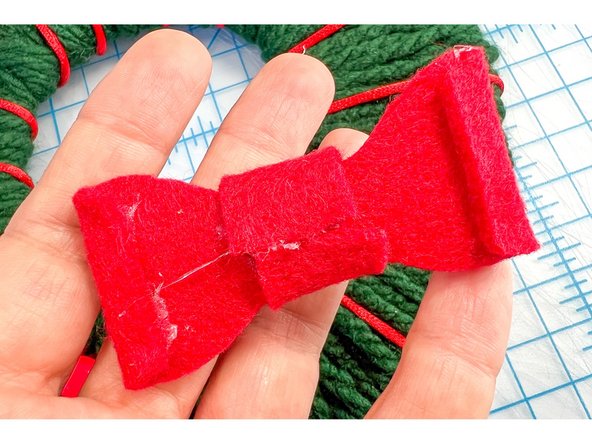
Then, I used the template to make a felt bow, hot gluing it together and then gluing it to the wreath.
-
-
-
I also used the red cable to make a hanger.
-
-
-
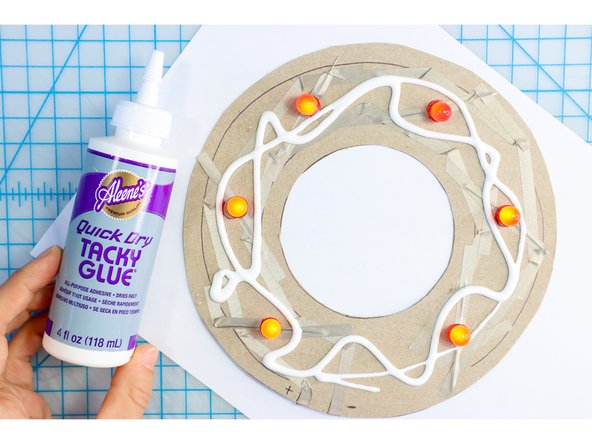
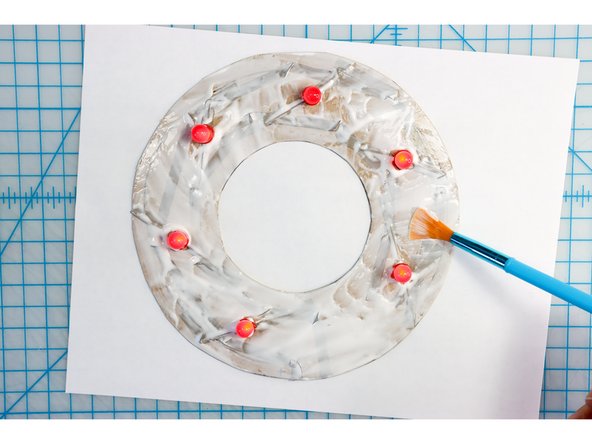
My second idea was to use pom-poms. I spread Tacky Glue all over the project with a paintbrush.
-
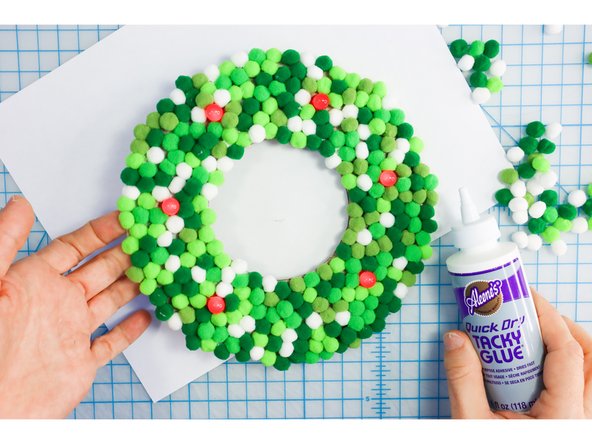
Then, I hand-placed each pom-pom to make a mix of colors.
-
-
-
I added a bow that I reused from a candy package.
-
I glued a white ribbon to the top to make a hanger.
-
-
-
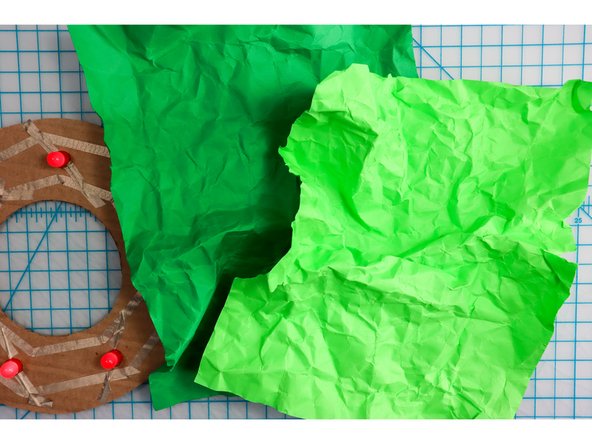
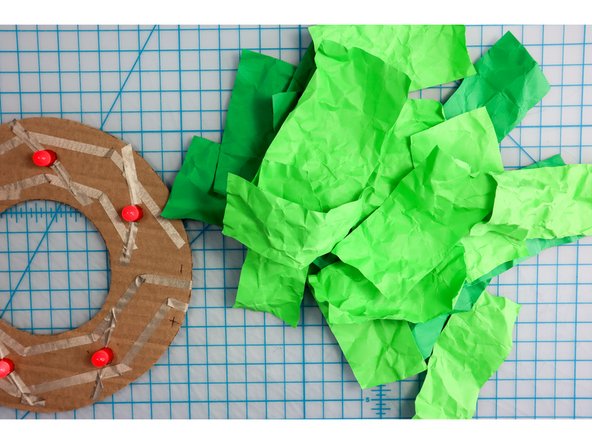
My third idea was to use crumpled up paper.
-
I used 60 lb green cardstock and crumpled it up.
-
Then, I cut it into rectangles.
-
-
-
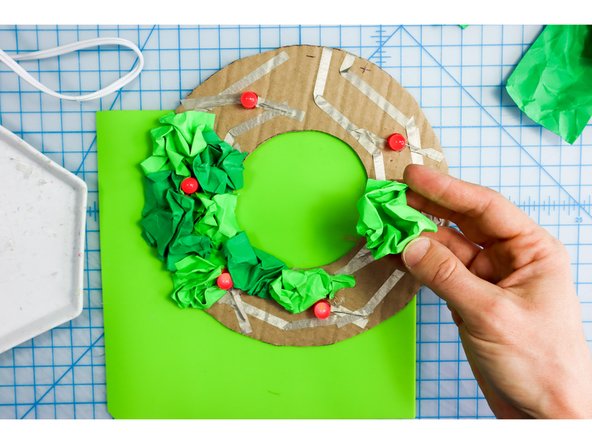
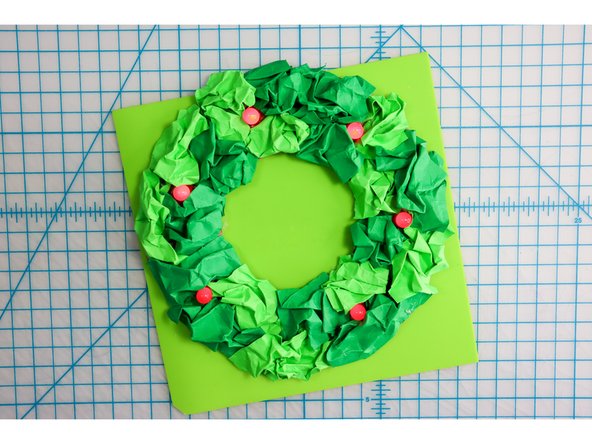
I glued the crumpled rectangles in place all around the wreath, alternating between shades of green.
-
-
-
I used the bow template to cut a paper bow and glued it in place.
-
-
-
I used a strip of paper as a hanger.
-
That’s just three of infinate ways to finish this project. I hope you enjoy customizing your own and that you’ll share it with us and others to inspire them with your creation.
-
I hope you enjoyed this project and have a very happy holiday!
-


Attached Documents
