
Introduction
They think treat, we think trick!
This DIY talking skull project can be controlled from afar so that you can prank your trick-or-treaters. They'll think it's a store-bought Halloween display, but when it starts to say things that could never have been pre-recorded, they'll think it's possessed and run away!!!!!
This build is a bit more advanced than most of the builds we post here, but if you have a drill, some zip ties, and a few fixtures from the hardware store, the project can be accomplished pretty easily. The skull can be found on Amazon, and although a bit pricey, the quality is high and it's easy to drill the holes into it. The electronics in the talking skull are a micro:bit, a Bit Board, a servo motor, 10mm LEDs, and a battery pack.
The diagram below shows how the project works. Happy Haunting!
Video Overview
Featured Document
-
-
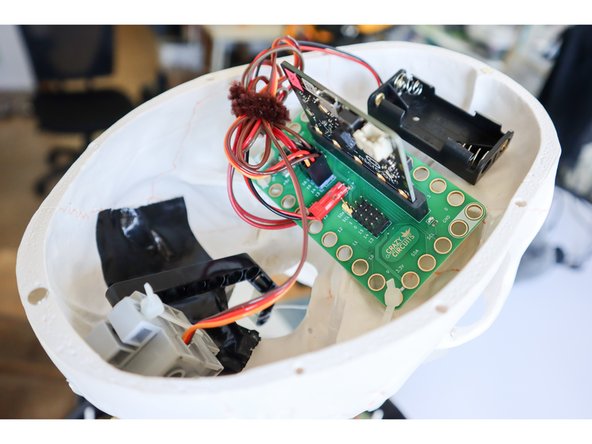
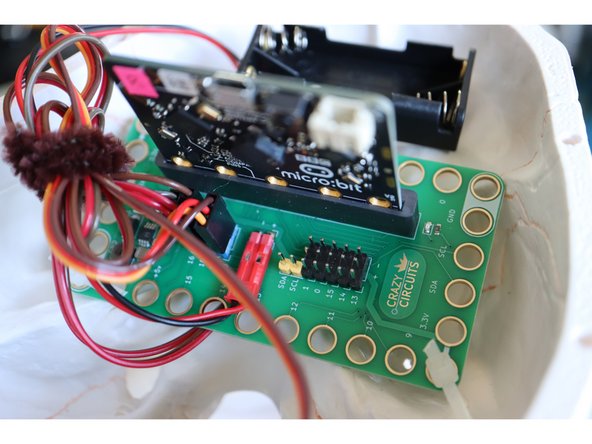
Place the micro:bit into the Bit Board.
-
Connect the servo to Pin 13. Insert the LEGO beam onto the top of the motor.
-
Connect LEDs to Pins 15 and 16 using jumper wires.
-
Plug in the Battery Pack.
-
-
-
Disconnect the LEDs temporarily and thread the jumper wires through each eye.
-
Hot glue the LEDs in place.
-
-
-
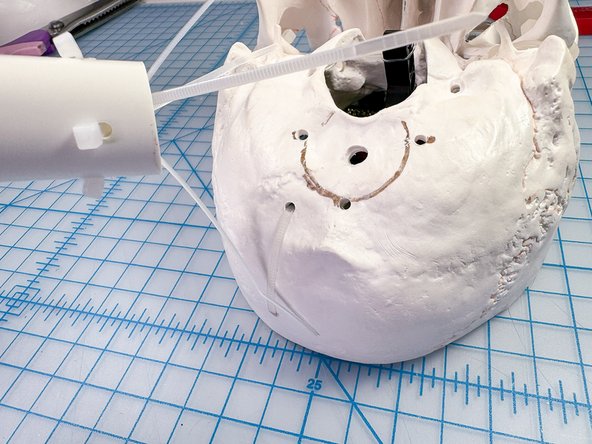
Drill holes in the skull to attach the components as shown:
-
Position the motor so that the LEGO beam moves freely through the hole in the neck.
-
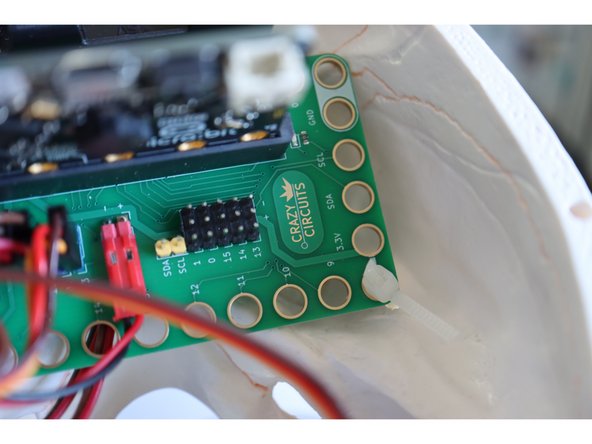
Position the Bit Board above the eyes, using zip ties that go through the jaw and connect to the holes in the Bit Board (as shown in the video).
-
Position the battery pack in the front of the skull. Use mounting tape to secure.
-
-
-
Tie a piece of fish line to the spring's screw in the lower jaw. Tie the other end to the LEGO beam.
-
Make sure the fish line is tight.
-
-
-
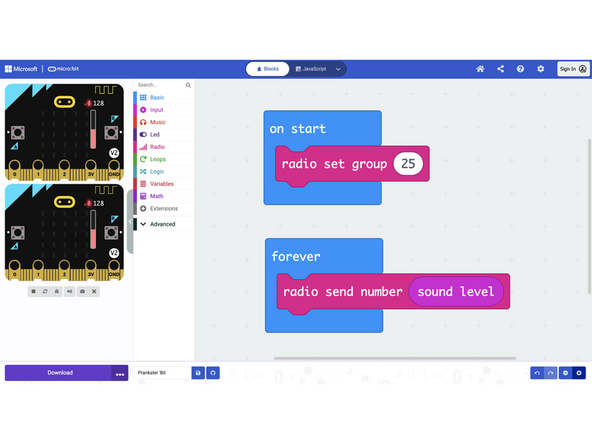
Download this code to the micro:bit in the skull.
-
This code receives the microphone volume and moves the jaw open when it's particularly loud, and closed when it's quiet. The eyes turn on and off in the same way but with more sensitivity.
-
-
-
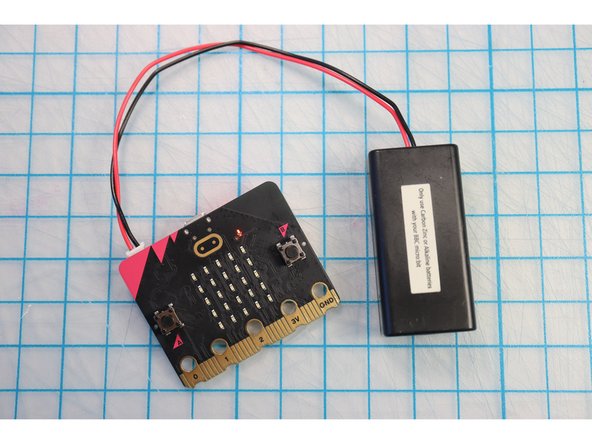
Download this code to a second micro:bit, and plug in a Battery Pack.
-
This code listens to the volume of your voice using the on-board microphone and sends that value to the skull micro:bit.
-
-
-
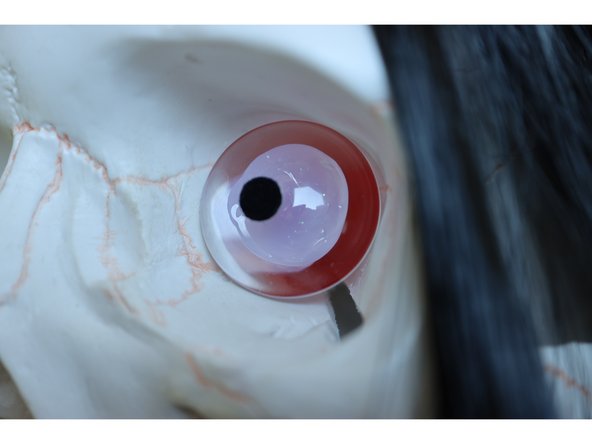
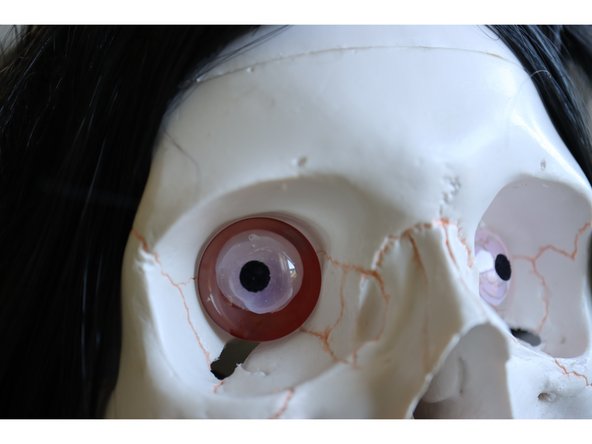
Use a large blob of hot glue on the back of a glass dome to cover the LEDs in the eyes as shown.
-
Use a hole punch to punch out a circle from black paper and glue it to each eye.
-
-
-
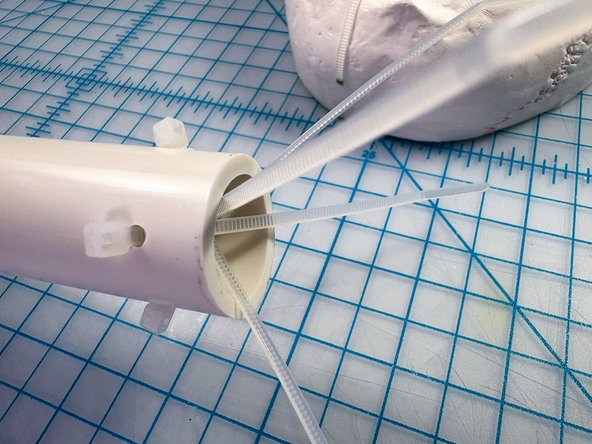
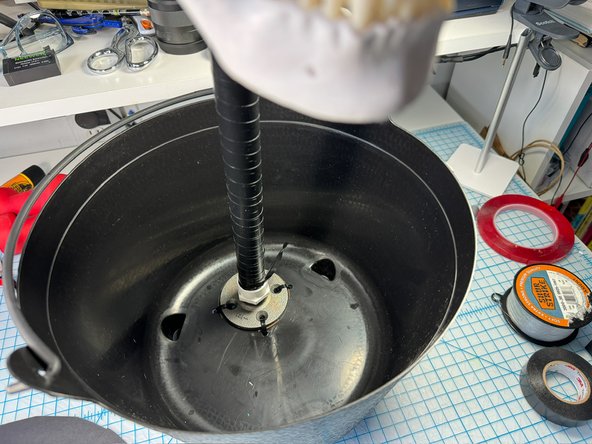
Drill four holes in the skull and a PVC pipe, then connect the pipe as shown with zip ties.
-
-
-
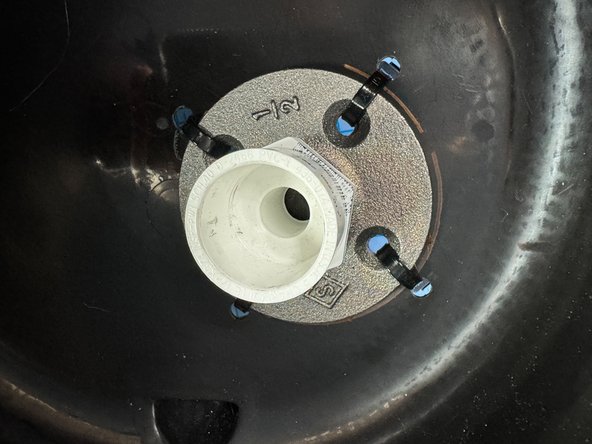
I used a flange and pipe fittings from the hardware store to make a connection for the pipe.
-
Secure the flange to the plastic cauldron by drilling holes and connecting with zip ties as shown.
-
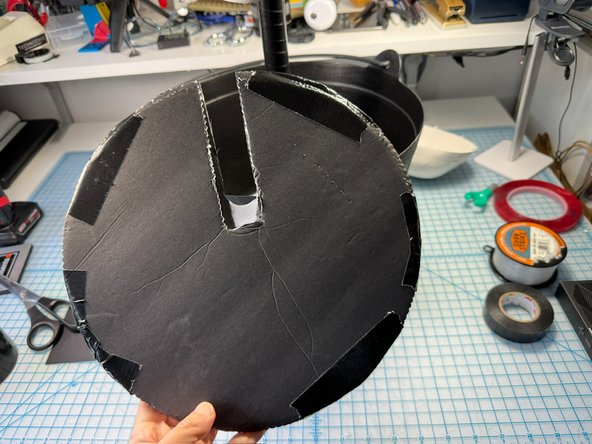
Make a platform for the candy to sit on with two layers of foam core and a slit for the pipe to go thru. Then, cover the slit with black paper so the candy doesn't fall down!
-
-
-
Make a sign out of cardboard and paint.
-
Attach it to the cauldron with wire.
-
-
-
Add a wig to the skeleton to give it some personality!
-
-
-
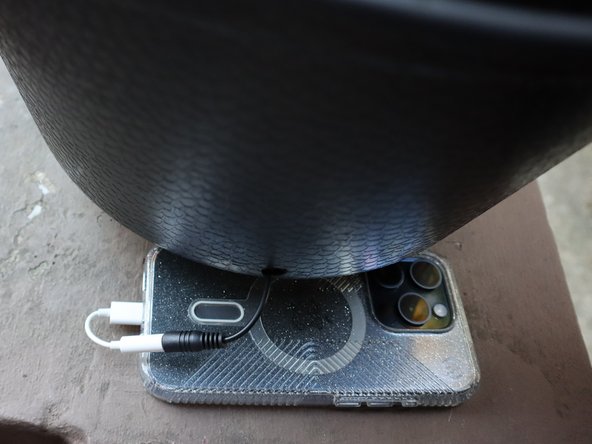
Place speakers inside the cauldron and connect a phone.
-
Make a phone call between this phone and another phone to provide the audio for the skull.
-
Hold the prankster micro:bit up to your mouth while talking and the volume of your voice will make the jaw move.
-
As an alternative to using two cell phones you could use a pair of walkie talkies or two-way radios.
-
-
-
You're ready to scare! Whether your skull is a comedian or a villain, we hope you enjoy pranking your trick-or-treaters on Halloween!
-


Attached Documents
