
Introduction
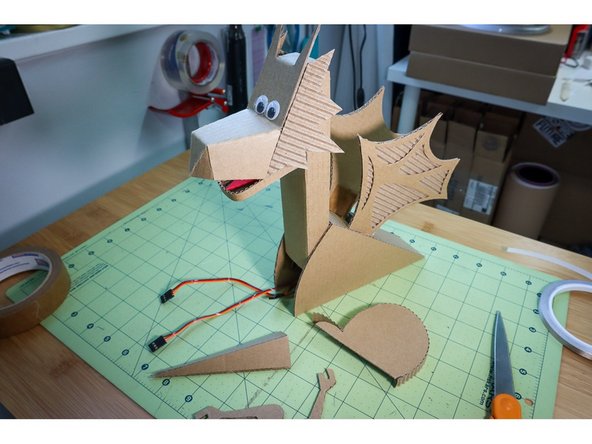
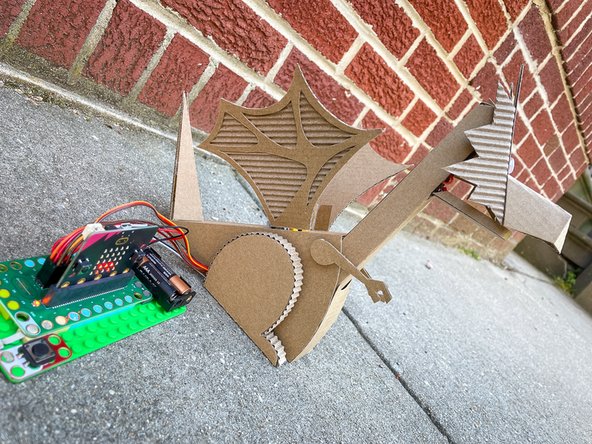
Make this Dragon Robot from Cardboard and have your own desk Dragon!
This is an advanced project and requires a high level of craftsmanship to build. For those who would like to try, we've provided the template and this overview of the steps.
Tools
Video Overview
Dragon Robot Friend Overview Video
Featured Document
-
-
Print out the template and cut the shapes out of cardboard.
-
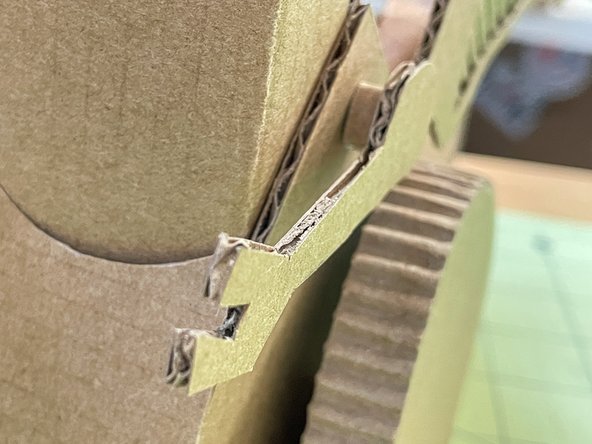
For any piece that you will fold, remove one side of the paper to reveal the corrigation.
-
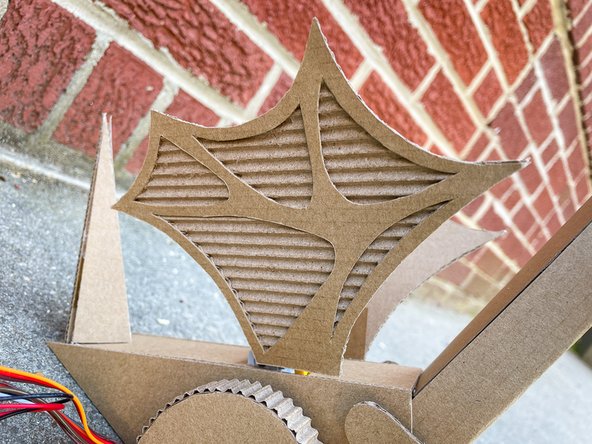
For the wings, remove one side of the cardboard paper to reveal the corrugation. Then, cut out the shape with the interior cuts. Next, place the shape on top of another piece of corrugated cardboard and trace around the whole shape.
-
-
-
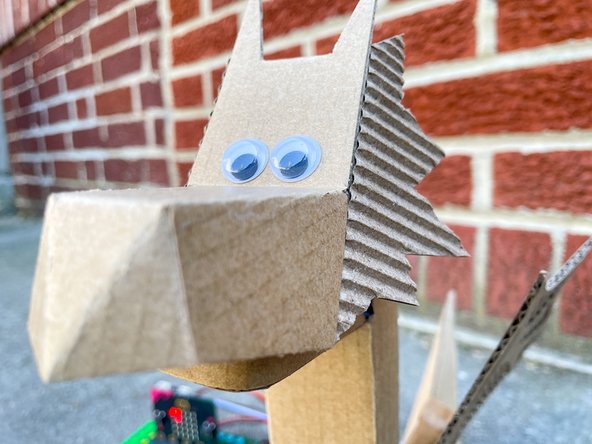
Fold and glue the headpiece as shown.
-
Tape or glue the side pieces in place.
-
-
-
Strip two extension wires on one end and use Maker Tape to connect each wire to a leg of the LED.
-
Tape the LED inside the roof of the mouth.
-
-
-
Add the strip of cardboard around the jaw, and fold the neck piece around the motor.
-
Glue a piece of armature wire to the jaw, and connect it to the LEGO Beam on the end of the servo motor. Glue the motor in place.
-
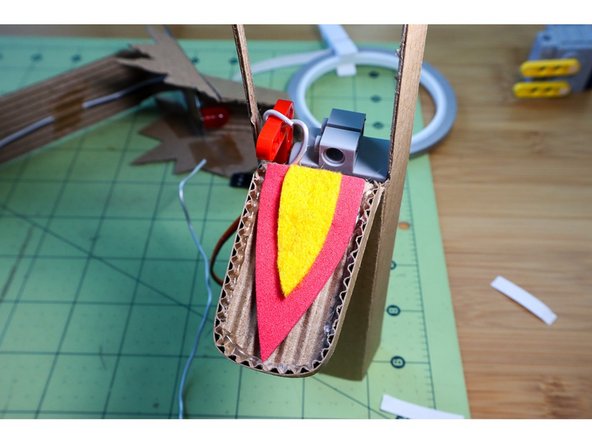
Decorate the inside of the mouth. I used red craft foam and yellow felt.
-
-
-
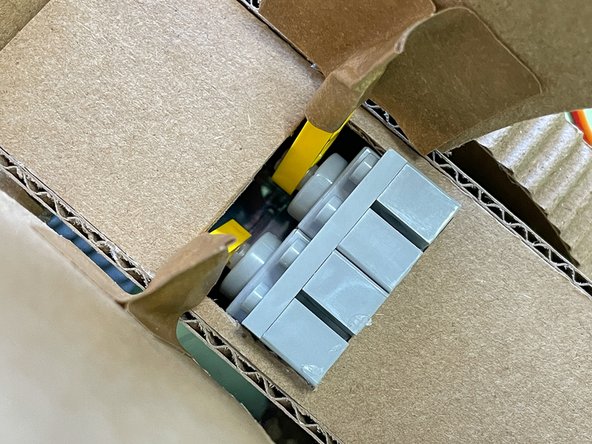
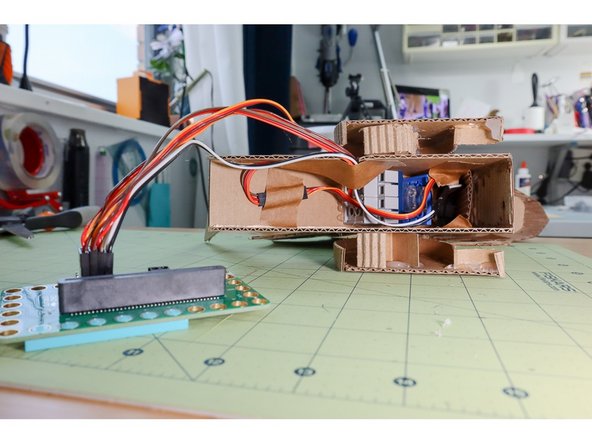
Glue two servos inside the rectangle as shown.
-
Tape the wings to the LEGO Beams.
-
-
-
Glue the triangular shapes to the sides of the back.
-
Glue the neck inside the body as shown.
-
-
-
Glue the arms in place using a small curl of cardboard to give them a 3D look.
-
Add a band of corrugated cardboard around the legs and glue them in place in the same manner as the arms.
-
-
-
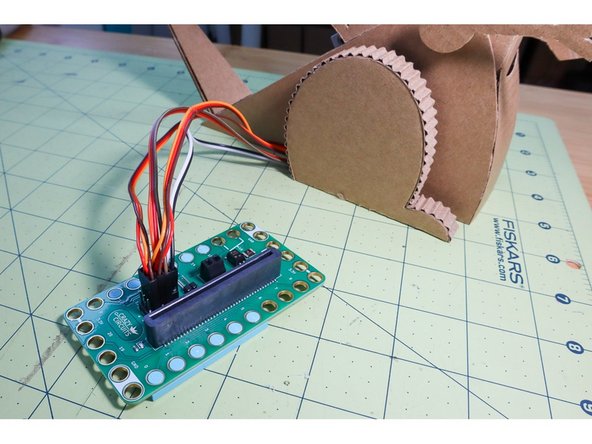
Extend the wires from the servo motor in the neck with an extension cable and double-sided header pins.
-
Create a small hole behind one of the legs to allow the wires to escape.
-
-
-
Connect the LED to - (negative) and Pin 1. (Remember, the shorter leg of the LED is negative and the longer leg is positive.)
-
Connect the servo in the neck to Pin 13.
-
Connect one wing servo to Pin 14 and the other to Pin 15 .
-
-
-
Add a button to Pin 0 using maker tape.
-
Connect a battery pack to bring your project on the go!
-
-
-
Connect a USB cable to the micro:bit and then plug it into your computer.
-
We'll be using makecode.microbit.org to program our board. It uses a simple drag and drop block interface.
-
We're going to load the following code for our MicroBit Dragon Code program: https://makecode.microbit.org/_gC73bg8mF...
-
-
-
When you press the button, the dragon will flap his wings and breath his fire - in a friendly way of course!
-
Challenge yourself to make the Dragon do more things by adding sensors or choreographing more moves!
-


Attached Documents
