
Introduction
Make your own "Gingerbread Gene" a light-up paper circuit project using two LEDs, a CR2032 battery, and some Maker Tape.
There's a full-color version as well as a black & white version that makes a great coloring activity.
You can make this project (and many more!) with our Paper Circuits Kit.
Tools
Parts
Video Overview
Featured Document
-
-
Print out the template.
-
You can choose to cut out the gingerbread person for a cleaner look, or just leave it as-is with the instructions on the page.
-
If you use the black & white version it's best to color it before you cut it out.
-
We recommend printing the file on a heavier paper like cardstock.
-
For best results cut from the front side in case your print doesn’t line up properly with the back.
-
It makes things easier if you can print double sided, but you can just print the front and use the back side as a guide to build your circuit.
-
-
-
Poke holes through the front for the LED legs. (We recommend using a safety pin, paper clip, or thumbtack.)
-
Insert the LED legs through the front, making sure the negative legs are towards the center. (The shorter LED leg is the negative one.)
-
Bend the LED legs flat against the back side.
-
-
-
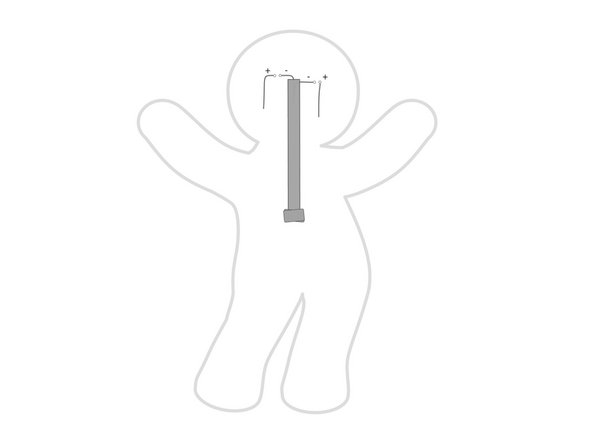
Add the center piece of Maker Tape to the LED legs. (This will connect the negative legs to the negative side of the battery.)
-
If you need to use more than one piece of Maker Tape to connect them that's fine. You can overlap Maker Tape and it will still work because it's conductive on both sides and all the way through.
-
-
-
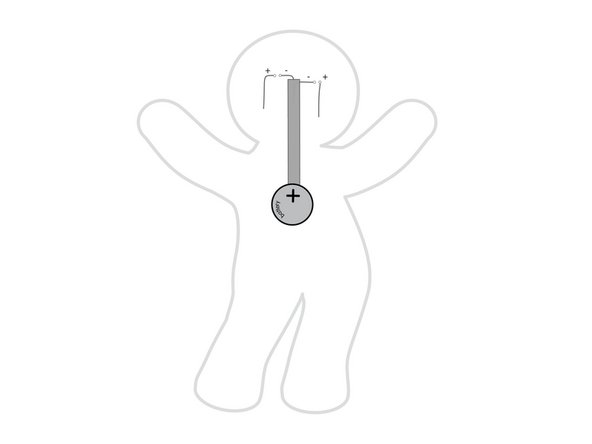
Add a tape loop to the center piece of tape, then stick the battery down to it. (Make sure you stick the negative side of the battery down.)
-
-
-
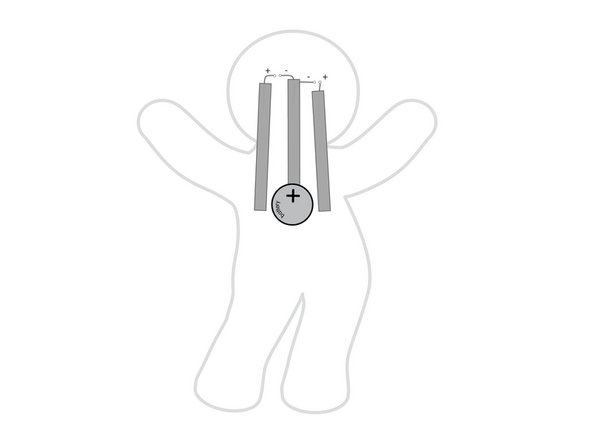
Add additional pieces of Maker Tape to connect the positive LED legs to the top of the battery.
-
Your LEDs should light up as soon as you connect the tape.)
-
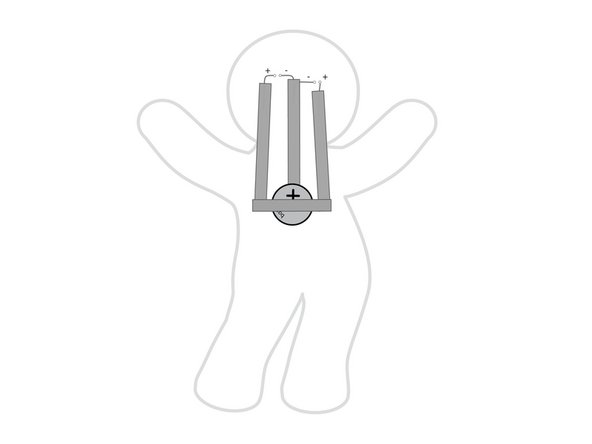
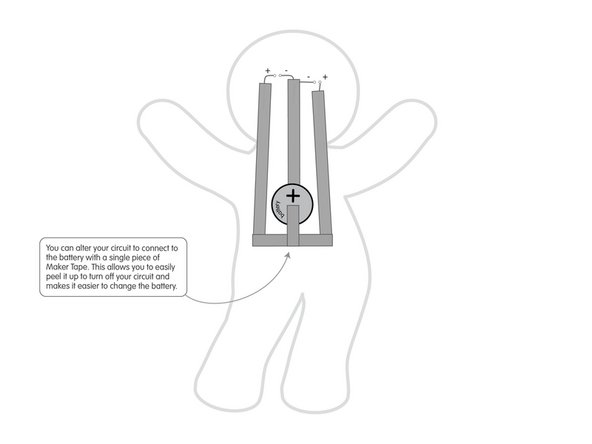
You can alter your circuit to connect to the battery with a single piece of Maker Tape. This allows you to easily peel it up to turn off your circuit and makes it easier to change the battery.
-
-
-
Enjoy your paper circuit!
-


Attached Documents
