
Introduction
Use the illustrated instructions, tombstone templates and a few Molded LEDs (see separate guide for Molded LEDs) to make a fun, outdoor, LED project.
Video Overview
Featured Document
-
-
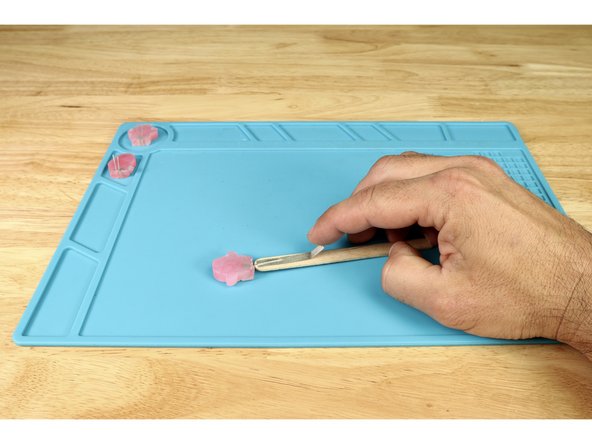
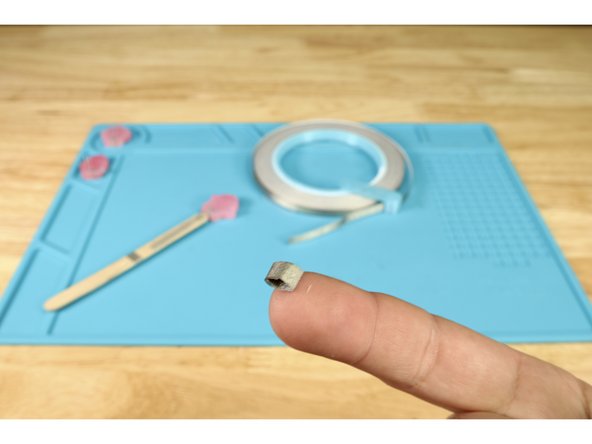
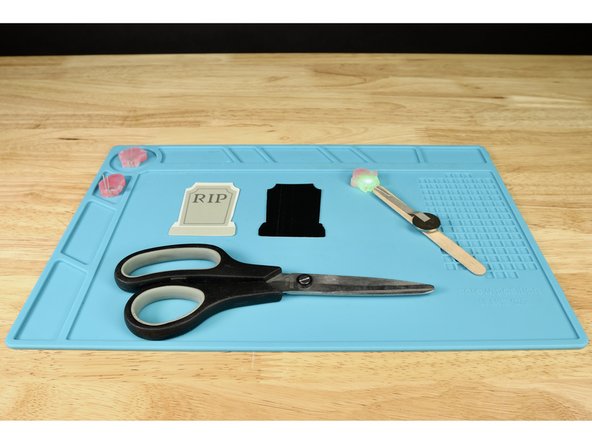
Gather tools and materials listed.
-
Print the assembly instructions and Tombstone Templates attached at the bottom of this guide.
-
NOTE: LEDs, like any light source, project their light forward and outward through the material in front of it. The material we want the light to travel through but be trapped by is hardened hot glue of a certain thickness. We must consider this when preparing our LEDs for molding.
-
Small candy molds aren't that DEEP. So, we don't want to the light to shine through from the back to the front of the mold because there will be so little hardened glue in front of the LED to trap and disperse the light. Instead we want the light to shine from the bottom of a finished object to the top as we see mocked up in photo 2.
-
-
-
Start by selecting 3-4 LEDs and arranging them in front of you with the short legs all on the right and the long legs all to the left as shown in Photo 1.
-
Now, bend the two legs of each LED in the same direction at a 90 degree angle as shown in Photo 2.
-
-
-
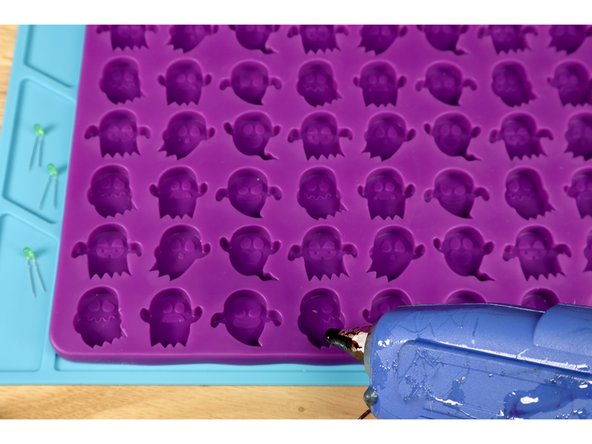
Plug your hot glue gun in and load a glue stick of choice. When the glue is hot enough to flow, squeeze a small amount into your mold cavity near what will be the bottom of the object when you pop it out of the mold as shown in photo 1 and 2.
-
Now take your LEDs with legs bent and place them atop that glue one-by-one as shown, holding each in place for 30 seconds. This allows this small amount of glue to harden BELOW the bulb (actually the front of the FINISHED object) and holds the LED in place before final filling.
-
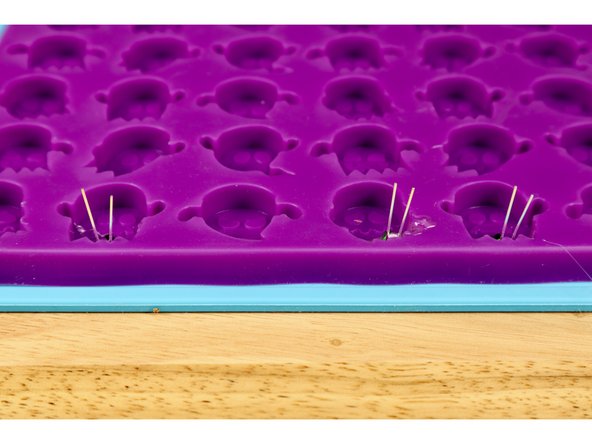
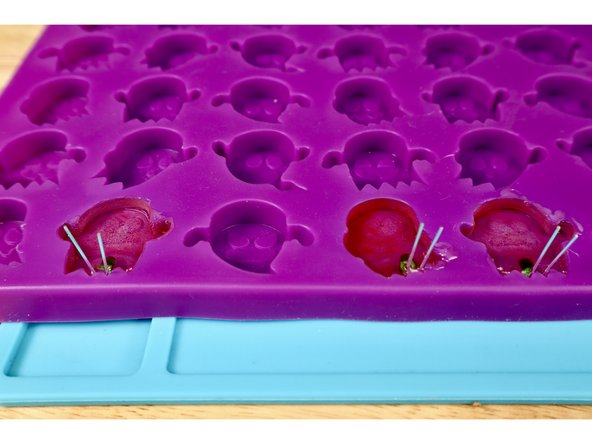
If you've done this correctly, the LED legs will be sticking straight up out of the mold while the LED bulbs have glue below them; bulb tips pointed toward the ghosts' heads.
-
-
-
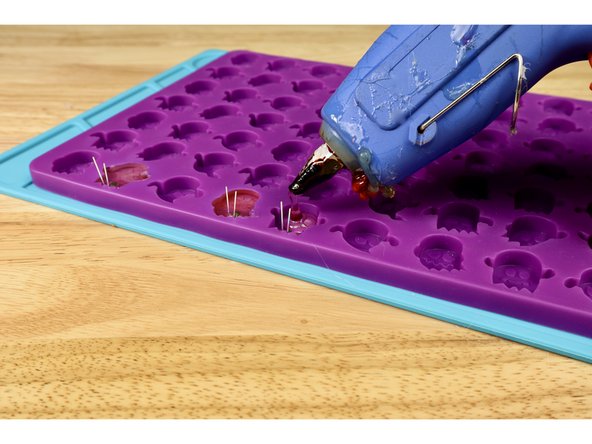
Now, with the lower portion of glue hardened, squeeze glue into the each of the mold cavities until they are filled to the top.
-
Set the mold tray aside and allow for the glue to harden. If you want to speed this part up, simply place the tray on a flat surface in your refrigerator.
-
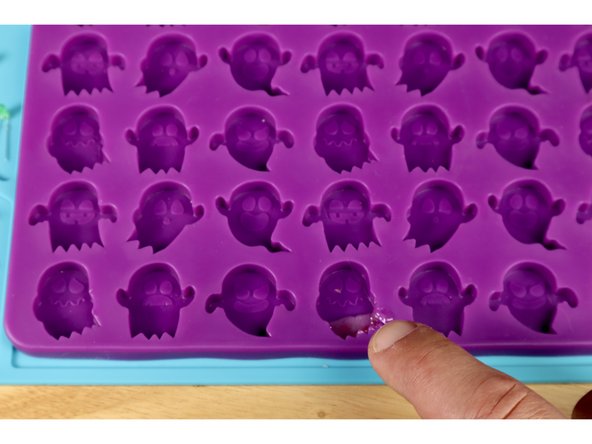
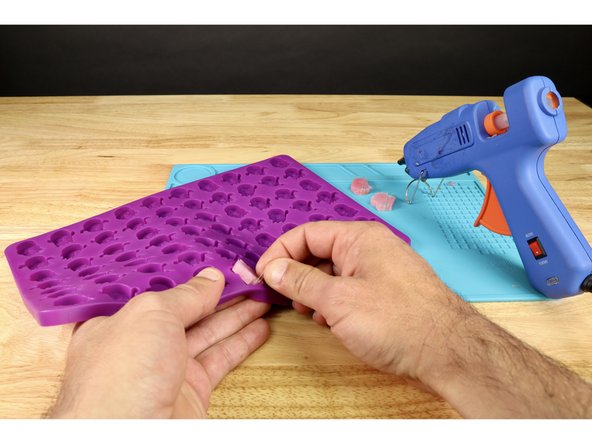
When the glue has hardened, pop those LED ghosts, skulls and/or pumpkins out of the mold.
-
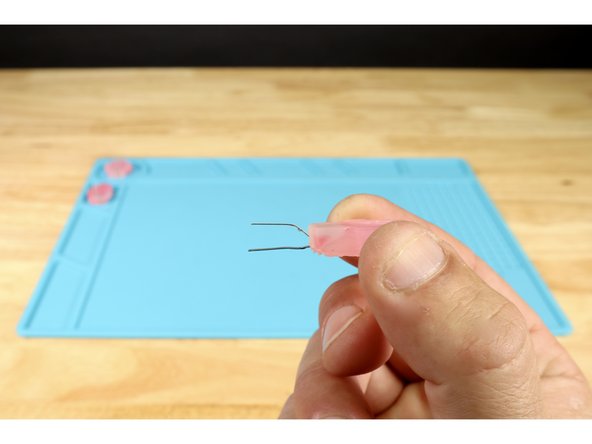
Optional: Use a fine tipped black permanent marker to color in the recessed details!
-
-
-
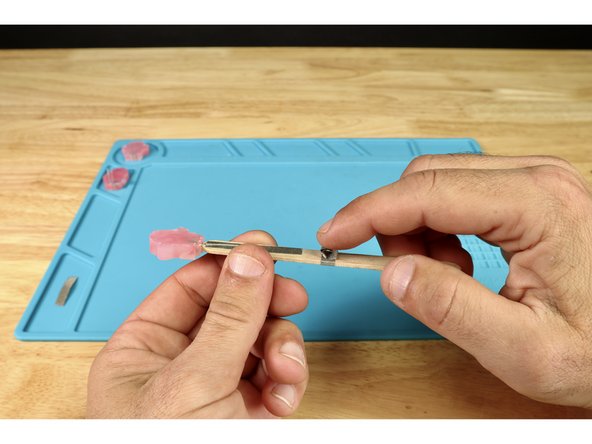
Bend the LED legs as shown in photo 1 so the short negative leg is oriented forward and the longer positive leg is behind it.
-
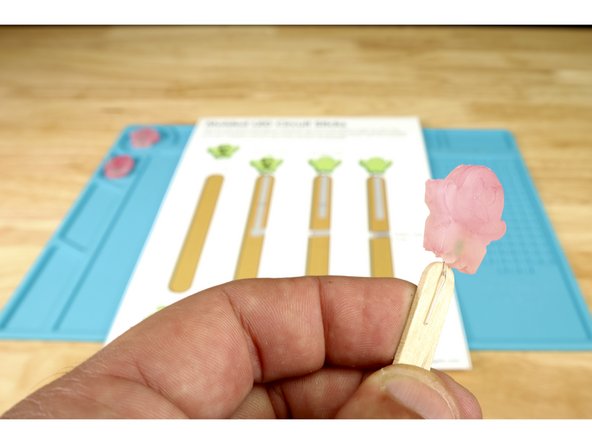
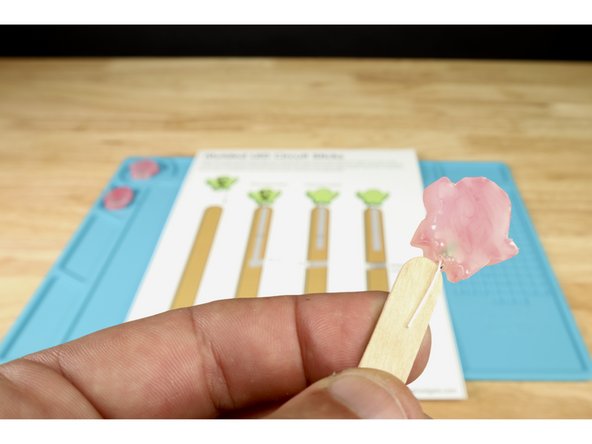
Place the LED over the end of your popsicle stick so that the short positive leg is in front (photo 2) and the long positive leg is on the opposite side of the stick (photo 3).
-
-
-
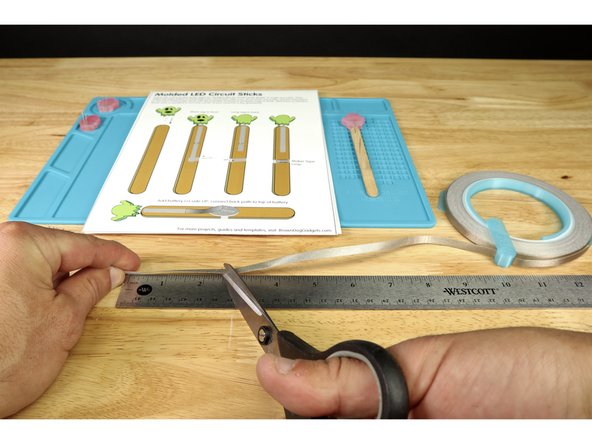
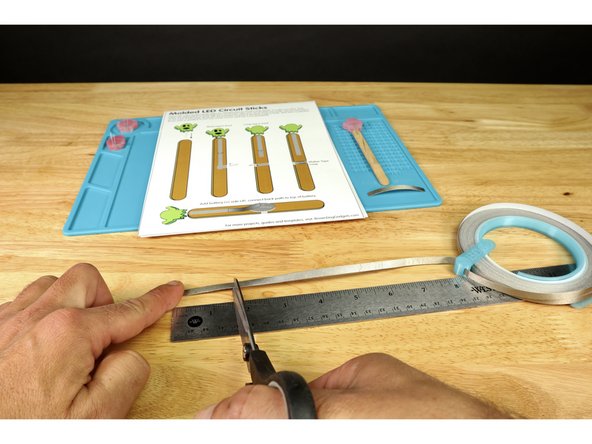
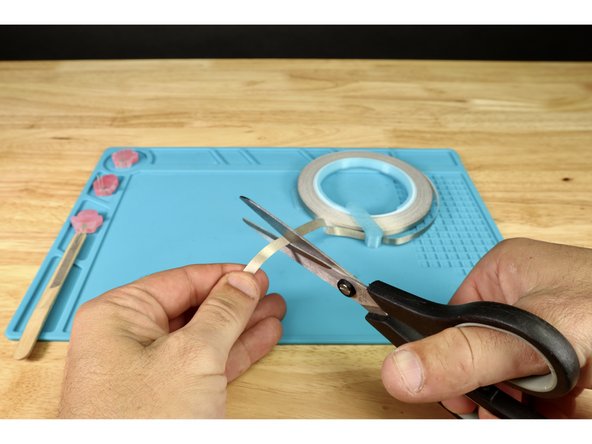
Cut two pieces of Maker Tape: 1 that is 2.5" long and another that is 1.5" long.
-
-
-
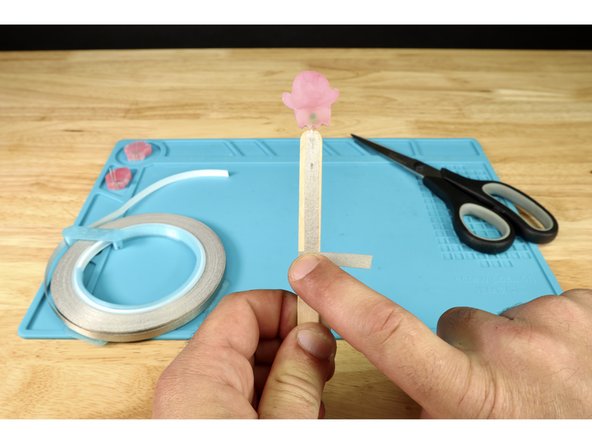
Peel and stick the longer tape path atop the short negative leg.
-
Peel and stick the shorter tape path atop the long positive leg on the opposite side.
-
-
-
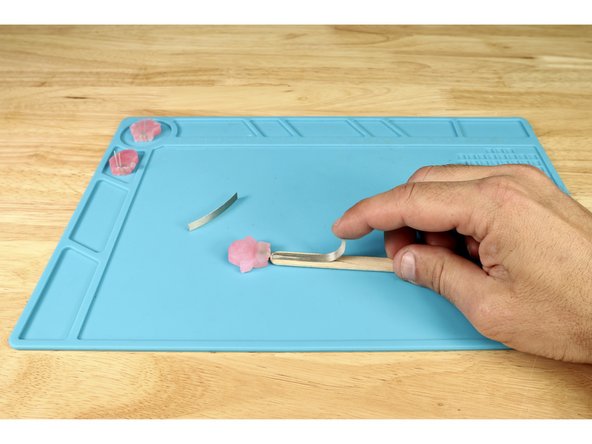
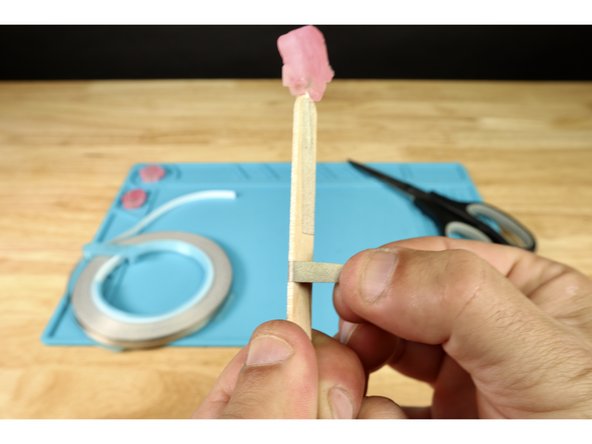
Cut another short piece of Maker Tape as shown and wrap it from the end of the front path, around to the opposite side of the stick as shown.
-
Trim any excess that hangs off the edge.
-
-
-
Cut another small piece of Maker Tape and turn it into a tape loop.
-
Stick that tape loop where shown in photo 2. This should be atop the last path you wrapped from front to back.
-
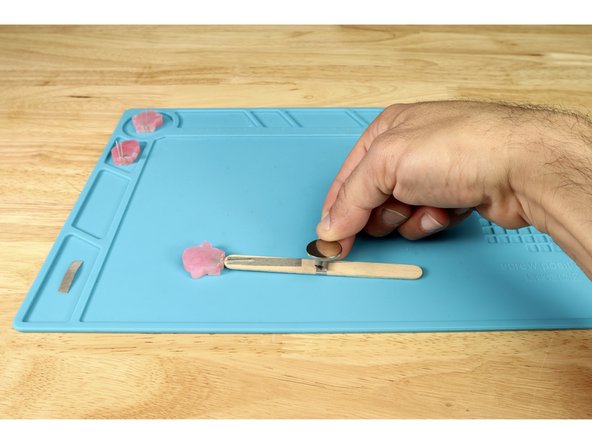
Now, stick the battery atop the tape loop so that the positive (+) side is facing UP.
-
-
-
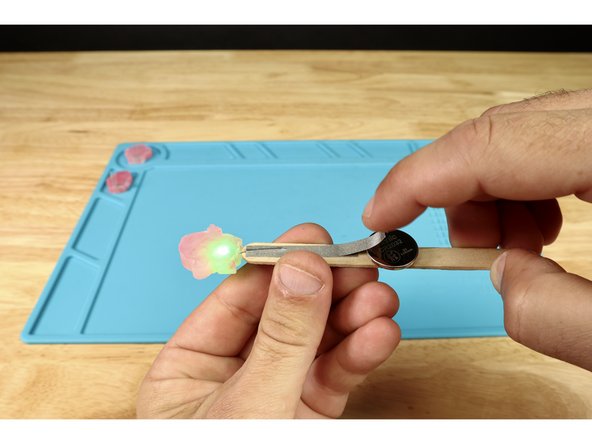
Cut one FINAL piece of Maker Tape and connect it to both the existing path from the longer positive LED leg AND the top of the battery. Your project should light-up when you do!
-
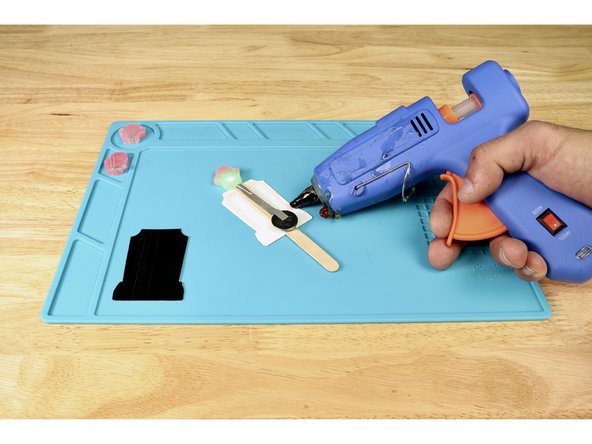
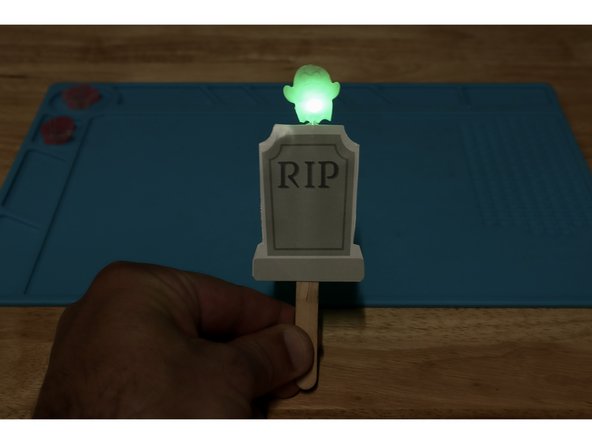
Cut out a tombstone and its corresponding silhouette from the template page you printed at the beginning.
-
-
-
Flip the graphic version of the tombstone face down and lay your working circuit stick on top/centered as shown. The ghost should be above the top of the tombstone while the rest is below that line on top of paper.
-
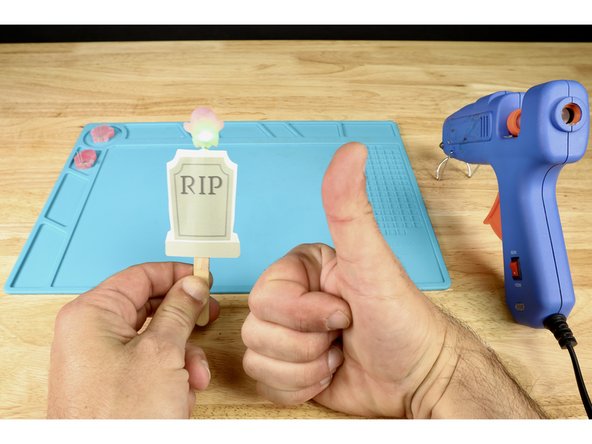
Squeeze hot glue where shown in photo 1.
-
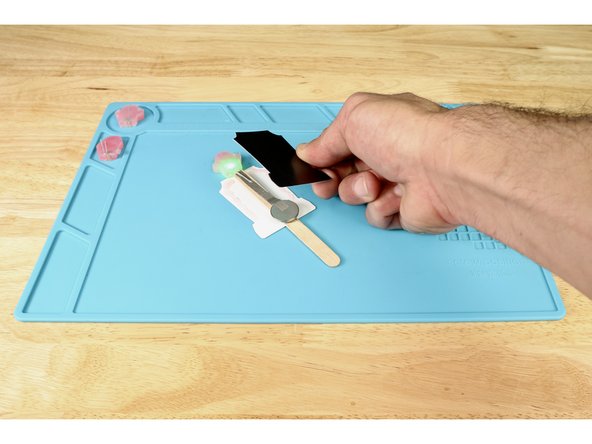
Place the silhouette on top so the circuitry is sandwiched between the two pieces of paper.
-
You're all done with this first one. Now, make a few more so you can create an awesome spooky scene!
-
-
-
Arrange in a flower pot, planter of garden to create the mini graveyard of your dreams!
-


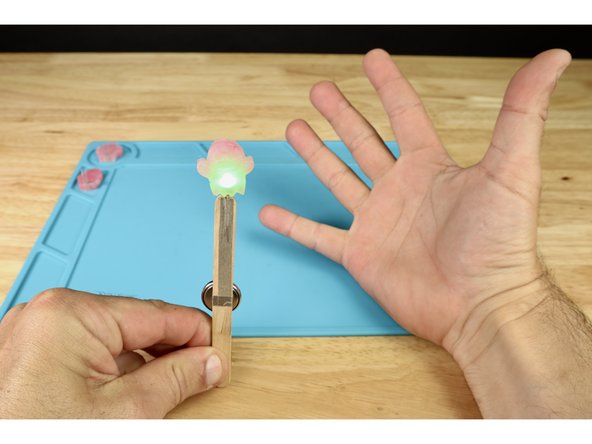
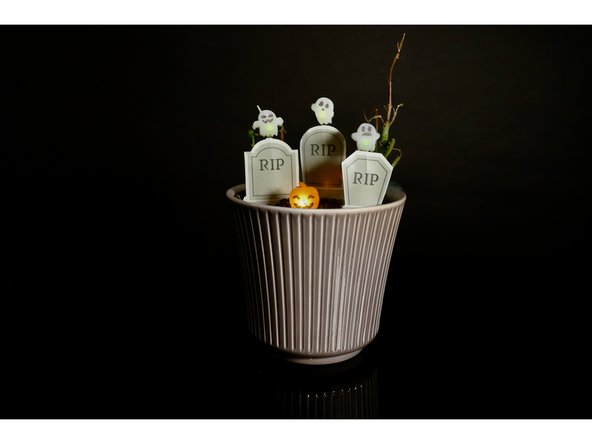
Stick them in planters, flower pots or gardens to create a tiny, spooky light-up graveyard scene!
Stick them in planters, flower pots or gardens to create a tiny, spooky light-up graveyard scene!