
Introduction
You don't need an EKG machine to find out your heart rate, you just need a Crazy Circuits board and a simple Pulse Sensor. We took this project even further and sewed this project onto a shirt so that everyone can see how out of shape we are.
Video Overview
Featured Document
-
-
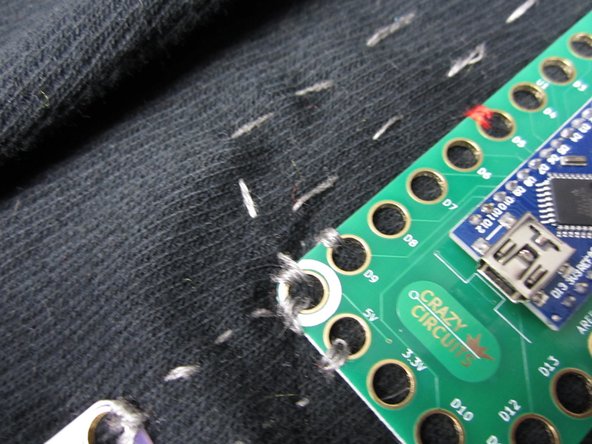
It helps to sew down your parts before connecting things with conductive thread.
-
Start with the Robotics or Invention Board, add in the Screw Terminal, then the 3 Pin Header, and lastly the LED.
-
Make sure you're using REGULAR thread, not Conductive Thread.
-
-
-
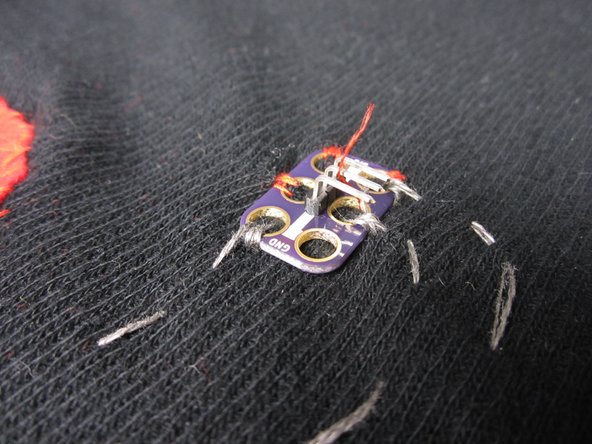
If you're going to power this project off a USB power source, you can skip this part. Since we're using a 3 AAA holder to power our project we need to add in the Screw Terminal Chip.
-
Connect the white Negative hole on the Screw Terminal to the white Negative hole on the Robotics Board.
-
Connect the Positive Side of the Screw Terminal to the 5V hole on the Robotics Board.
-
We always test out our connections with a multimeter when sewing. When in doubt, do extra tight loops around the connection holes.
-
-
-
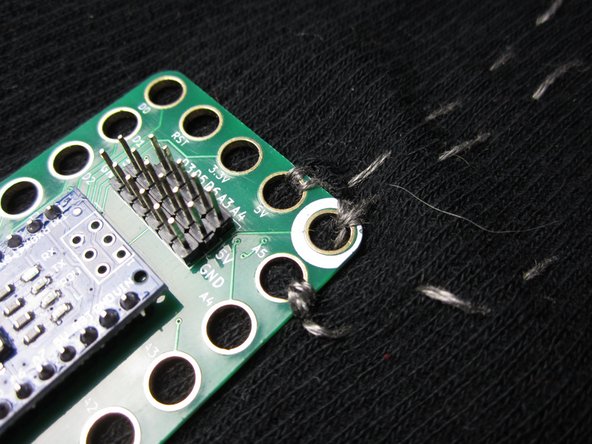
Connect the 3 Pin Header to your Robotics Board.
-
We connected the 5V, Ground (Negative) and A5 pins. It doesn't matter which holes on the Header you connect to, as long as you're not crossing lines of thread. That would cause shorts.
-
-
-
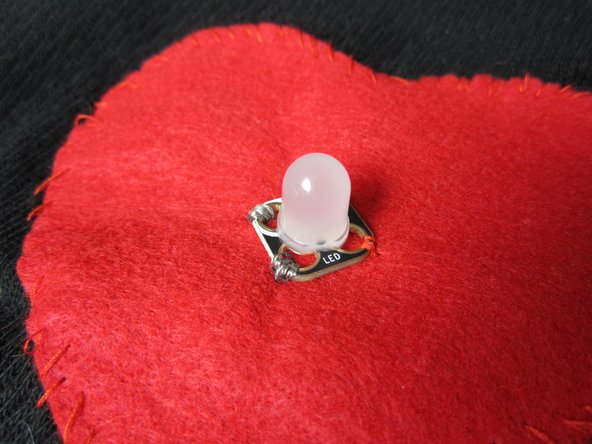
Connect D9 to the Positive side of the LED, and connect the Negative side to Ground.
-
We added a fabric heart into the mix because we're fun people.
-
-
-
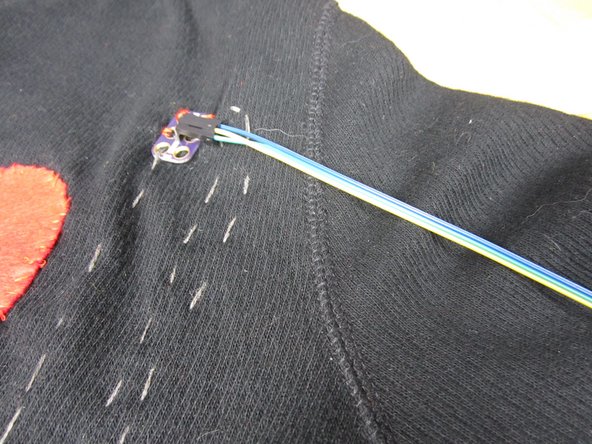
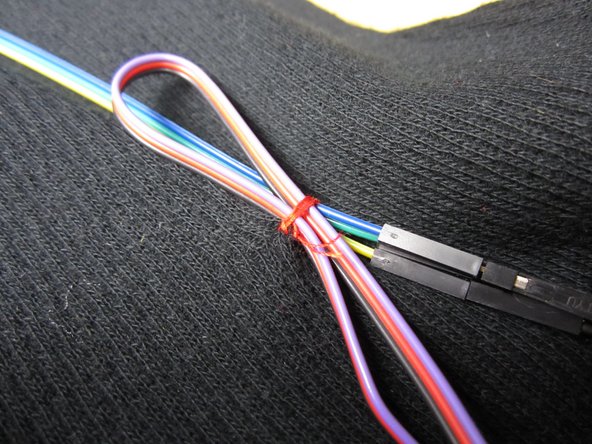
In order to go from the Male Pins of the Pulse Sensor to the Male pins of the Three Pin Header we uses a Female to Female jumper cable.
-
When you hook things up make sure you connect the Purple Signal wire to A5, and then the Positive and Negative. This can get slightly confusing if you're using different colored extension cables.
-
We sewed down the wires a bit to hold them all in place.
-
-
-
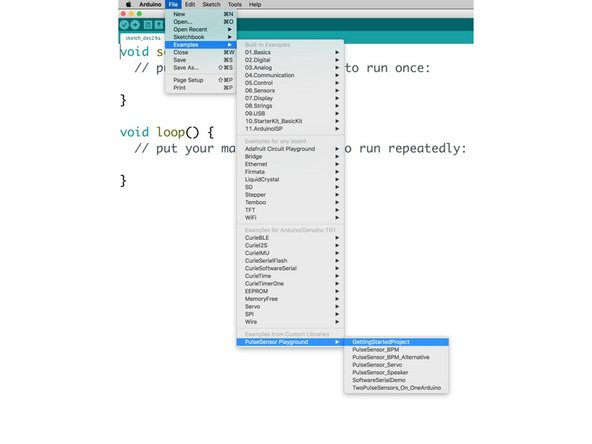
Follow the directions on http://PulseSensor.com. Connect your Robotics Board to your computer and download the Basic Code from the PulseSensor Website in order to install the Arduino Libraries. If you've not done so before, review our guide on how to use the Crazy Circuits Robotics Board.
-
Connect your Robotics Board to your computer and download the Basic Code from the PulseSensor website.
-
Change the Pulse Sensor input to Pin 5, and the LED output to Pin 9. (Or whatever pins you used.)
-
-
-
Add in your 3 AAA battery holder.
-
Sew a Pocket around the Robotics Board and the Battery holder.
-
3AAA or 3AA both work just fine, as long as they're STANDARD batteries. Rechargeable batteries how a slightly lover voltage and may not work.
-


Attached Documents
