Introduction
Use this downloadable template, some common LEGO bricks and our Crazy Circuits components to create this colorful, light-up bracelet. No sewing required!
Video Overview
Featured Document
-
-
Gather materials listed and print out bracelet template on heavy card stock.
-
Cut template out with a scissors.
-
Use a hole punch to carefully punch out the holes indicated on the template. There are many of them and they all need to be done accurately to accommodate the LEGO bricks and plates. TAKE YOUR TIME!
-
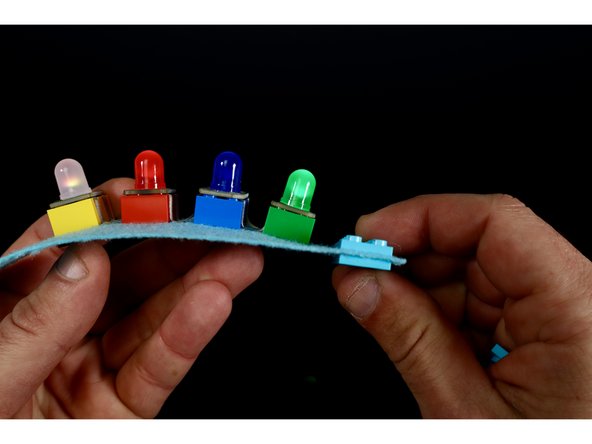
Wrap this paper template around your wrist to test fit. Take note of which of the three 2x4 rectangles on the end produces the bracelet size needed when matched up with the 2x4 rectangle on the opposite end.
-
Use this rigid, card stock version as a tracing template to transfer the outline and hole positions accurately to your chosen felt. We know this seems like double the work. However, laying an unpunched template over felt and cutting and punching through both will likely cause some inaccuracy in your resulting felt version.
-
With the bracelet outline AND all holes traced onto your felt, cut and punch just as you had in order to prepare the original tracing template.
-
-
-
Press plates and bricks into place for all punched areas except for the ones on the two ends. Each punched area will have a plate on the back/wrist side connected to either a plate or brick on the opposite side so that the studs face outward. The bracelet template will be sandwiched in between.
-
-
-
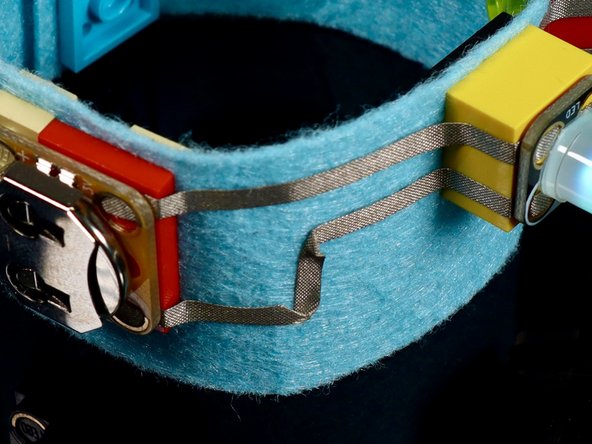
Use the tape paths portion of the circuit diagram to guide you as you measure, cut, peel and stick the needed tape paths atop your project.
-
Take care to press a given tape path leading from a LEGO stud down the side wall of that LEGO brick, then to the felt and up the next sidewall of the neighboring brick when completing each path segment. This will ensure that the Maker Tape doesn't pull up when the flat bracelet is wrapped around wrist into its circular shape.
-
-
-
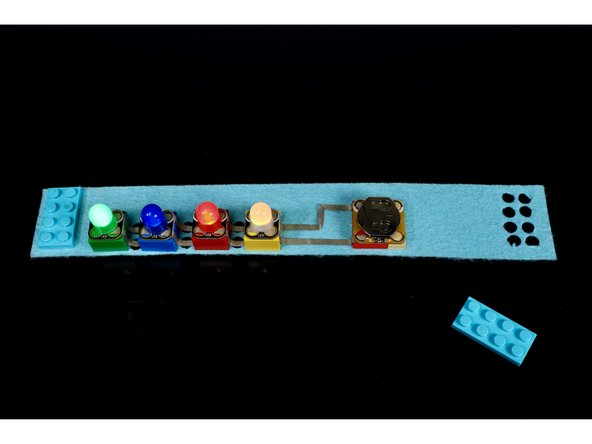
Using the circuit diagram as reference, press the Crazy Circuits components into place atop the bricks as shown.
-
Take care to orient the white and black holes of each part exactly as pictured.
-
-
-
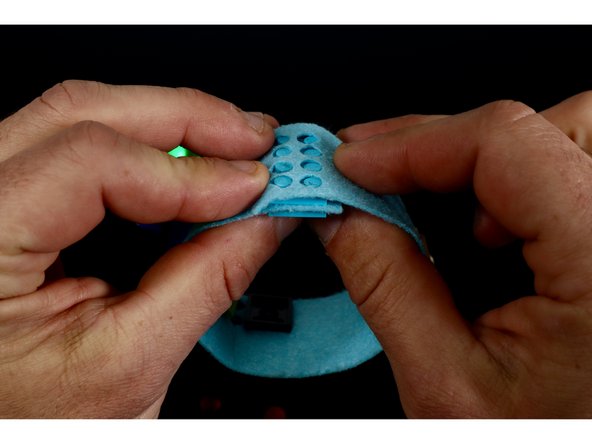
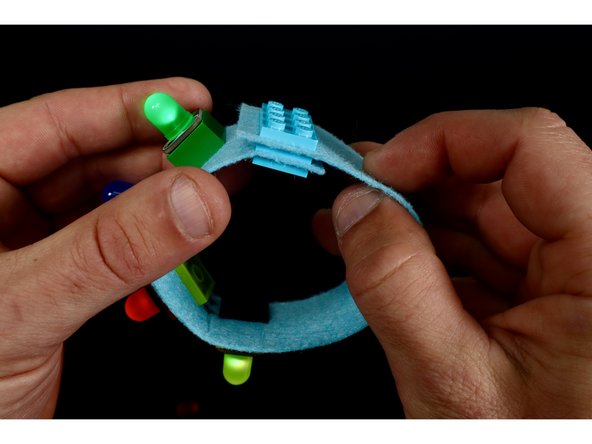
To create the LEGO clasp/closure. You will need to focus attention on those last two punched rectangles at the opposite ends of your bracelet.
-