
Introduction
Create a fun light-up card for Valentine's Day. Just add an LED, a CR2032 battery, and some Maker Tape.
Parts
Video Overview
Featured Document
-
-
In general build this project in this order:
-
Print out the full-color card, or print out the black and white card, and color/decorate as desired.
-
Poke holes through front for LED legs, then push legs through front.
-
On inside of card, bend legs down flat against paper.
-
Add Maker Tape and battery to complete your circuit.
-
Note: If you prefer more detailed instructions then keep reading!
-
-
-
You will need scissors to cut the Maker Tape. It's a strong nylon tape that you can't just rip with your bare hands, so you need to cut it. It does have a backing so you can cut a bunch of strips and hand them out to others who are also making cards.
-
The safety pin will be used to pole holes for the LED legs to go through. If you don't have a safety pin a paper clip can also work.
-
-
-
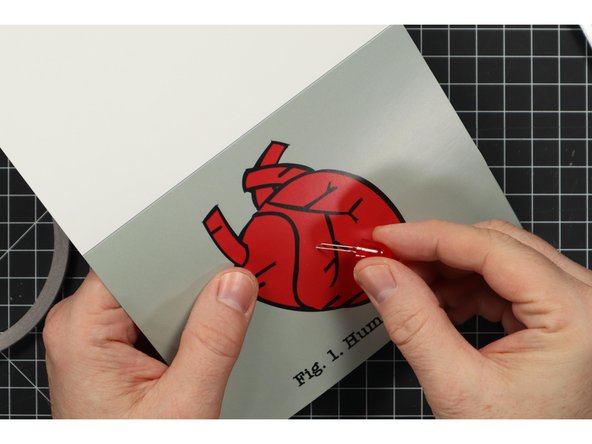
Use the safety pin (or paper clip) to poke holes through the front of the card.
-
Check the inside of the card. If things don't line up perfectly, that's okay.
-
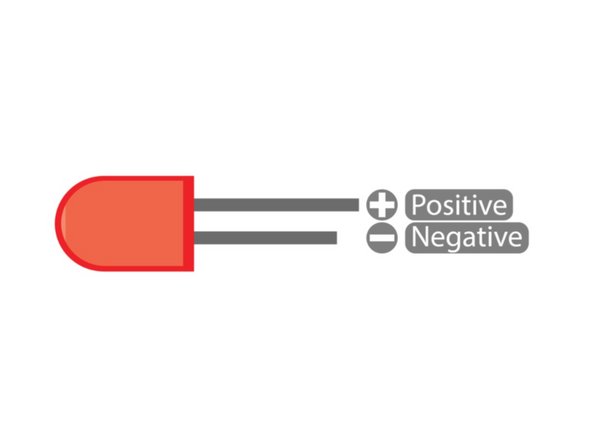
Make note of the polarity of the LED. The longer leg is positive, and the shorter leg is negative.
-
-
-
Insert the LED legs through the front of the card.
-
Push it in until it's flush against the surface of the paper.
-
-
-
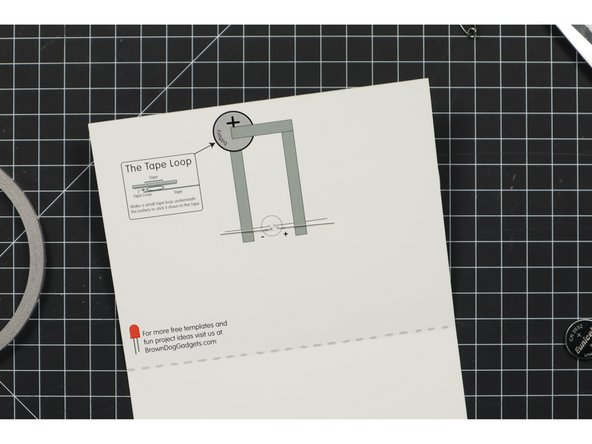
On the inside of the card, bend the LED legs down so they are flat against the surface of the paper.
-
Make sure the longer one is on the positive side. (It's marked with a + plus sign.)
-
-
-
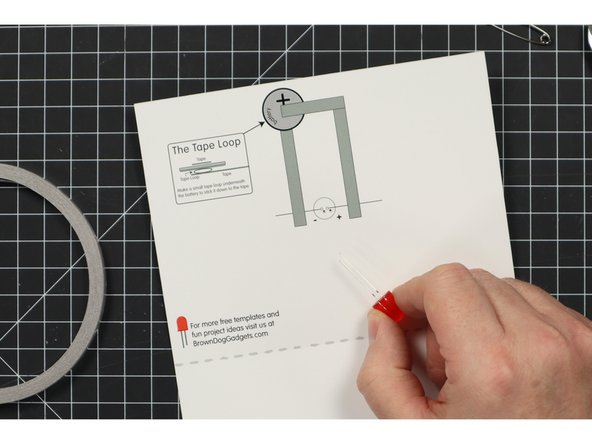
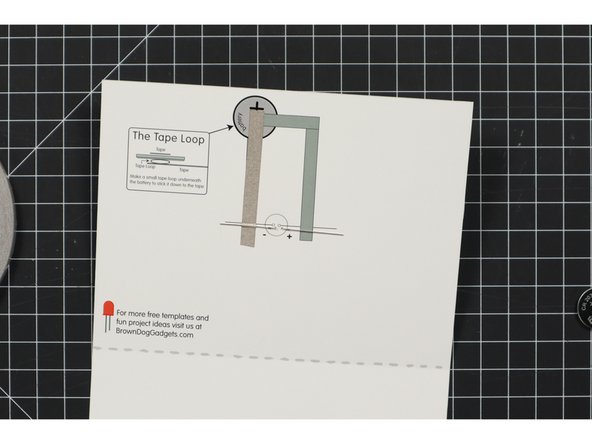
Add a strip of Maker Tape that goes over the negative LED leg and covers about half of the illustration of the battery.
-
-
-
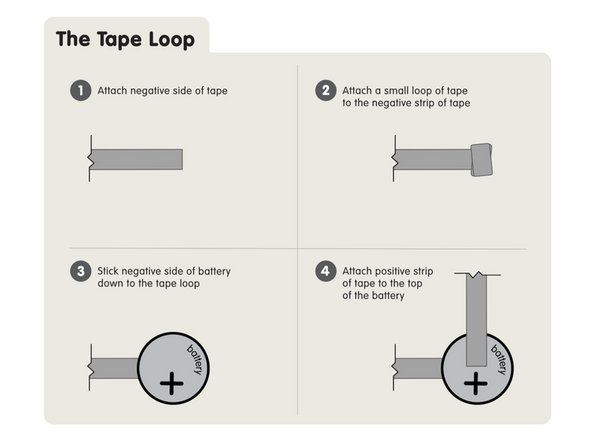
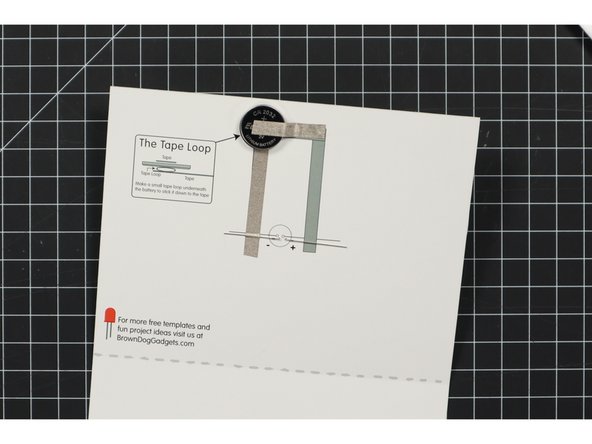
We use a "tape loop" which is just a small piece of Maker Tape rolled into a loop, and stuck down to the negative side of the circuit.
-
The great thing about Maker Tape is that you can stick a battery right to it, and you can easily remove and replace the battery if you need to.
-
-
-
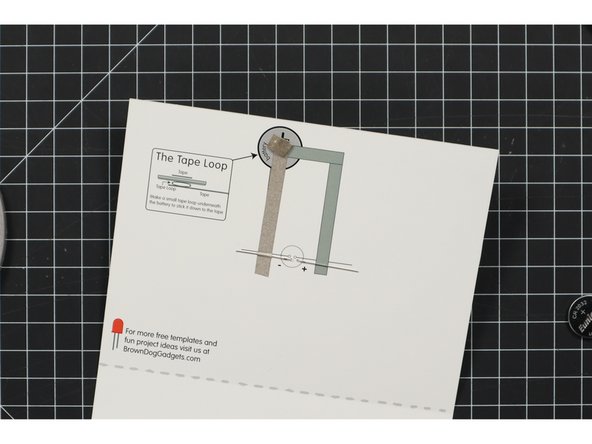
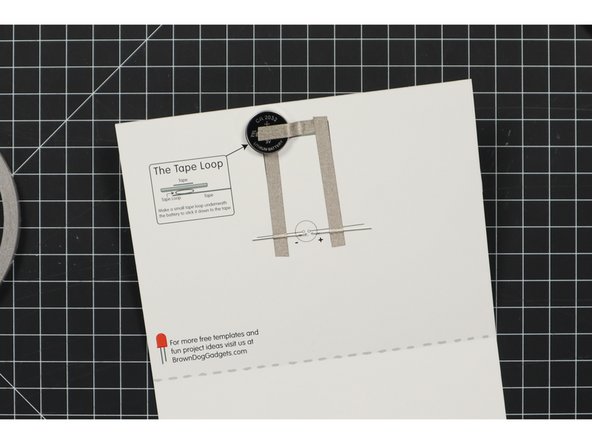
Once you've got your tape loop in place stick the battery to it, negative side down.
-
Hey, we've completed the negative side of the circuit!
-
Did you stick your battery down the wrong way? No big deal, just peel it off the tape and flip it over.
-
-
-
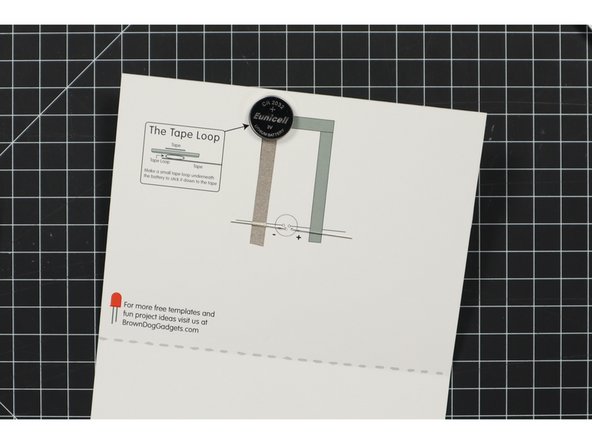
Stick a piece of Maker Tape on top of the battery and run it to the side.
-
Add another piece overlapping it and then running to the positive LED leg.
-
If you ever have a piece of Maker Tape that is too short, just add another piece and overlap it. It will conduct just fine.
-
While this circuit does not have an "on/off" switch, you can easily turn it off by just peeling the piece of tape off the top of the battery, or by just pulling the battery up and away from the tape loop. Either will "break" the circuit but still allow you to stick it back together to turn it on again.
-
-
-
Once you've got the hang of making a paper circuits card it's pretty easy, and you can start designing your own.
-


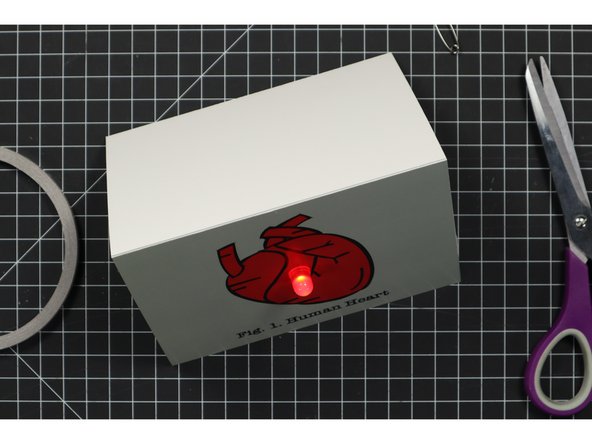
Enjoy your card!
Enjoy your card!
Attached Documents
