Introduction
This project uses a Crazy Circuits Invention Board to change the pattern of 5 LEDs on the shirt. While the project isn't technically difficult, the amount of sewing involved makes this a difficult project. If you've never sewn before, we'd recommend you practice on other projects first.
Video Overview
-
-
Overall, wiring is simple. Five LEDs hooked up to specific pins, and utilizing a common Ground.
-
Pin 15 is connected to a Conductive Thread lattice that is sewn into the NASA Letters. This serves as the interactive Touch Point.
-
We're using a 3 AA holder hooked up to the Screw Terminal Chip to power the shirt when it's being worn.
-
If you're unhappy with what pins we're using as outputs, you can always change that in the code later on. Just make sure you're using PWM pins.
-
-
-
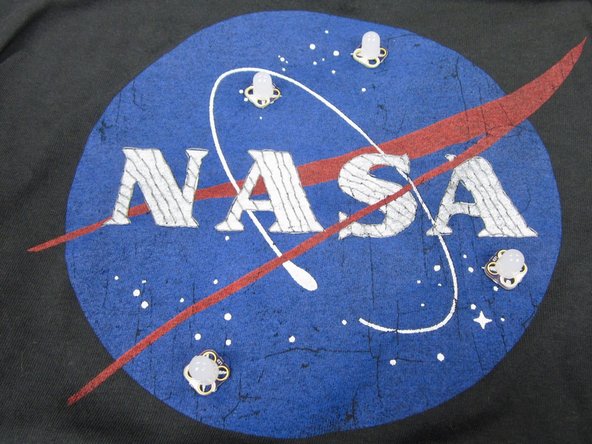
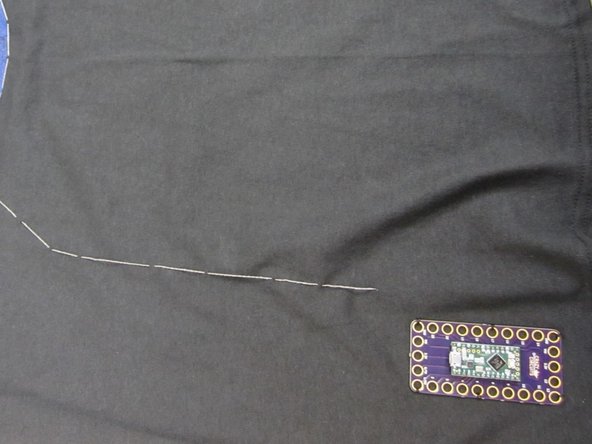
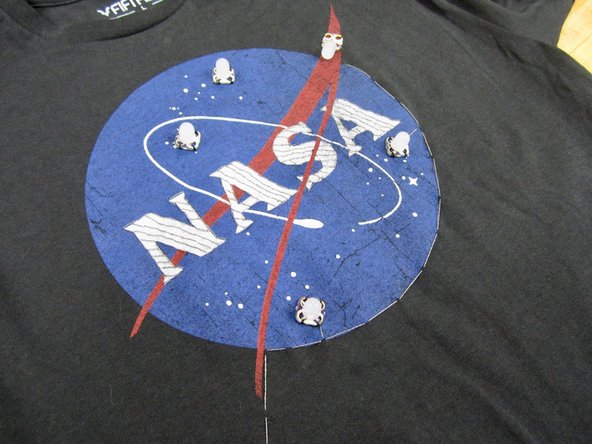
Lay your parts out on your shirt. Make sure your LEDs are where you want them.
-
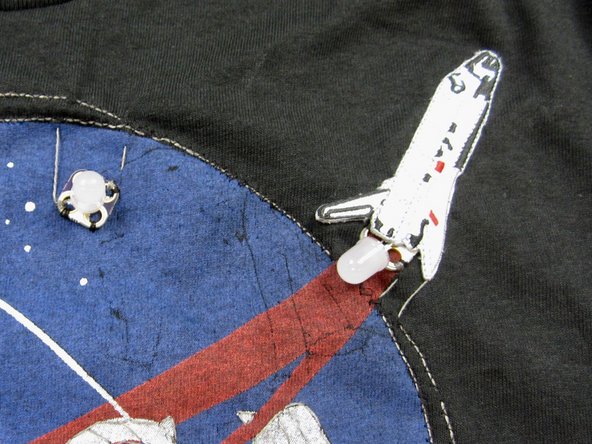
The Space Shuttle patch and LED is optional. The code we're using utilizes that LED, but leaving it out is just fine.
-
-
-
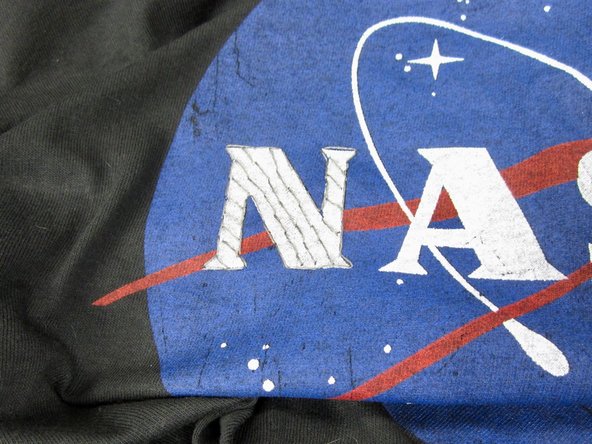
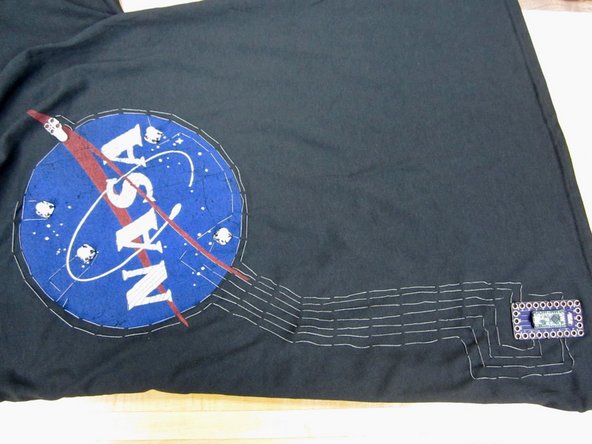
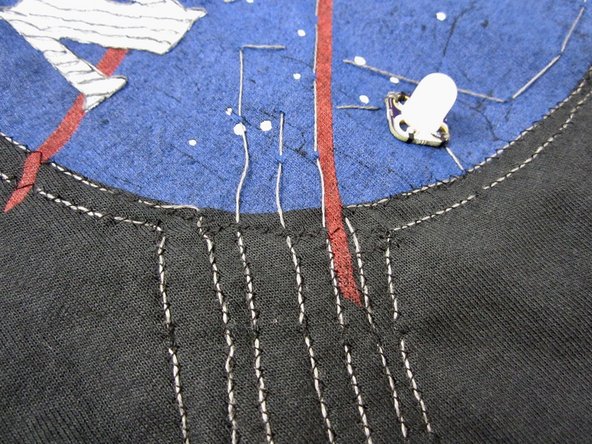
The NASA letters are going to be our Touch Point, but we need to fill them in first.
-
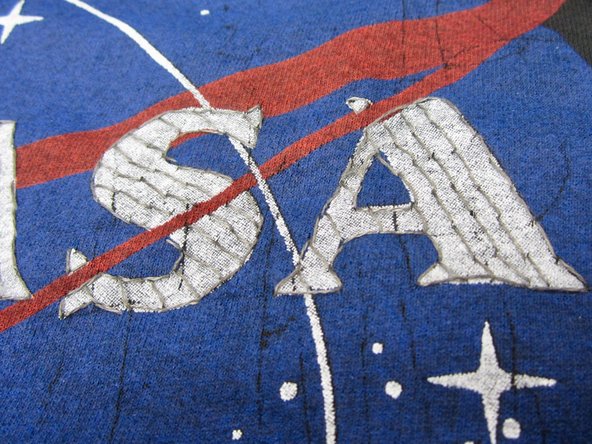
Sew a grid or lattice over one or all letters.
-
If you can, use a single strand of Conductive Thread for all the letter. Otherwise connect them with Conductive Thread. We need to make them a single connected Touch Point.
-
-
-
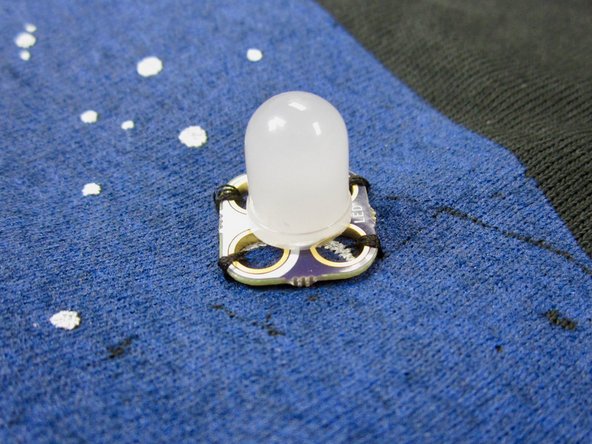
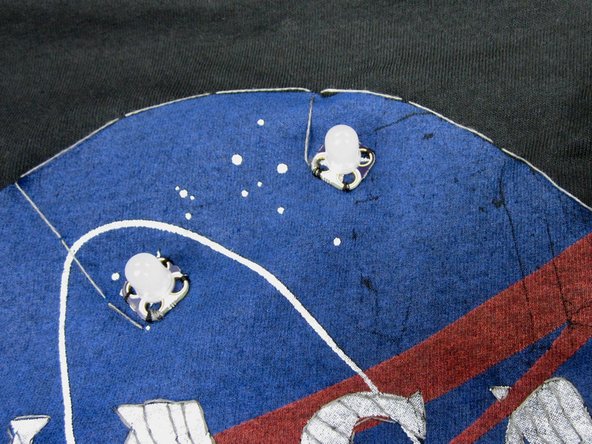
Use standard thread to sew the LEDs down.
-
Treat them like a button.
-
We're using some standard black thread. You can use any color as long as it isn't conductive.
-
-
-
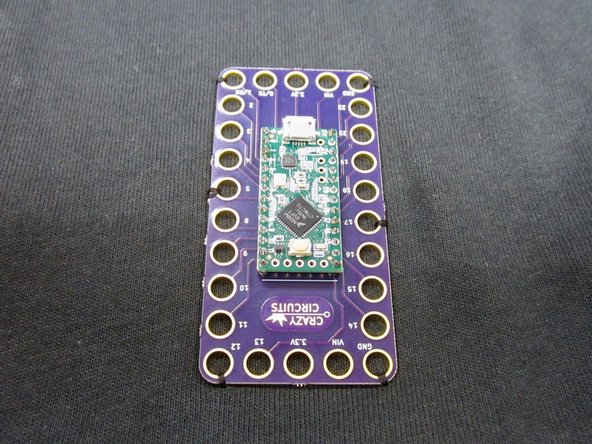
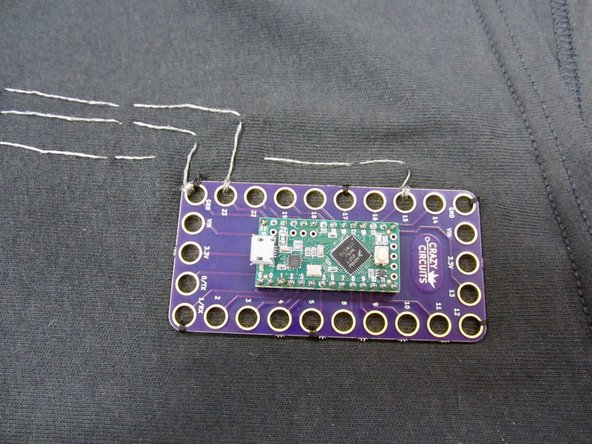
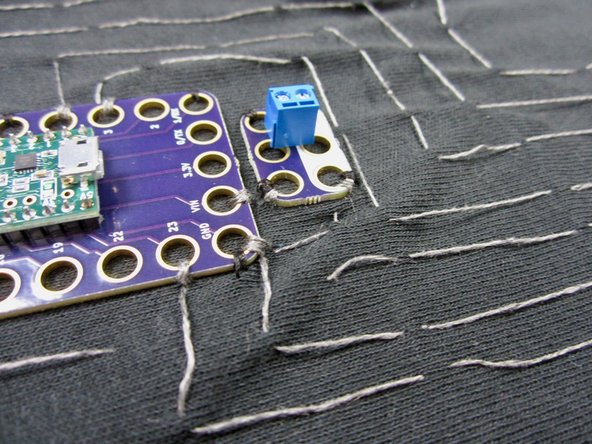
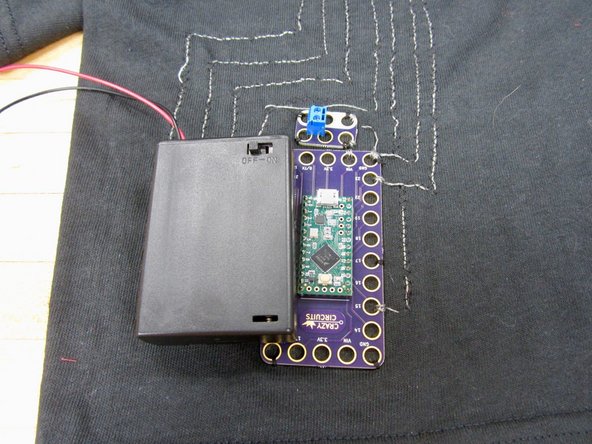
Lay out the Invention Board and Screw terminal.
-
Sew down the Invention Board with regular thread.
-
Try and not use the same holes you're going to use with the Conductive Thread.
-
-
-
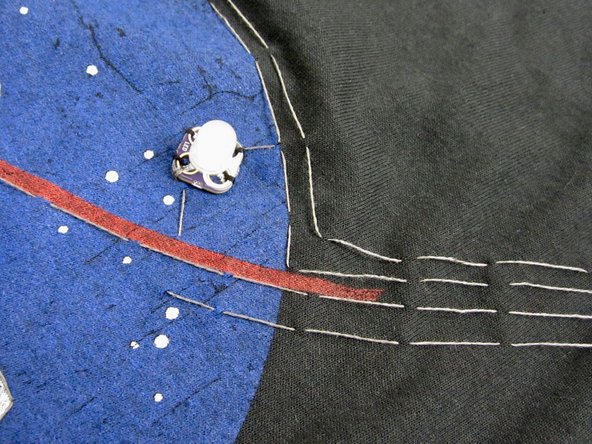
Start with the Ground pin on the Invention Board and sew your common ground.
-
We sewed one solid line of Conductive Thread around the NASA logo, with it ending on the furthest out LED.
-
We then connected each LED to the common ground with a another line of thread.
-
Remember, in Crazy Circuits the holes with white around them are Negative (Ground).
-
-
-
Reference the diagram to see which pins we're using for which LEDs.
-
It doesn't matter HOW you get to the Positive side of each LED, as long as you don't cross any "wires". AKA The Conductive Thread.
-
With Conductive Thread, remember that you have two layers of shirt to work with, which is useful for jumping under or over other lines of thread.
-
-
-
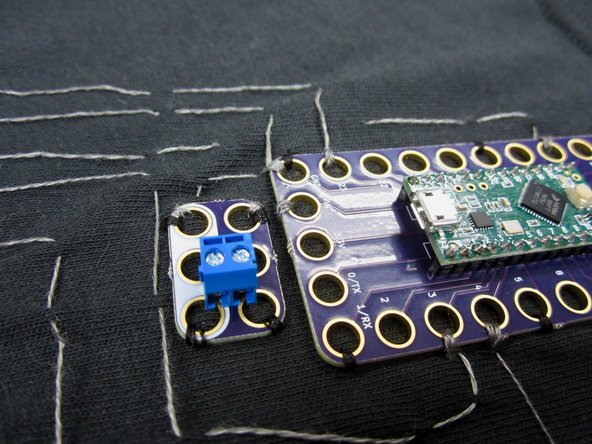
Sew the Screw Terminal Chip down with regular thread.
-
Connect the Positive to the 5V (VIN) pin on the Invention Board, and the Negative side to the Ground pin on the Invention Board.
-
Feel free to attach your AA or AAA Battery Holder to see if your connection is strong. While we've not uploaded code yet, an LED on the Invention Board should turn on.
-
-
-
You may wish to save this step until after you've coded and tested everything.
-
Using a sewing machine and regular thread to secure down your Conductive Thread lines.
-
We used a zig zag pattern.
-
-
-
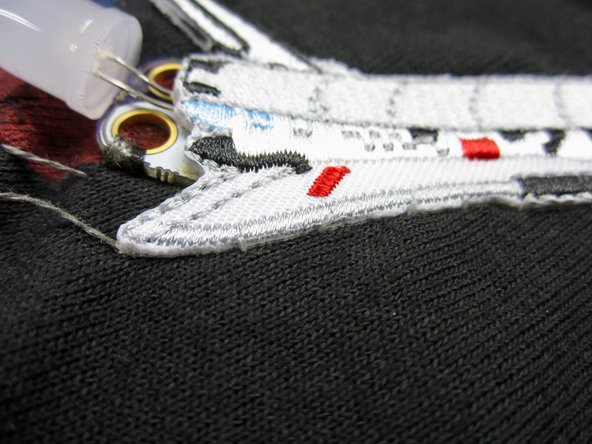
If you're using a Shuttle patch, sew it on now using regular thread.
-
-
-
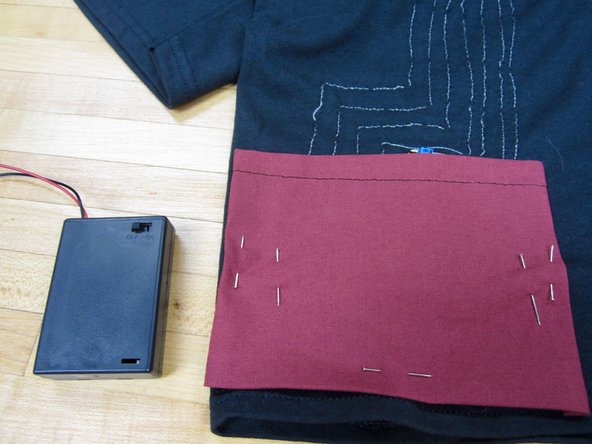
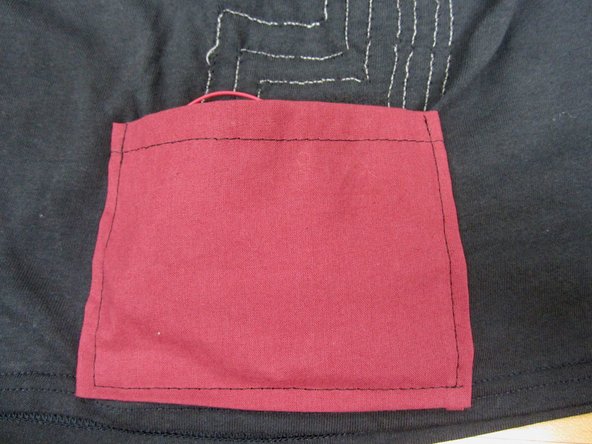
Cut a piece of fabric out and pin it to your shirt.
-
Sew it down using regular thread.
-
Just make sure it fits your battery holder.
-
-
-
If you've never used a Invention Board before, try practicing uploading code and reviewing the Invention Board Setup and Use Guide.
-
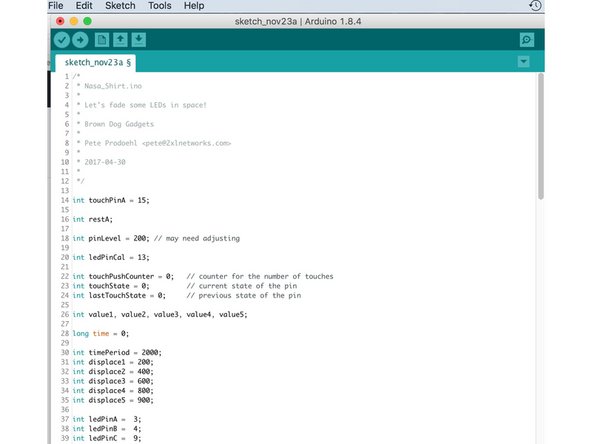
Plug in your Invention Board and open up the Arduino Software.
-
Open up a new project window. Copy and Paste this code into the project window.
-
Upload the code and see if it works.
-
The "Shuttle" LED will turn on and fade automatically. When a user touches the Touch Point all the LEDs will start to fade.
-
When the program turns on, it needs 3-5 seconds to Calibrate the Touch Point. During that time an LED on the Invention Board will turn on. When Calibration is finished that LED turns off.
-
-
-
When doing any testing, make sure your shirt is spread out. A dummy body or cardboard insert will help out greatly.
-
Don't feel that you need to do amazing stitch work with the Conductive Thread. Do large stitches and then secure them down later.
-
When in doubt, post questions to the forums.
-