
Introduction
This paper craft flower is a simple way to jazz up any fancy occasion.
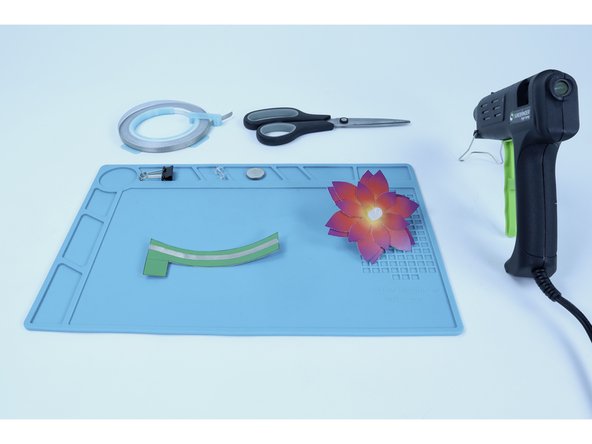
You'll need an LED, a CR2032 battery, a binder clip, and some Maker Tape.
Choose from a full-color version or a black & white version that makes a great coloring activity. You can also make it using colorful construction paper.
You can make this project (and many more!) with our Paper Circuits Kit.
Video Overview
Featured Document
-
-
Gather the materials listed.
-
Cut out the petals, stem and leaves.
-
Color if you wish OR use one of the already colored printable versions included in the PDF at the bottom of this guide.
-
-
-
Line your petals up how you want them to be arranged in relation to one another.
-
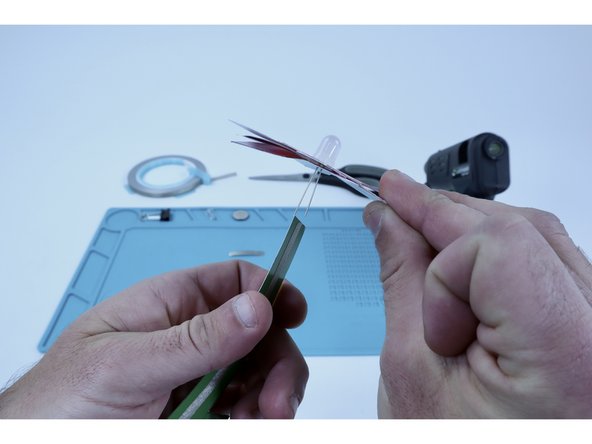
Use a push pin or paperclip point to punch two small holes next to one another in the center all the way through the petals.
-
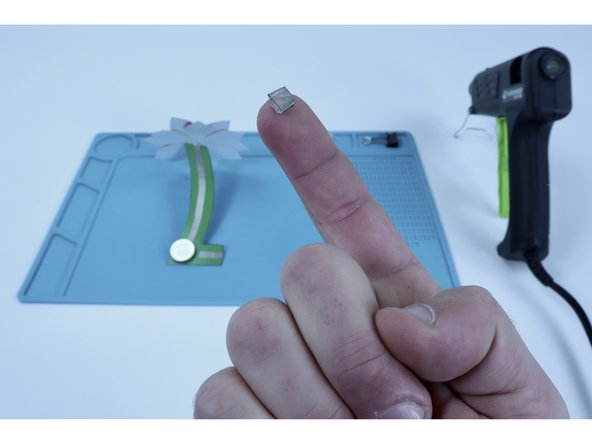
Thread the LED legs through the holes of all petals.
-
-
-
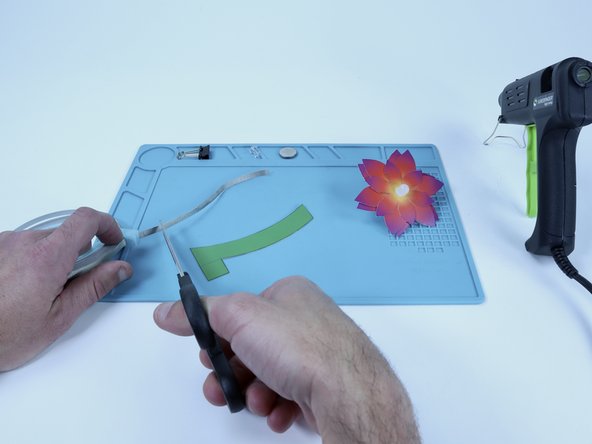
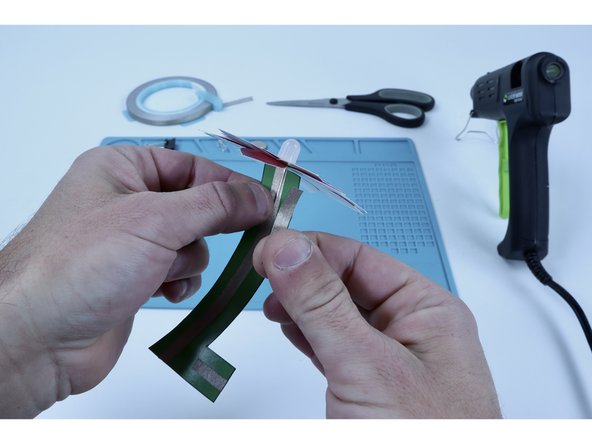
Measure and cut one Maker Tape segment that is roughly the length of the stem.
-
Peel and stick that tape segment where shown in the second photo.
-
-
-
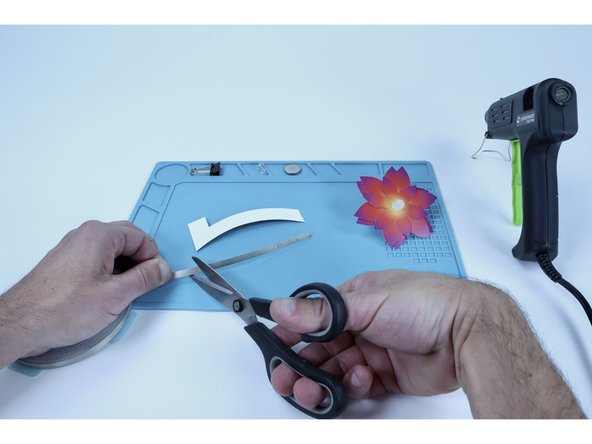
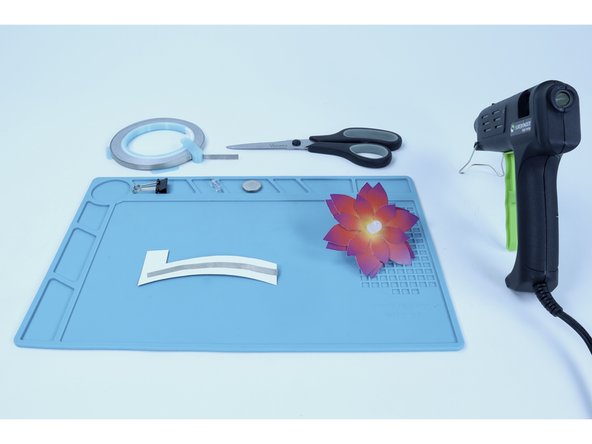
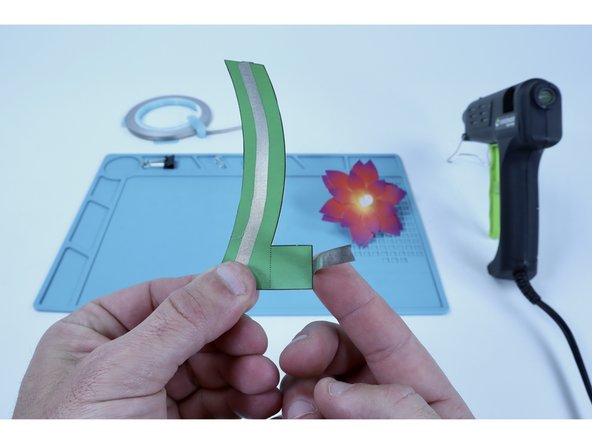
Measure and cut another Maker Tape segment roughly the length of the stem.
-
Flip your project over. Peel and stick that new tape segment where shown in the second photo.
-
-
-
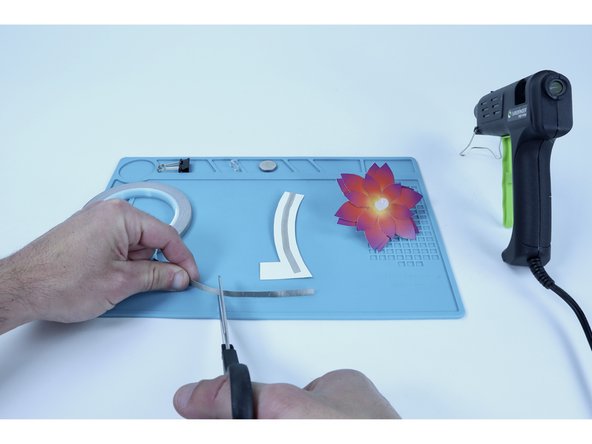
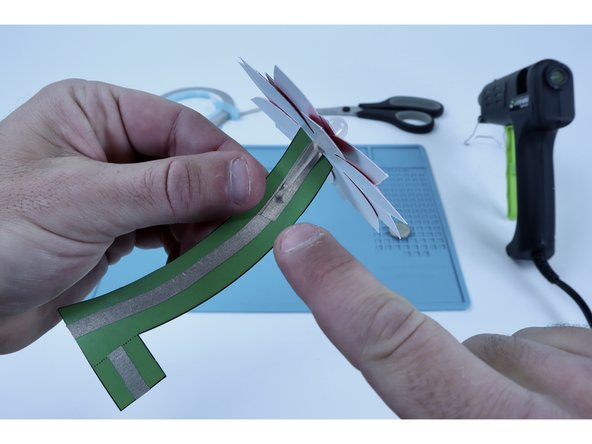
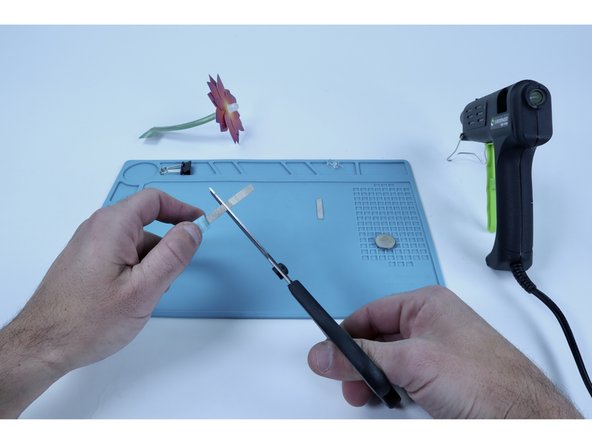
Measure and cut a new Maker Tape segment roughly 2x the length of the tab (a little extra is fine).
-
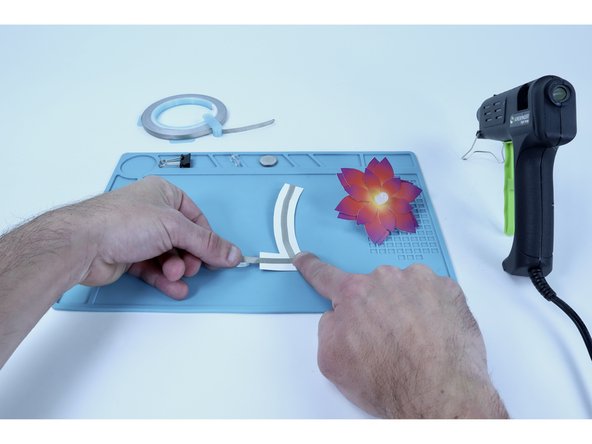
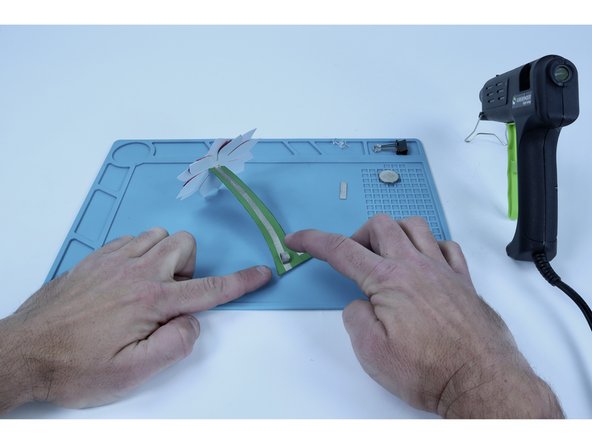
Peel and stick that new tape segment into place contacting the lower end of the last tape segment you placed, along the length of the tab, and around to the front of the tab.
-
Be sure to stop this path on the dotted line on the stem template. This should create a small gap between it and the long tape path running along the stem.
-
-
-
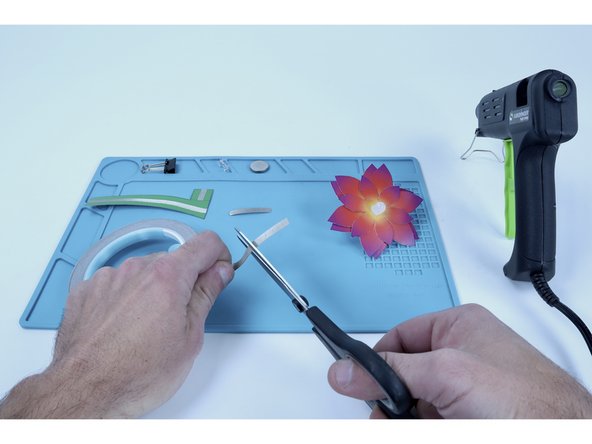
Measure and cut two Maker Tape segments that are 1-2" long. These will be used to connect each of the LED legs to the paths on either side of the stem.
-
Peel one of your new tape segments and stick it on the corner of your work table. You'll have to briefly hold the flower in position with one hand in a moment and having the tape already peeled and ready to go will make the step after easier.
-
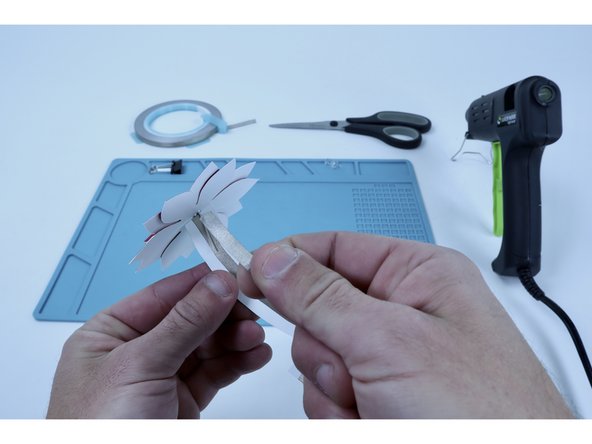
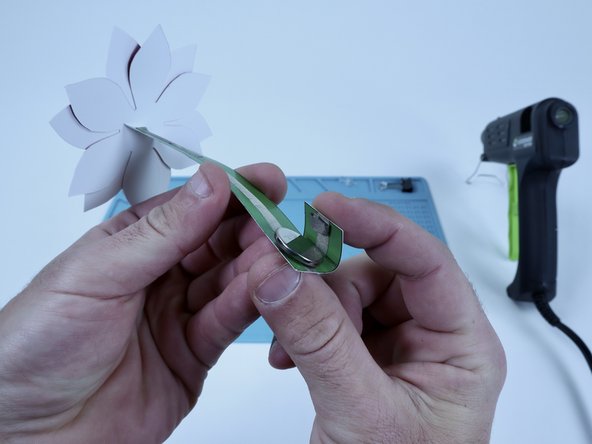
Lower the petal cluster over the top of the stem so the shorter LED leg is on the "tape gap" side of the stem and the longer LED is on the opposite side.
-
-
-
Using your free hand, stick that already peeled Maker Tape segment over the top of the short leg so that it is sandwiched between Maker Tape and held in place.
-
Use the remaining piece of Maker Tape to do the same to the longer LED atop the stem path on the opposite side.
-
-
-
Cut two new, small pieces of Maker Tape.
-
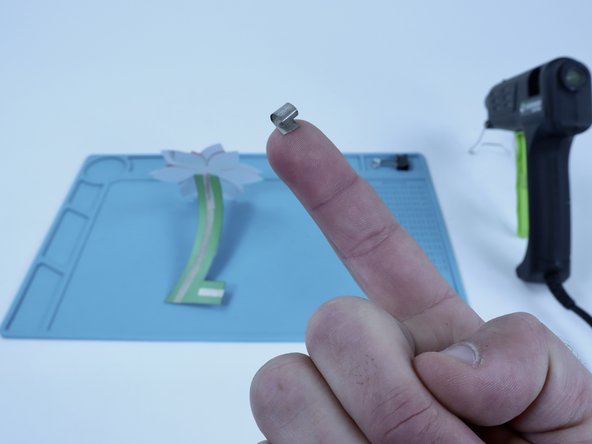
Use one of these pieces to create a tape loop.
-
Stick this tape loop where shown in photo 3.
-
-
-
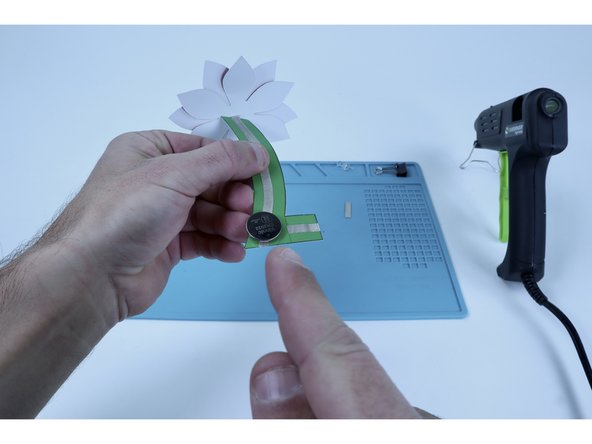
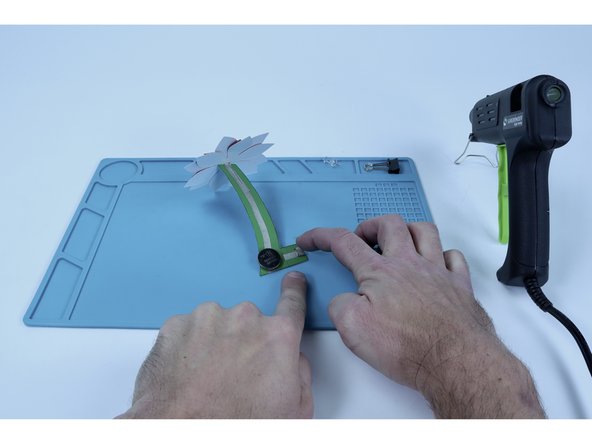
Stick battery atop this tape loop so that the positive (+) side is facing UP.
-
Use the remaining piece of Maker Tape to make another tape loop and place IT where shown in photo 3.
-
-
-
Fold tab over to stick that newest tape loop to the top of the battery. This should turn your circuit on. If it doesn't turn on, it's likely that you have the LED legs flipped. Rather than redoing those connections, you CAN just flip the battery around and it should work.
-
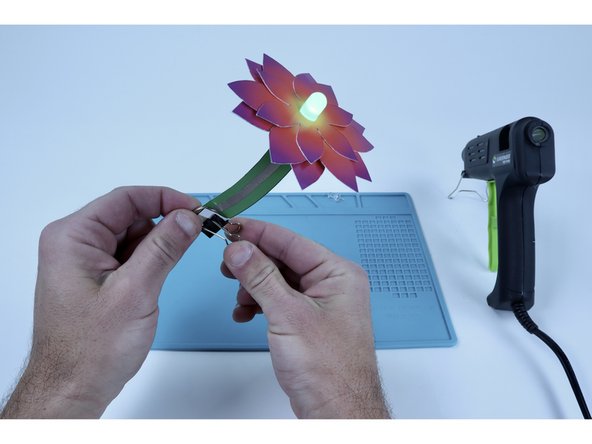
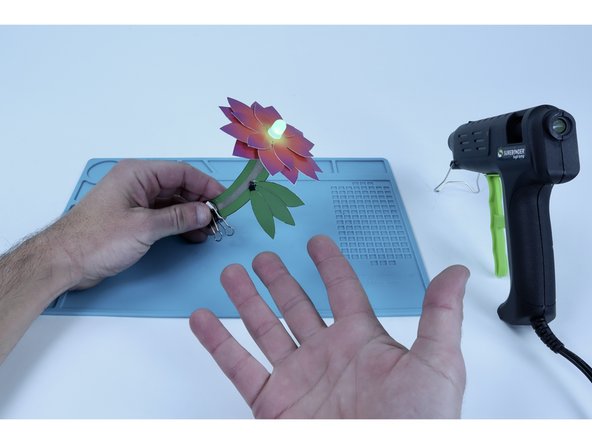
Use your binder clip to clip around the entire battery portion of your project .This will hold the connection firmly in place.
-
-
-
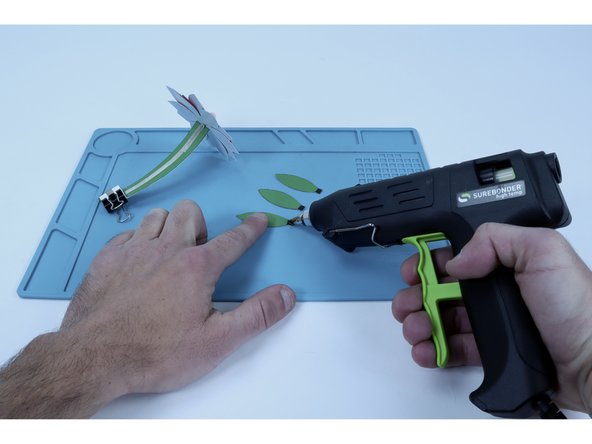
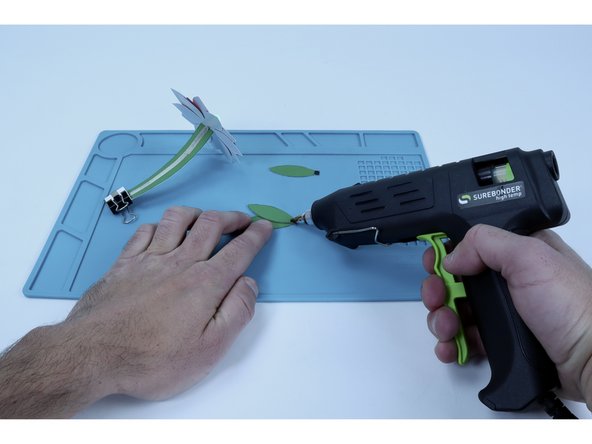
Glue leaves together into a cluster.
-
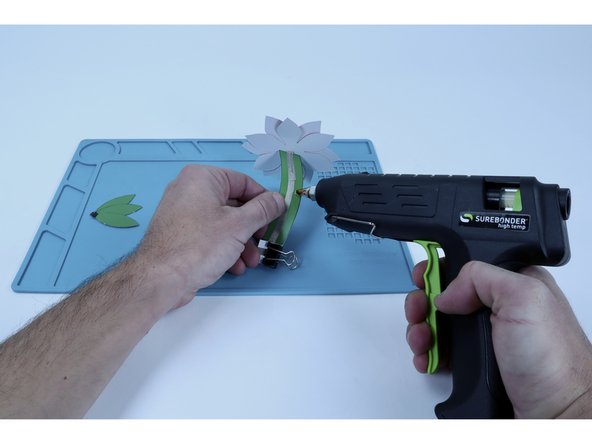
Glue cluster atop stem to finish.
-
-
-
You're done...Congrats! Now, go give it to a friend who needs some cheering up!
-


Attached Documents
