Featured Document
-
-
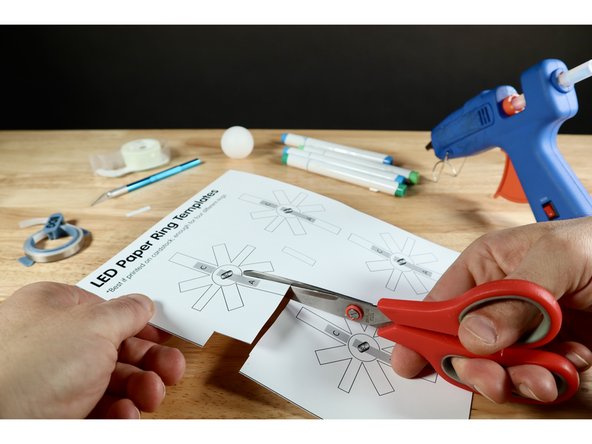
Print the template and cut out the two pieces needed for each ring. Note: The template page contains enough individual template pieces to make four total rings. We suggest using a heavier paper when printing as this will result in a sturdier project.
-
-
-
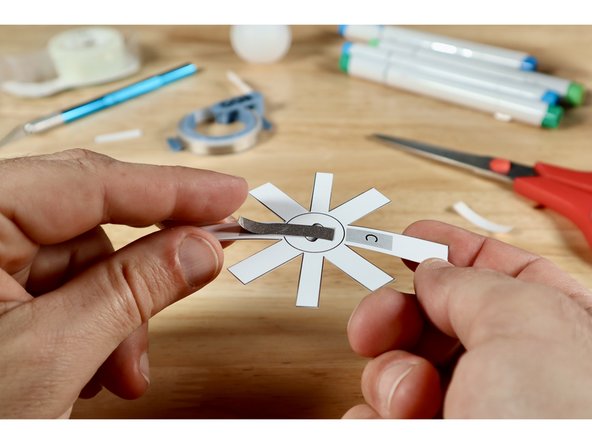
Measure, cut, peel, and stick Maker Tape path "A." where shown on the template. Note: Do not go further toward "C." than shown. The pictured paper gap is there to electrically separate those two paths.
-
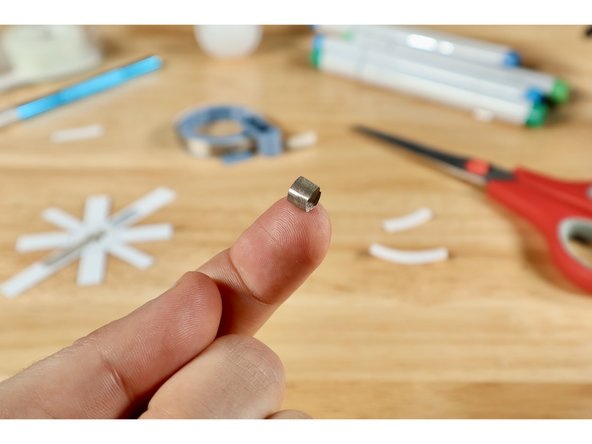
Cut a small piece of Maker Tape about 1/2" long. Then peel and roll it into a small sticky-side-out tape loop.
-
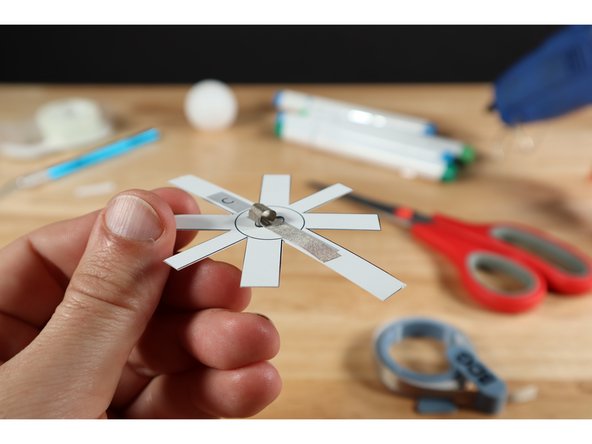
Stick the tape loop atop the part of path "A." that is roughly in the center of the circular portion of the ring template. This will be 1/2 of the system that connects the battery to the rest of the circuit.
-
-
-
Stick your battery atop the Maker Tape loop as shown. The Positive (+) Side of the battery should face UP.
-
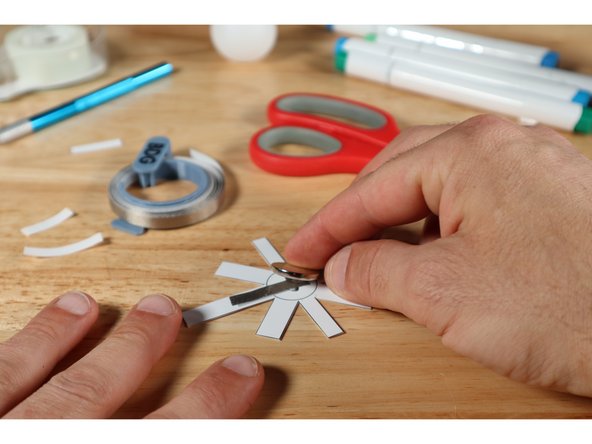
Measure, cut, peel, and stick a Maker Tape path that can reach from the top of the battery, down to where path "C." ends on the ring template.
-
Now we have effectively extended the two sides of the battery out toward the edges of the project.
-
-
-
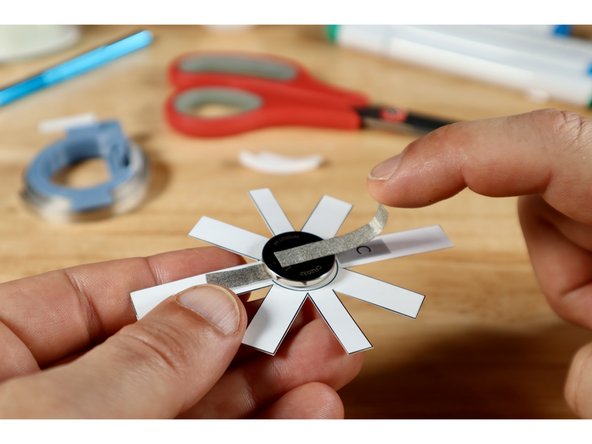
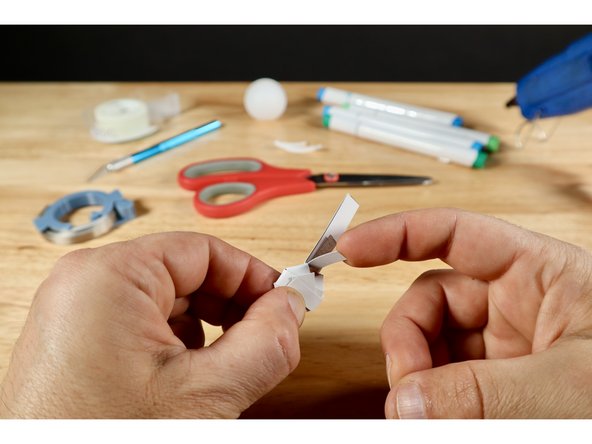
To electrically separate the LED from the rest of everything below you should fold each of the six tabs over the battery one at a time and pinch them in place with one hand.
-
With your other hand, tuck the remaining free tab (that you cut from the template sheet) below the battery by path "C." and curl the other end up to the join the rest of the protective tabs. Pinch and hold with one hand.
-
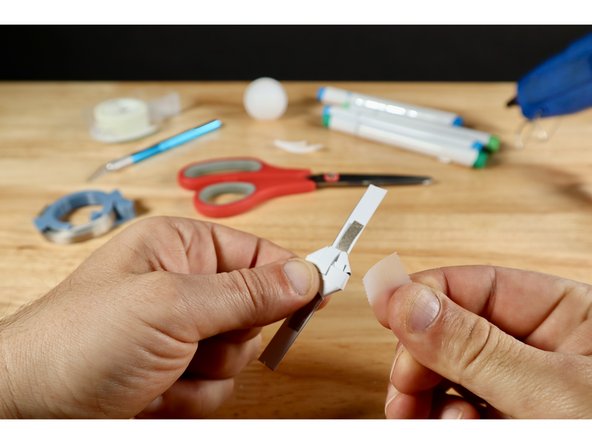
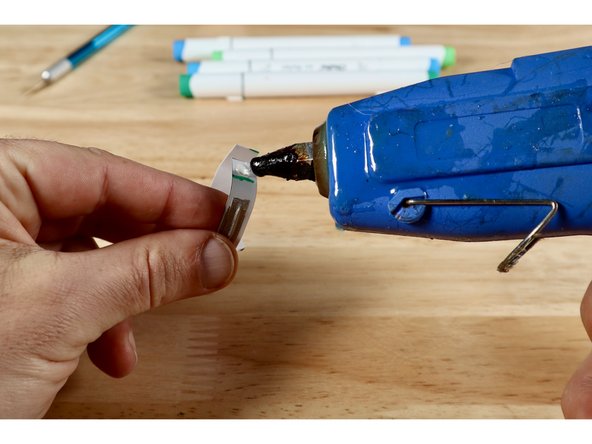
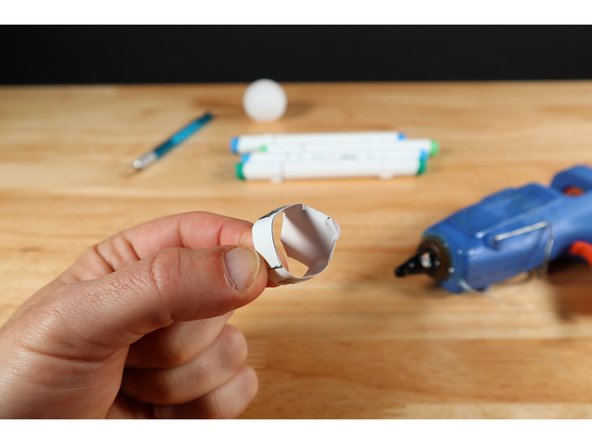
Use a small piece of clear tape to secure those tabs. Use a scissors to trim the excess afterward. Now anything conductive that we place on top will not contact anything below unless we want it to.
-
-
-
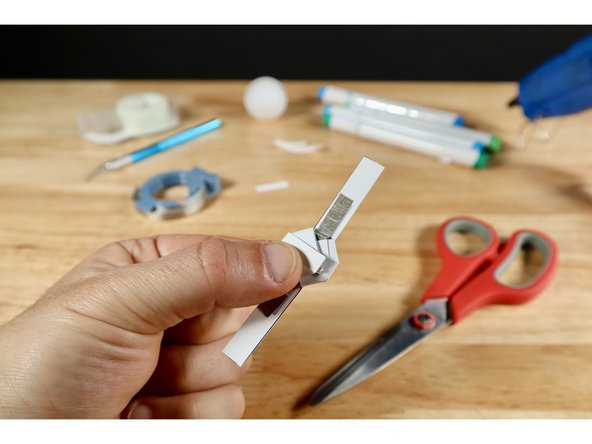
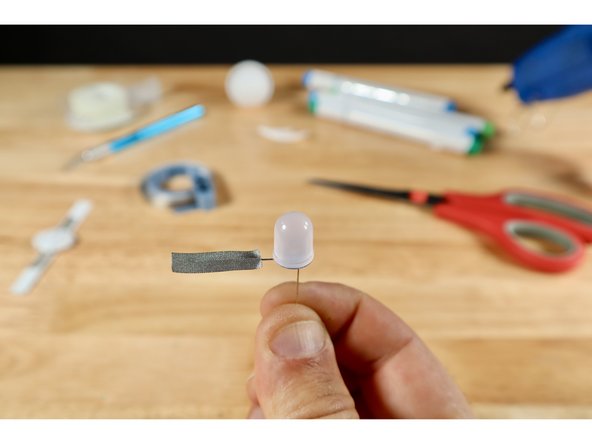
Notice that your LED has two legs of different length. The longer Positive (+) Leg will need to connect to the path on the template that comes from the TOP of the battery. The shorter Negative (-) Leg will need to connect to the path the comes from the BOTTOM of the battery.
-
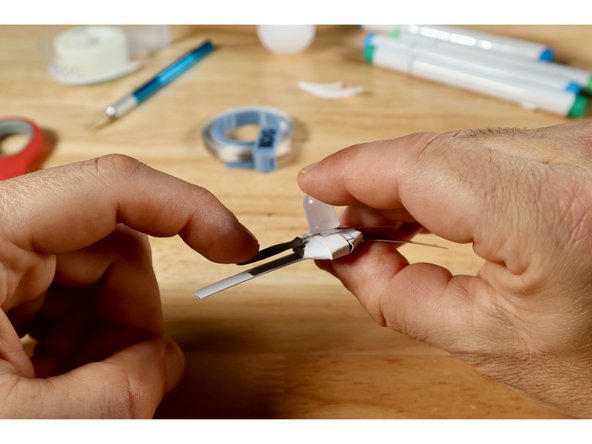
To keep the orientation clear, we will connect one LED leg at a time starting with the LONG leg. Bend that leg outward. Then measure, cut, peel, and stick a piece of Maker Tape to the top side of the leg as shown.
-
With the LED positioned over the platform created by the battery and the taped leg oriented over the path that connects to the top of the battery, press the leg and tape into contact with the path below ("A.").
-
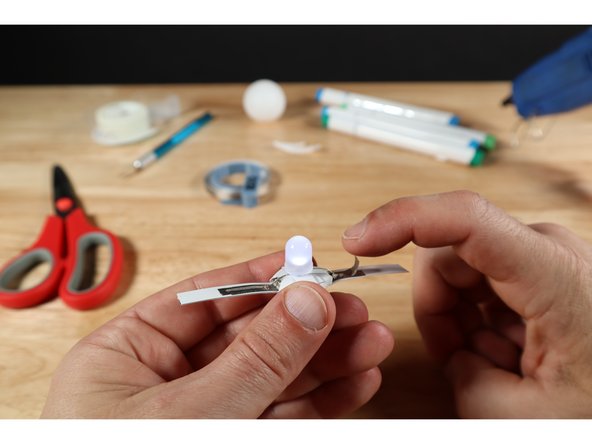
Now measure, cut, peel, and stick one final Maker Tape path in the same way to connect the remaining short leg to the remaining path on the ring template ("C."). The LED should light up at this point and last for several days on a single battery.
-
-
-
Bend and wrap the two parts of the ring band around a finger you wish to wear the ring on and mark where they overlap.
-
Use a hot glue gun to put a dab of hot glue on the band and glue the two halves of the band together at the point you marked. Once the glue has cooled, you can put the ring back on and finish shaping it.
-
Hooray! You are all blinged-out and set to go!
-
-
-
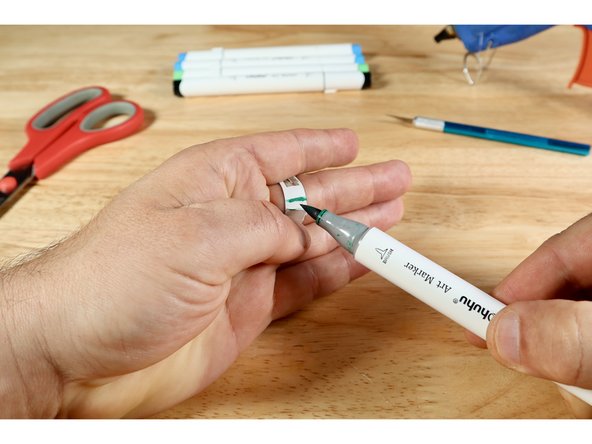
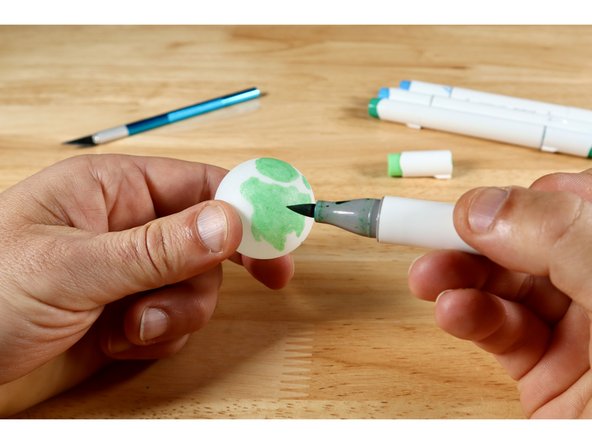
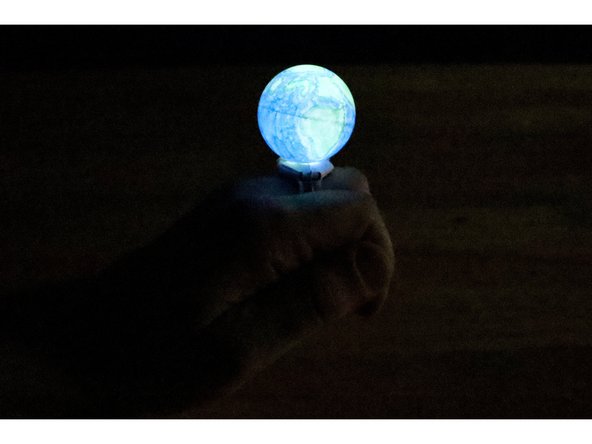
For added effect, its easy to create a fun back-lit topper for your ring by first using markers to color a white ping-pong ball whichever way you choose.
-
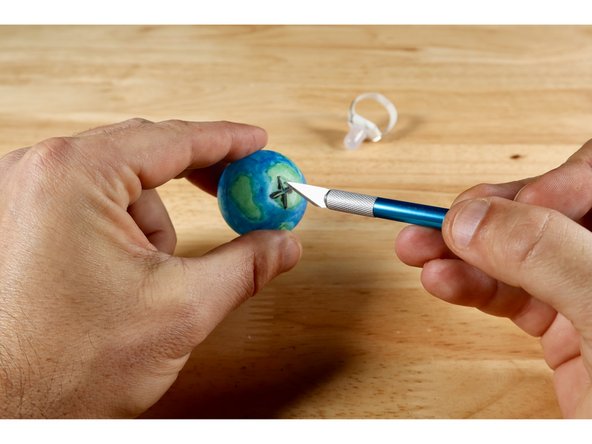
After you've colored your design (all over designs are best), use an Xacto knife to carefully (your parent may like to help you here) cut two 1/4" slits that cross one another at the bottom of your ball.
-
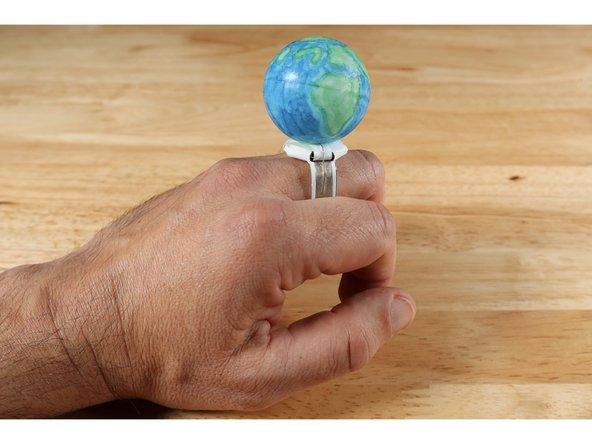
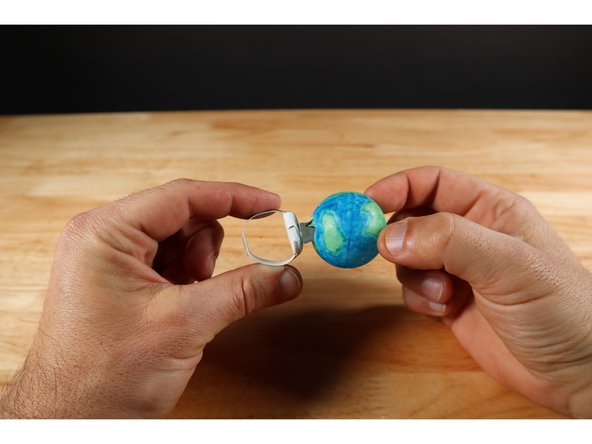
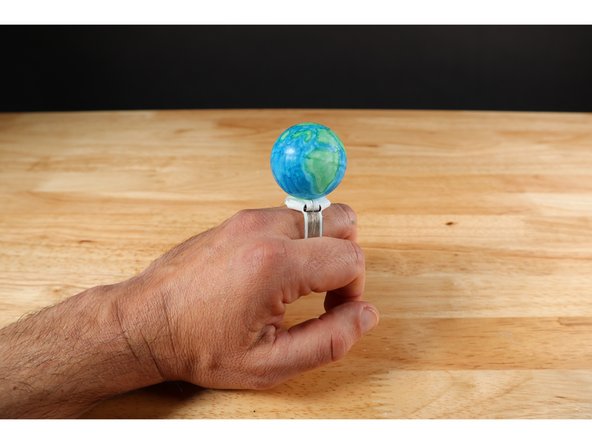
Press the completed topper over the LED on your ring and watch your design glow from inside!
-
-
-
We decorated our ping pong ball as Planet Earth to celebrate Earth Day! What will you make????
-
The jewels on most expensive rings only look amazing when light is shining on them. YOUR ring makes its OWN light!
The jewels on most expensive rings only look amazing when light is shining on them. YOUR ring makes its OWN light!