Tools
No tools specified.
Video Overview
-
-
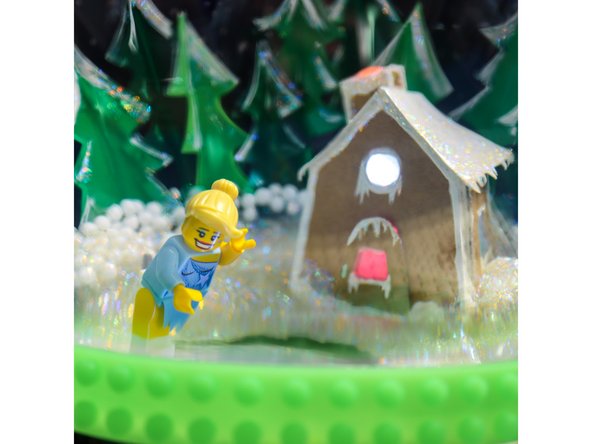
In this project, I challenged myself to create an interactive world for a minifig character. I fell in love with the ice skater and imagined her skating inside a snow globe!
-
-
-
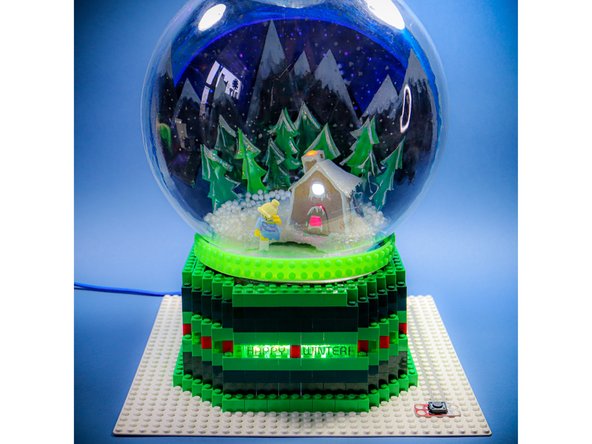
I built a LEGO base tall enough for the Bit Board to fit inside. I also made sure that the fish tank sat properly on top.
-
-
-
I used a continuous rotation servo and a wheel hub to make a place for the magnet to travel on.
-
I glued magnets to the wheel and the skater's foot and tested it using a roll of tape as a platform.
-
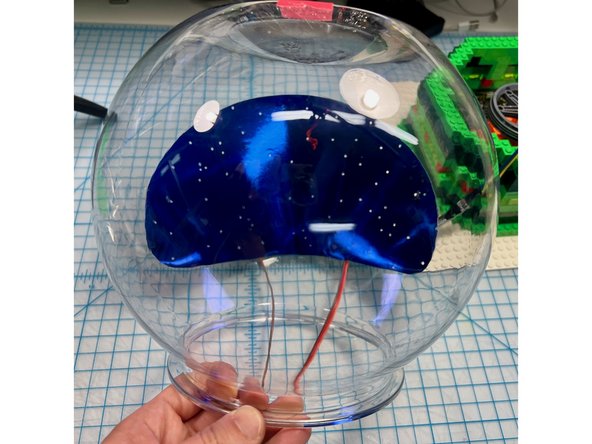
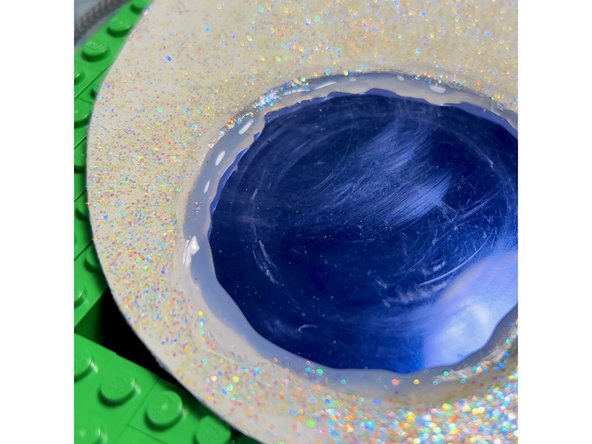
I used the center from a spool of ribbon to create an "ice lake" platform from blue shiny cardstock and a piece of clear acetate on top to look like ice.
-
-
-
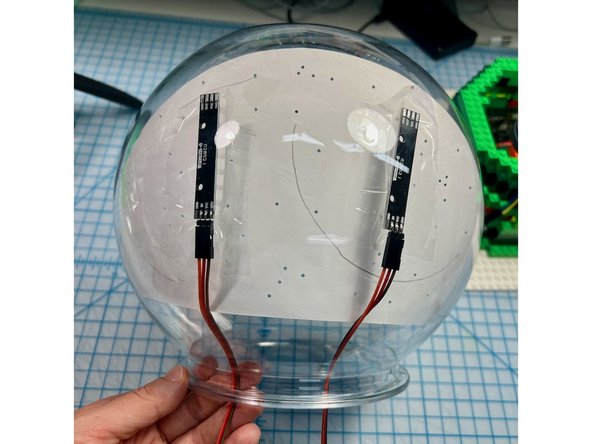
I taped NeoPixel sticks to the back and covered them with a layer of shiny blue cardstock that I punched holes out of to give the appearance of many light-up stars.
-
-
-
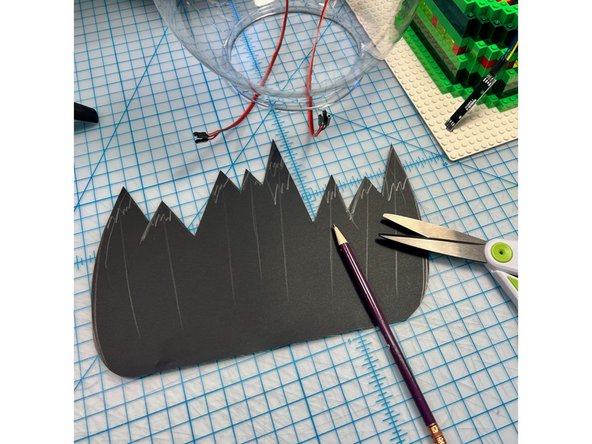
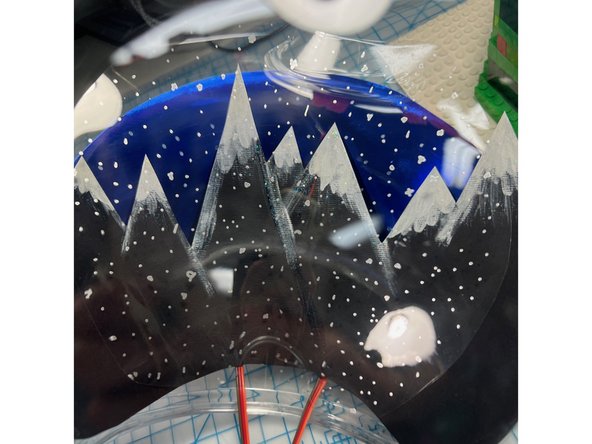
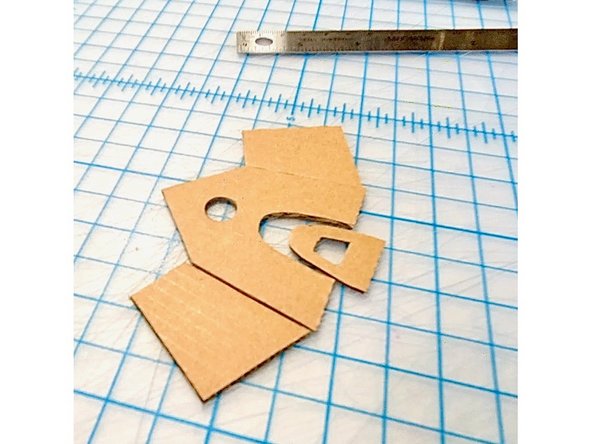
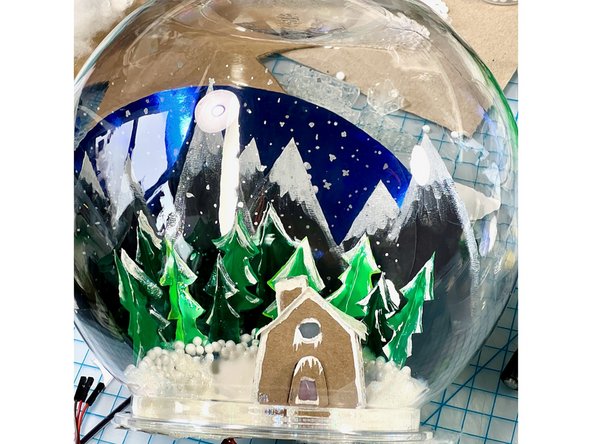
I made mountains from black paper painted with glitter Mod Podge.
-
I added a layer of clear acetate painted with dots of silver to look like snow.
-
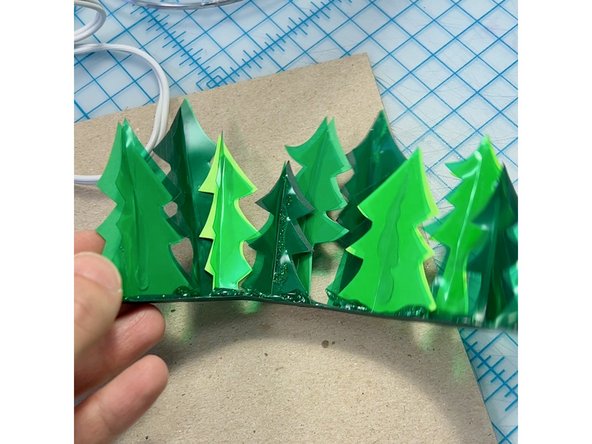
I made a treeline with cardstock and green acetate.
-
-
-
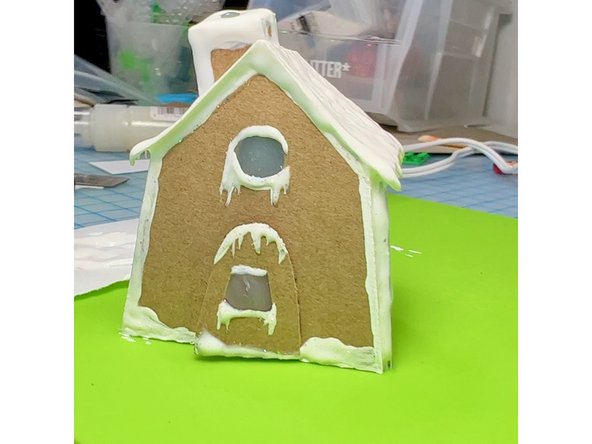
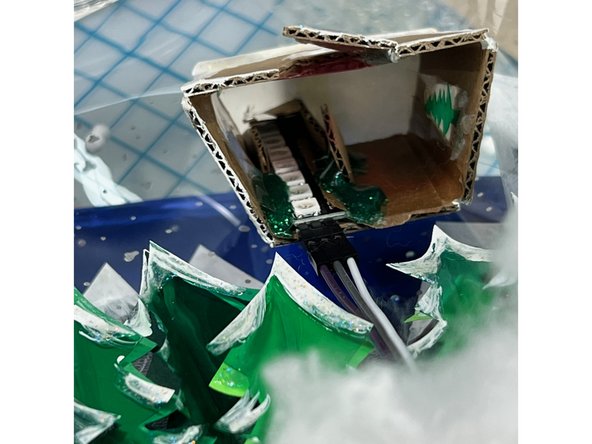
I made a tiny gingerbread house out of cardboard, with the chimney sized to fit the NeoPixels stick.
-
-
-
I glued everything in place with hot glue and covered everything with glitter Mod Podge to look like glittery snow.
-
I made an "ice line" over the blue lake with hot glue.
-
-
-
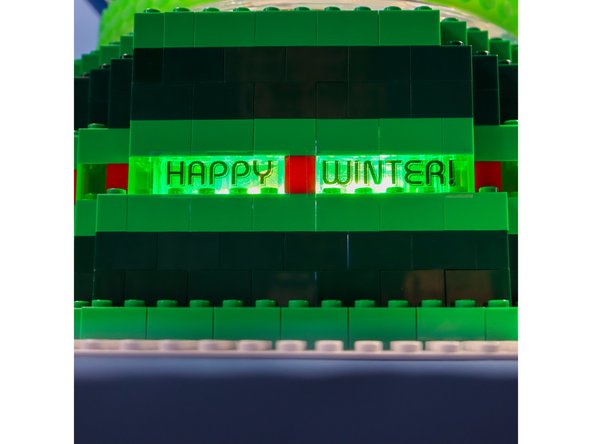
I used my label maker to make transparent words that I placed over the clear LEGO. There is a NeoPixels stick behind the letters to illuminate them.
-
-
-
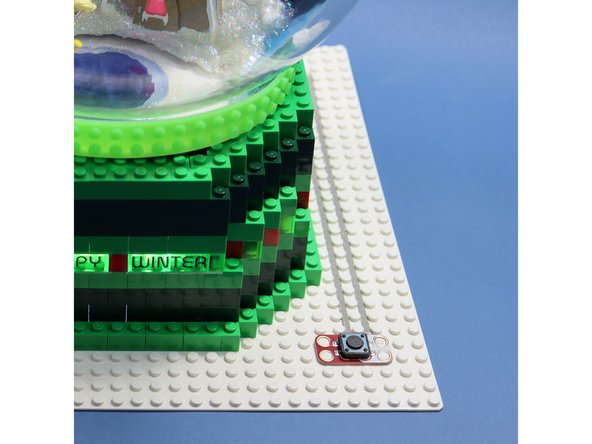
I added a button so that the whole world could become animated when you press it.
-
-
-
If you've never used a micro:bit before you'll want to check out this guide: Bit Board V1 Setup and Use
-
I wrote some code that would trigger the motor and lights when the button was pressed.
-
Here is the code for the Winter Wonterland Snowglobe: https://makecode.microbit.org/_0xP82v1uF...
-
-
-
Now when you press the button the scene comes to life!
-
HAPPY WINTER! We hope this inspires you to make an interactive world for your favorite minifig.
-