Video Overview
Featured Document
-
-
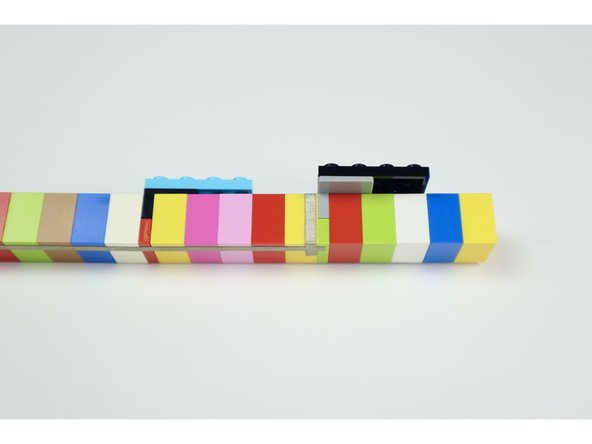
With a completed wand built, start a piece of 1/8" Maker Tape at the LEGO stud shown in photo 1.
-
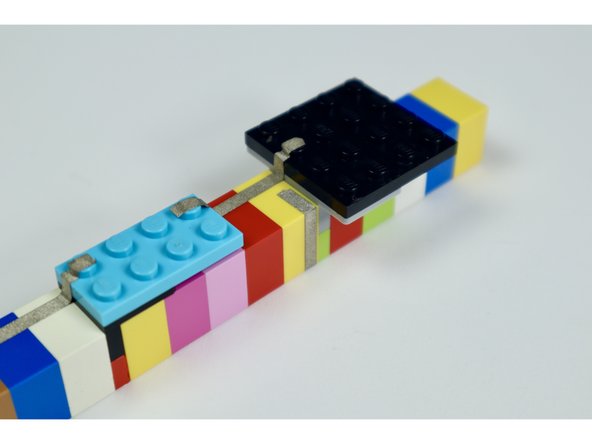
Guide and press that piece of tape all the way down the length of the wand as shown. It should end at the first lego stud on the 2x4 plate as pictured in photo 2.
-
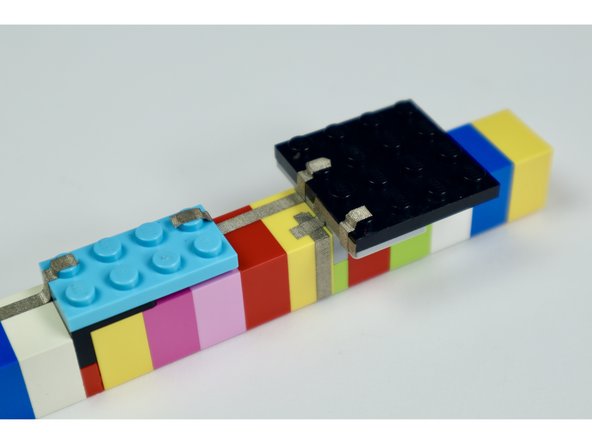
Skip two LEGO studs on that 2x4 plate and start another Maker Tape path that reaches the first LEGO stud in line with it atop the 4x4 plate. This is shown in photo 3.
-
-
-
Start a new Maker Tape path atop the LEGO stud shown in photo 1 .
-
Guide and press that same tape segment down the length of the wand on the side OPPOSITE your already existing tape. It should stop where shown in photo 2.
-
-
-
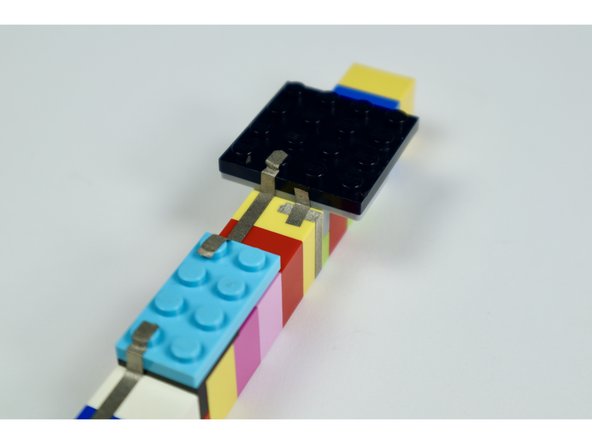
NOTE: The following 4 tape paths are small. Take your time and do them neatly so they do not contact the tape from the opposite side!
-
Starting with photo 1 and ending with the photos in the next guide step, measure, cut peel and stick the remaining 4 tape paths where shown.
-
-
-
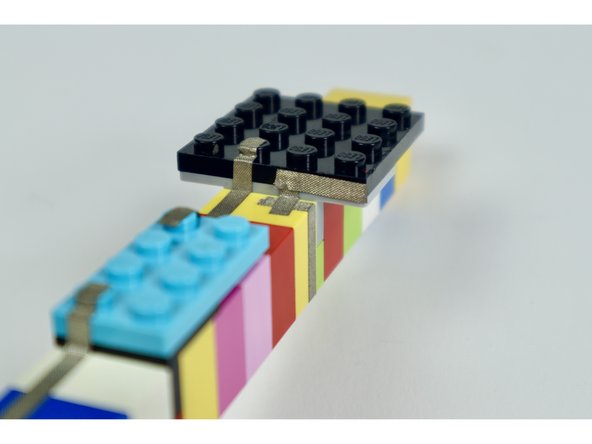
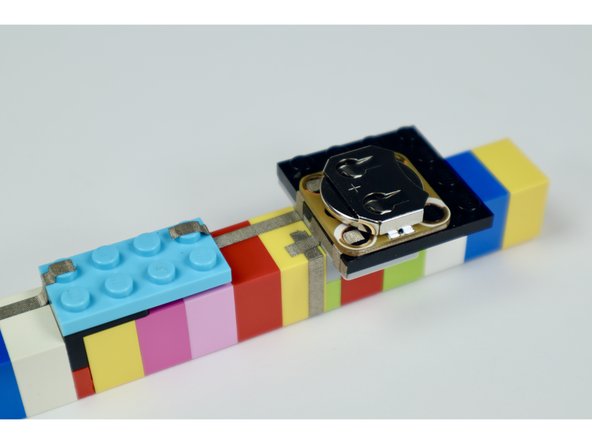
If you completed these last 4 small tape paths correctly, the end of your last segment should reach the first LEGO stud of the 4x4 LEGO plate with one stud-worth of space between it and the neighboring path.
-
-
-
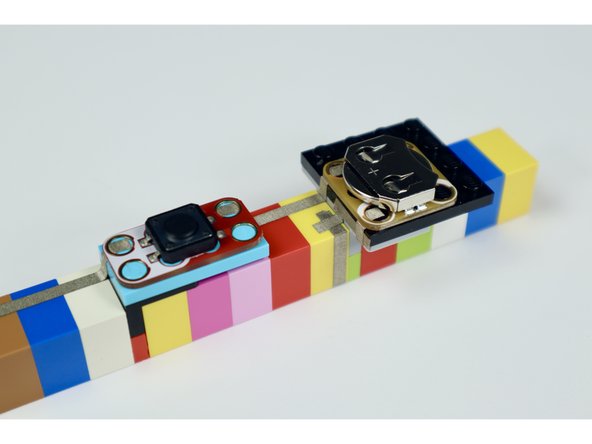
Taking care to orient each component as shown in the photos at left and press the battery holder, pushbutton and LED into place.
-
-
-
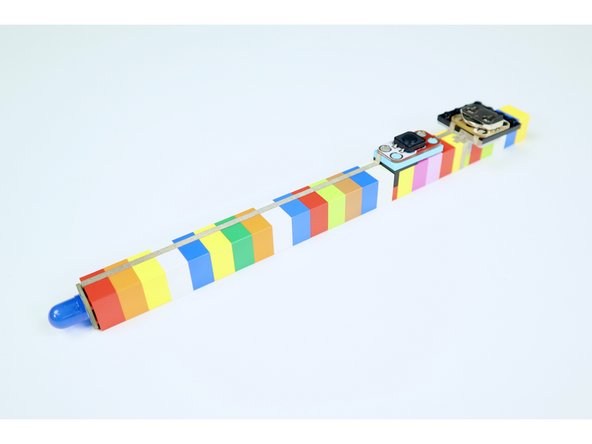
Here's what your finished wand should look like. Insert a CR2032 battery, hold by the battery holder end and press the pushbutton with your thumb to light the LED at the end!
-