Introduction
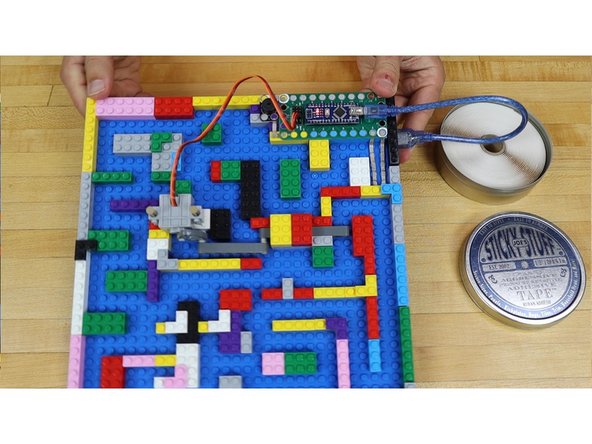
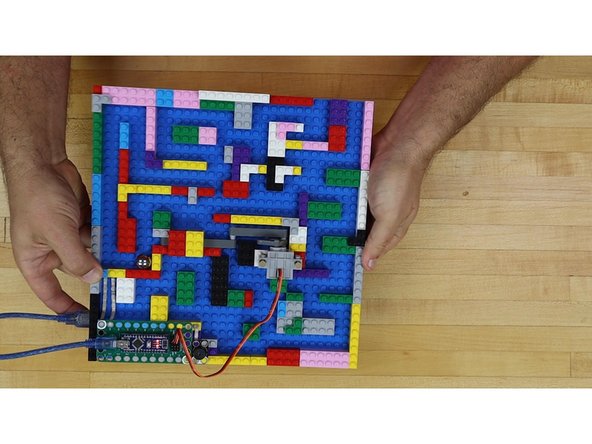
Build a LEGO Maze with a gate that opens when you complete the circuit with a ball bearing.
This is a modification of an older guide that uses the Robotics Board. Some photos and the video may still have a Robotics Board to show the physical build, however the circuit diagram and code are there for the Bit Board and Micro:Bit.
Tools
Parts
- Crazy Circuits Bit Board
- micro:bit
- Brick Compatible 270 Degree Servo
- Maker Tape
- LEGO Steel Ball (99948)
- LEGO Baseplate
- Misc LEGO Parts
- LEGO Half Beam 3 x 3 Bent 90 Degrees with Curve (32249 / 65125)
- LEGO Beam 7 (16615 / 32524)
- LEGO Beam 9 (40490 / 64289)
- LEGO Axle to Pin Connector (3749 / 6562)
- LEGO Pin without Friction Ridges (3673)
- LEGO Brick 2 x 2 with Pin and Axlehole (6232 / 42929) × 2
- LEGO Axle 4 with End Stop (87083) × 2
Video Overview
Featured Document
-
-
Note: This guide was modified from the original project which used a Crazy Circuits Robotics Board. For this version we'll use a micro:bit instead.
-
The photos may show the Robotics Board, but you'll need to connect the Crazy Circuits Bit Board in its place instead. (The video shows the operation of the original project that uses the Robotics Board.)
-
-
-
Use LEGO bricks to build a border around the outside edge of a 32x32 LEGO baseplate.
-
Arrange LEGO bricks in one corner to support a Crazy Circuits Bit Board.
-
-
-
Cut two pieces of 1/8" Maker Tape about 5 LEGO studs long.
-
Stick Maker Tape on to LEGO baseplate with the ends going to Pin 0 and the GND Pin right next to it.
-
-
-
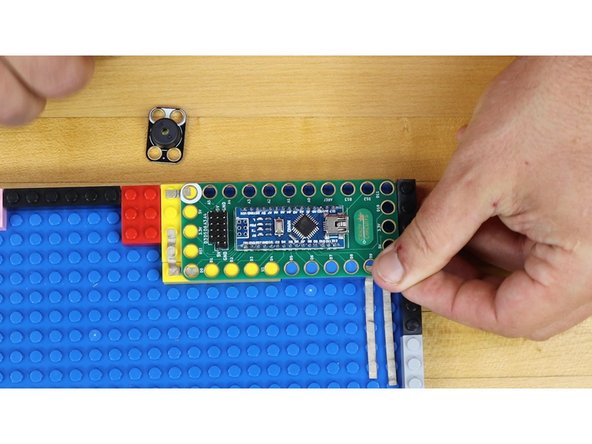
Press the Bit Board onto LEGO bricks over the Maker Tape.
-
Make sure the Bit Board is firmly attached to the LEGO bricks and that Maker Tape makes a solid connection to the holes.
-
-
-
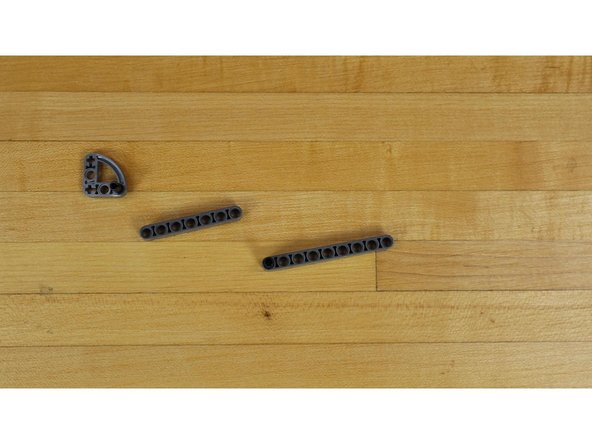
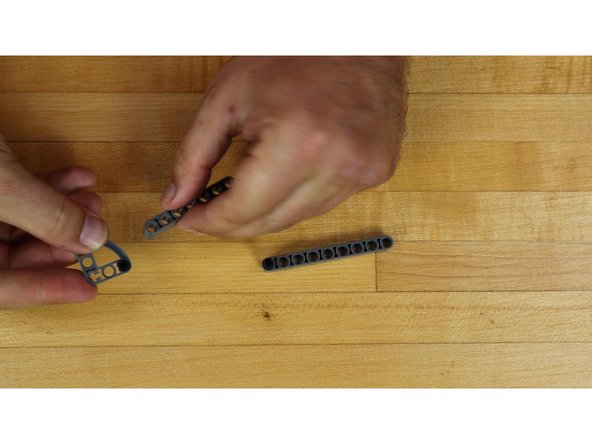
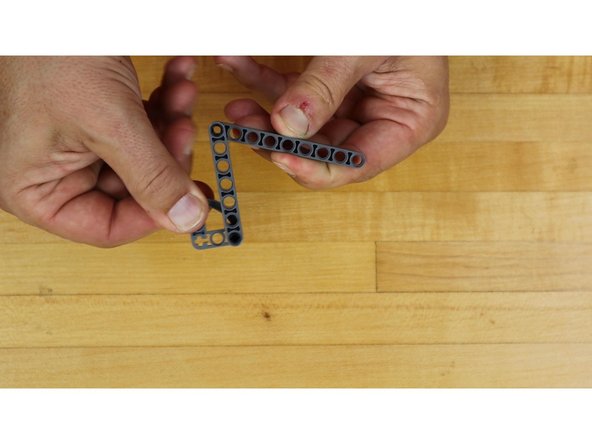
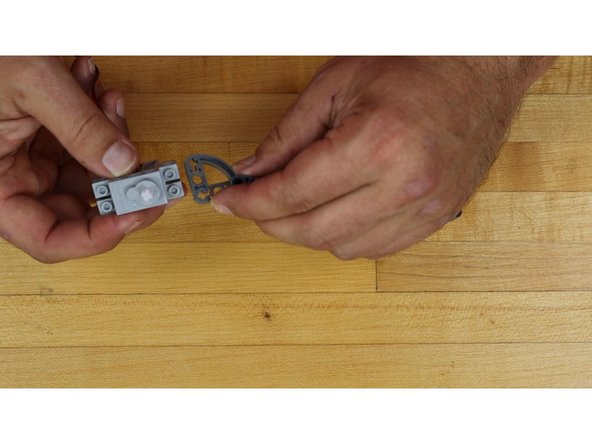
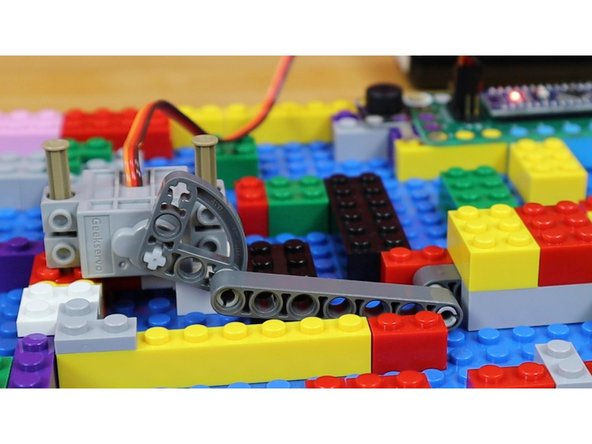
Assemble the LEGO parts to build the gate arm.
-
The parts are connected with swivels to allow them to easily rotate.
-
Parts used:
-
LEGO Half Beam 3 x 3 Bent 90 Degrees with Curve (32249 / 65125)
-
-
-
-
-
-
-
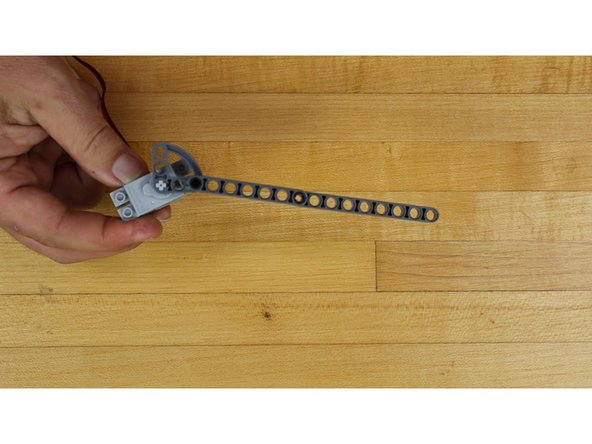
Slide the end of the gate arm onto the shaft of the servo.
-
Remember that you can adjust the LEGO piece attached to the servo shaft. Rotate it 90 degrees clockwise or anticlockwise, or a full 180 degrees.
-
-
-
Mount the servo to some LEGO bricks attached to the baseplate.
-
We used two LEGO Brick 2 x 2 with Pin and Axlehole (6232 / 42929)
-
You could also use two LEGO Brick 2 x 2 Round (3941 / 6143) or any other method of mounting the servo on its side.
-
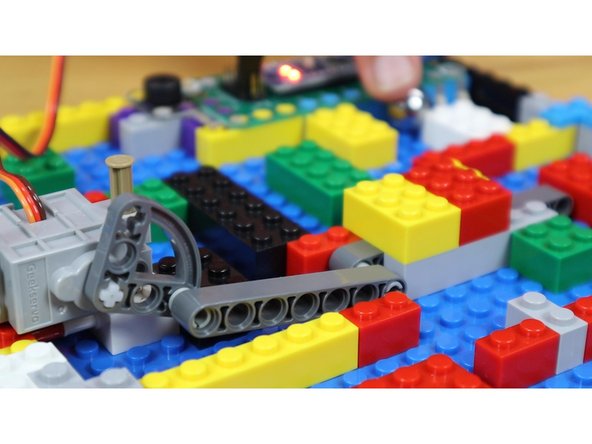
Surround the end of the LEGO Gate with LEGO bricks. This creates a track in which the gate can slide.
-
Add one LEGO brick over the top of the other bricks making the track. This prevents the gate from being able to pop up out of the track.
-
-
-
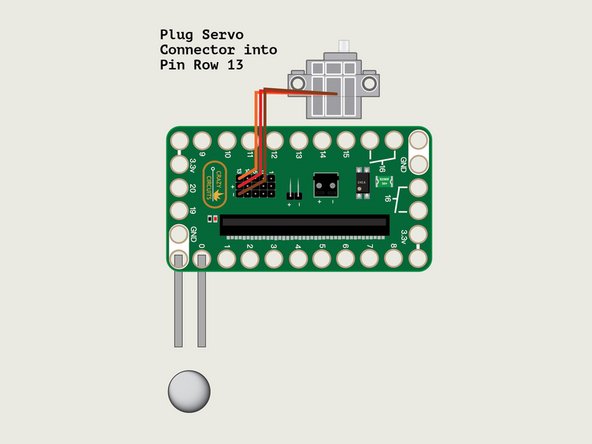
Plug the servo wires into the Bit Board row Pin 13.
-
Make sure the ORANGE wire is connected to closest to the label for Pin 13.
-
-
-
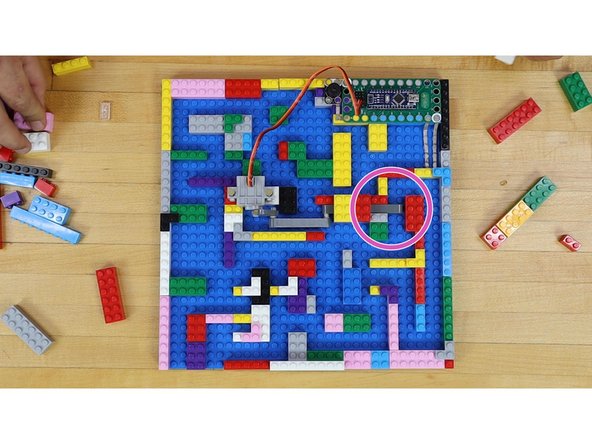
Fill the LEGO baseplate with bricks to create a maze.
-
Make sure there is a clear path from the entrance, to the Maker Tape switch, to the gate.
-
Make sure there is a clear path from the Gate to the Exit.
-
You should ONLY be able to complete the maze by passing through the gate, once it is open.
-
Use the space completely. FILL it with a complex maze. Don't be afraid to spend some time on this.
-
-
-
Connect a USB cable to the micro:bit and then plug it into your computer.
-
We'll be using makecode.microbit.org to program our board. It uses a simple drag and drop block interface.
-
We're going to load the following code for our LEGO Maze program: https://makecode.microbit.org/_bp20qxUvL...
-
-
-
Test the gate by moving the ball bearing onto the two pieces of Maker Tape.
-
When the ball bearing touches both pieces of tape, the servo will rotate to open the gate and a musical countdown will begin.
-
When the musical countdown ends, the gate will close.
-
-
-
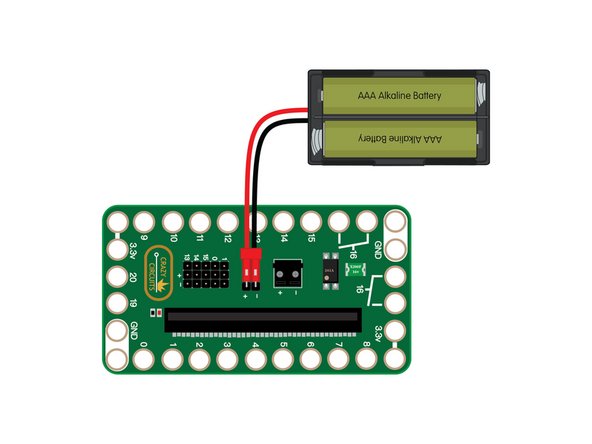
To make the LEGO Maze portable, you can add a battery pack.
-
Use double-sided tape to attach the 2 AAA Battery Pack that comes with the Bit Board.
-
-
-
You are all set to run the maze!
-
Tilt the LEGO baseplate to roll the ball bearing through the maze.
-
Get the ball bearing to the conductive tape to open the gate. Get the ball through the gate BEFORE the time runs out!
-
Get through the rest of the maze to the exit.
-
Challenge yourself by changing the Arduino code so that there is less time to get to the gate.
-
Re-arrange the LEGO Maze for a whole new experience!
-
Play against your friends. Make them run the maze you build. You can run the maze they make for you!
-


