Introduction
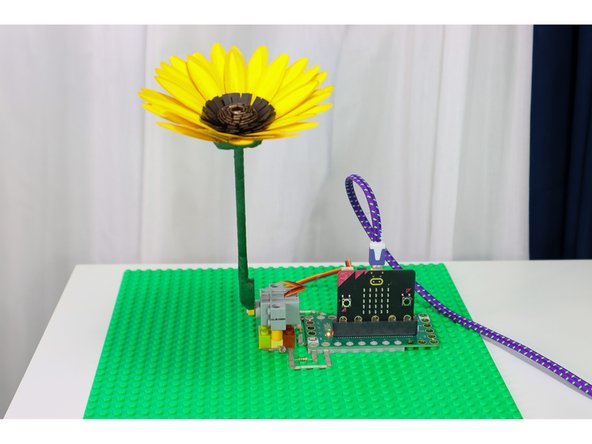
Make a paper sunflower that follows the light, just like the real thing!
Tools
Video Overview
Featured Document
-
-
Print the template on yellow paper. Fold the paper into three vertical sections before you cut. This way every time you cut one petal, you get 3!
-
Use a yellow marker to add detail to the petals as shown.
-
-
-
Cut a 1 x 11-inch piece of brown paper and a .75 x 11-inch piece of black paper.
-
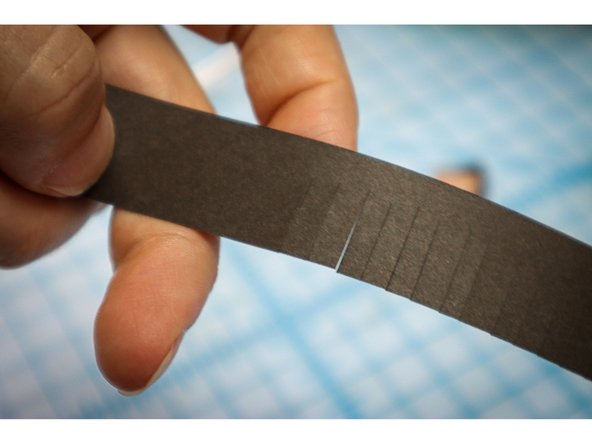
On the brown piece, cut slits about every .25 inch across the strip as shown.
-
-
-
Fold the brown piece in half and hot glue it to the end of the dowel.
-
Slowly turn the dowel and continue to glue until the piece is completely finished.
-
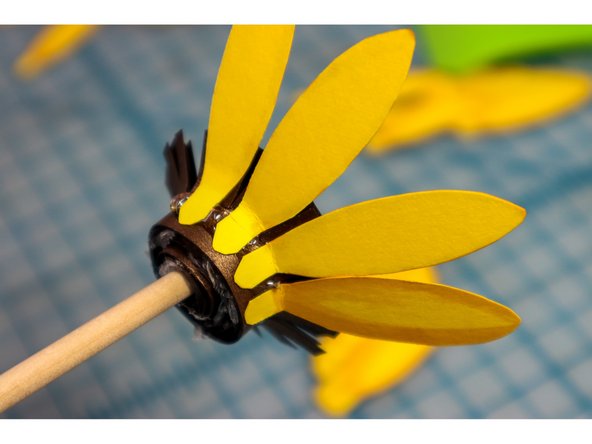
Cut slits from one side of the black piece about every .25 inches as shown. Then, glue black piece around the brown piece to create the center of the flower.
-
-
-
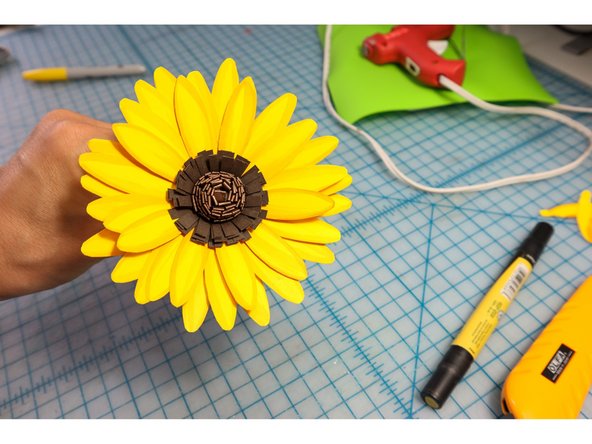
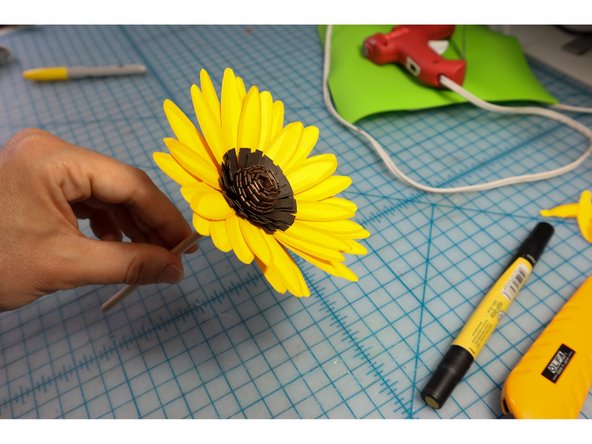
Glue the petals around the flower center. There should be enough to make about 3 rows.
-
-
-
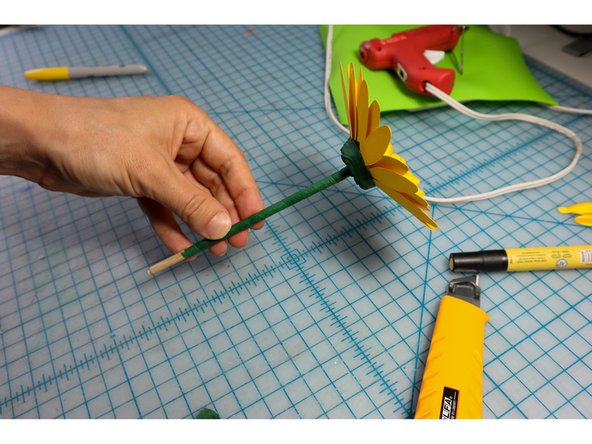
Cover the stem with floral tape as shown.
-
-
-
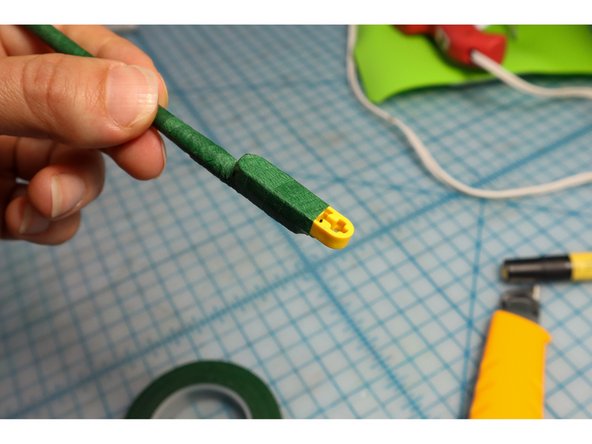
Continue to wrap the floral tape around the LEGO Beam to secure it.
-
-
-
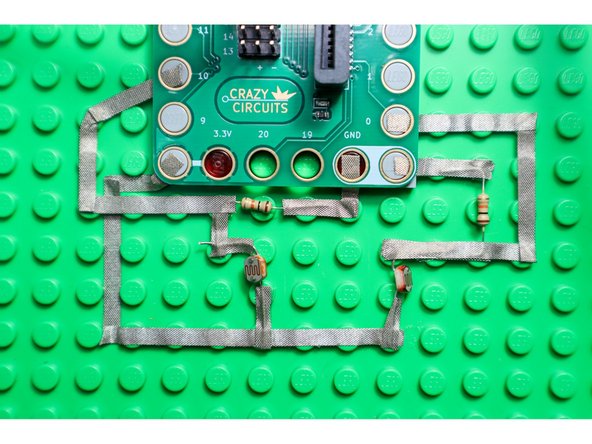
Build the circuit as shown with two Light Detecting Resistors and two 10K Ohm Resistors.
-
Connect the servo to Pin 1.
-
Note where the tape from Pin 10 goes over the tape connected to 3.3V. They should not touch. One strip goes between the LEGO studs, and one strip goes on top of the LEGO studs.
-
-
-
Use LEGO parts to position the servo between the two Light Detecting Resistors.
-
-
-
Connect a USB cable to the micro:bit and then plug it into your computer.
-
We'll be using makecode.microbit.org to program our board. It uses a simple drag and drop block interface.
-
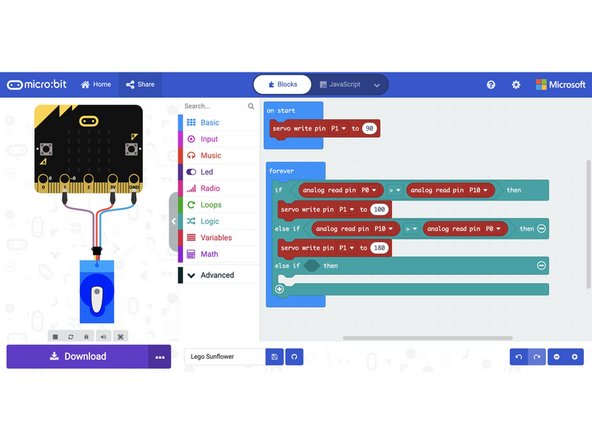
We're going to load the following code for our LEGO Sunflower program: https://makecode.microbit.org/_0u8DfUaW1...
-
-
-
Move a flashlight or other light source around and watch the sunflower lean toward it.
-


