10

Minor Versionm

by Joshua

Introduction

Make BB-8's eye light up with this simple sewable circuit. Porg approved!

Video Overview

  1. Gather supplies.
    • Gather supplies.

    • Choose a t-shirt. We found ours at Target.

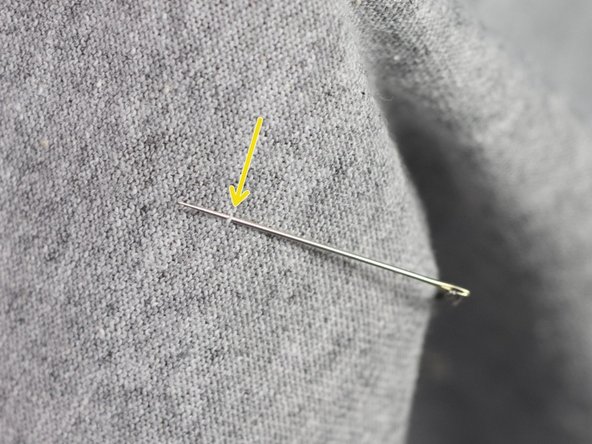
  2. Use a safety pin to pin where the LED should go. Make sure you only put the pin through the front of the shirt. Turn the shirt inside out and locate the pin.
    • Use a safety pin to pin where the LED should go. Make sure you only put the pin through the front of the shirt.

    • Turn the shirt inside out and locate the pin.

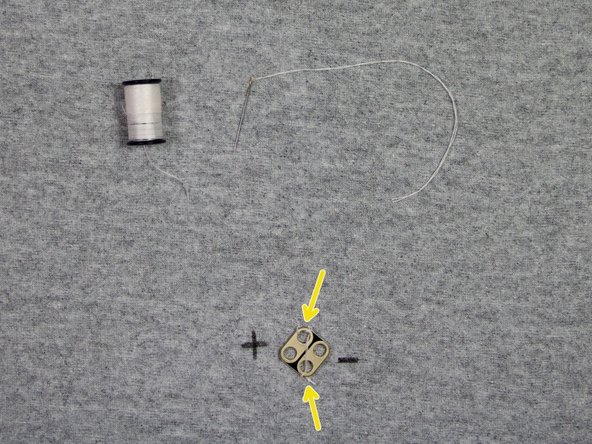
  3. Place the LED over the spot where the safety pin is, with the LED facing down toward the fabric. Use a needle and thread to tack the board in place where shown.
    • Place the LED over the spot where the safety pin is, with the LED facing down toward the fabric.

    • Use a needle and thread to tack the board in place where shown.

    • Make sure that the negative side of the LED is on the right. I marked mine with a washable marker to remember.

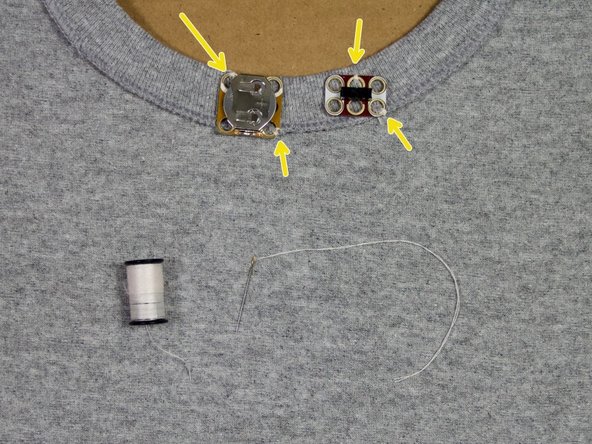
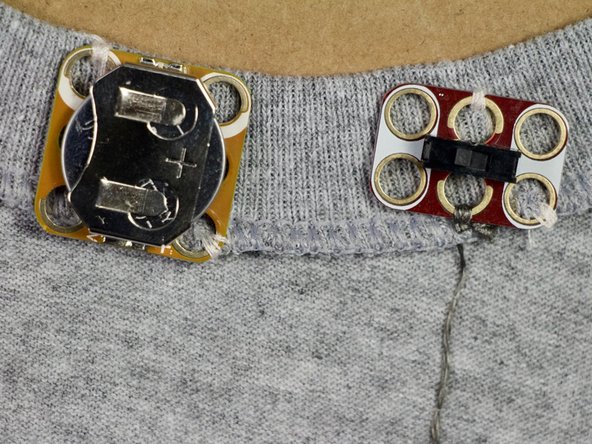
    • Place the battery holder and switch on the neck of the shirt. Make sure the negative side of the battery is on top, facing the opening in the neck. Tack the boards in place where shown.

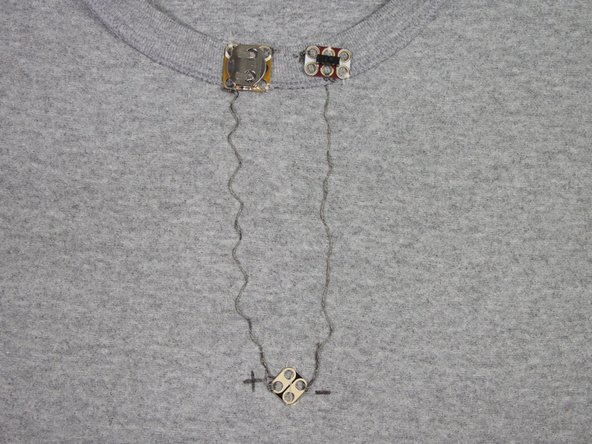
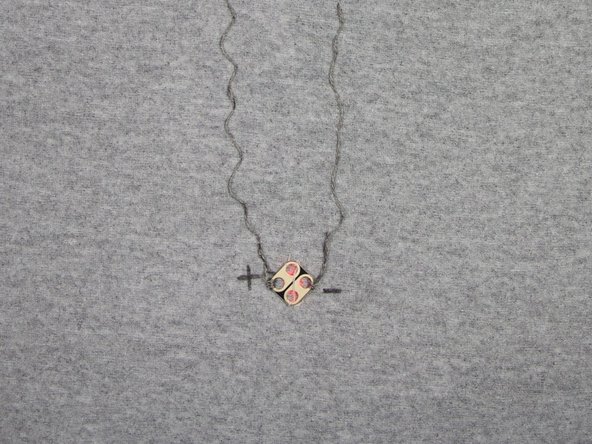
  4. Load your needle with conductive thread. Start by making a few finishing knots around the middle bottom hole of the switch. Run the thread to the negative side of the LED by picking up just one thread of the t-shirt material every half-inch. This will tack the thread in place and won't be visible from the front of the shirt. Run the thread to the negative side of the LED by picking up just one thread of the t-shirt material every half-inch. This will tack the thread in place and won't be visible from the front of the shirt.
    • Load your needle with conductive thread. Start by making a few finishing knots around the middle bottom hole of the switch.

    • Run the thread to the negative side of the LED by picking up just one thread of the t-shirt material every half-inch. This will tack the thread in place and won't be visible from the front of the shirt.

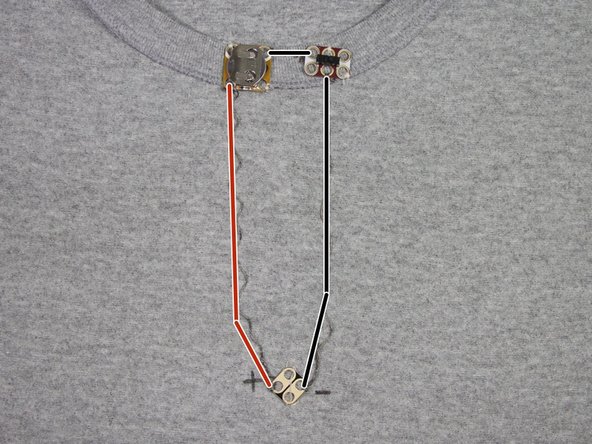
  5. Continue to make connections with the conductive thread as shown. Be sure to start and finish each stitch with a few finishing knots around each of the circuit board holes. Continue to make connections with the conductive thread as shown. Be sure to start and finish each stitch with a few finishing knots around each of the circuit board holes.
    • Continue to make connections with the conductive thread as shown. Be sure to start and finish each stitch with a few finishing knots around each of the circuit board holes.

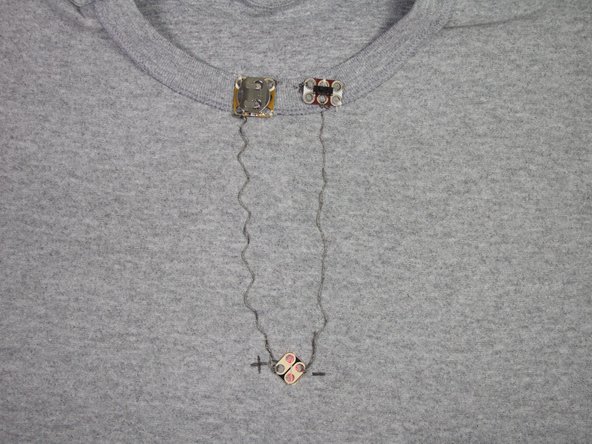
  6. Turn on the switch. You should see it light up! Turn on the switch. You should see it light up!
    • Turn on the switch. You should see it light up!

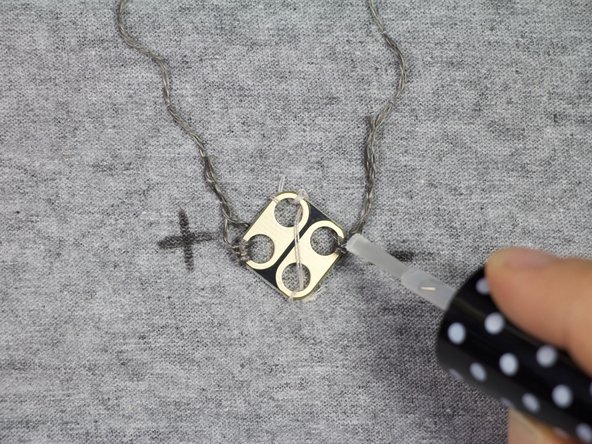
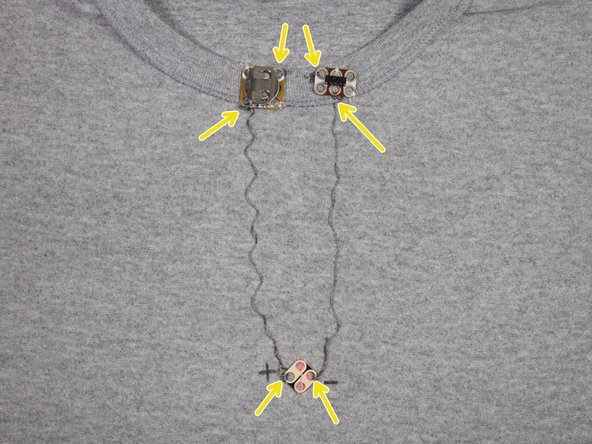
  7. Turn the shirt right-side-out. Make sure the LED is placed correctly and is turning on. Turn the shirt inside-out. Place clear nail polish or super glue over the knots where shown, to keep the circuit working for a long time! Turn the shirt inside-out. Place clear nail polish or super glue over the knots where shown, to keep the circuit working for a long time!
    • Turn the shirt right-side-out. Make sure the LED is placed correctly and is turning on.

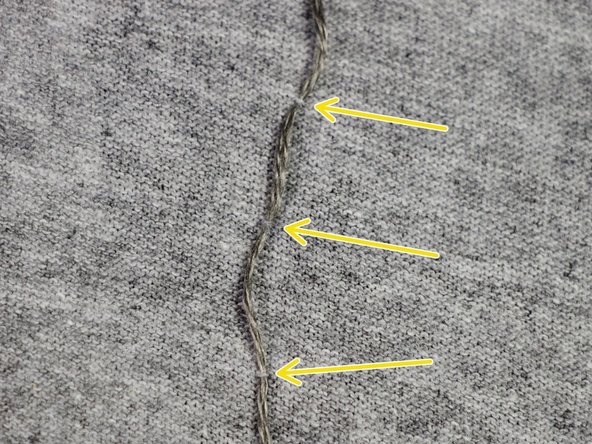
    • Turn the shirt inside-out. Place clear nail polish or super glue over the knots where shown, to keep the circuit working for a long time!

  8. Time to wear your shirt!
    • Time to wear your shirt!

Finish Line

Natasha Dzurny

Member since: 08/26/2019

4,201 Reputation

79 Guides authored

0 Comments

Add Comment

View Statistics:

Past 24 Hours: 1

Past 7 Days: 1

Past 30 Days: 4

All Time: 505