Introduction
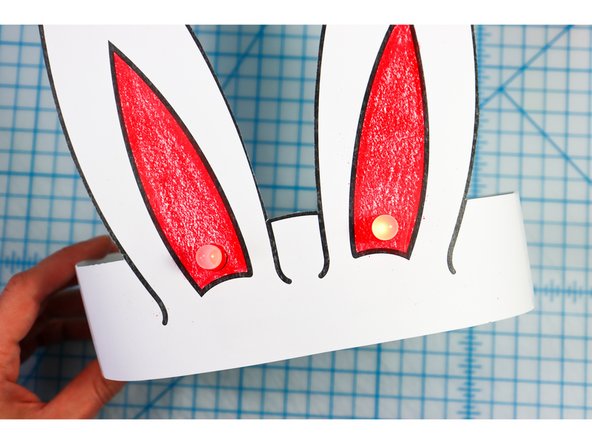
Make a Bunny Ears Hat that lights up when you put it on!
There's a full-color version as well as a black & white version that makes a great coloring activity.
You can make this project (and many more!) with our Paper Circuits Kit.
Featured Document
-
-
Print the template double-sided so that the circuit prints on the back of the design.
-
If you choose the blank design, color it with crayons or markers.
-
Cut out the design.
-
-
-
Push the LED(s) legs through the project from the front, making sure the long leg goes through the “+” hole and the short leg goes through the “-“ hole. Fold the legs as shown on the template.
-
Follow the instructions on the template to cover the lines with Maker Tape.
-
Before placing the battery, add a small loop of Maker Tape as shown.
-
Wrap the Maker Tape around a foam rectangle. When the hat is worn, the switch will close and the LED will turn on!
-
-
-
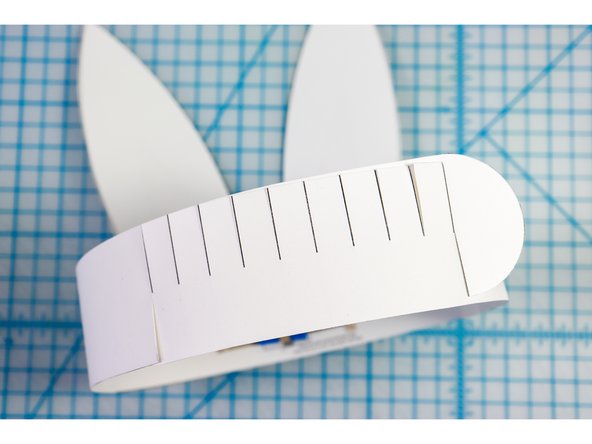
Cut out the side strips and tape them to the hat with the slits facing up on one side and down on the other.
-
Interlock the slits in two places to create the size that works for your head.
-
Wear the hat and enjoy!
-


