
Introduction
Make a reindeer hat that lights up with a simple paper circuit.
There's a full-color version as well as a black & white version that makes a great coloring activity.
You can make this project (and many more!) with our Paper Circuits Kit.
Video Overview
Featured Document
-
-
Print the template double-sided so that the circuit prints on the back of the reindeer design.
-
If you'd like to color the reindeer, print out the coloring template (pages 3-6). Use colored pencils or markers to color your project before proceeding to the next step.
-
-
-
Cut out the shapes. For best results, cut from the front side in case your print doesn’t line up properly with the back.
-
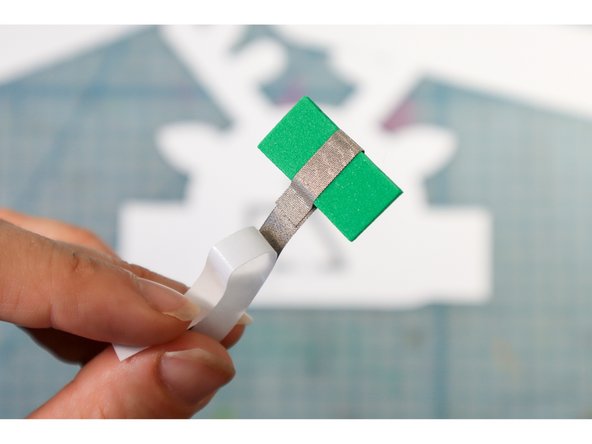
Cut the small rectangle out of craft foam.
-
-
-
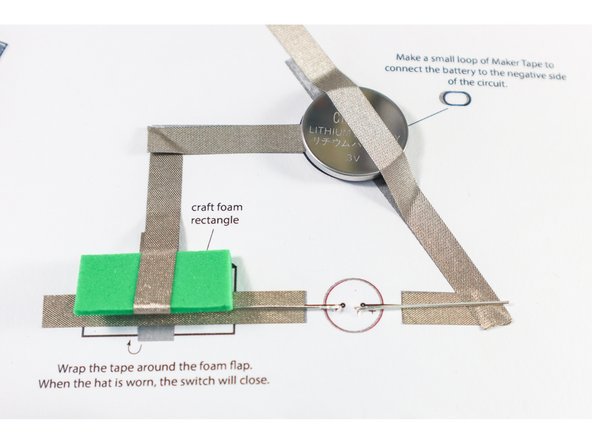
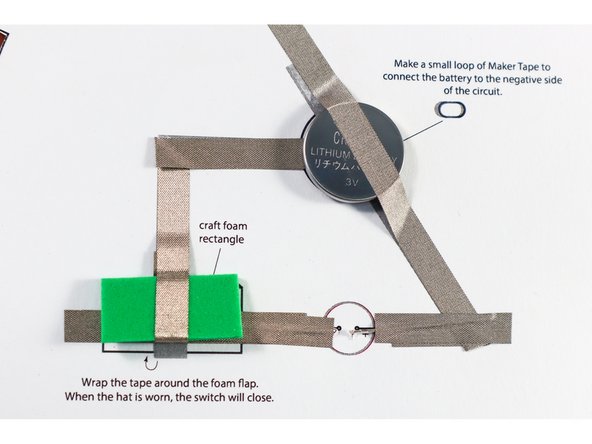
Wrap Maker Tape around the foam rectangle as shown.
-
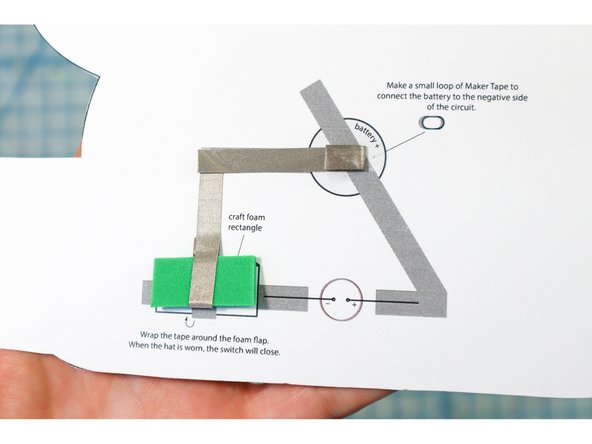
Position the rectangle over the template, and continue to lay the Maker Tape over the line, looping the end under the battery circle.
-
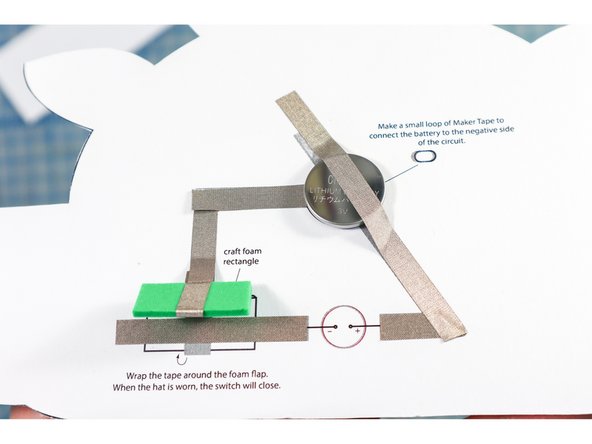
Place the battery with the positive side up. Add another piece of Maker Tape over the battery and around the bend.
-
-
-
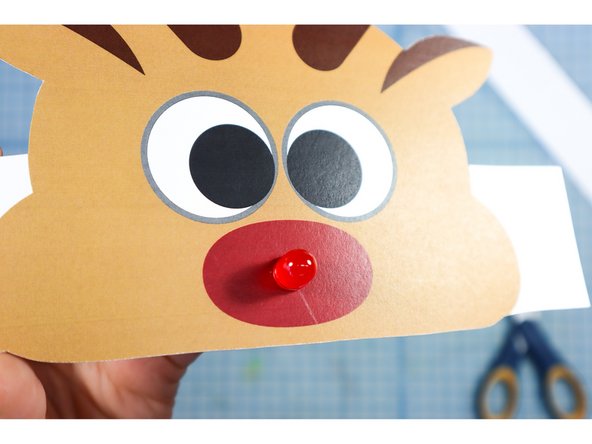
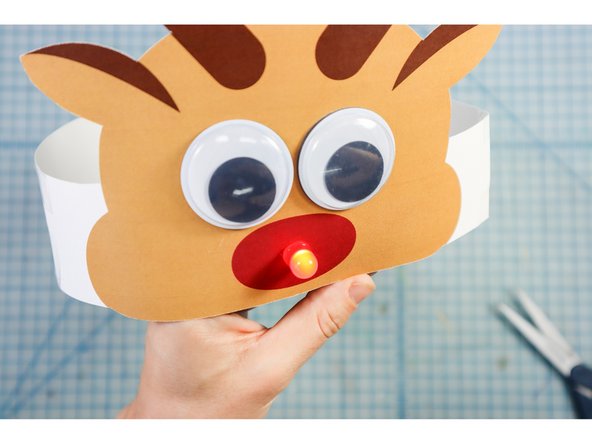
Poke small holes in the center of the nose where shown and insert the LED, matching the positive and negative notation.
-
Fold the LED legs flat on top of the Maker Tape traces on the back.
-
-
-
Add another piece of Maker Tape on top of the LED's legs as shown.
-
-
-
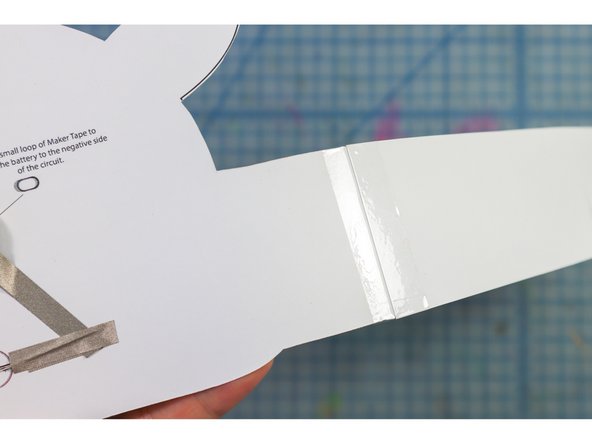
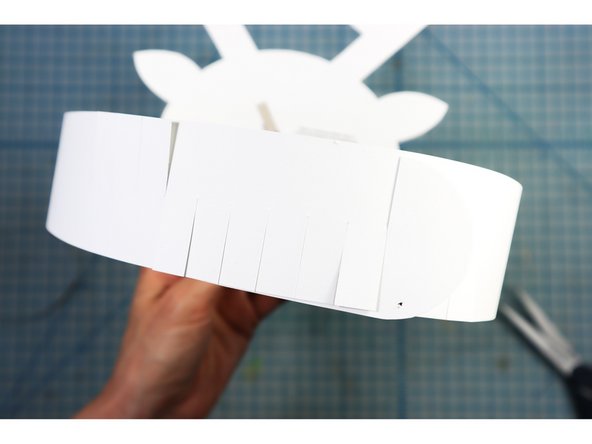
Tape the headband pieces to the sides of the paper as shown.
-
One side's fringe will face up and the other will face down so that you can interlock them as shown.
-
-
-
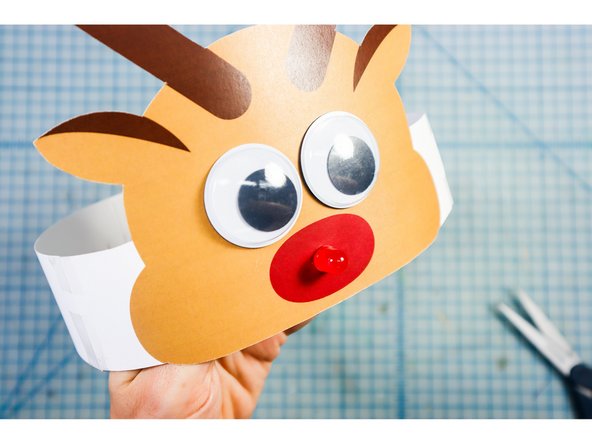
The template has 1.5-inch eyes - the perfect size for 1.5-inch googly eyes! They are optional but add a ton of personality. Glue them in place over the printed eyes.
-


Attached Documents
