
Introduction
You will need:
Legos (lots of plate pieces)
Crazy Circuits: Coin Cell Battery Holder
Crazy Circuits: Green LEDs (4)
Crazy Circuits: Switch
Maker Tape
Green Vinyl
White Cardstock
Optional: Contact paper to keep the design in place
Tools
No tools specified.
Video Overview
-
-
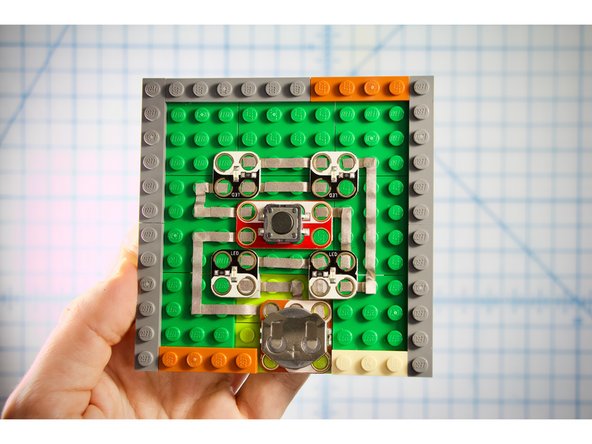
Build up 2 plate layers, 12 studs across and down except a square section at that bottom as shown. This will create a space for your battery component.
-
Line the square with a boarder of 1 stud wide plates.
-
Add two studs at the top fo the battery square as shown. (pictured in grey)
-
-
-
Use the photo as a map and add the Maker Tape as shown. Look carefully - near the battery square, there are a few places that the tape "jumps" up or down a level.
-
-
-
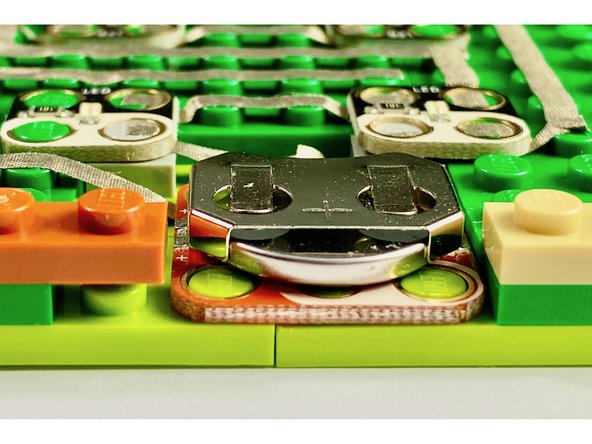
Add the Crazy Circuits components as shown.
-
Be sure that the negative side of the LED is facing up on the top two LEDs, and down on the bottom two LEDs.
-
-
-
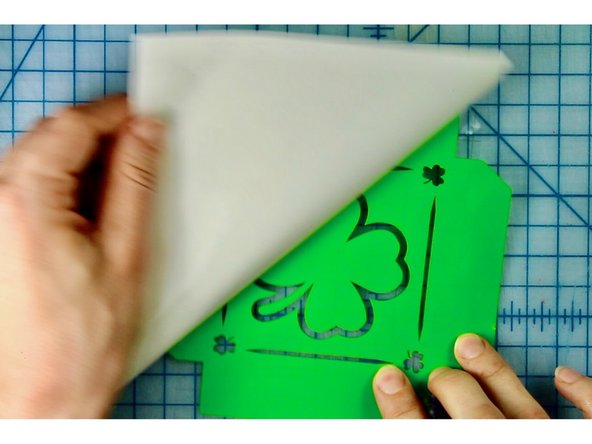
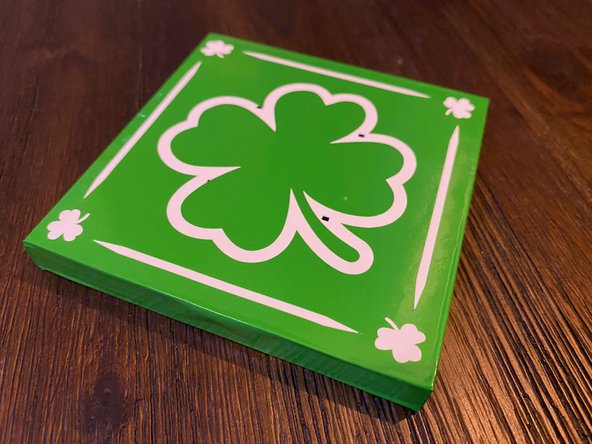
Download the cut files or Print files. Cut the shamrock file out of green adhesive vinyl. Cut the square file from white cardstock.
-
If using the Print files, print on white paper. Use a craft knife to cut out the shape on the grey lines, and cut out the yellow rectangles.
-
-
-
If you used the print files, skip to the next step.
-
Peel / weed away the negative space in the design. Use some contact paper on top of the design to keep the shamrock in the right place.
-
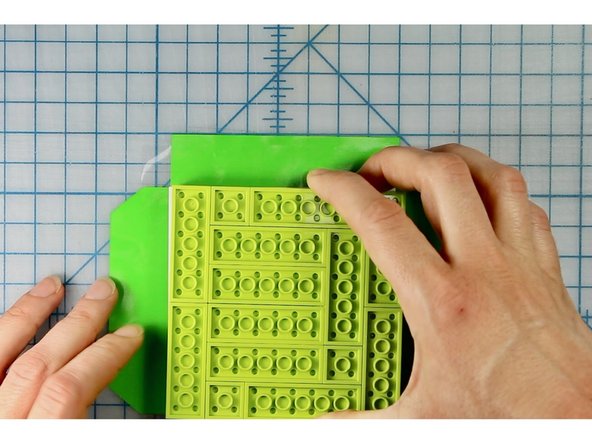
Peel the backing off the vinyl. Place the piece of white card stock in the center of the square as shown, on the adhesive side.
-
-
-
Place the lego structure in the center of the square and wrap the square flaps first, then wrap the ones with the tapered edge.
-
If you used the printed design, wrap the structure in the paper, and use tape to adhere it underneath the coaster.
-
-
-
Turn the coaster over, grab a clear glass or mug, and illuminate it!
-


Attached Documents
