Introduction
Make your Halloween skull shirt scarier than ever by adding glowing eyes! This sewing project uses two LEDs and a Blink/Fade Board to give a shirt glowing eyes. You'll only need simple sewing skills and a little bit of time to create this fun wearable.
Video Overview
-
-
Gather your materials
-
Choose a shirt! We found ours at Target.
-
-
-
Thread a needle with black thread.
-
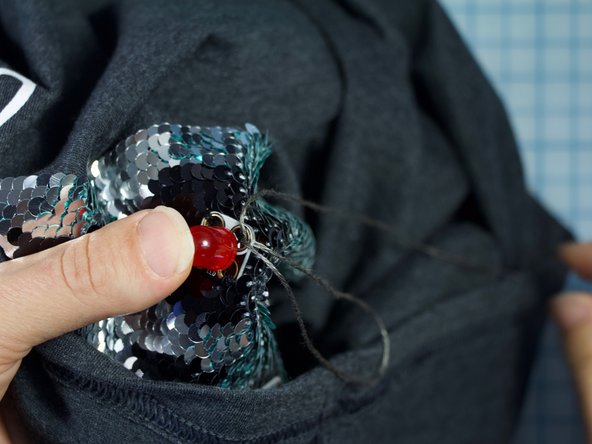
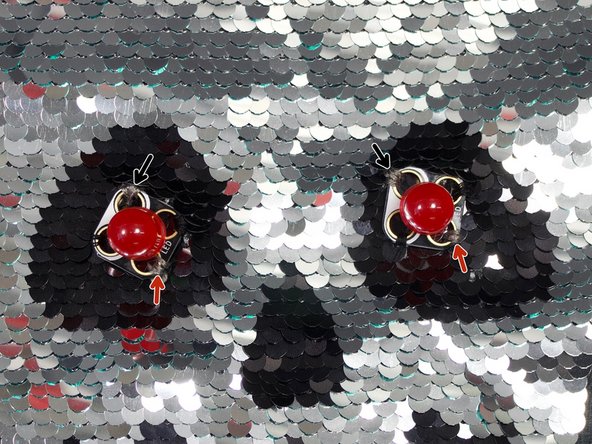
Place the Red LEDs over the eyes.
-
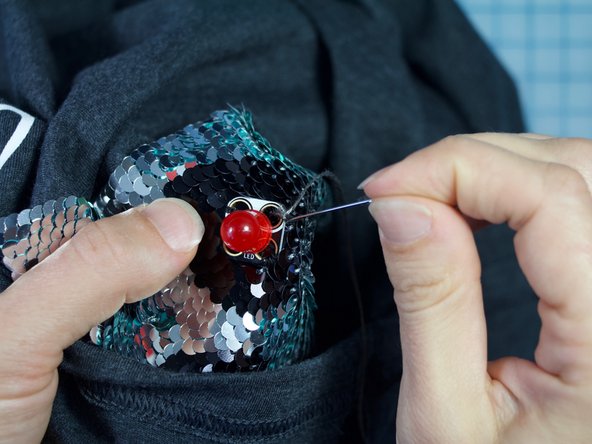
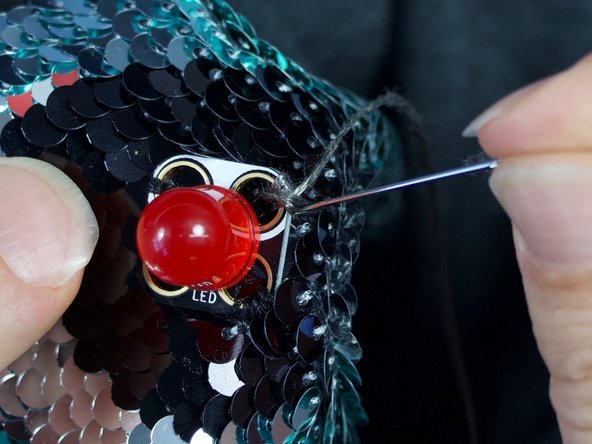
Stitch the LEDs onto the shirt where shown.
-
Tip: It can be a bit tricky to hold the LED, the shirt, and the needle while sewing. Use a tiny piece of double sided tape to tack the LED in place while you are stitching.
-
-
-
Turn the shirt inside out.
-
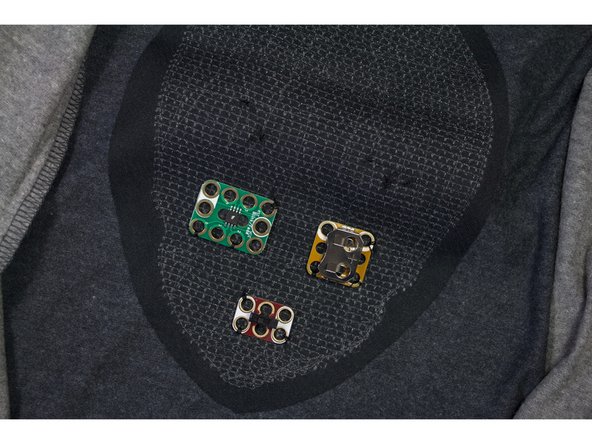
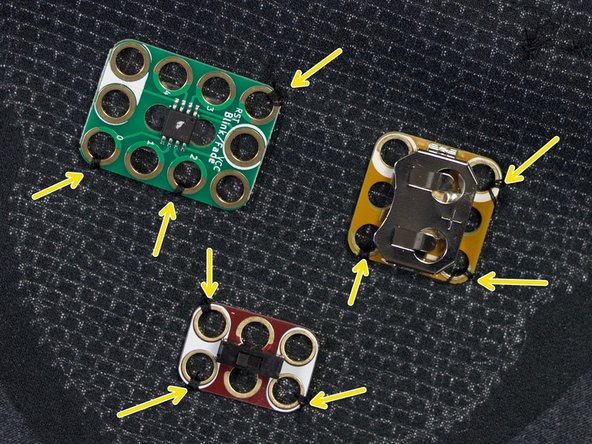
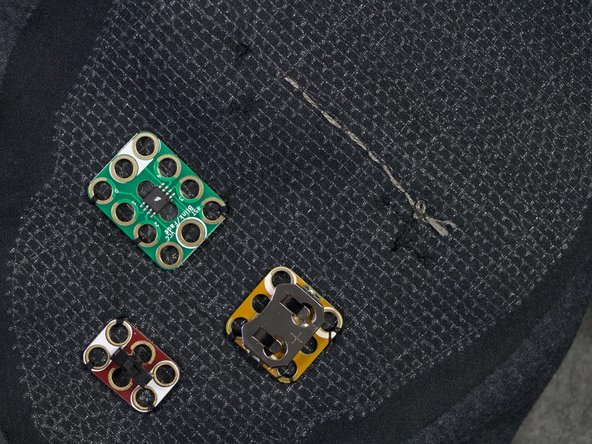
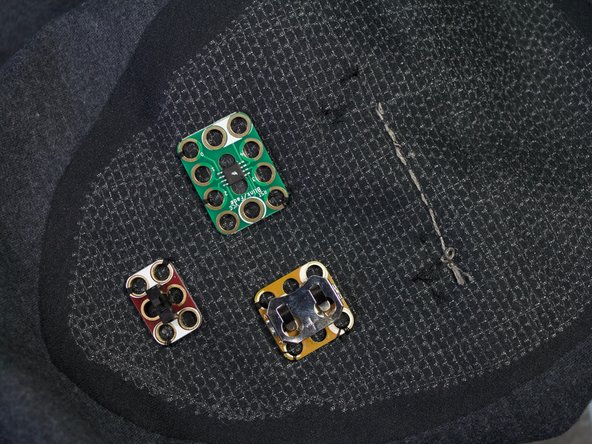
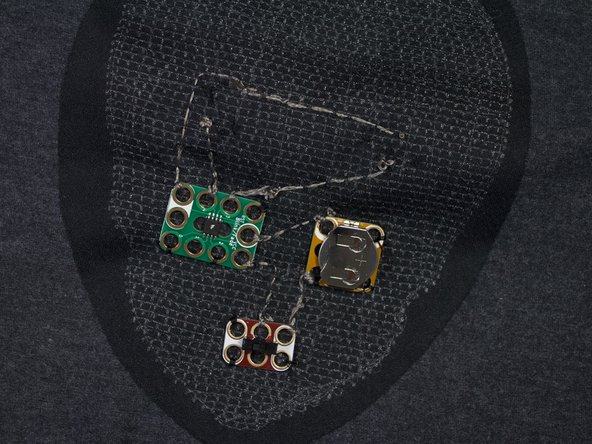
Tack the other components to the shirt where shown, through at least three of the holes.
-
It is important that you place the components exactly as the picture shows. Be sure that the negative side of the battery component and holes 4 & 3 on the blink/fade board are facing up, or toward the collar of the shirt.
-
-
-
Turn the shirt right side out.
-
Thread your needle with conductive thread.
-
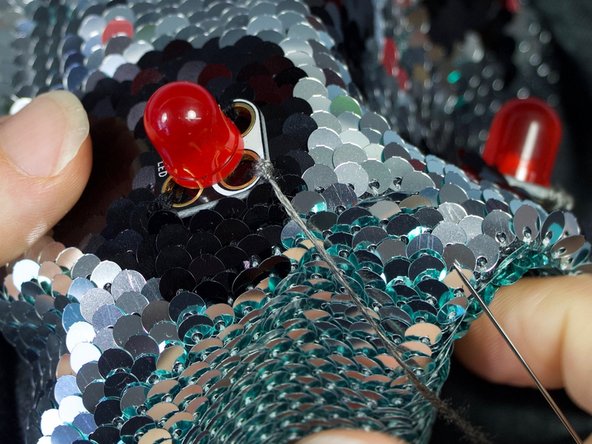
Sew a few finishing knots to the negative hole of the first red LED to make a good connection. End with the thread on the inside of the shirt. DO NOT cut the thread.
-
-
-
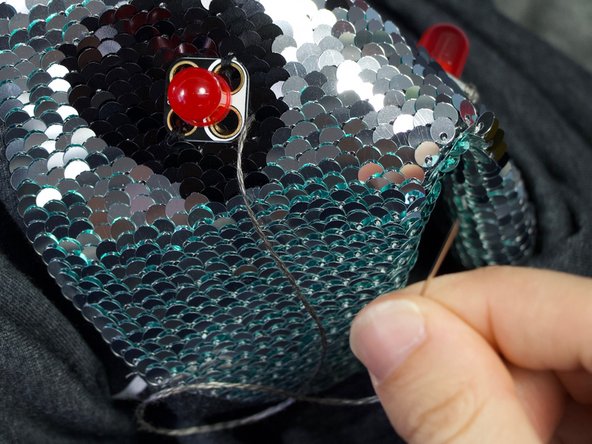
Turn the shirt inside out. Sew a running stitch to the location of the negative hole on the second led.
-
End with the thread on the outside of the shirt. DO NOT cut the thread.
-
-
-
Turn the shirt right side out. Sew a few finishing stitches to the negative hole of the second LED.
-
End with the thread on the inside of the shirt. DO NOT cut the thread.
-
-
-
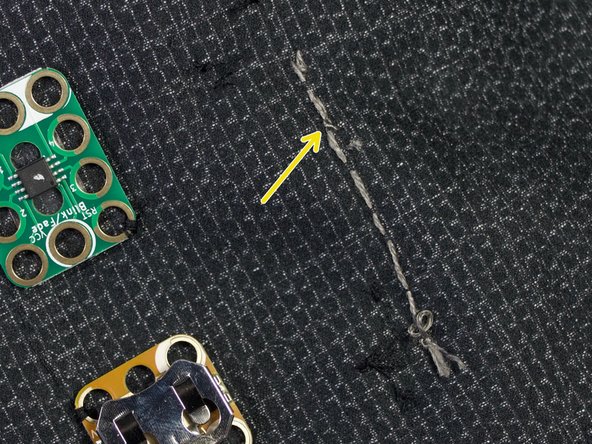
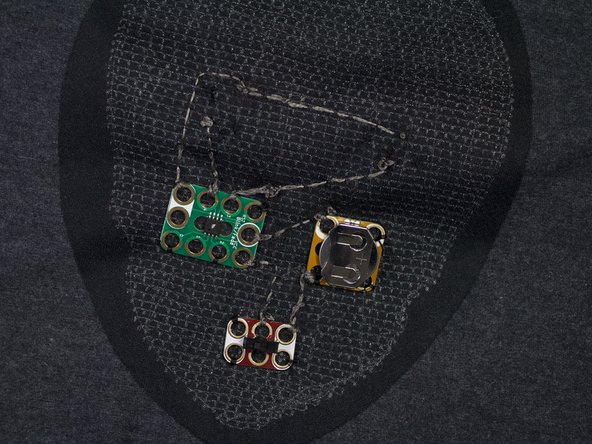
Turn the shirt inside out. Stitch the thread back along the path. Tie a knot and trim the thread as shown.
-
-
-
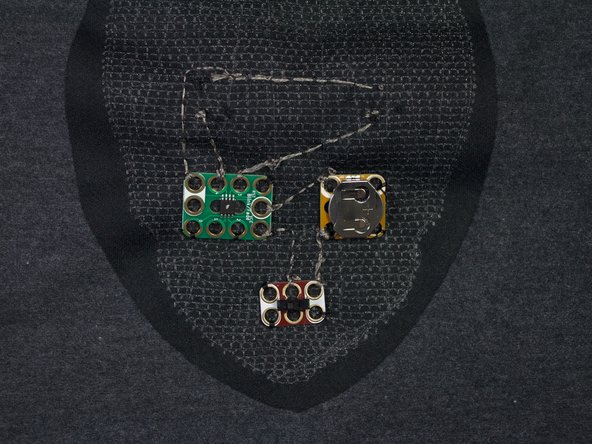
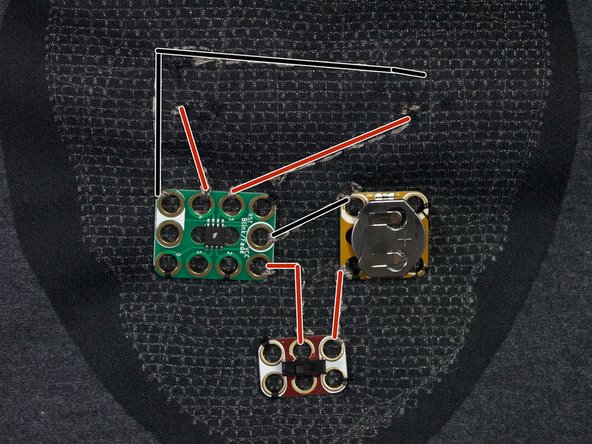
Continue to make the rest of the connections as shown.
-
-
-
Turn the shirt right side out.
-
Turn on the switch - you should have a blinking skull!
-
-
-
Once you have a working circuit, turn the shirt inside out one more time.
-
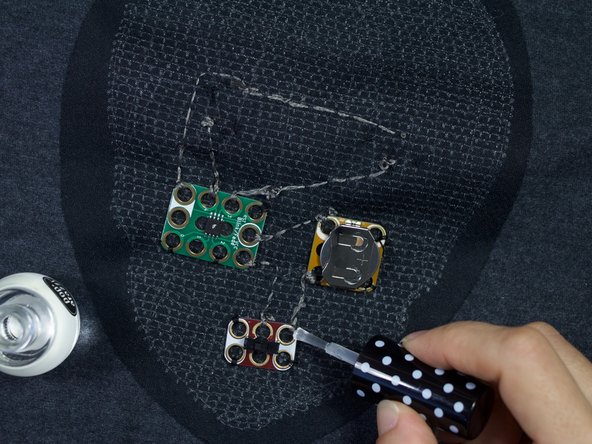
Apply clear nail polish or crazy glue to any knot or connection to the crazy circuits components. This will ensure your circuit will continue to work over time.
-
-
-
You're ready to scare!
-


