
Introduction
Make your own light-up shoe embellishments with this template and tutorial.
Tools
Parts
Video Overview
Featured Document
-
-
Download and print the template.
-
Optional: If you would like to make a shoe that turns on and off as you step using a tilt sensor, download and print the template linked here instead.
-
*Tip: In this tutorial, we used glitter cardstock, but you could also print the template on white cardstock and color it in instead.
-
-
-
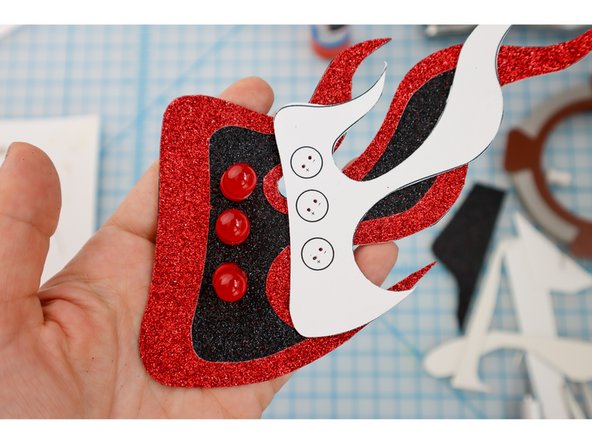
Staple the template to glitter cardstock or another craft material of your choice. (Felt, craft foam, and fancy papers all work well).
-
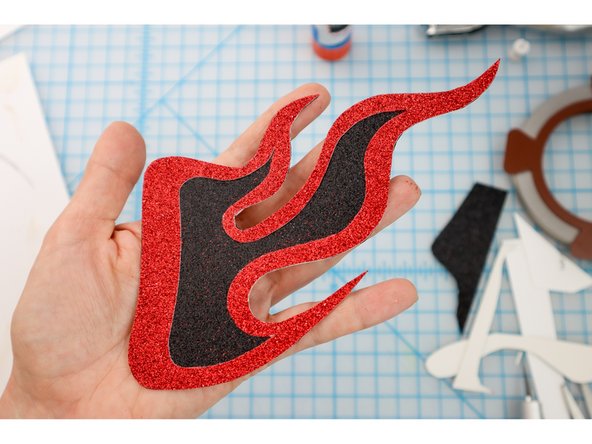
Cut out the fire shape as shown.
-
-
-
Glue the flame to another color of material and cut it out.
-
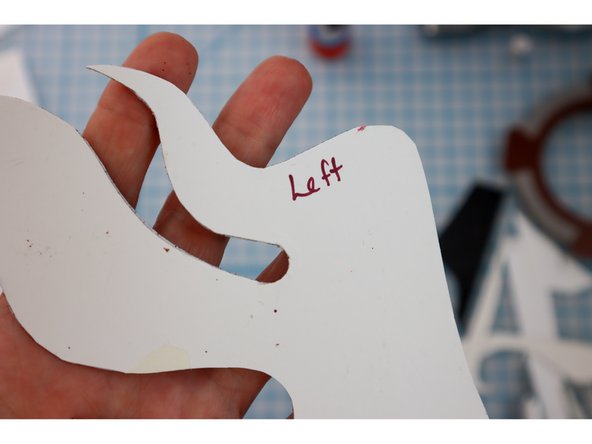
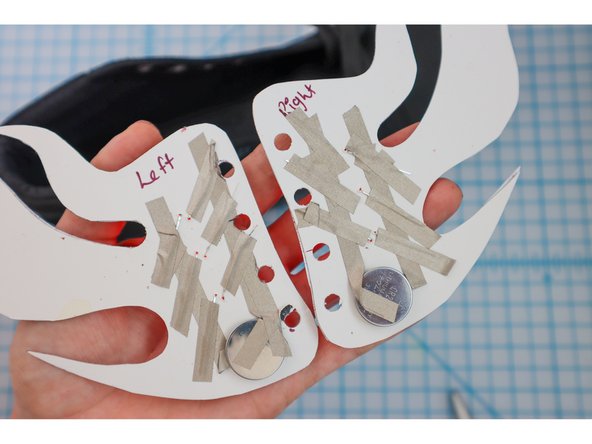
Repeat with the second flame, and label each to remember which is which.
-
-
-
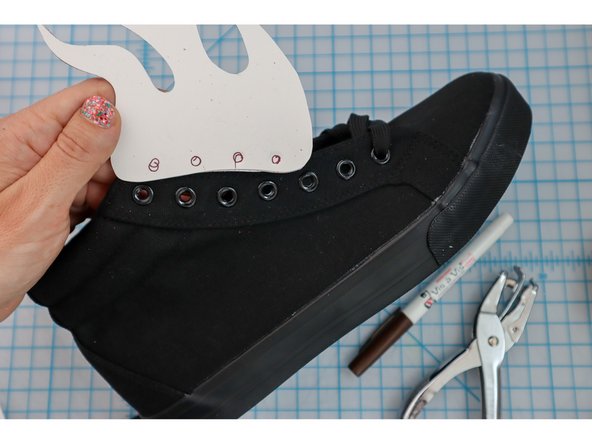
Hold the project up to your shoe and mark the hole locations with a marker.
-
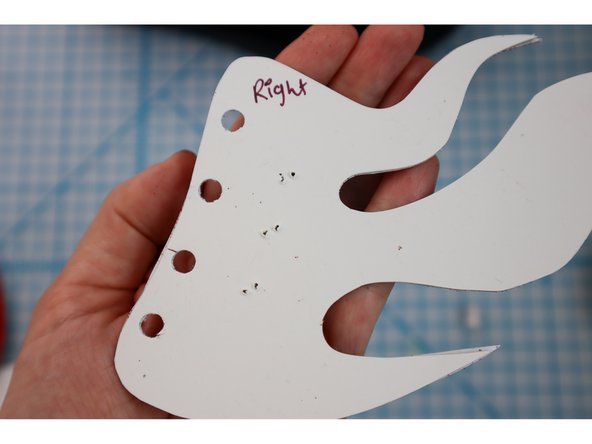
Use a hole punch to punch them out.
-
-
-
Use a push pin to poke holes for the LED legs to push through as shown.
-
-
-
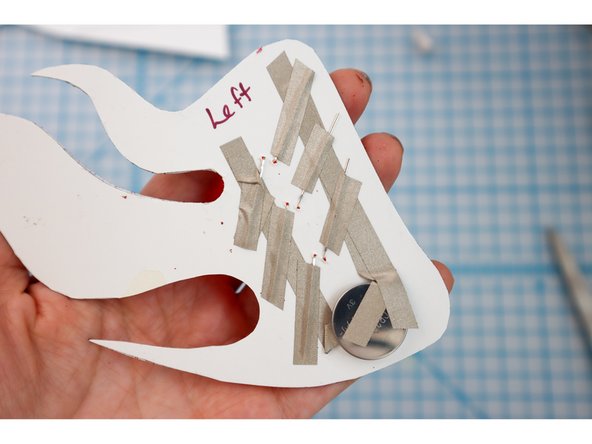
Follow the circuit diagram to add lights.
-
Add the pieces in this order:
-
The negative piece of Maker Tape
-
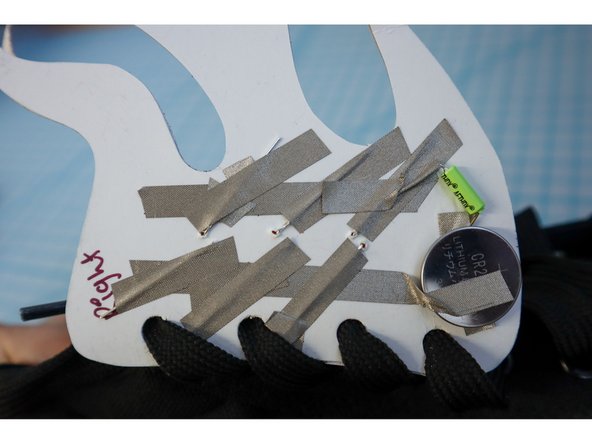
The battery (with a Maker Tape loop)
-
The positive piece of Maker Tape
-
(Then fold the LED legs down) And add a piece of Maker Tape on top of each
-
Repeat on the other side.
-
If you plan to add the tilt switch, follow the circuit diagram on that template.
-
-
-
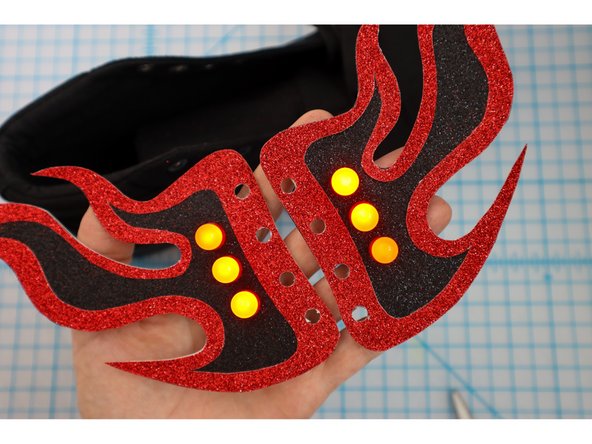
Make sure all of the LEDs are lighting up.
-
Then, lace-up the shoes.
-
-
-
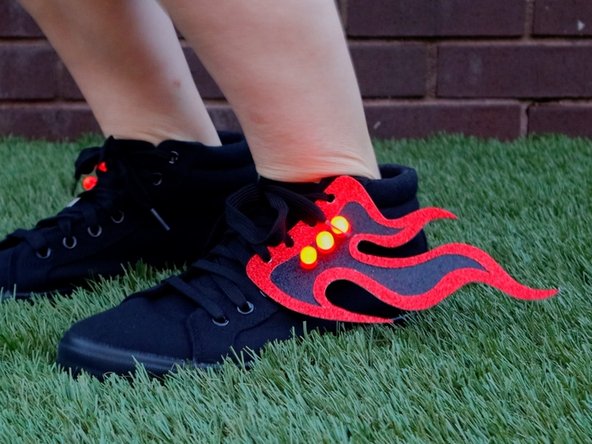
Walk around and show off your new shoe bling!
-


Attached Documents
