Introduction
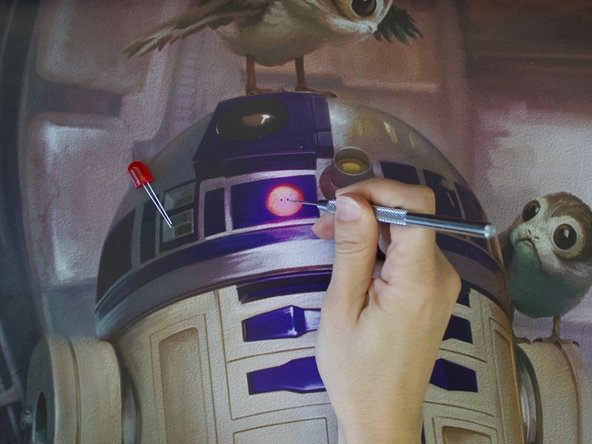
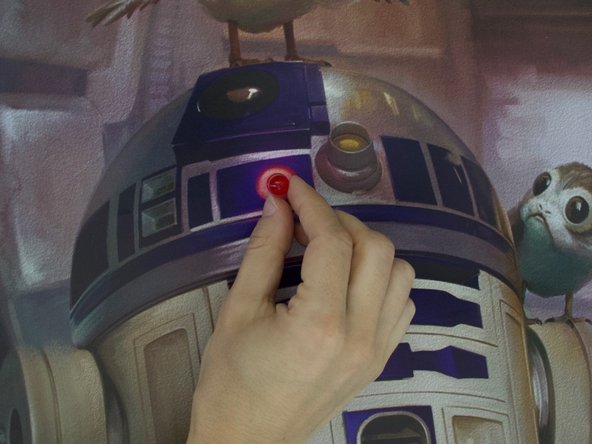
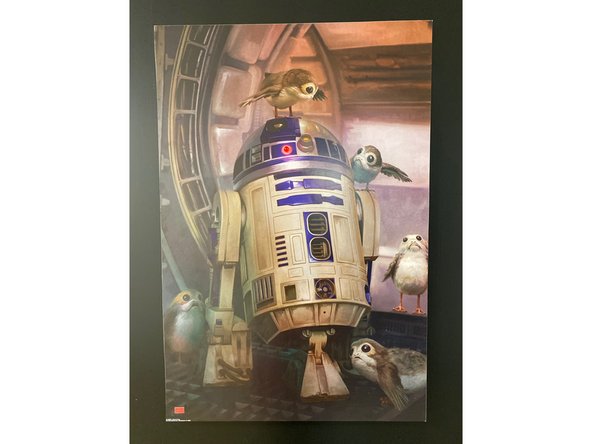
Add interactivity and lights to your poster.
Video Overview
-
-
Gather Materials. You will also need a Craft Knife, scissors, safety pin, and clear tape.
-
Use the instructions on your spray adhesive or glue to mount the poster to the poster board.
-
Trim the edges if necessary.
-
-
-
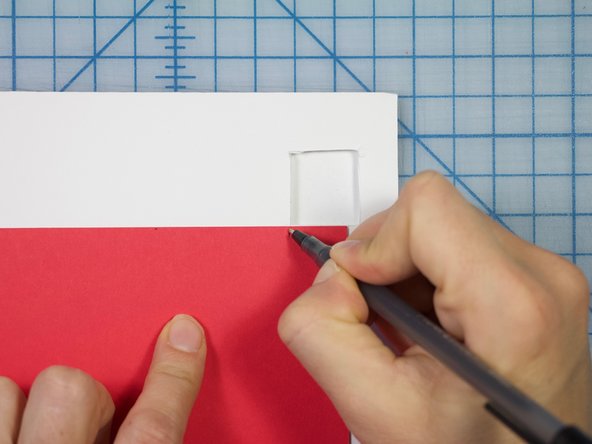
Decide where to place your switch. Peel back the poster from the poster board in this area.
-
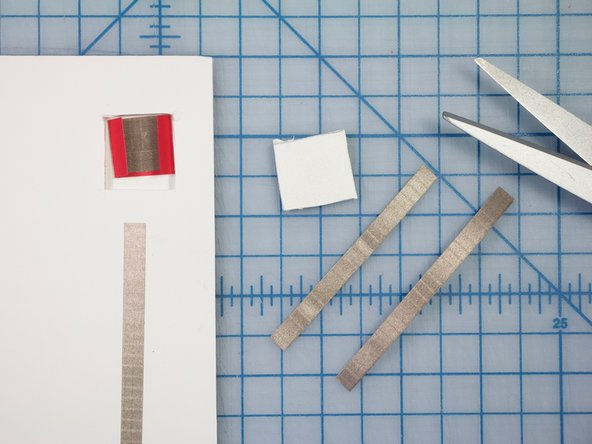
Cut a square shape and pop it out. Keep the square to use later.
-
Smooth the poster back in place, glued to the poster board.
-
-
-
Use a safety pin to make two holes for the LED legs to poke through the poster.
-
Tip: If you don't have a safety pin, make a horizontal slit in the poster with your craft knife and press both LED legs thought the slit.
-
-
-
Turn the poster over.
-
Pull the legs so that the LED is flush on the front of the poster.
-
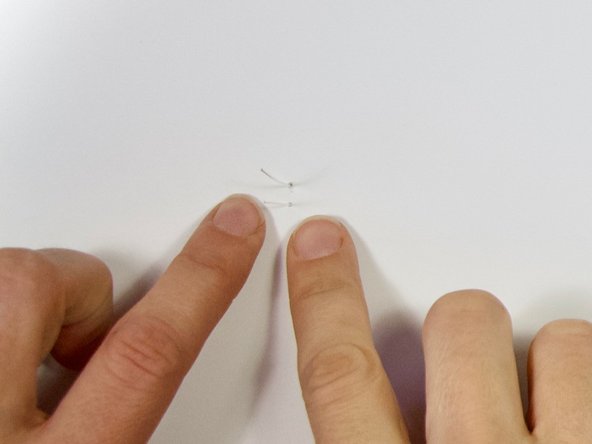
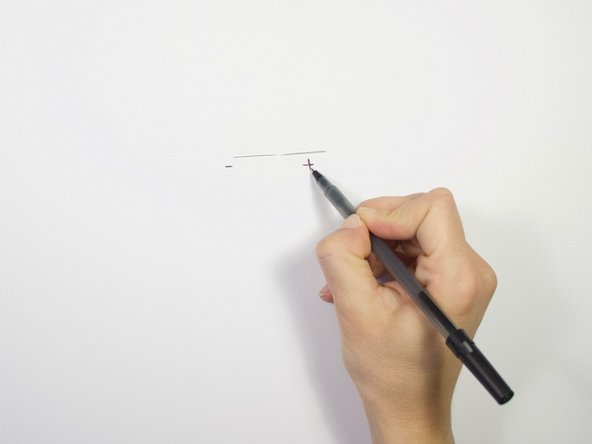
Remember which leg is positive (the long one) and negative (the short one). Fold the legs flat against the poster in opposite directions.
-
Label them so that you don't forget.
-
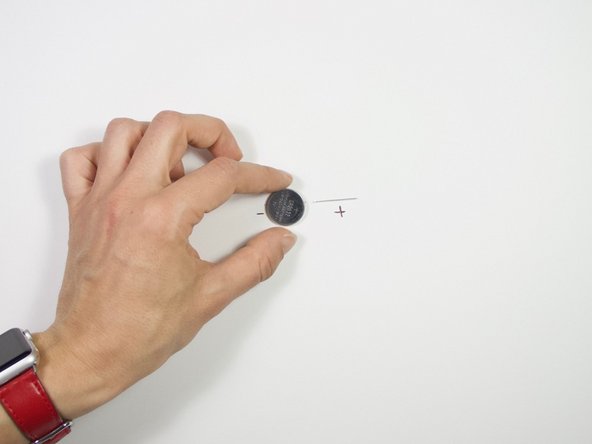
Place your battery on the negative leg, positive side up.
-
-
-
Take out some Maker Tape.
-
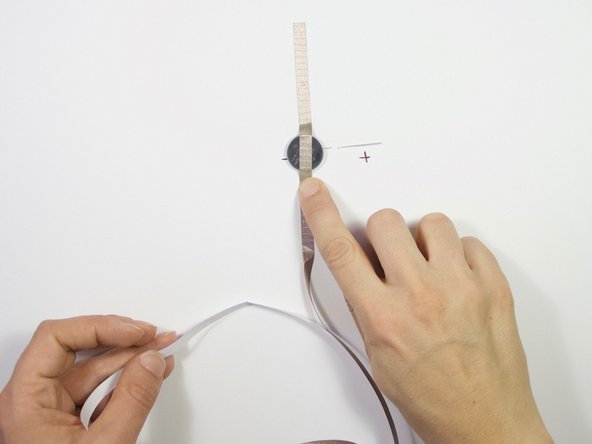
Starting above the battery, tape the battery to the poster board as shown.
-
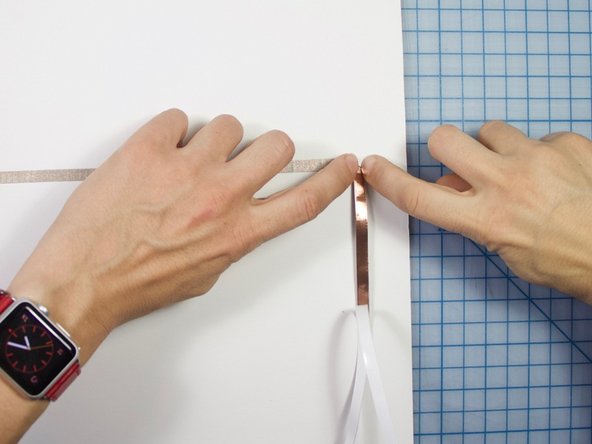
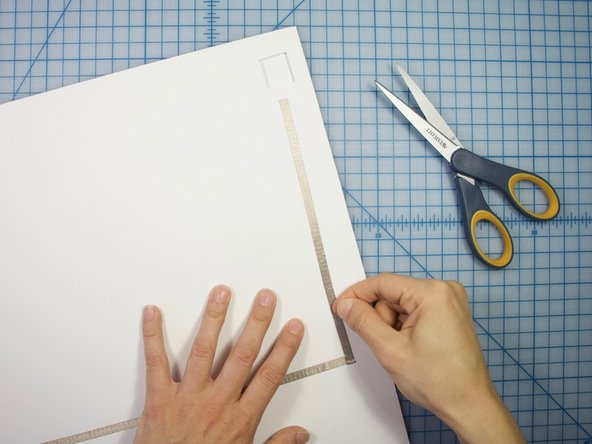
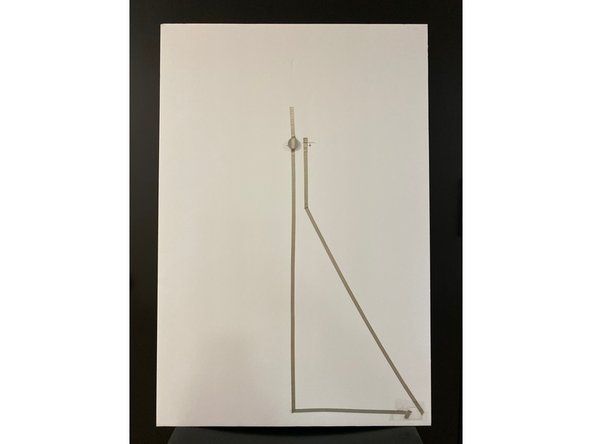
Continue to create a path to the square hole in the poster board.
-
-
-
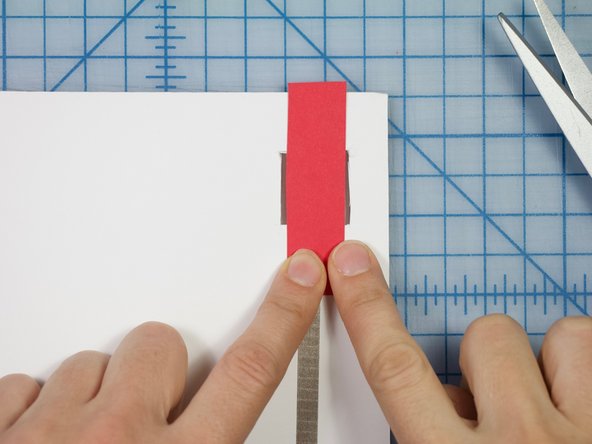
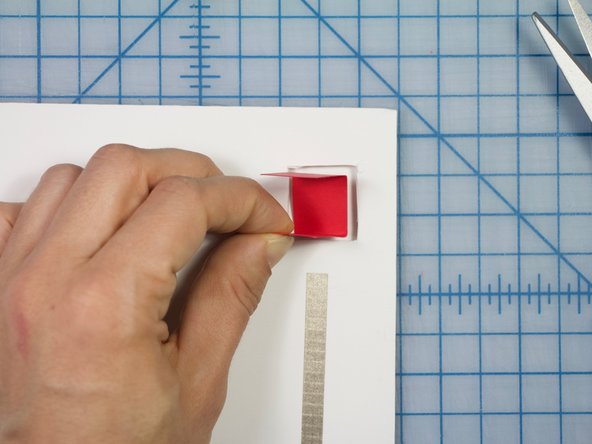
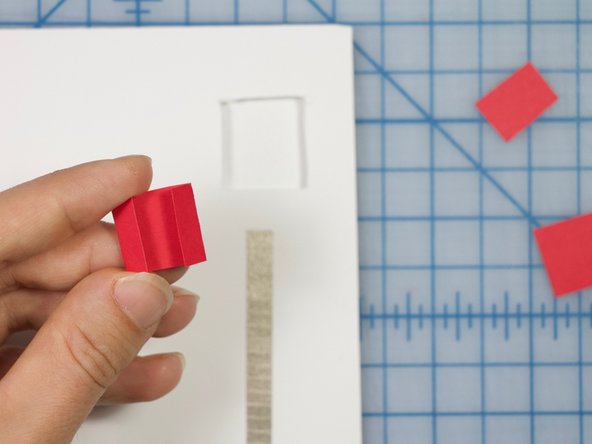
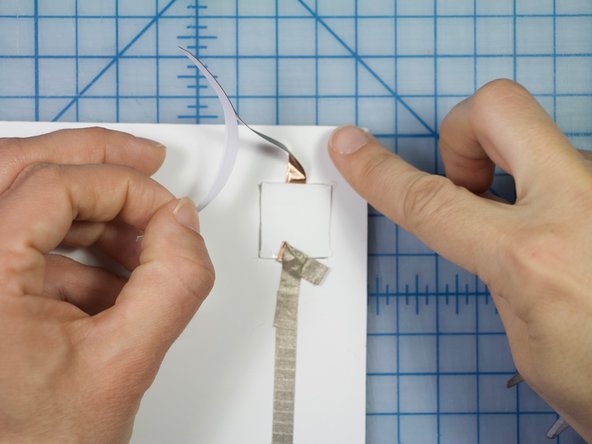
Cut a strip of cardstock that will fit inside the box hole.
-
Fold the strip so that it sits inside as shown.
-
-
-
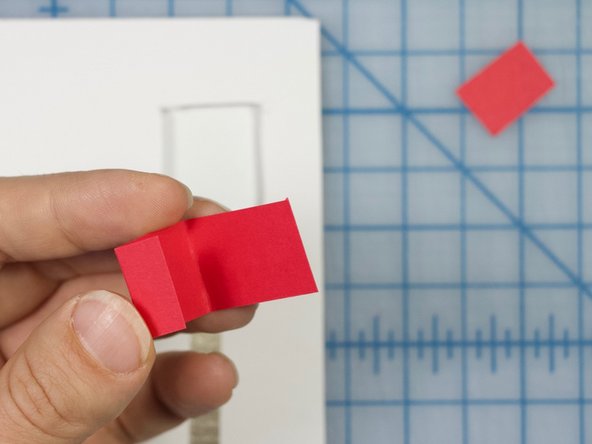
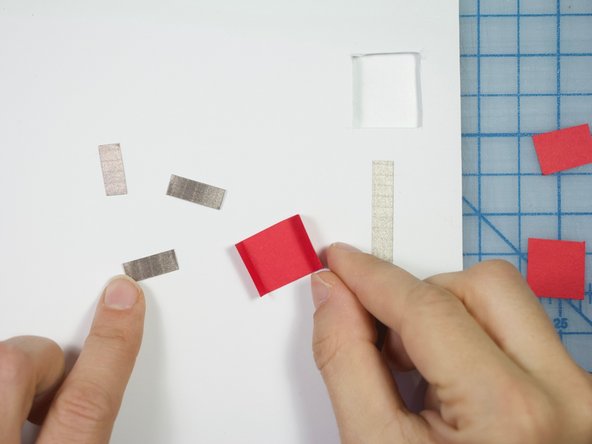
Trim the flaps so that they don't touch when folded.
-
-
-
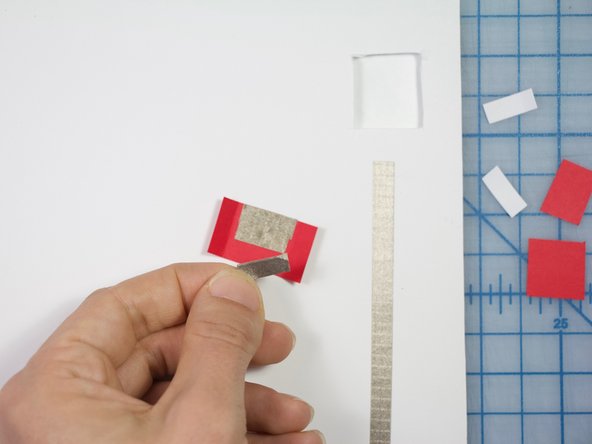
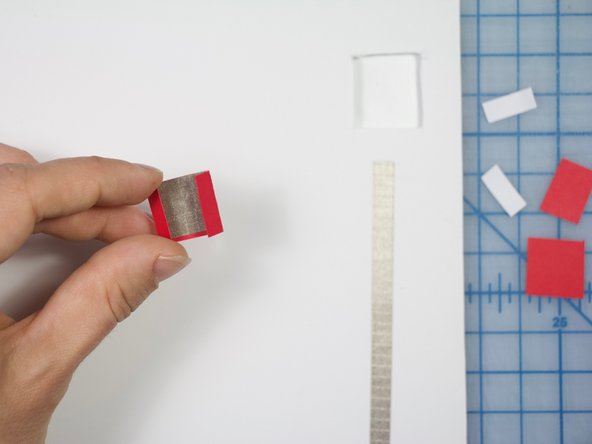
Cut small pieces of Maker Tape to cover the inside of the flap as shown.
-
-
-
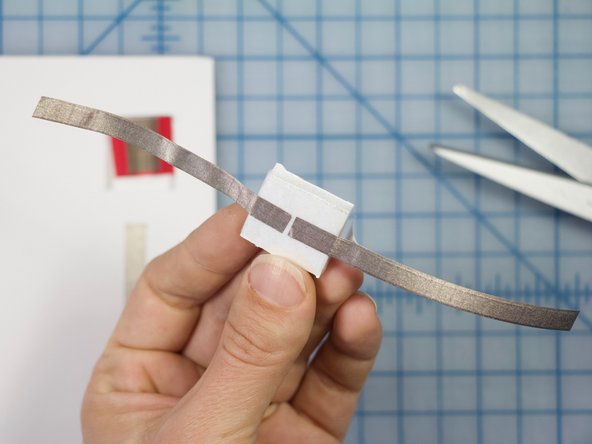
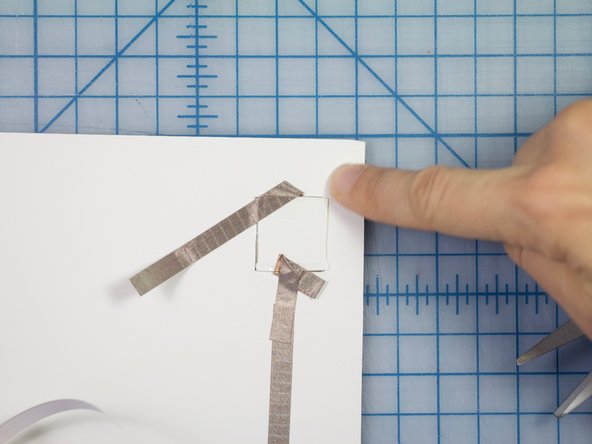
Cut two pieces of Maker Tape. Adhere them to the square piece as shown, with a gap between them.
-
Tip: Check that there is no adhesive on this square piece. If there is, cover it with a bit of tape to prevent it from being sticky.
-
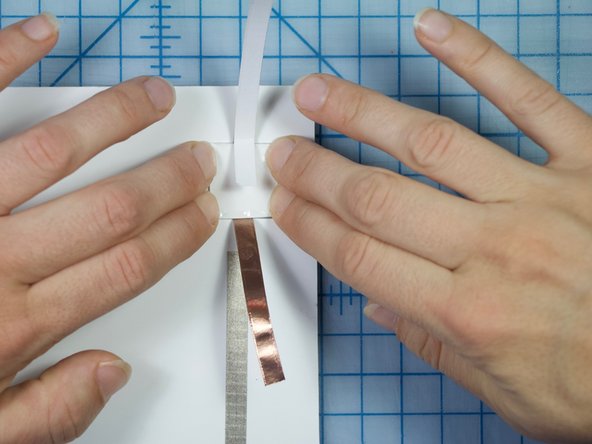
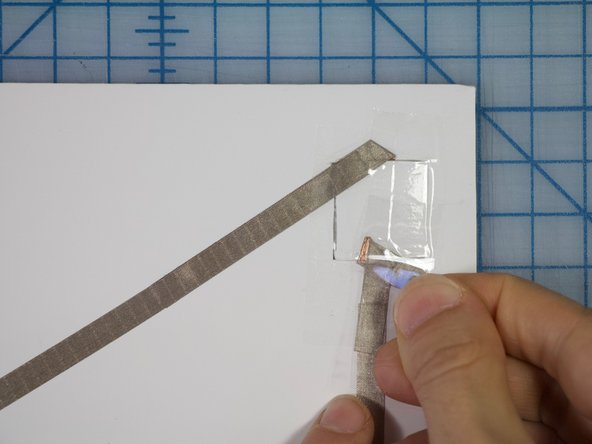
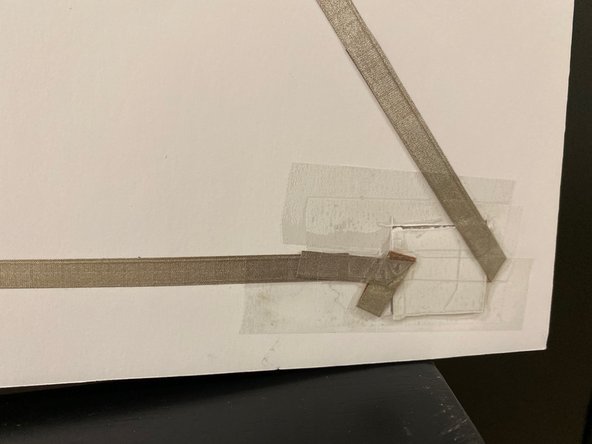
With the cardstock piece placed in the square and the flaps folded down so that only a small amount of the Maker Tape inside is visible, place the square piece in the square hole face down as shown.
-
-
-
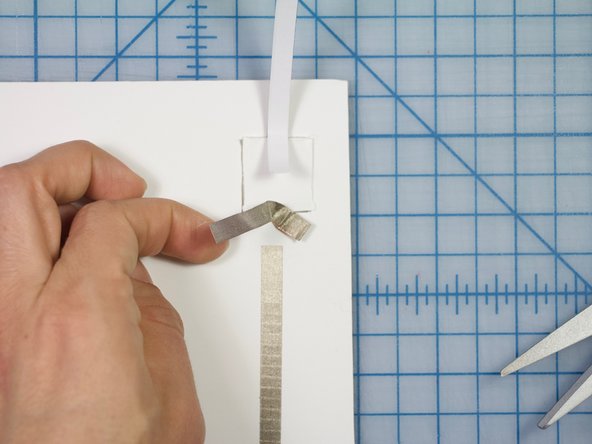
Attach one of the strips of Maker Tape to the line of Maker Tape coming from the LED.
-
Direct the second piece toward the LED and adhere it to the poster board.
-
-
-
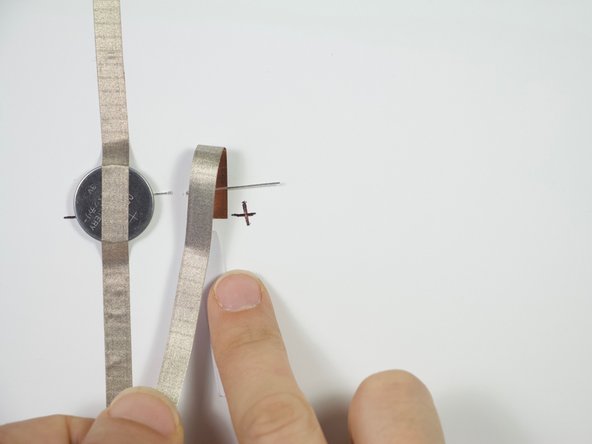
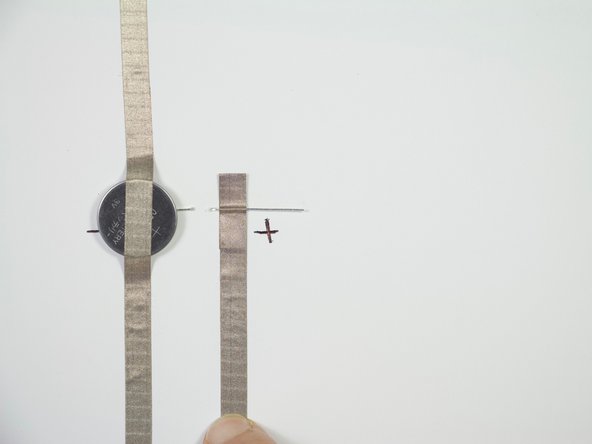
Adhere Maker Tape to the positive side of the LED, then continue to connect this piece with the piece of Maker Tape coming from the other side of the switch.
-
-
-
Test your switch by squeezing the poster board where the switch is located. You should see a light!
-
-
-
When your circuit is working, place clear tape over the switch to maintain its structure when being pressed.
-
-
-
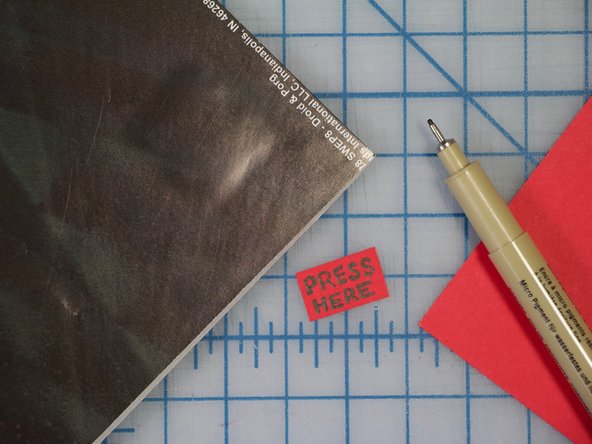
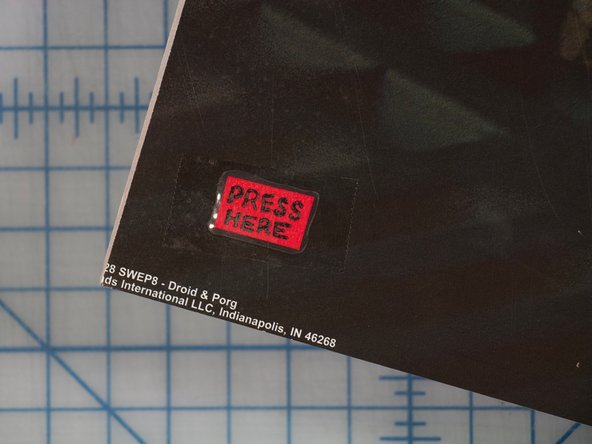
Create a label for your switch and tape it in place.
-
Hang your poster on your wall!
-


