
Introduction
Bristlebots tend to go anywhere they want, but what if you want them to move in a straight line? Just build a Line Following Bristlebot!
Video Overview
Featured Document
-
-
You've probably built a Bristlebot before, but if not, you're missing out! This is a more advanced Bristlebot built to be able to follow a path.
-
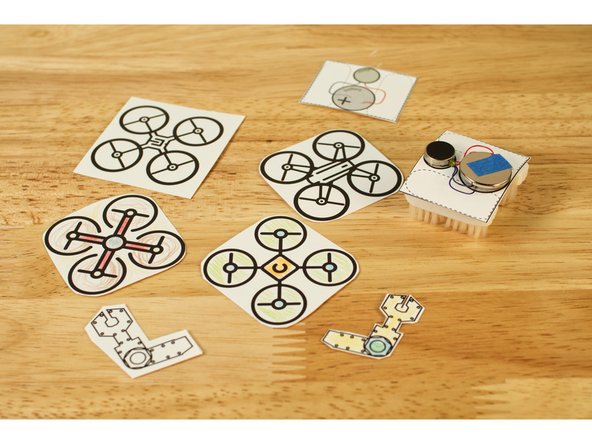
Gather up the parts you need. If you've got two Bristlebot Kits you can use the parts from them along with a Self-Sticking Vibrating Disc Motor, a CR2032 Battery and a small bit of 1/4" Maker Tape.
-
You'll also need to print the template included with this guide. It's best to print it on a heavy cardstock.
-
-
-
Use two piece of double-sided foam tape to attach the toothbrush heads to the bottom of the template.
-
-
-
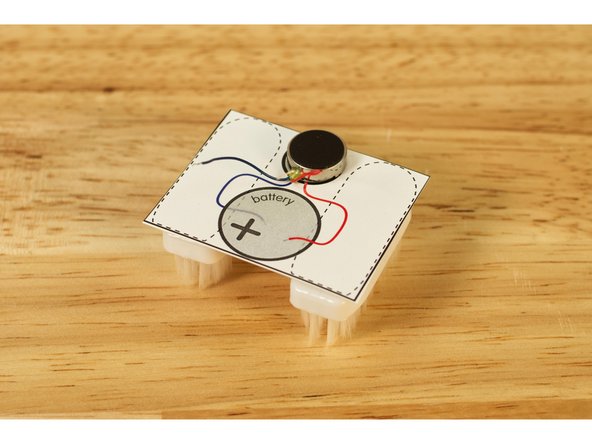
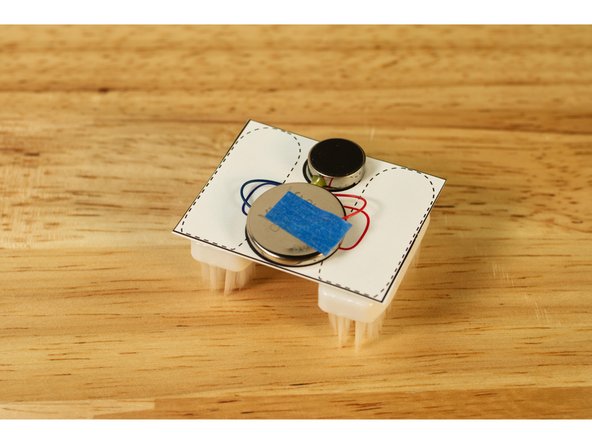
Peel the backing off of the Self-Sticking Vibrating Disc Motor and attach it to the template.
-
-
-
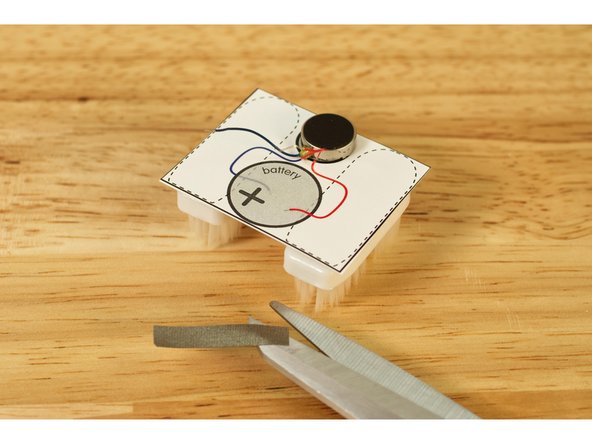
Cut a small piece of Maker Tape. You don't need much, just under one inch should be plenty.
-
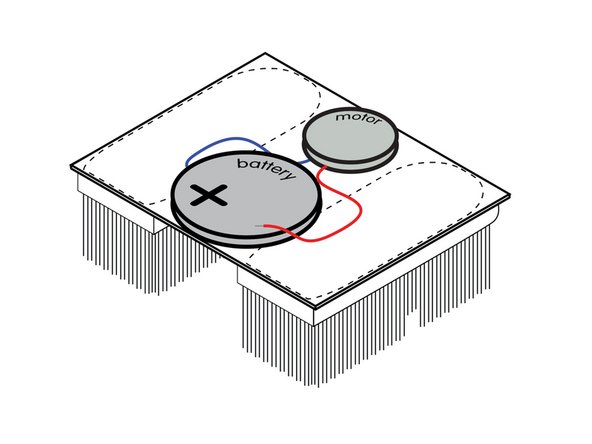
Roll the tape into a loop and stick it down to the template, and then press the blue motor wire into the tape.
-
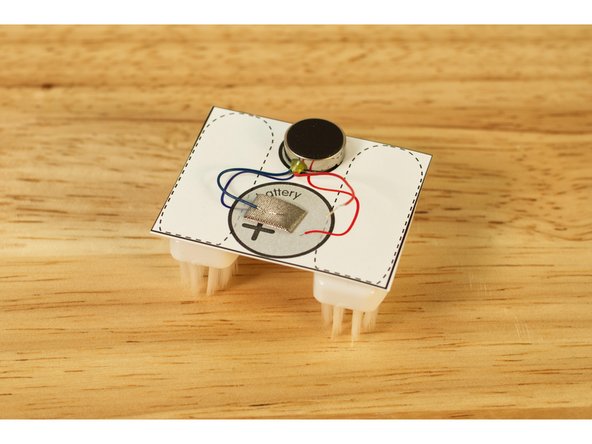
Press the battery against the tape, so the positive side (marked with a + sign) is facing up.
-
-
-
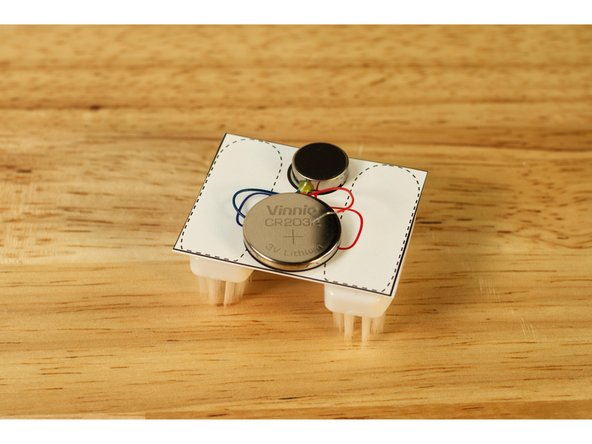
Stick the red motor wire down and it should start to vibrate!
-
We used a piece of blue painter's tape, but you can use a sticker or some masking tape. Anything that's easy to peel off will work and function as your "on/off" switch.
-
Oh No! What if you stuck the red wire underneath instead of the blue wire? That's fine! It just means your motor will spin in the opposite direction because the polarity is reversed.
-
-
-
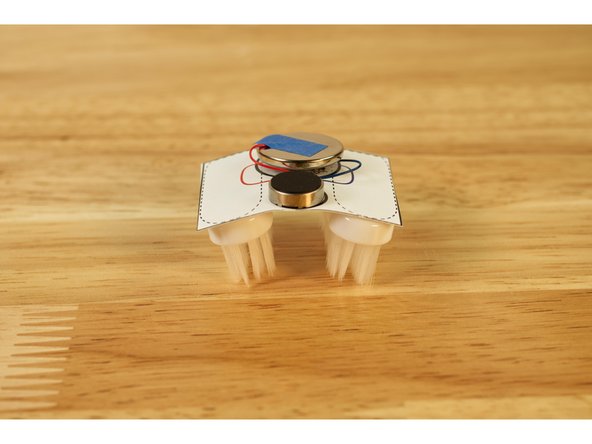
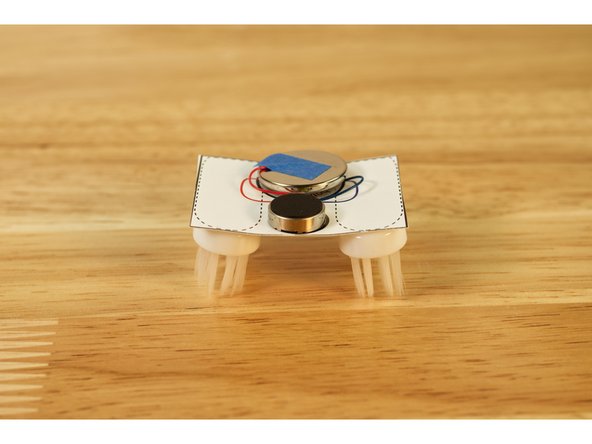
When you've completed your bot the cardstock will probably be pretty flat, but now is the time to experiment!
-
Try bending the bot at the center so the body is convex or concave. Test it out, and see which works better for faster motion.
-
You may also find that your bot likes to go backward instead of forward. There isn't really a front or back, so whichever way your bot moves, that can be the front.
-
But wait! We still need a line for this little bot to follow... we'll do that next.
-
-
-
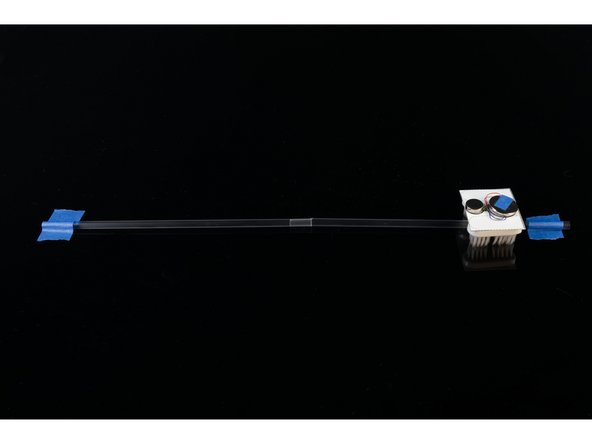
We used some regular drinking straws taped down to a table as our "line" or track, or monorail... Monorail!
-
The old trick of cutting a slit at the end of one straw and curving the edges inward to fit it into another straw works great.
-
We only added blue tape at the ends. (As we'll explain in Step 10 the tape can be tricky!)
-
You could easily build two or more of these lines and have races with multiple bots!
-
-
-
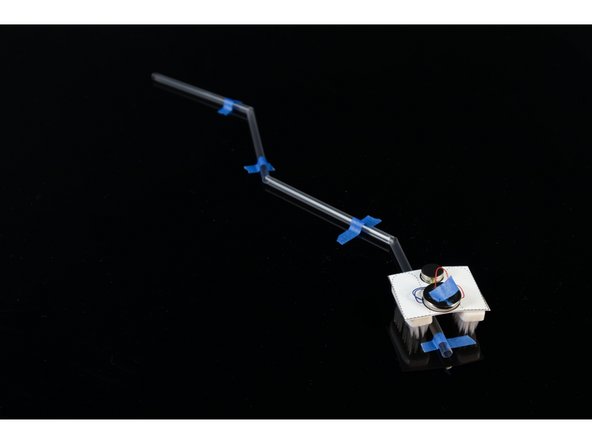
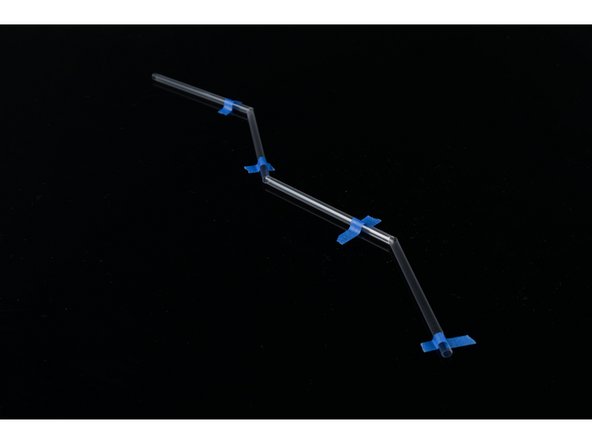
Can your track have angles? It sure can!
-
While they are not real curves, they are straight line segments attached at angles. How much of a turn can your bot make? Is a 90 degree turn possible? Test it and find out!
-
You may find that the blue tape causes the bot to slow down or get stuck. Check Step 10 for some tape tips.
-
For the straight track and this single line track, it can help to add a bit of a slope so your bot is going just slightly downhill.
-
If you've built your track on a table you can slide some books or magazines or scrap cardboard under two of the legs for a slight slope.
-
-
-
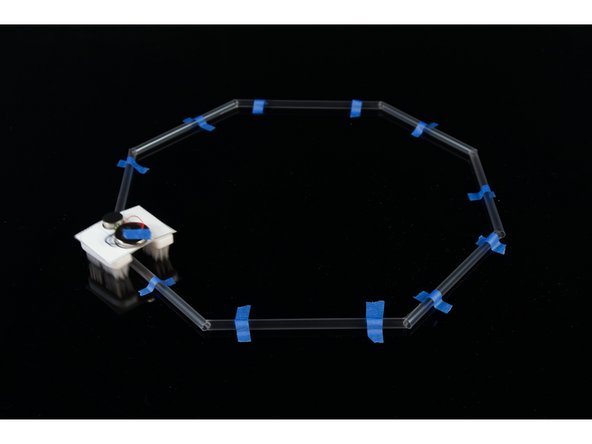
Okay, a straight line is easy, and a line with a few angles is still pretty easy, but can you make a circular track? Yes!
-
It's not exactly a circle... more of a octagon, but cutting shorter segments and connecting them into a circular track does work.
-
For a circular track you don't want any slope. A nice level surface will work best. We also recommend a nice smooth surface. A clean table is good. A paved concrete driveway is not good.
-
-
-
We like to use blue painter's tape because it's just sticky enough, but easily removable and should not leave any residue.
-
If you are doing a single line track, you can use a large piece of tape to stop or slow down your bot when it hits it. The bristles just don't propel it over the tape as easily as the smooth table surface.
-
If you are doing an angled track or a circle track, use as little tape as you can so the bristles can avoid hitting it. When the bristles hit the tape your bot will slow down or get stuck and may need a nudge to get moving again.
-
Again, it may take some experimenting to figure out what works best for assembling a track that allows your bot to move easily without getting stuck.
-
If you have a nice flat board of some kind you can use hot glue to attach straws to it. While it can be messy (and hot!) it helps avoid the tape troubles.
-
-
-
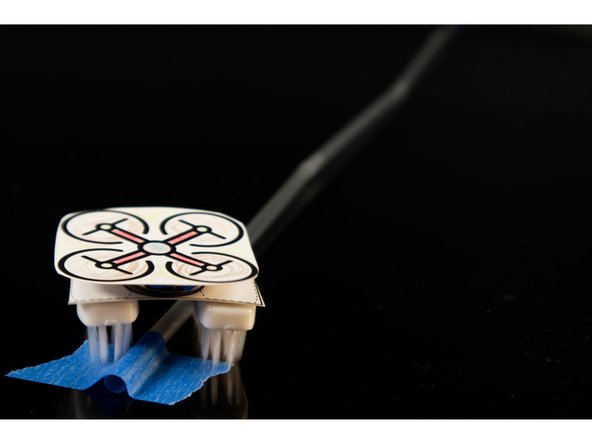
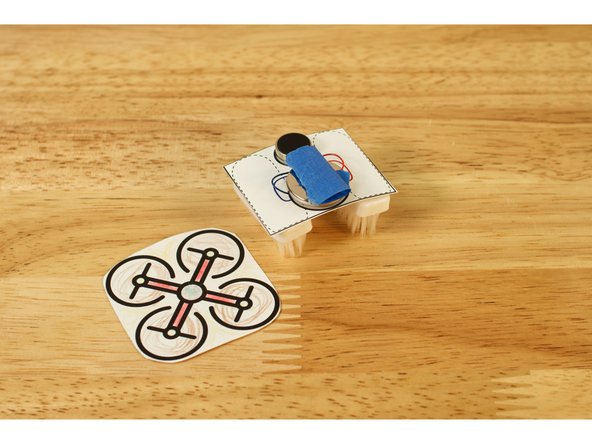
We've provided a few different drone "bodies" on the template. You can cut them out and color or decorate them as desired.
-
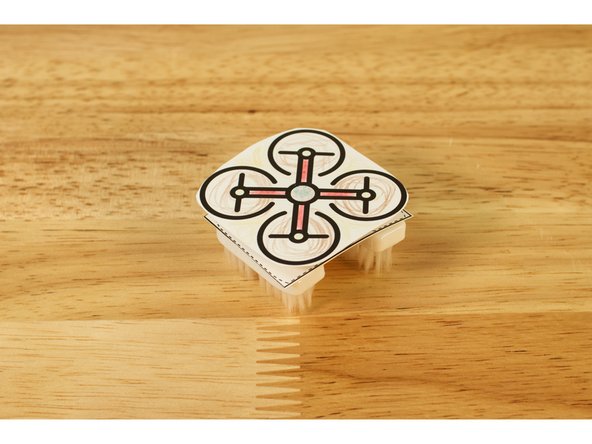
Just make a tape loop with some blue painter's tape and stick the body on top of the battery.
-
You may find that the drone body affects the movement of the bot. What data can you gather about how it moves and what might you hypothesize about the outcome?
-
The drone bodies (once colored) can also help each student or participant know which is theirs.
-
-
-
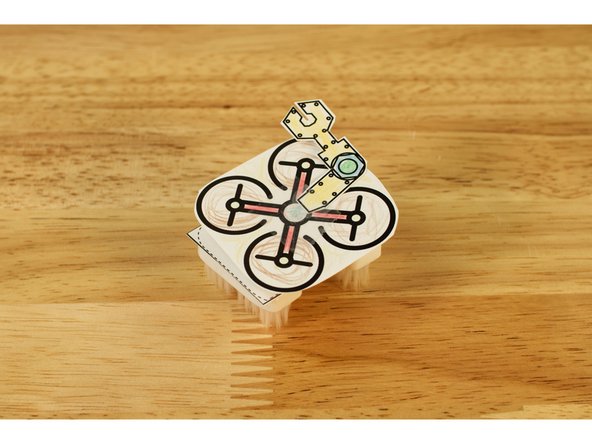
There's also a robot arm on the template that you can add to your drone bot. Just attach to the top with clear tape.
-
Warning: Drone Arm is not a real Robot Arm capable of lifting things! Robot Arm is for decorative purposes only.
-
-
-
This basic guide for a Line Following Bristlebot has plenty of room for experimentation.
-
Like all of our guides, they can function as a starting point to test out new ideas, gather data, and make decisions about what factors to change.
-
Also, Bristlebots are just plain fun! Whether they follow a line or just spin around in circles. They're the best little bot we know!
-
Here's a few questions you can ask:
-
How does the drone body affect movement of your Line Following Bristlebot?
-
How does the robot arm affect movement of your Line Following Bristlebot?
-
How does an unlevel surface affect movement of your Line Following Bristlebot?
-


Cancel: I did not complete this guide.
One other person completed this guide.
Attached Documents
