
Introduction
Use this simple guide to see how hot glue and small silicone candy molds can be used to transform raw LEDs into something with a little more pizazz!
Parts
-
-
NOTE: LEDs, like any light source, project their light forward and outward through the material in front of it. The material we want the light to travel through but be trapped by is hardened hot glue of a certain thickness. We must consider this when preparing our LEDs for molding.
-
Because small candy molds aren't that DEEP, we don't want to the light to shine through from the back to the front of the mold because there will be so little hardened glue in front of the LED to trap and disperse the light. Instead we want the light to shine from the bottom of a finished object to the top as we see mocked up in photo 1.
-
To accomplish photo 1, let's start by selecting 3-4 LEDs and arranging them in front of you with the short legs all on the right and the long legs all to the left as shown in Photo 2. Now, bend the two legs of each LED in the same direction at a 90 degree angle as shown in Photo 3.
-
-
-
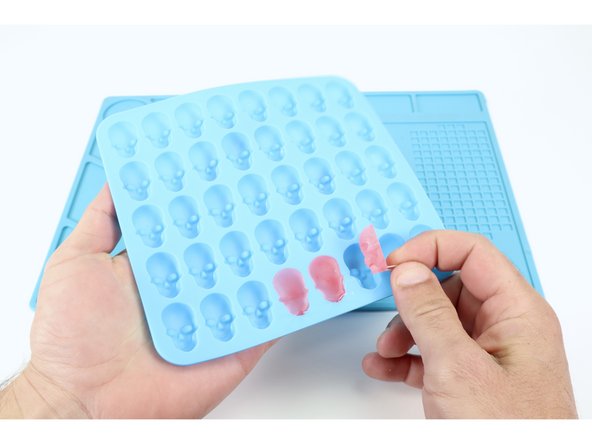
Plug your hot glue gun in and load a glue stick of choice. When the glue is hot enough to flow, squeeze a small amount into your mold cavity near what will be the bottom of the object when you pop it out of the mold as shown in photo 1.
-
Now take an LED with legs bent and place it atop that glue as shown, holding it in place for 30 seconds. This allows this small amount of glue to harden BELOW the bulb (actually the front of the FINISHED object) and holds the LED in place before final filling. Repeat this process one-by-one for each remaining LED in your project.
-
Now, with the lower portion of glue hardened, squeeze glue into the each of the mold cavities until they are filled to the top.
-
Set the mold tray aside and allow for the glue to harden. If you want to speed this part up, simply place the tray on a flat surface in your refrigerator.
-
-
-
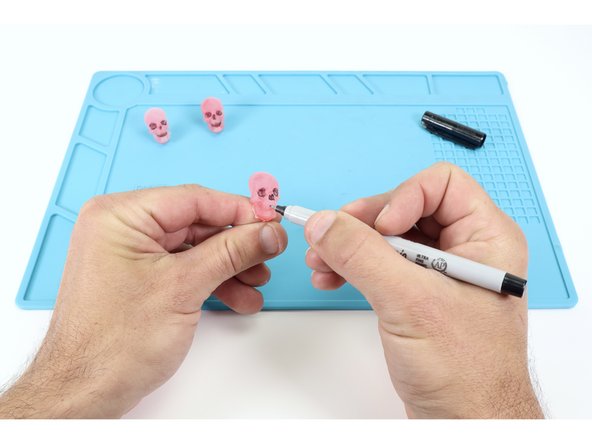
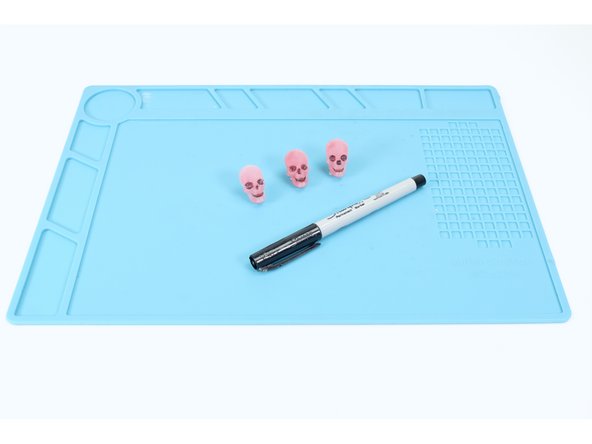
When the glue has hardened, pop those LED ghosts, skulls etc. out of the mold.
-
Optional: Use a fine tipped black permanent marker to color in the recessed details!
-


Use these diffused, shaped LEDs just as you would any other LED in a circuit. So fun!
Use these diffused, shaped LEDs just as you would any other LED in a circuit. So fun!