
Introduction
Celebrate all the Moms in your life with these fun light-up badges that you can make using our printable template and some basic components!
Video Overview
Featured Document
-
-
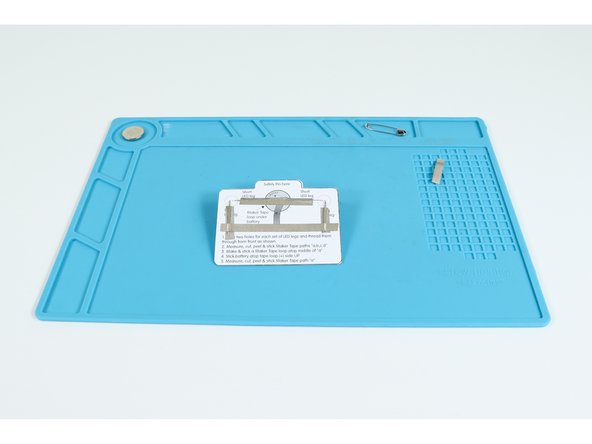
Print out template page(s) back-to-back and gather the materials listed.
-
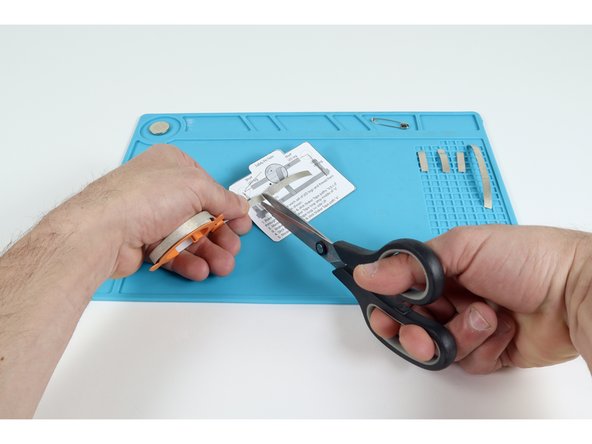
Select the project(s) you want to make and cut each of them out with a scissors.
-
Color in the text and add decorations by hand if you wish.
-
-
-
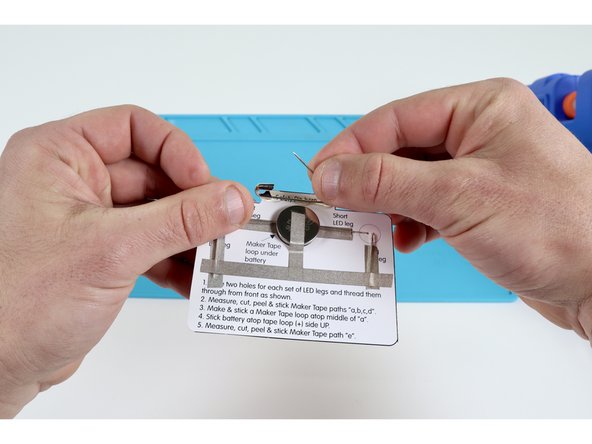
Use the safety pin to poke out the two small holes indicated on the circuit side of your project for any LED present in the circuit.
-
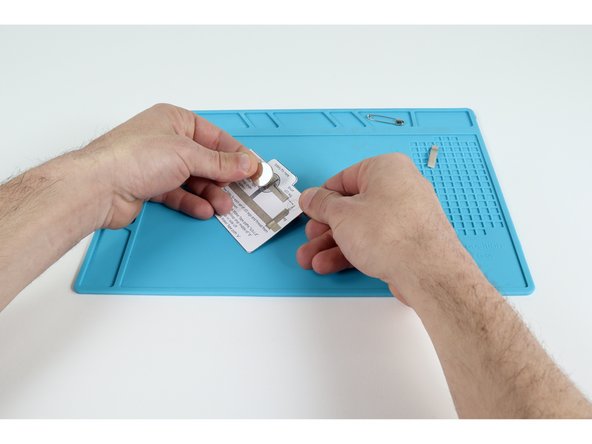
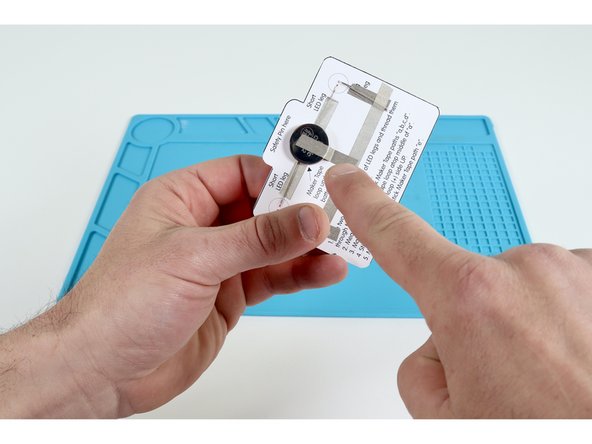
Thread your LED(s) legs through the holes from the front using the long leg/short leg orientation indicated on the circuit side of your project.
-
Bend the legs to the positions shown.
-
-
-
Measure, cut, peel and stick Maker Tape pathways "a,b,c" as shown for the one LED project and "a,b,c,d" as shown for the two LED project.
-
Make and stick a Maker Tape loop atop path "a" where shown on your circuit diagram.
-
-
-
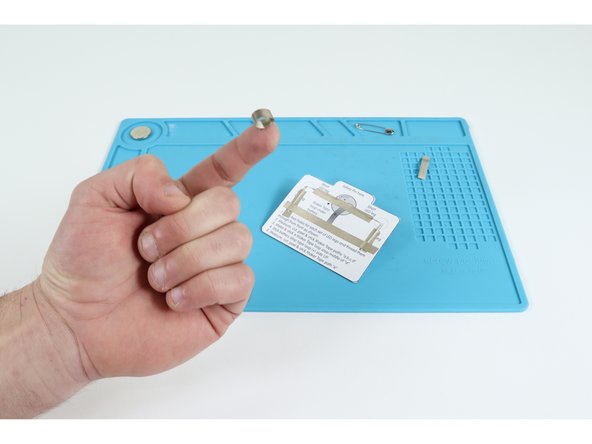
Stick battery atop the tape loop with the "+" side facing up.
-
Measure, cut, peel and stick the final tape segment as shown on the diagram. At this point, the LED(s) should turn on.
-
Apply a bit of hot glue to the back of the upper tab and carefully press the safety pin into it as pictured, allowing the glue to harden.
-


There are all kinds of Moms and they all deserve a light-up badge to celebrate the wonderful things they do for us. You made it yourself...way to go!
There are all kinds of Moms and they all deserve a light-up badge to celebrate the wonderful things they do for us. You made it yourself...way to go!