
Introduction
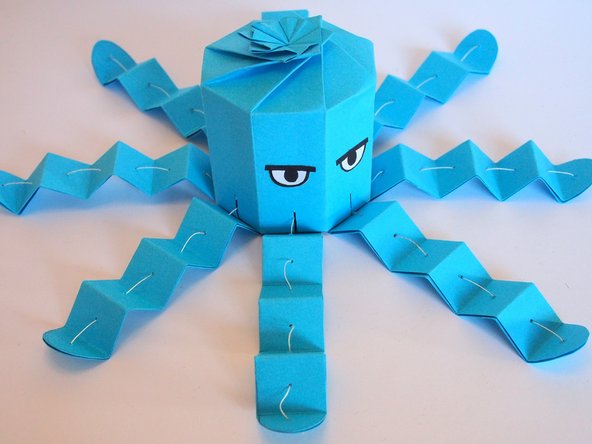
Make a paper octopus that retracts its tentacles.
Video Overview
Featured Document
-
-
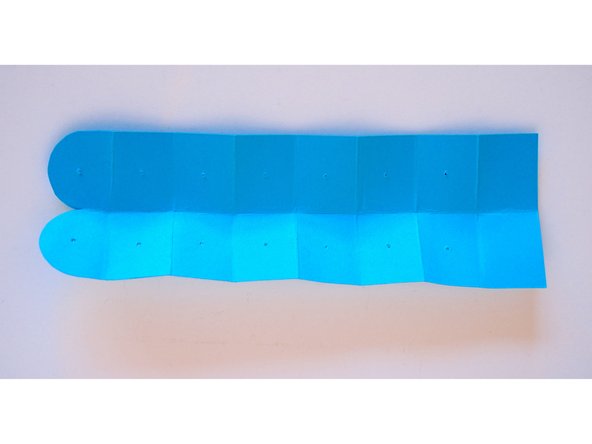
Cut out a tentacle
-
Fold it in half with the template markings on the outside
-
Tip: You can save some time by folding the tentacle in half, then cutting the rounded top part
-
-
-
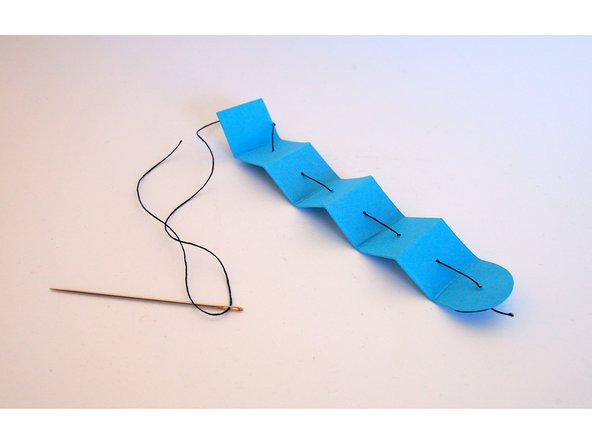
Use a sewing needle to make the holes in the marked locations
-
Make sure to go through both layers of paper
-
-
-
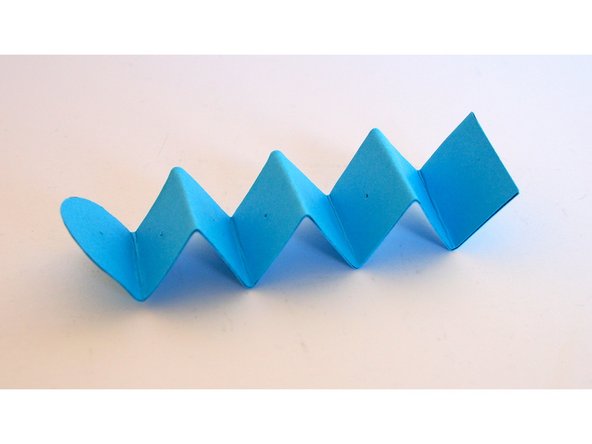
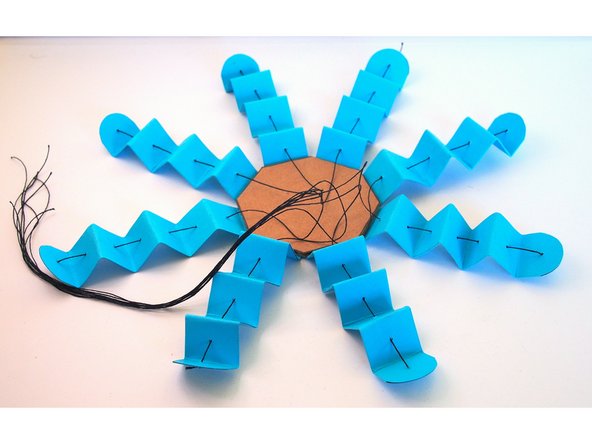
Fold the tentacle in a zig-zag
-
Unfold the tentacle, then refold it inside out so the template markings are on the inside
-
You can also leave the template markings on the outside if that's your style!
-
Optional: add glue when you fold it in half to hold the two layers together (it's not necessary since it holds its shape pretty well without glue)
-
-
-
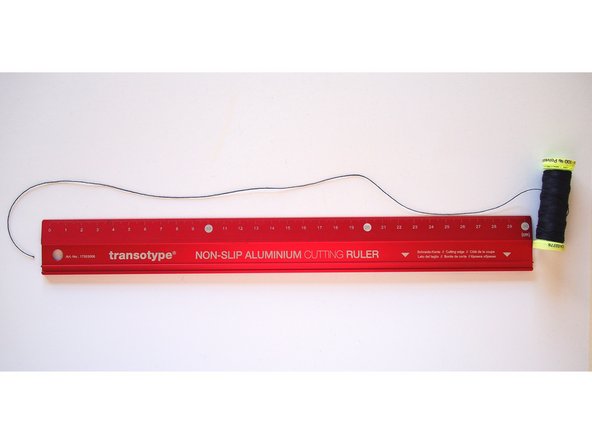
Cut a piece of thread around 12" long
-
Double or triple knot the end of the thread
-
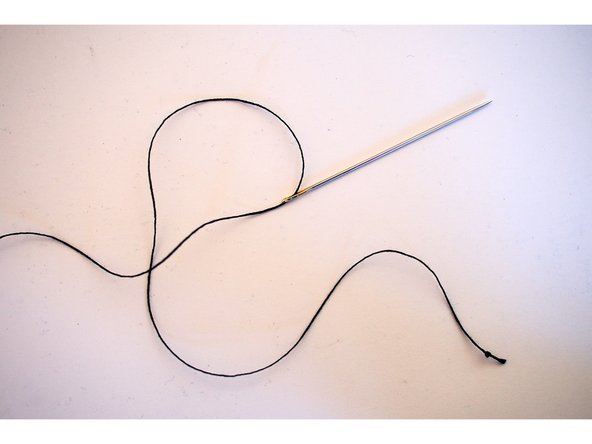
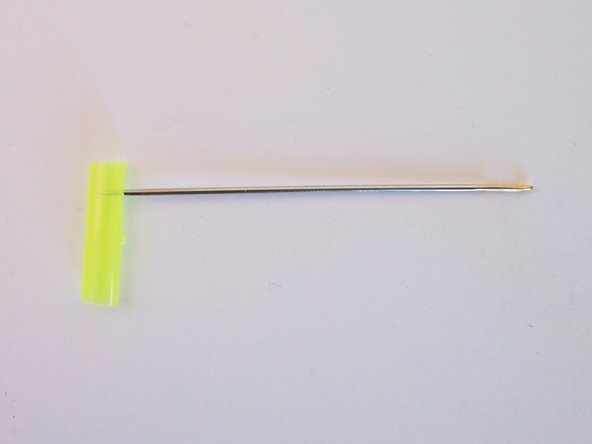
Thread the needle
-
-
-
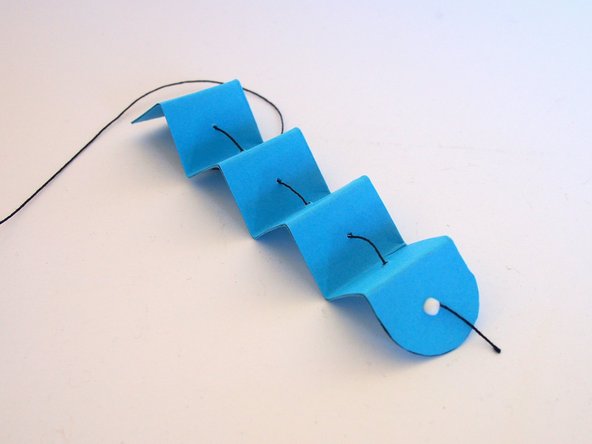
Use the holes you made in step 2 to sew the thread through the tentacle
-
Make sure to start from the rounded end of the tentacle, and on the outside of the zig-zag fold
-
Add a drop of glue (or tape) on the knot to make sure it doesn't pull through the paper
-
Double check that the knotted end is on the rounded side of the tentacle, and the extra thread is on the opposite side
-
-
-
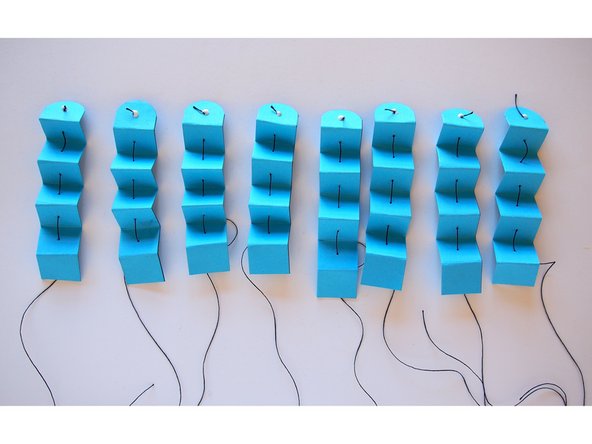
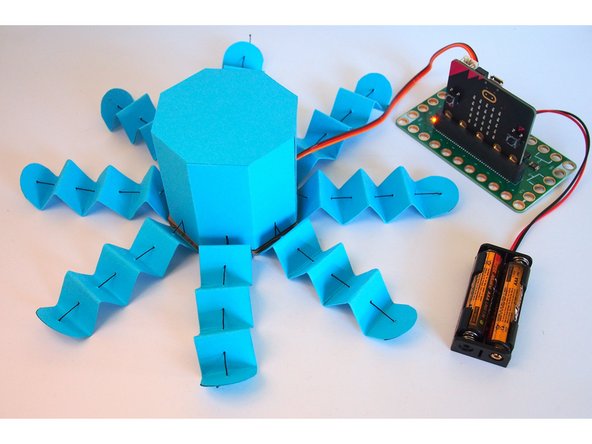
Repeat 7 more times until all 8 tentacles are finished
-
Set the legs aside for now to let the glue dry
-
Are you regretting making a robot with 8 legs? Just be glad it's not a centipede!
-
-
-
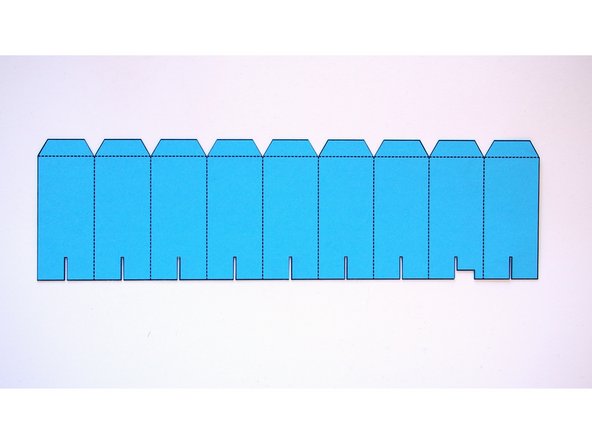
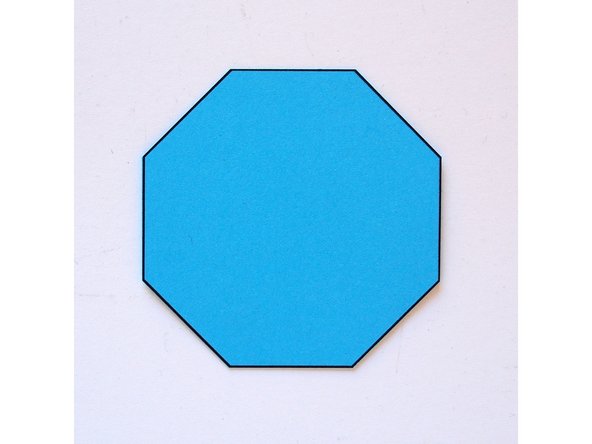
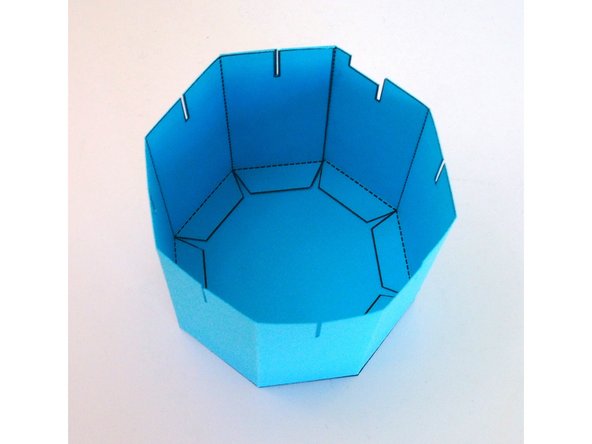
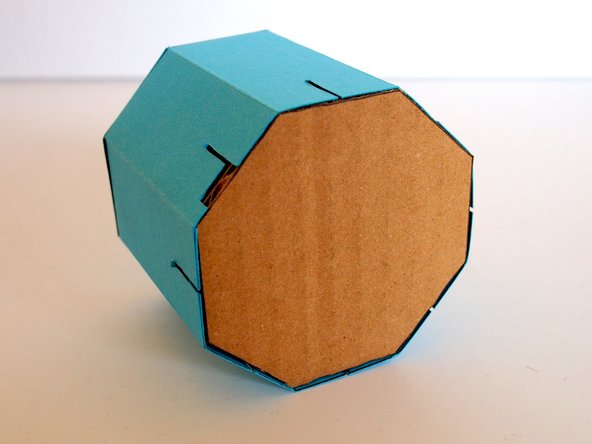
Cut out the template for the body and top
-
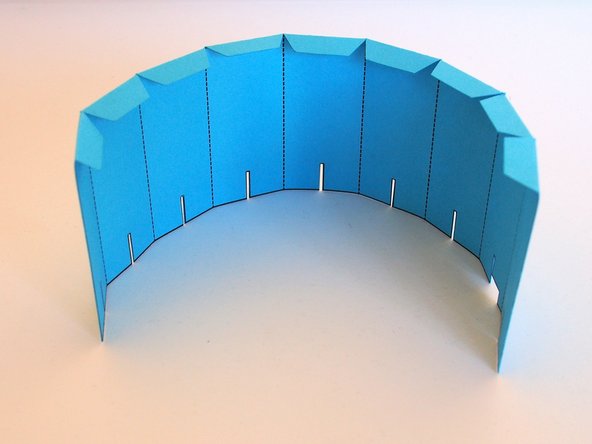
Fold the body following the markings on the template
-
-
-
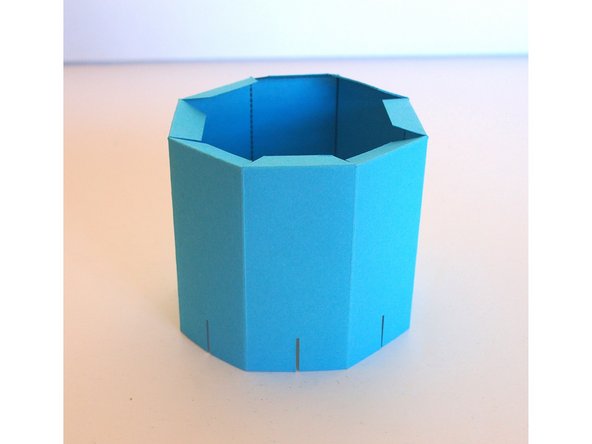
Glue the body into an octagon shape (the two sections on either end should overlap on top of each other to form 8 sides)
-
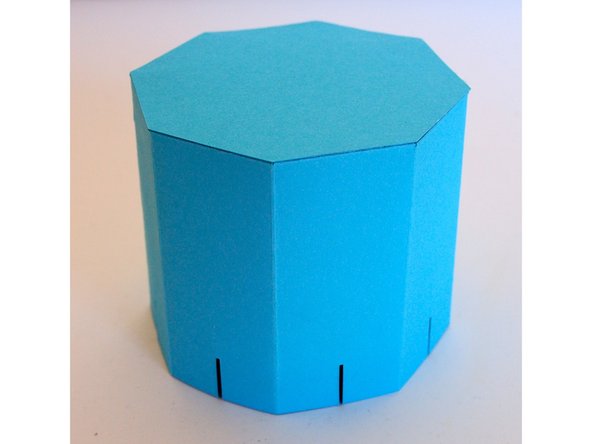
Glue the top on to the tabs
-
Tip: I found it easiest to flip the body upside down while I was gluing the tabs in place
-
-
-
If you're feeling up to a challenge, you can also make the body using the origami method, which results in the twisty-top on this Octobot
-
I used the instructions here to create an Origami Octagonal Box: Origami Octagonal Box
-
-
-
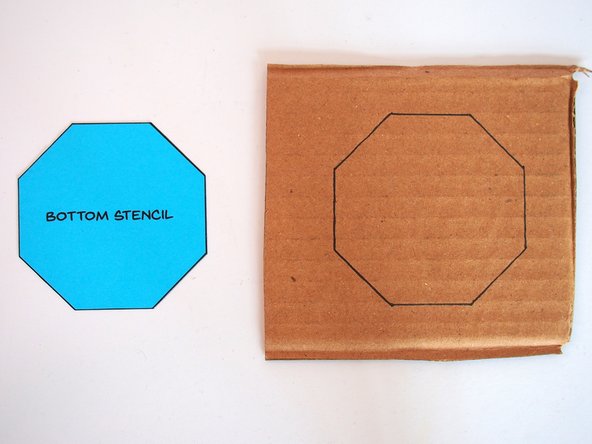
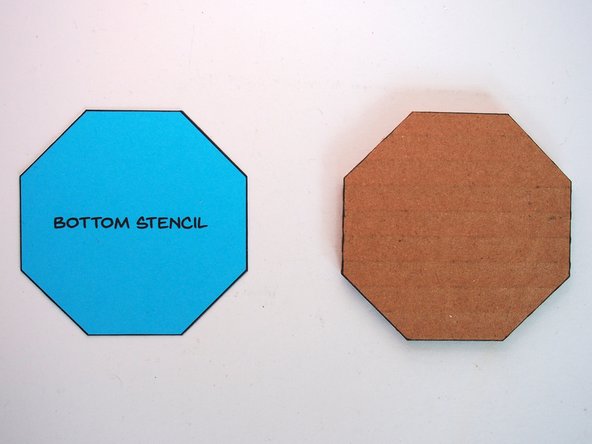
Use the base stencil octagon to trace an octagon onto a piece of cardboard
-
Cut the base octagon out of cardboard
-
The base should be just small enough to fit inside the body (but not so small that there's loads of empty space around it)
-
-
-
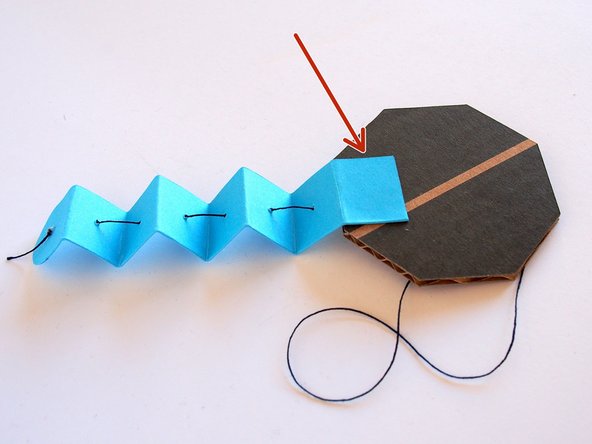
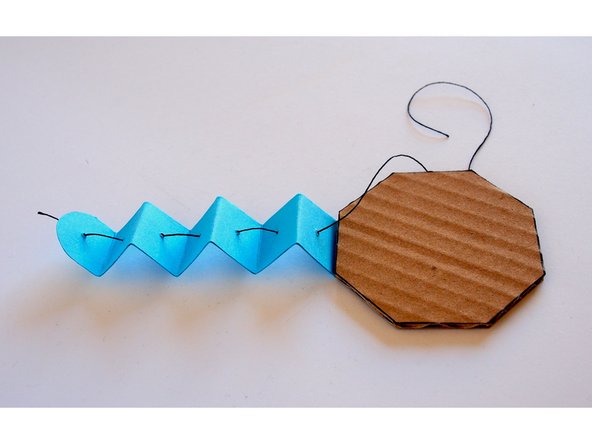
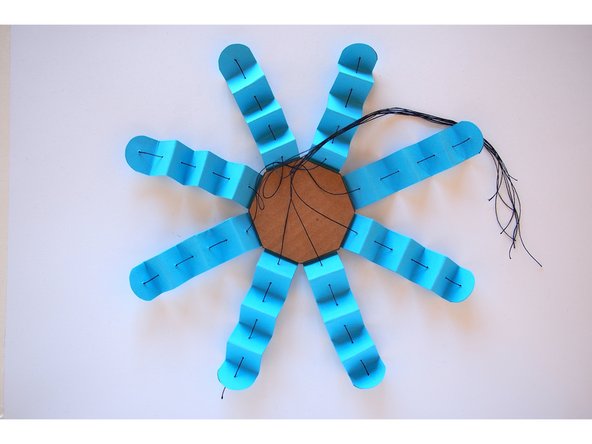
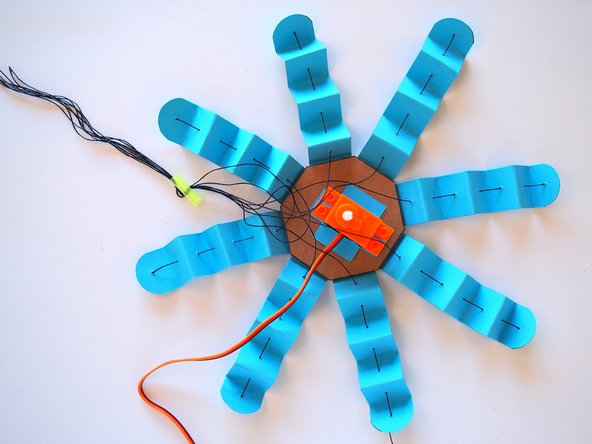
Glue a tentacle to the bottom of the cardboard base
-
Only glue the last folded section of the tentacle (the one without a hole)
-
Make sure the thread doesn't accidentally get glued to the cardboard
-
-
-
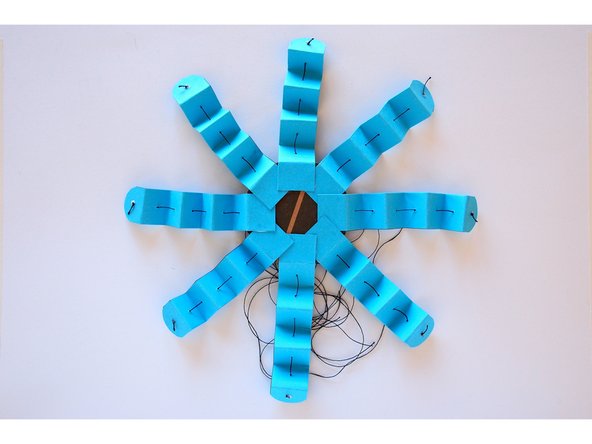
Repeat for the other 7 tentacles
-
Try to keep the threads from getting tangled
-
-
-
Cut the servo holder template
-
Fold the servo holder
-
Glue it around the servo
-
You don't need to glue the paper to the servo—just wrap the servo holder around the servo, and glue it where the two parts overlap
-
-
-
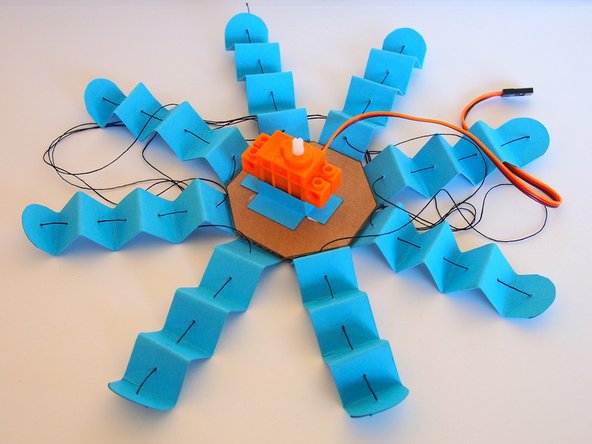
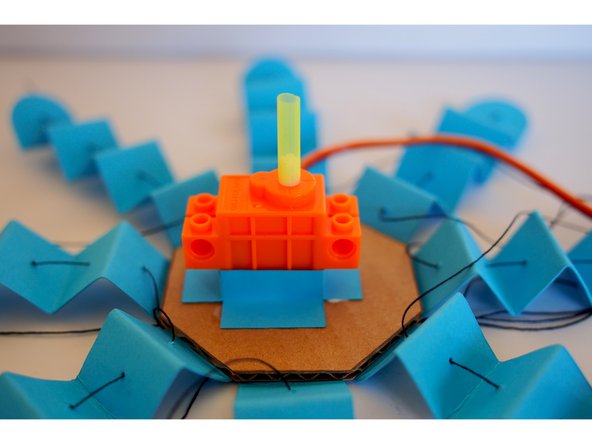
Glue the servo holder to the cardboard base of the Octobot
-
Note that the servo itself isn't centered on the body—the servo's shaft is what should be approximately centered
-
-
-
Cut a piece of straw about 3/4" long
-
Use the needle to poke a hole through the straw at about halfway between the top and bottom
-
Poke another hole (this one only needs to go through one wall) close to the top of the piece of straw
-
-
-
Put the straw onto the servo shaft
-
Since straws come in all different sizes, it may be too big. If that's the case, put a very small piece of tape around the servo shaft to increase its diameter
-
The straw should fit snugly on the shaft
-
-
-
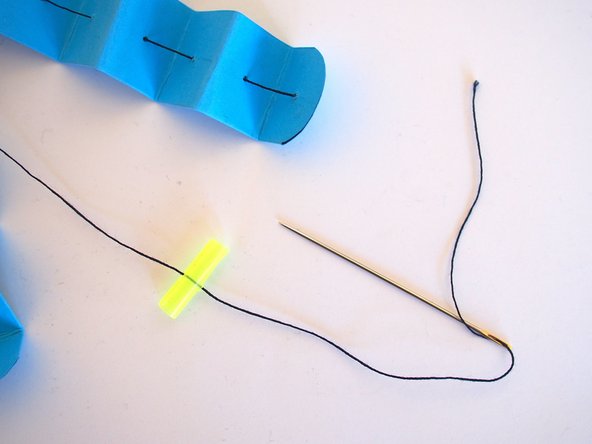
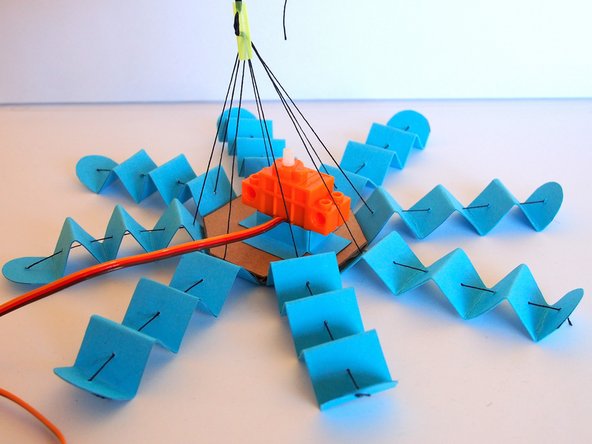
Sew one of the pieces of thread onto the straw
-
First go through the middle holes, then up out the top
-
-
-
Repeat this 7 more times until all 8 pieces of thread are sewn into the straw
-
It's best to do this one piece of thread at a time to avoid them getting tangled or twisted
-
Check that the length of the thread between the straw and the tentacles is roughly the same
-
You can check this by pulling the piece of straw up to check that the threads are all roughly the same tensions
-
-
-
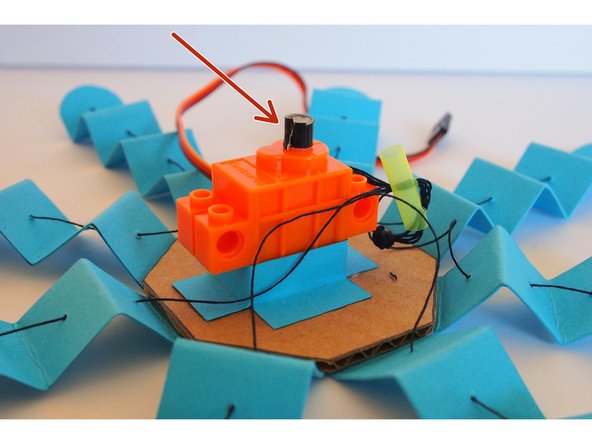
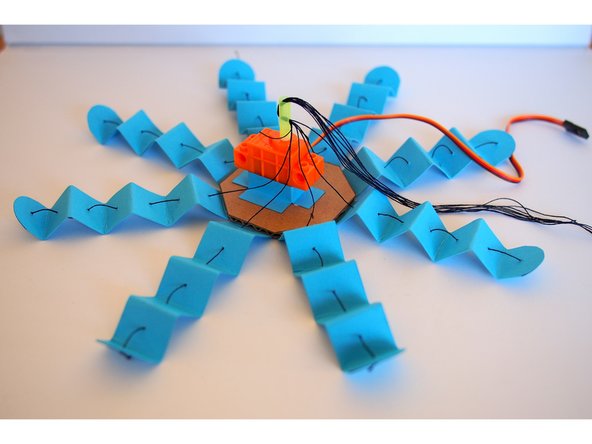
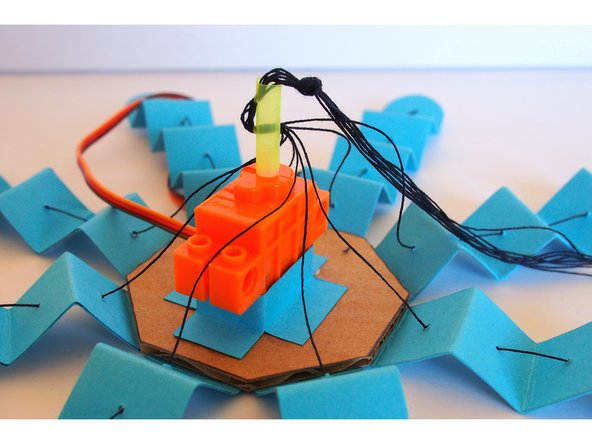
Push the straw to the servo shaft, making sure it's snug (if it's loose, the shaft will just spin inside the straw without turning the straw itself)
-
Make sure the tentacle are all fully extended, then tie a big knot where the threads exit from the straw
-
Trim the extra thread
-
-
-
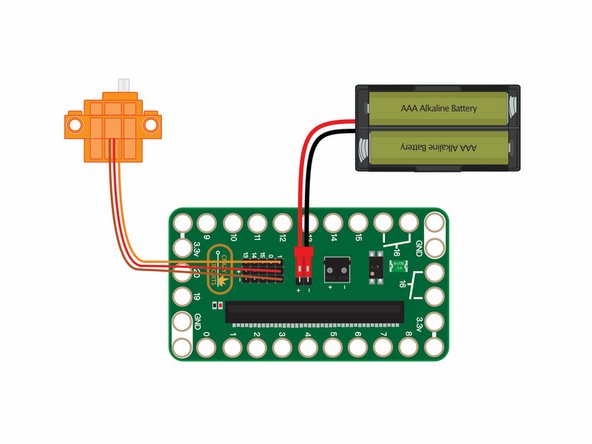
Connect the servo to the Bit Board at Servo Pin 1
-
-
-
Upload the code from here: Octobot Code
-
You'll note that the sound activation requires touching the logo at the same time. That's to avoid accidentally triggering it if you're in a noisy environment. You can change that by getting rid of the "logo is pressed" block
-
The sound trigger requires using the micro:bit v2. If you don't have the v2, there's loads of other ways you can trigger the Octobot, such as using the accelerometer to shake the micro:bit, or making it light-sensitive
-
-
-
It's easiest to test the mechanism while the servo is still exposed
-
Use the A and B buttons to try retracting and extending the tentacles
-
Tip: For the TentacleAction function, try playing around with the timing and speed to get different effects
-
Depending on how loose the threads are, you may need to pre-wind the threads around the axle by using the A button before triggering the TentacleAction function
-
Note: If the paper weight you use for the tentacles is lighter weight, or if the folds in each tentacle are crisp and well defined, you may not get the tentacles to return to their starting position simply by pressing the button. You may need to manually (and gently) pull them back out when there is slack in the string.
-
-
-
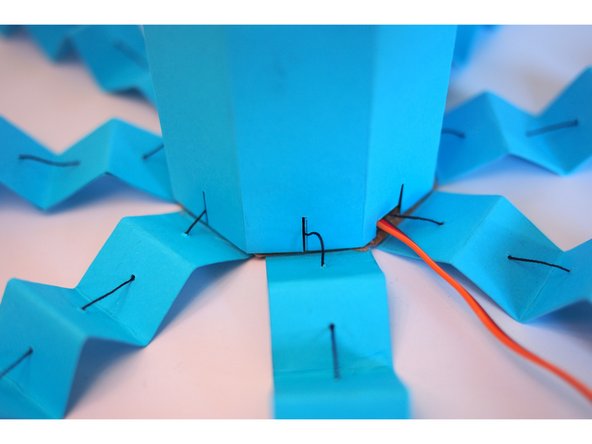
Put the body on
-
The thread should slide into the thin cutouts in the body
-
The servo wire should go through the larger cutout
-
Optional: You can add a bit of glue to secure the body to the cardboard base (I didn't in case I wanted to access the inside)
-
-
-
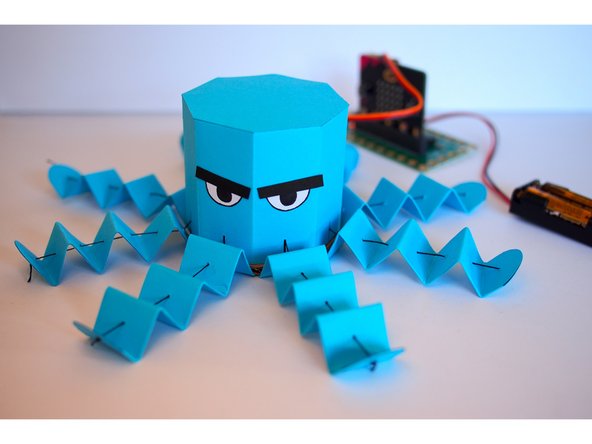
Give your Octobot a face!
-
Touch the logo and shout "BOO!" to make Octobot retract its tentacles!
-


Attached Documents
