
Introduction
Build a paper circuit with an LED, battery, and some Maker Tape™ that will light up an "On Air" sign made from a single piece of paper.
Video Overview
Featured Document
-
-
Print the PDF file on both sides of a single sheet of paper.
-
Prepare all of your tools and supplies.
-
-
-
Cut your sign around the outer perimeter using the sold black line as a guide.
-
If you prefer, you can use an X-ACTO knife, straight edge ruler, and a cutting mat instead of scissors.
-
Once you've cut out the shape of the sign you can fold along the dotted lines.
-
The dotted line for the battery folds "towards" the dotted line, all other dotted lines fold "away" from the dotted line.
-
If you use an XACTO-knife and straight edge ruler instead of scissors you can use it to score the dotted lines to make folding a bit easier.
-
-
-
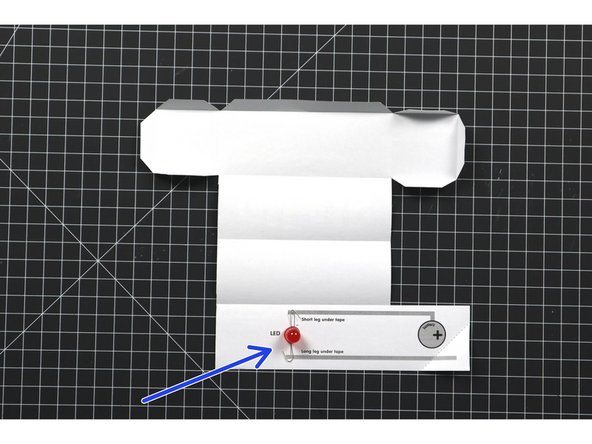
Prepare and place the 10mm red LED to its position in the circuit.
-
Make sure you've got the longer leg going to positive and the shorter leg going to negative.
-
Bend the legs around so that the LED stands up straight.
-
-
-
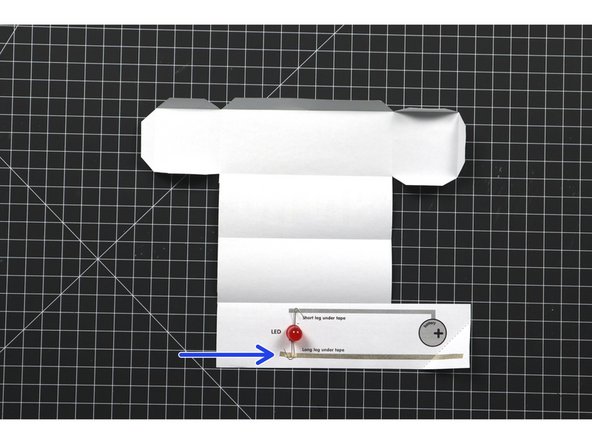
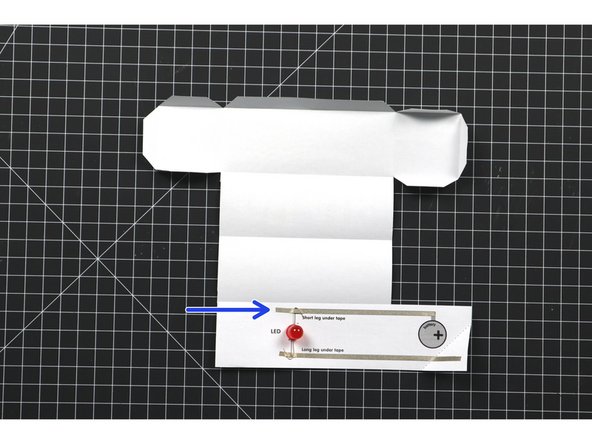
Cut three strips of Maker Tape to build the circuit.
-
The tape will hold the LED legs in place and then connect to the battery to complete the circuit.
-
-
-
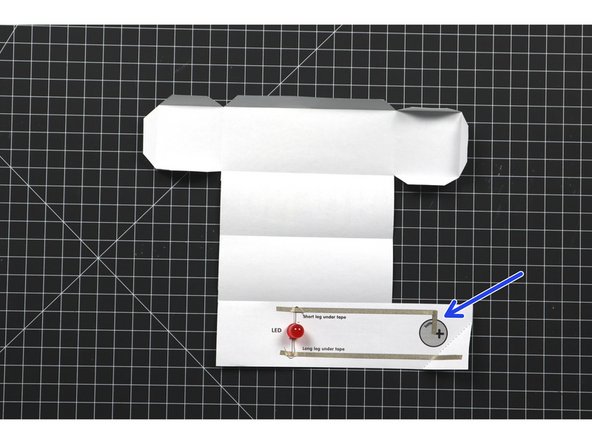
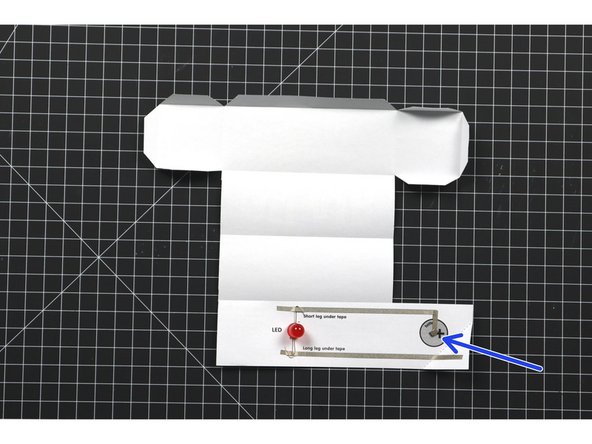
Add a tape loop using the Maker Tape to secure the battery down to the circuit.
-
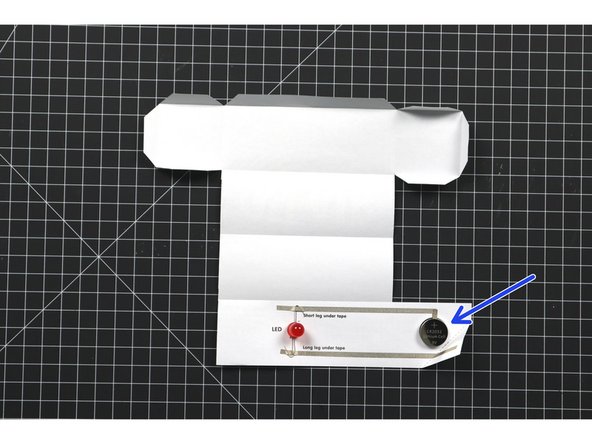
Stick the battery in place (negative side down).
-
Fold the "switch" corner down on top of the battery so the positive side of the circuit is complete.
-
Your LED should light up!
-
-
-
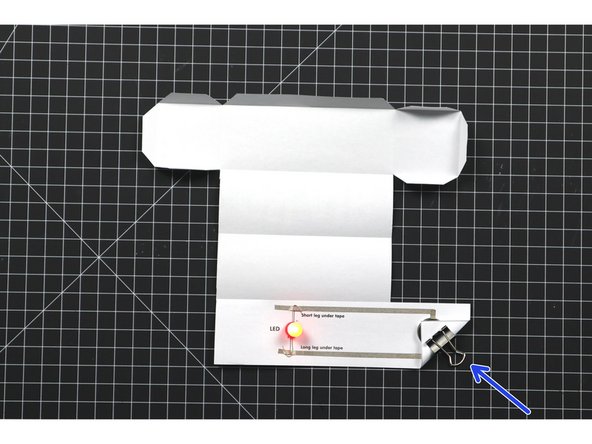
Fold the paper together into a box and tape it shut so it does not unroll.
-
Add a binder clip to turn on the circuit and it should light up.
-
For the best result, turn down the lights and see your new "On Air" sign glow red.
-
If you want a brighter sign you can add a second LED in parallel with the first one.
-


Cancel: I did not complete this guide.
One other person completed this guide.
Attached Documents
