Introduction
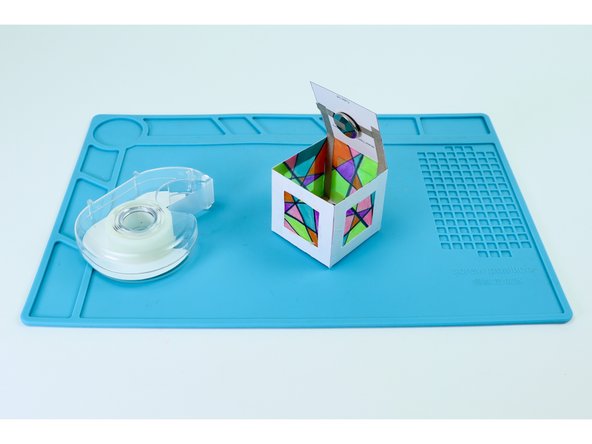
Create a cool, backlit 3-D geometric figure with our printable template and some basic components from your Origami or Paper circuits kit!
Video Overview
Featured Document
-
-
Gather the materials and tools indicated. Note: this template is included in the Origami Circuits Classroom set. If you don't have this kit, print the file found at the bottom of this guide (we recommend heavy card stock).
-
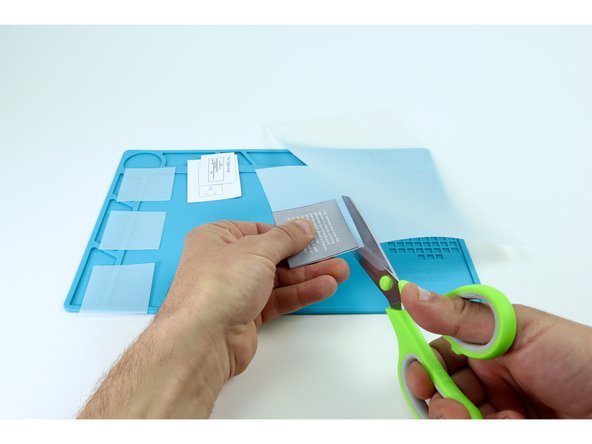
Use a scissors to cut out the flattened cube shape as well as the gray square and the diagrams for the tape loop and LED prep (you may like to reference them in later steps).
-
-
-
Use a hole punch to punch out the holes indicated on each of the cube faces that have one indicated.
-
Use the holes you just punched to allow you to more easily use a scissors to cut and remove the inner squares from the 4 cube faces indicated.
-
When finished, those same 4 cube faces will become tidy "frames" as shown in the final photo.
-
-
-
Find your sheet of velum, tracing paper or copy paper and use the gray square to help you cut 4 of the same shape with a scissors as shown.
-
Use a black marker to create designs on your tracing paper squares that break the squares up into sections. Then color the sections in with markers as you wish. Anything goes!
-
-
-
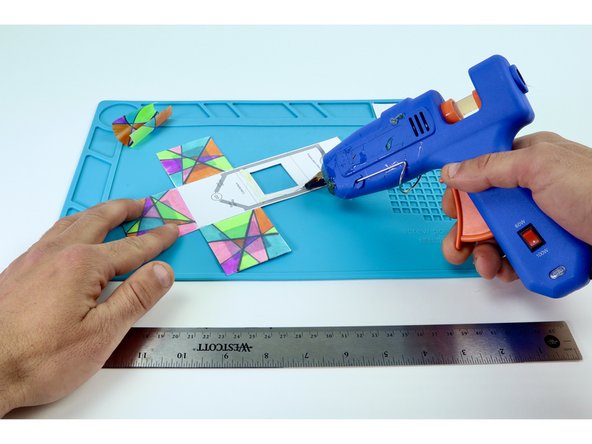
Use a hot glue gun to place hot glue on the inside of a frame while pressing one of the colored squares into place on top. Be sure to be accurate with your placement as each edge of a given face will eventually need to be fastened to the next. Overhang can make this tricky. Do this ONE FACE AT A TIME.
-
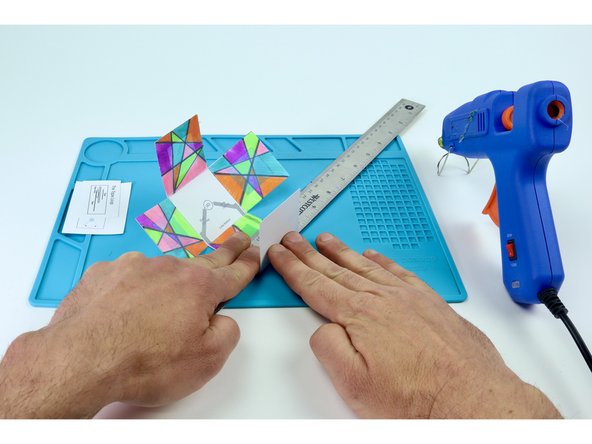
After each of the 4 colored panels have been added, use a ruler as shown in photo 3 to help you fold the sides in preparation for final assembly. It is easier to do this now without having added the circuitry.
-
-
-
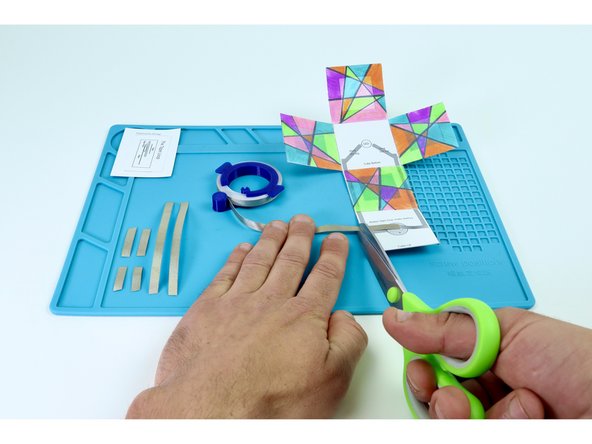
Measure and cut the 7 pieces of Maker Tape indicated on the circuit diagram. Remember: although there are only 6 paths, you will need one tape length to make a tape loop for the battery where indicated on the diagram.
-
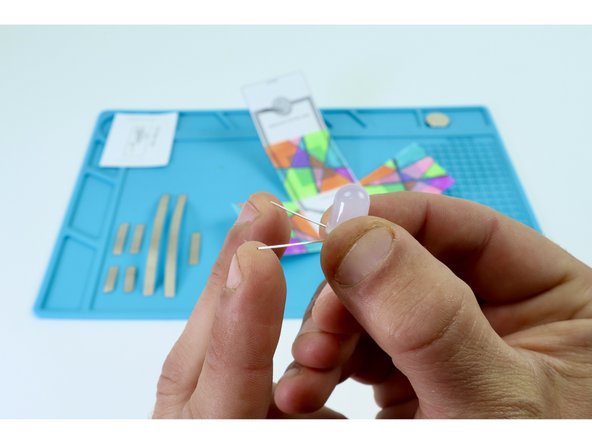
Bend the legs of the LED as shown in photo 3 and the diagram you've clipped and saved. Take care to make these bends so that the LED legs (short and long) are oriented as shown on the circuit diagram.
-
-
-
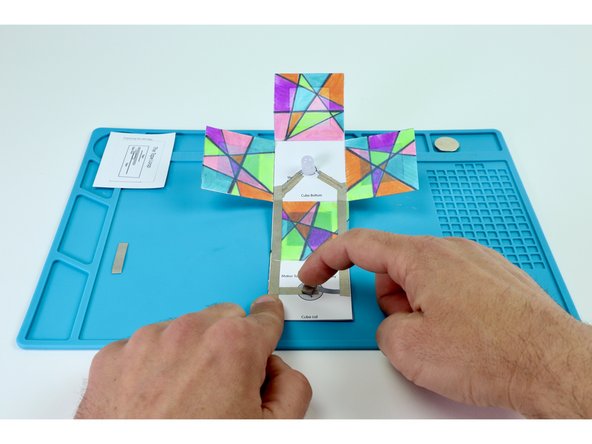
Peel and stick the paths shown in photo 1. This should leave you with two sections of Maker Tape.
-
Use one of your two remaining Maker Tape sections to make a tape loop as shown.
-
Place that tape loop atop the battery end of the tape path pictured in photo 3.
-
-
-
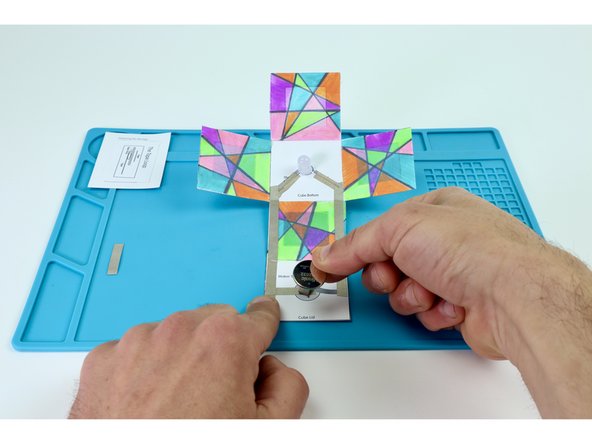
Place your battery positive (+) side UP atop the tape loop.
-
To complete the circuit and turn your LED on, peel and stick the final remaining Maker Tape section where shown in photo 2.
-
-
-
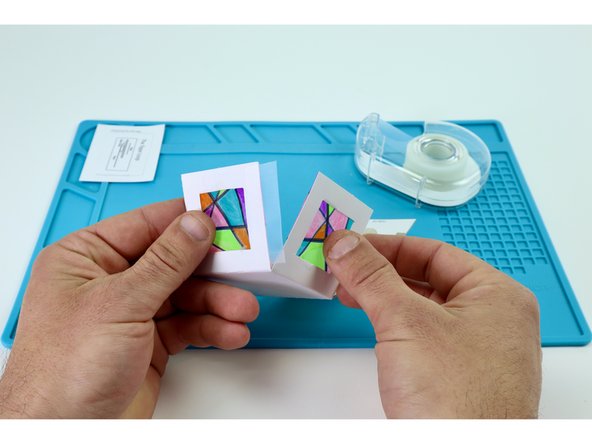
Using tape segments that are the same length as each seam; Lay half of each piece's width on one frame. Bring the neighboring side up to match the edges. Press the remaining part of the tape's width to that next frame.
-
Repeat this process for each edge (including the top) to create the cube shape.
-
And you're done... Turn off the lights and enjoy your funky, backlit 3D creation!
-