Introduction
A simple, single-LED paper craft referencing the book titled Oscar and the Bird: A Book About Electricity by Geoff Waring.
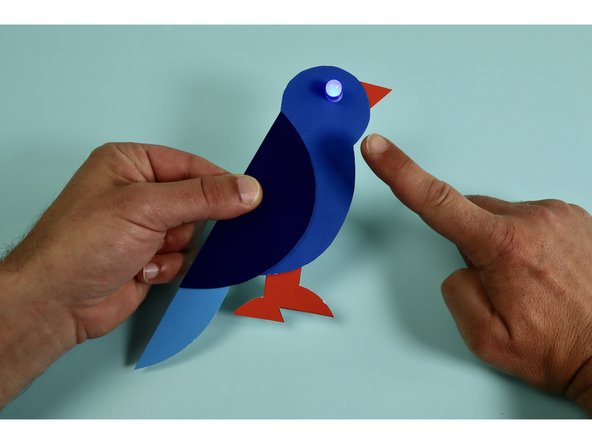
The wing is a hidden switch!
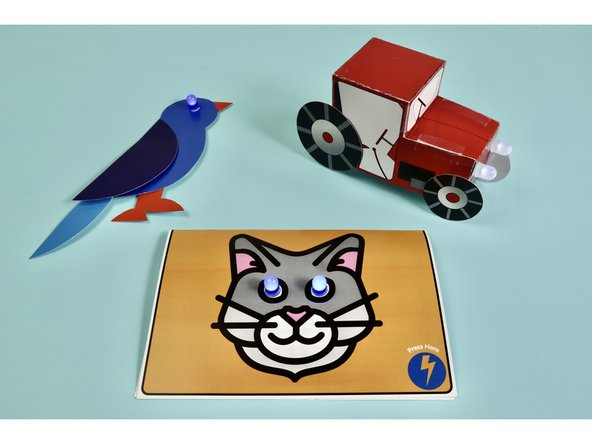
You can make this project (and many more!) with our Paper Circuits Kit.
Featured Document
-
-
Gather materials shown and print off the template. There are both blank and already colored versions of the template found at the bottom of the guide.
-
Printing the template on cardstock will give you a sturdy project.
-
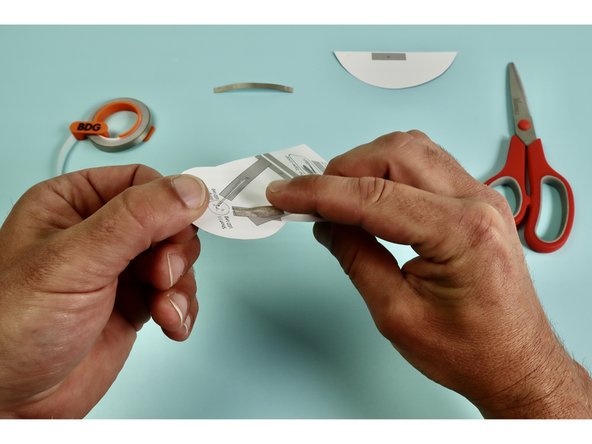
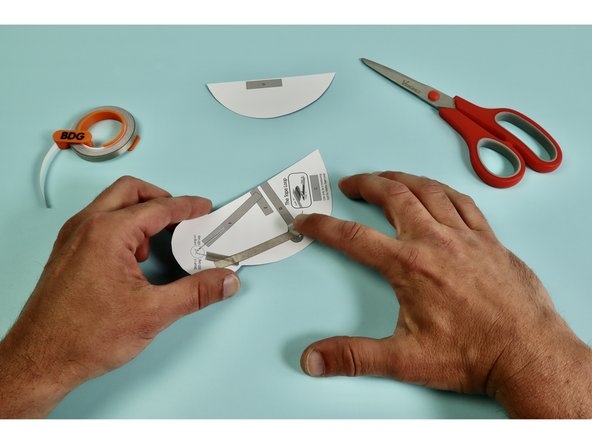
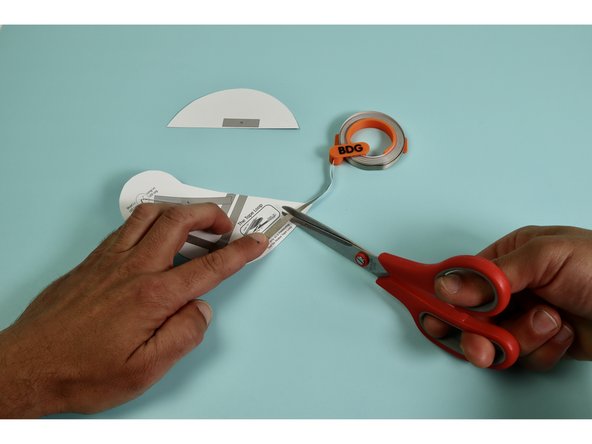
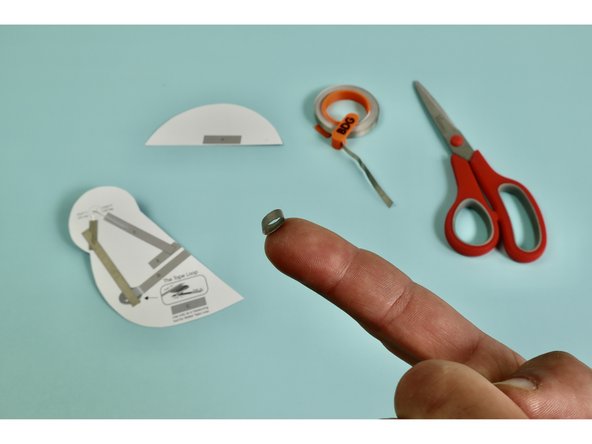
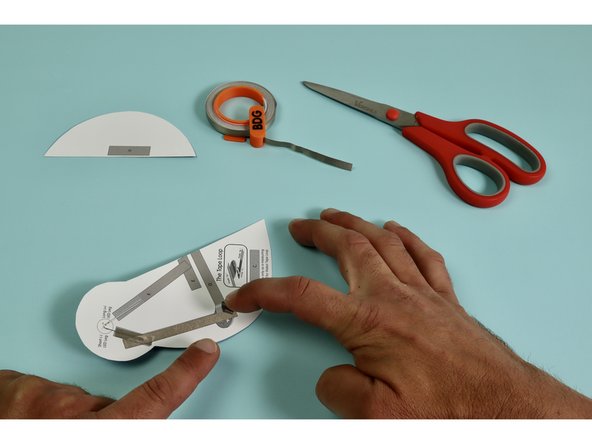
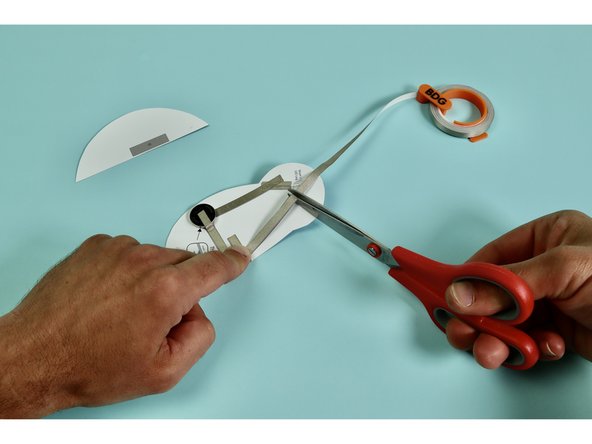
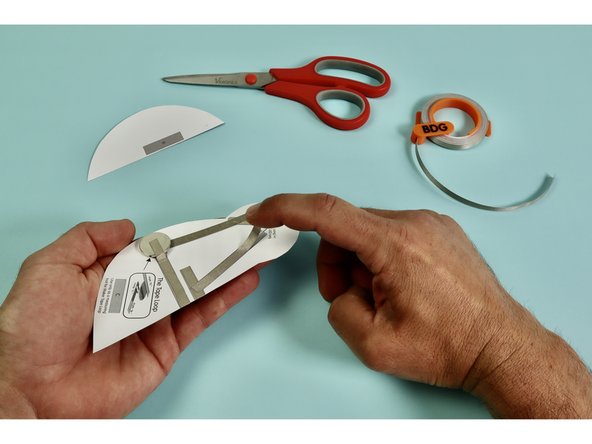
Cut out the five pieces of your template and color them as you wish if you have chosen the black and white template.
-
If you want to use felt, craft foam, or any other type of material, print the template first. Then use the template to trace the pieces onto your material of choice and cut them out.
-
-
-
Using a push pin poke holes through the front of the bird where the LED will go.
-
Insert the LED making sure to orient the legs properly.
-
The long leg of the LED is Positive and needs to go in the hole labeled with +. The short leg is Negative and needs to go in the hole labeled -.
-
Flip over the bird and bend the LED legs flat against the paper. Make sure to align the LED legs with the diagram on the back.
-
-
-
Measure, cut, peel, and stick a piece of Maker Tape down as indicated atop the letter 'A.'
-
The tape should hold down the Short LED Leg so it makes the electrical connection for our circuit.
-
Measure, cut, peel, and stick a piece of Maker Tape down as indicated atop the letter 'B.'
-
-
-
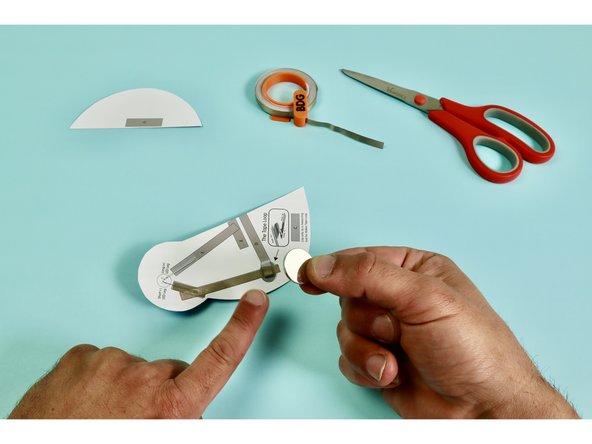
Use Maker Tape to create a Tape Loop (with the sticky side facing out) and stick it down at the bottom of tape path 'B.'
-
The Tape Loop should be about half the diameter of the Battery. (You can use the battery outline circle as a guide.)
-
If the Tape Loop is too large it may short out the battery.
-
-
-
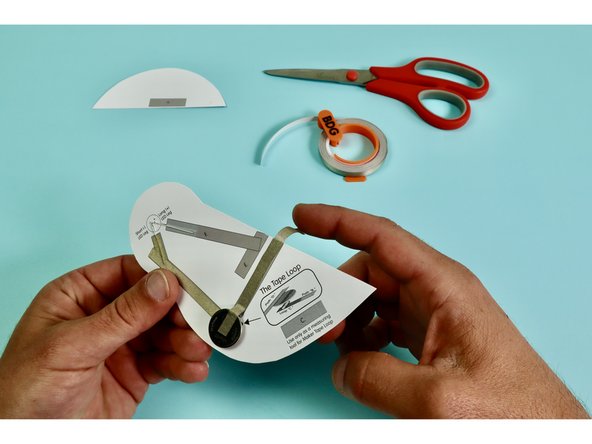
Stick the Battery atop the Tape Loop ‘C.’ with the Positive (+) Side up.
-
The Battery should stick down to the Maker Tape securely and the tape will hold it in place.
-
-
-
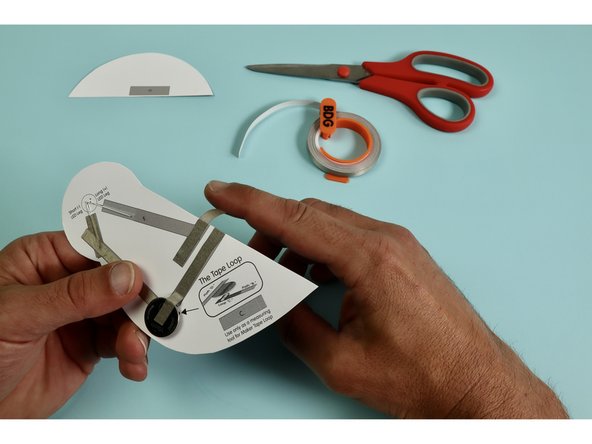
Measure, cut, peel, and stick a piece of Maker Tape down as indicated atop the letter 'D.' and press the tape down atop the Battery.
-
Measure, cut, peel, and stick a piece of Maker Tape down as indicated atop the letter 'E.'
-
Both Tape pieces 'D.' and 'E.' should wrap around the front side of the bird's body.
-
-
-
Measure, cut, peel, and stick a piece of Maker Tape down as indicated atop the letter 'F.'
-
The tape should hold down the Long LED Leg so it makes the electrical connection for our circuit.
-
-
-
Measure, cut, peel, and stick a piece of Maker Tape down as indicated atop the letter 'G.' on the back side of the wing.
-
This piece of Maker Tape will bridge the gap in the tape on the front side of the body.
-
-
-
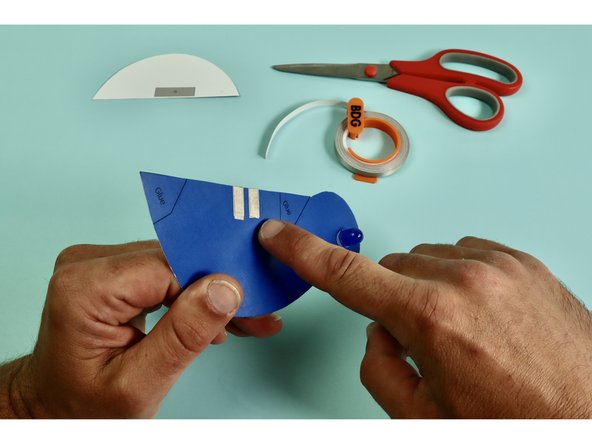
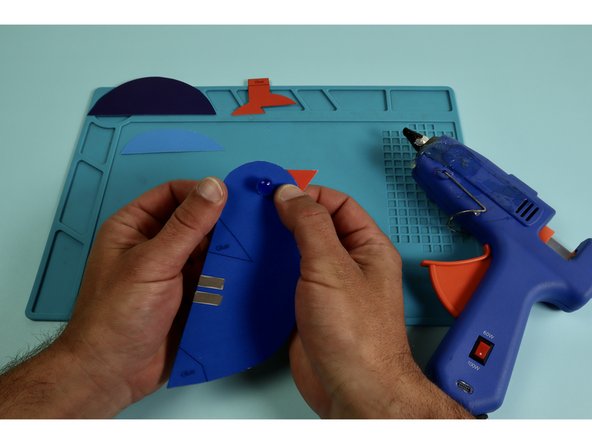
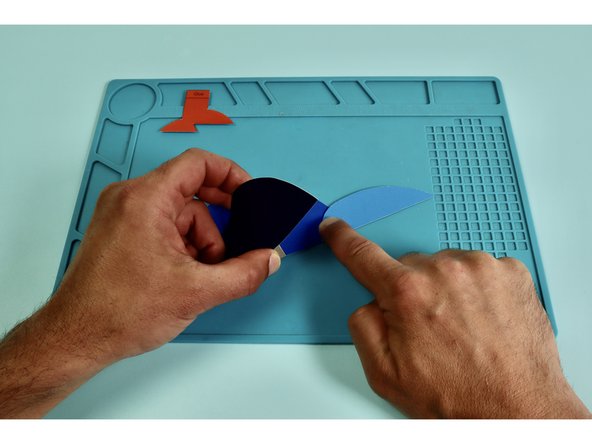
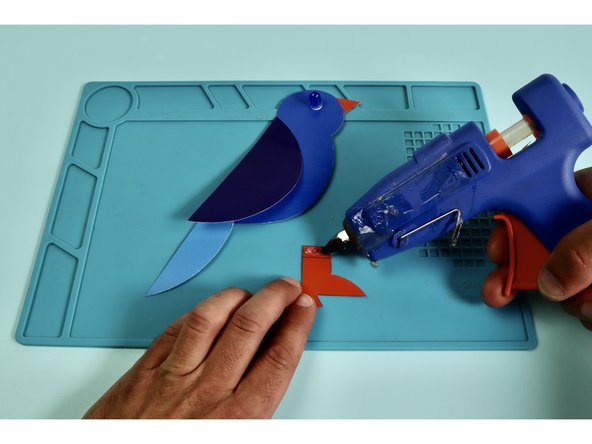
Use glue to assemble the tail, wing, feet, and beak to the body.
-
-
-
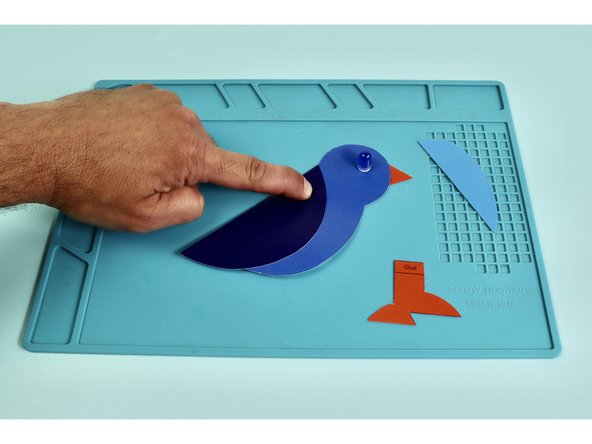
Your bird is complete! Test your switch by squeezing the wing where the switch is located. The bird's eye should light up.
-
-
-
Make more Oscar and the Bird themed projects! We've got more paper circuit activities to choose from.
-
-
-