
Featured Document
-
-
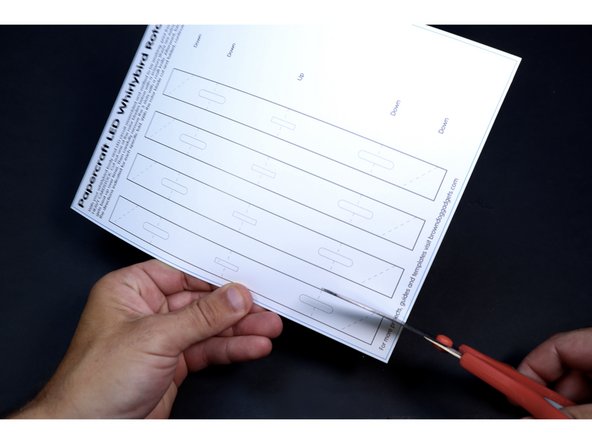
Print out whirlybird template on plain copy paper. Cut out large, inner rectangle. Using a ruler to help make accurate folds, follow instruction on template and fold on dotted lines over itself 7x. This added thickness will give paper the strength to withstand launch forces.
-
-
-
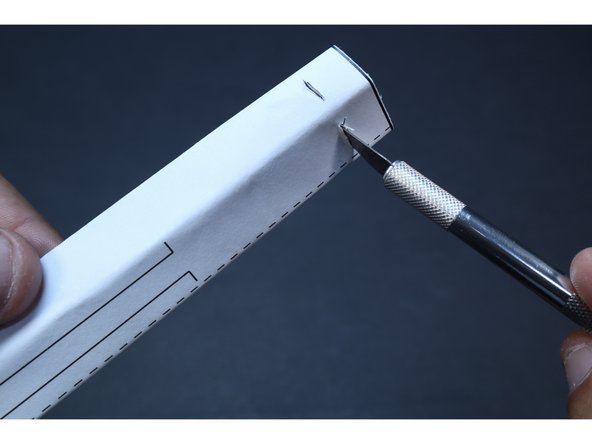
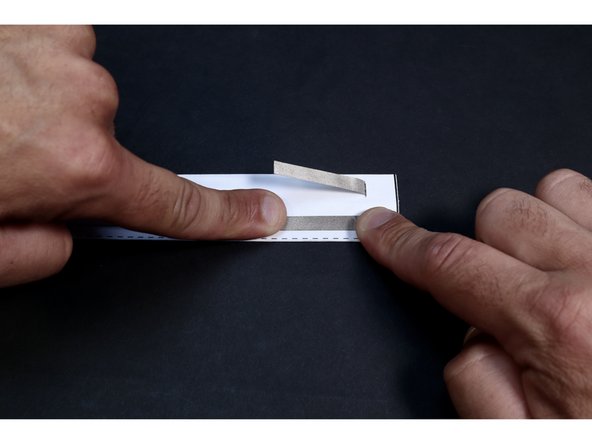
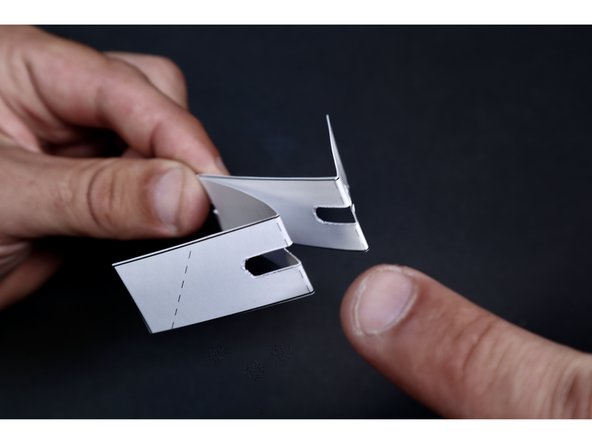
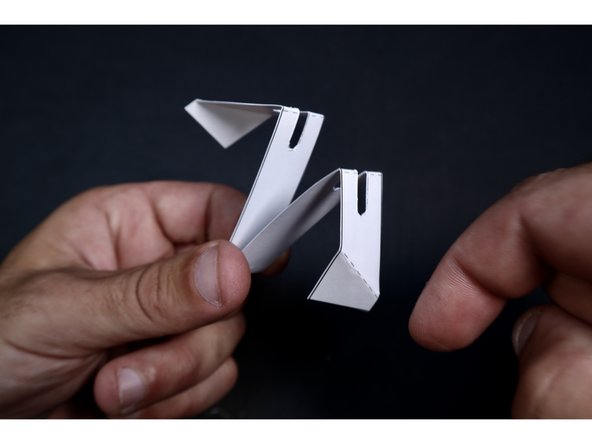
Find the side of the shape resulting from Step 1 which features more markings. Using a ruler and the photos at left for reference, fold this shape where shown. The final shape will be thicker and feature one side that has only one small line on it, while the other side has a corresponding small line AND a handful more (see final photo).
-
-
-
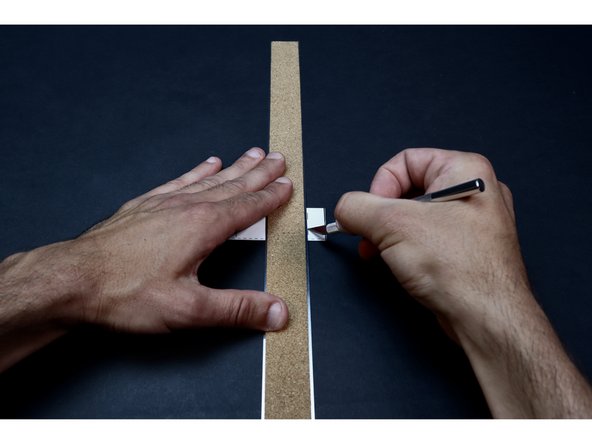
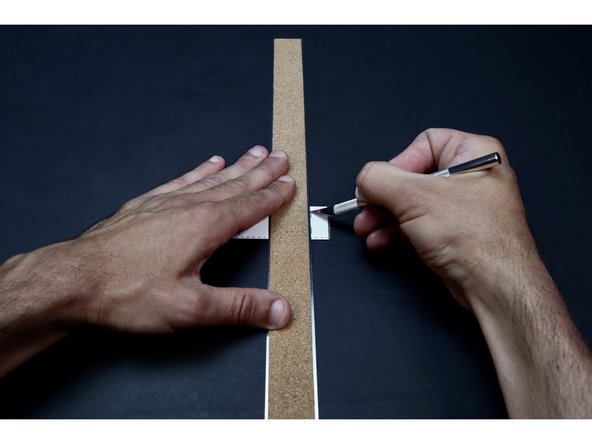
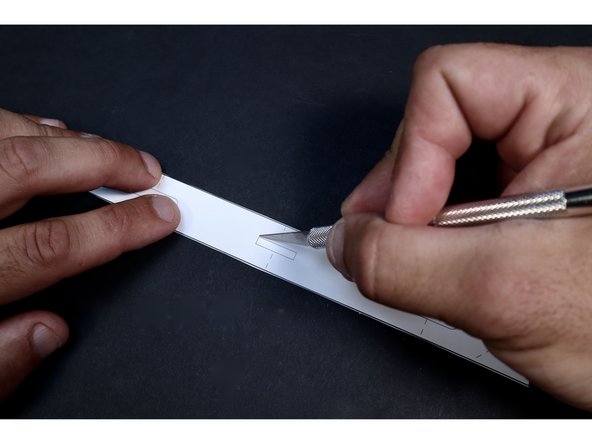
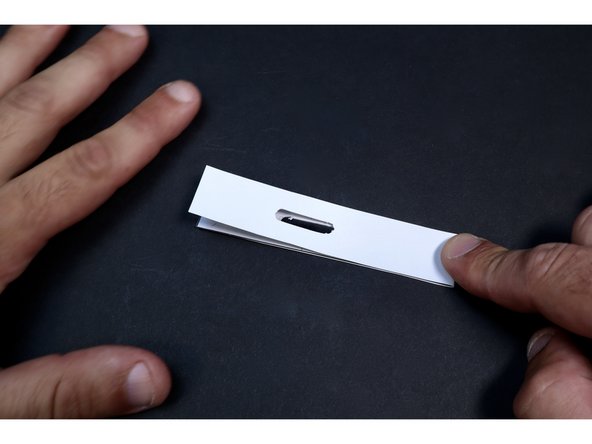
With proper supervision, use a ruler and an Exacto Knife to cut the two small corresponding slits shown in the photos at left. Make multiple passes with the blade and take care to only cut the length of line/slit on the template. You will thread two small sections of Maker Tape through these slits in the coming steps.
-
-
-
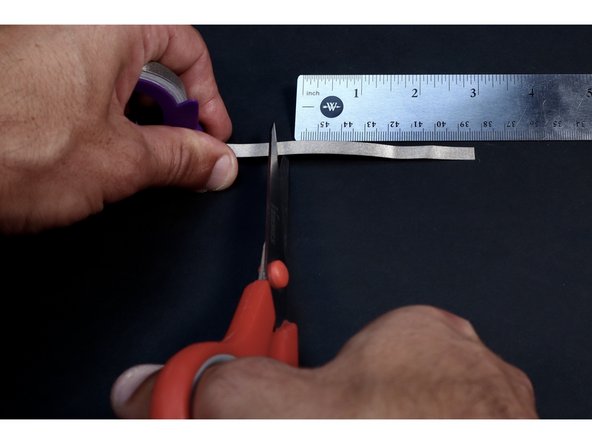
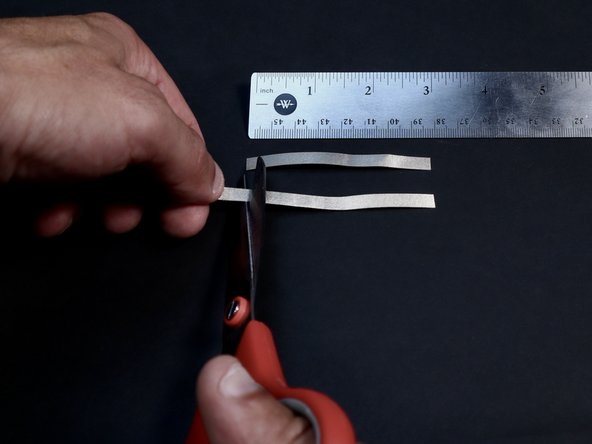
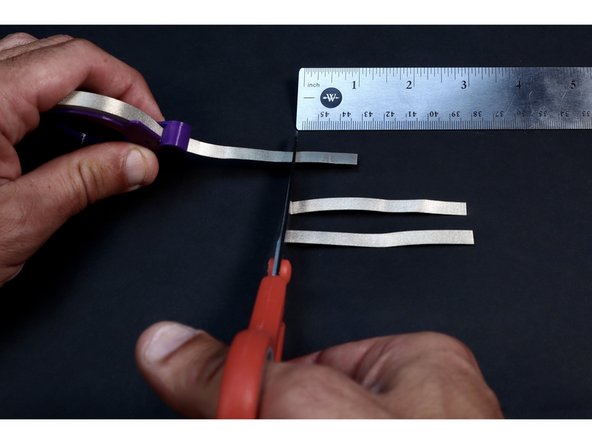
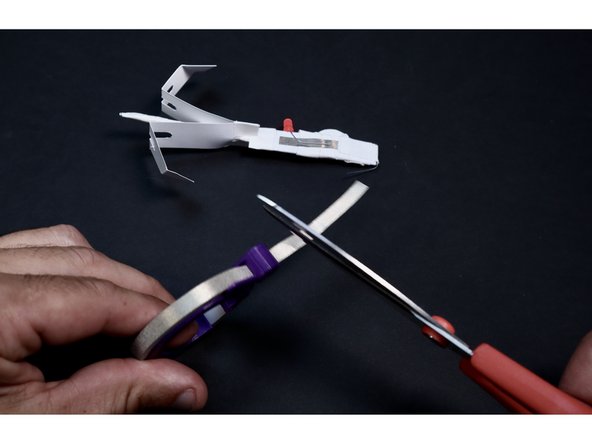
Use your ruler and scissors to measure/cut (2x) 3.5" sections of conductive Maker Tape followed by (1x) smaller 1.0" section.
-
-
-
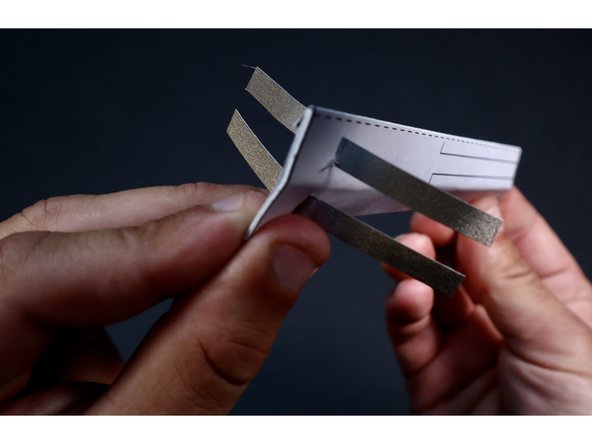
Thread each of the two 3.5" sections of Maker Tape through those slits with the sticky side facing down toward the paper. Feed them through to their approximate halfway point.
-
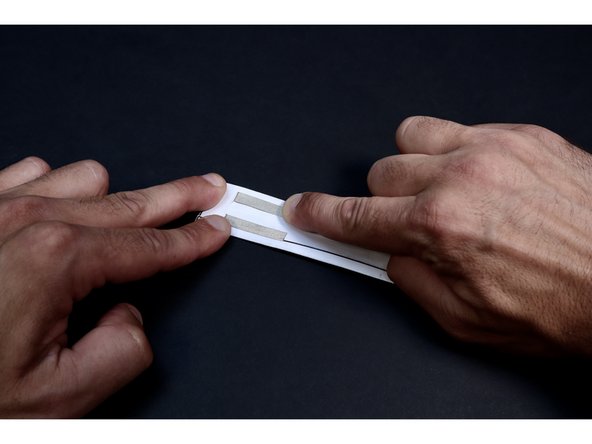
On the side of the template without markings, peel/cut the backing back to the slit on both pieces of Maker Tape.
-
Note that the center fold creates two "sections" of template. Press each piece of tape down the middle of its' respective section away from the slit. DO NOT tape near/on top of the center fold.
-
-
-
With the two sections of Maker Tape pressed in place on the non-marked side of this shape, flip it over and choose the section located on the side with the remaining marks to peel/cut the backing from. Stick it in place down the center of its' section as shown. DO NOT stick the other section down yet.
-
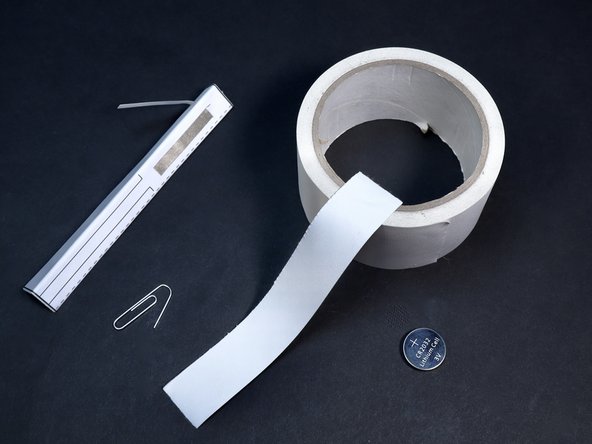
Gather your non-conductive tape, a single paperclip and your CR2032 battery. Prepare one length of Gaffer's or Duct Tape by tearing or cutting it in half the long way. Prepare the paperclip by bending one end outward to yield the shape shown at left.
-
-
-
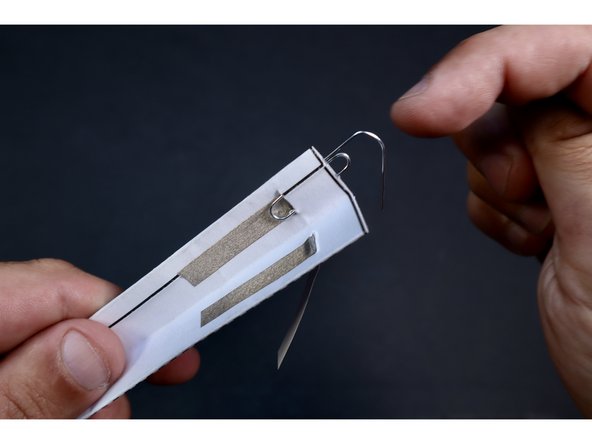
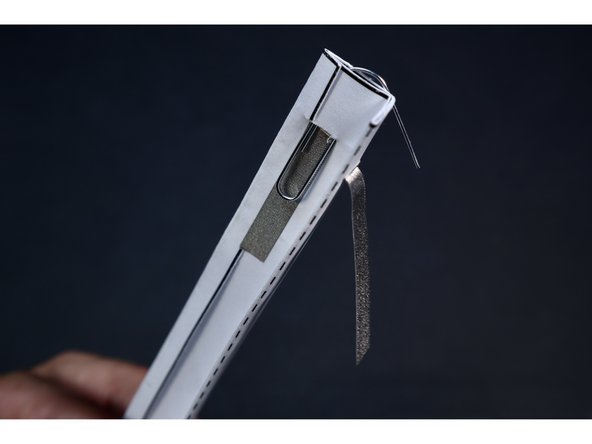
Seat the paperclip within the folds as shown so that the small curly bend is threaded through the slit and the part you bent outward is oriented toward the center fold.
-
Note: your battery will eventually be seated within the fold so that it sits between the two conductive paths you have created. On one side of the battery, there will be Maker tape and a paperclip. On the other side of the battery there will be just Maker Tape.
-
-
-
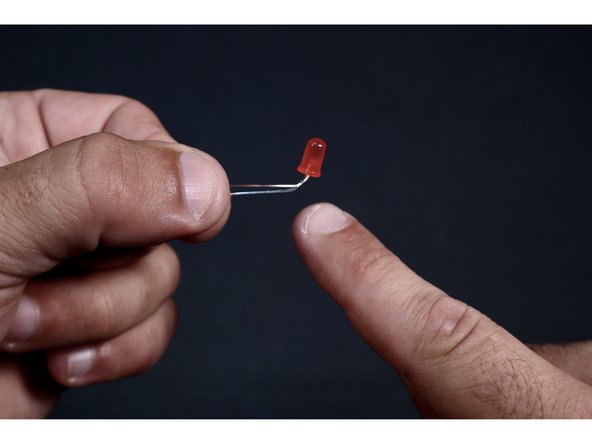
Find your LED and prepare it for addition to your shape's circuit pathways by first locating the longest leg and making sure it's on the left when you hold the bulb and look at it from above. Now bend the legs away from you.
-
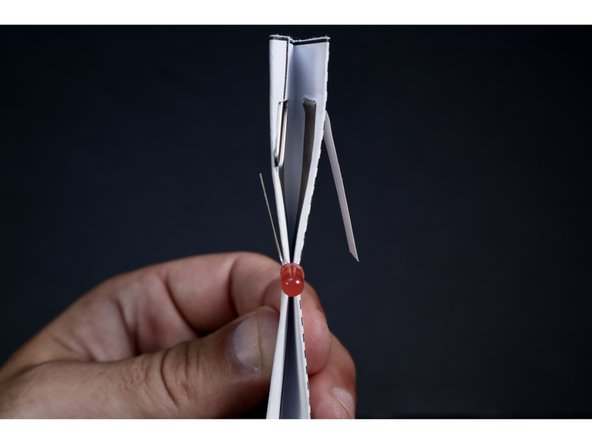
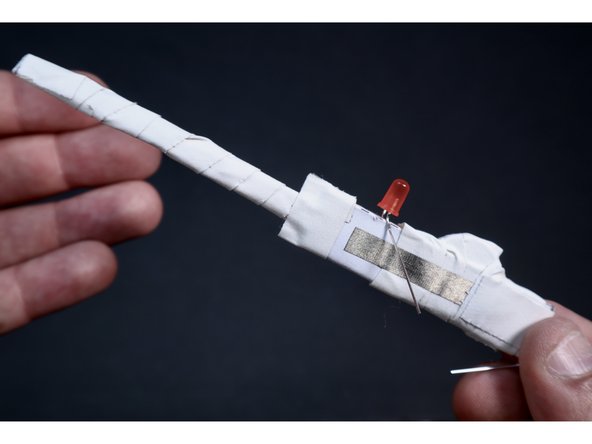
Seat the LED as shown with each leg on opposite sides of the shape. These legs should be right over the area where the Maker Tape is located on the outside of the shape.
-
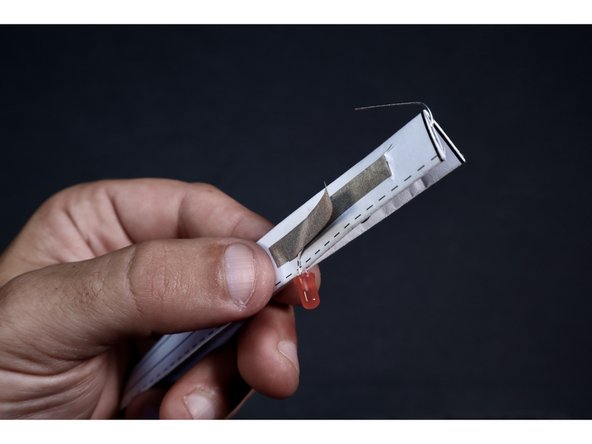
Use the 1" long piece of Maker Tape to tape the long LED leg atop the nearby Maker Tape section (the only outside path that is taped down to the shape).
-
-
-
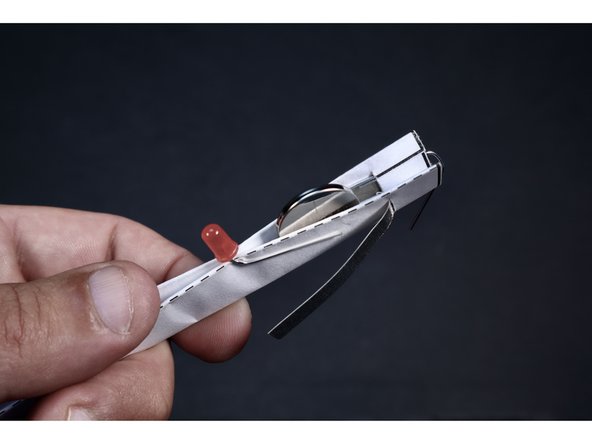
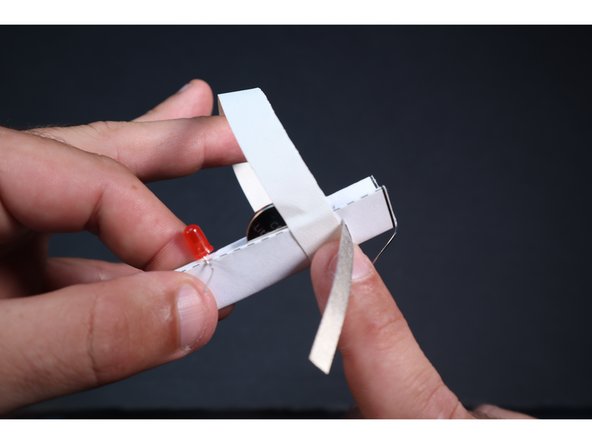
Seat the battery as shown so that the positive side is facing the only remaining unsecured Maker Tape section and the negative side is facing the only LED leg currently secured.
-
Pull the remaining LED leg and unsecured Maker Tape temporarily out of the way. Start a Gaffer's/Duct tape section as shown and wrap it all the way around (even over top the secured LED leg) to cinch the sides into contact with the now hidden battery.
-
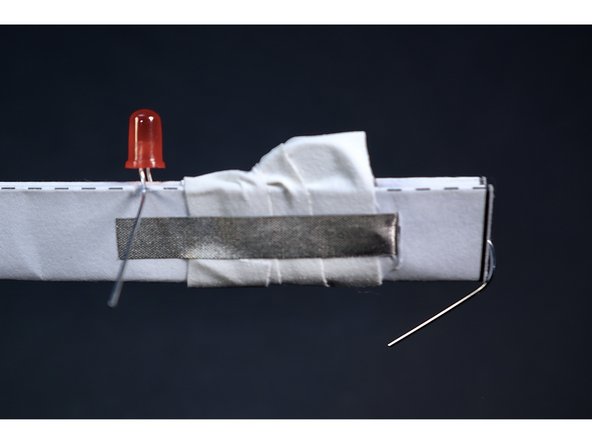
With the battery secured and held in contact with the inside Maker Tape pathways by your Gaff/Duct tape wraps, peel/cut the backing from that last section of Maker Tape and stick it down over the wraps you just finished.
-
-
-
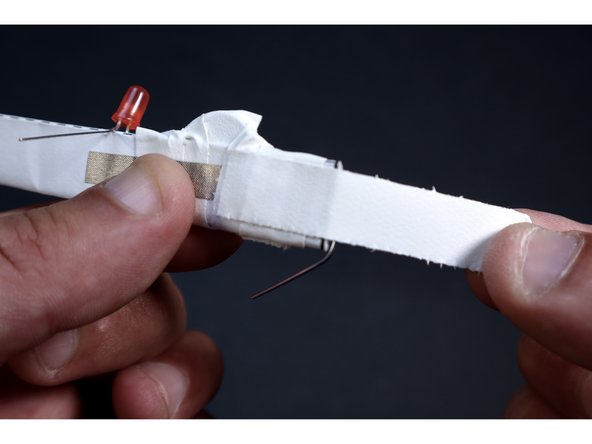
Now, leaving that newly secured and visible Maker Tape pathway uncovered, wrap another piece of tape around cleanly away from the LED toward the paperclip.
-
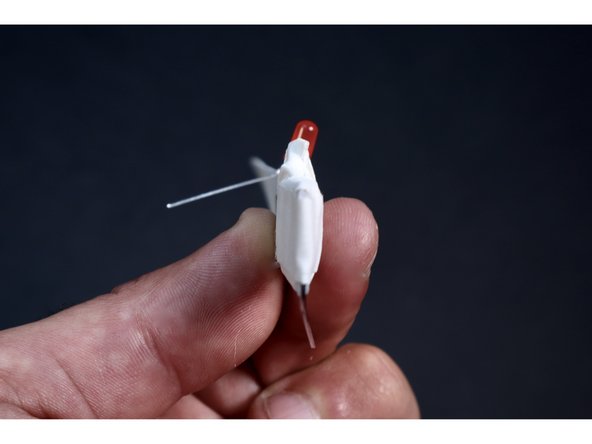
With another small piece of gaff/duct tape, wrap ACROSS the paperclip. This is an important area to strengthen because this paperclip is part of the launching apparatus and will be under rubber band tension while in the process of being flung.
-
-
-
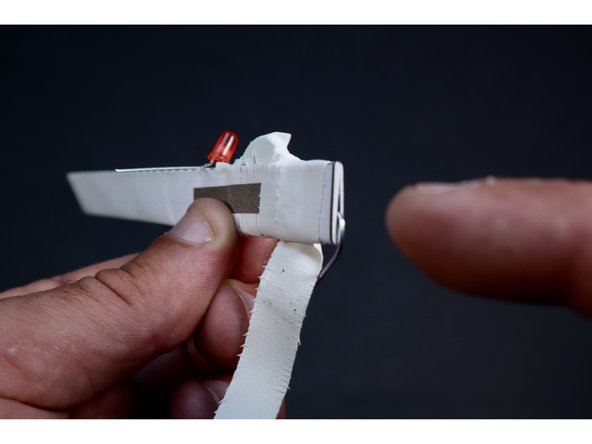
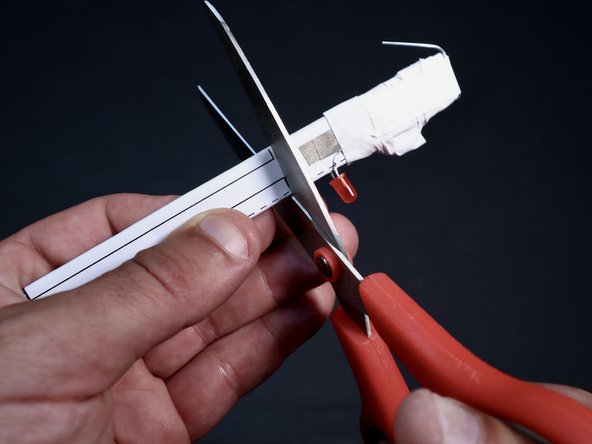
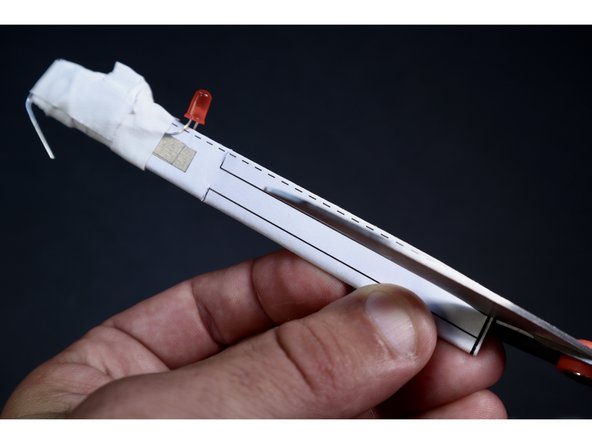
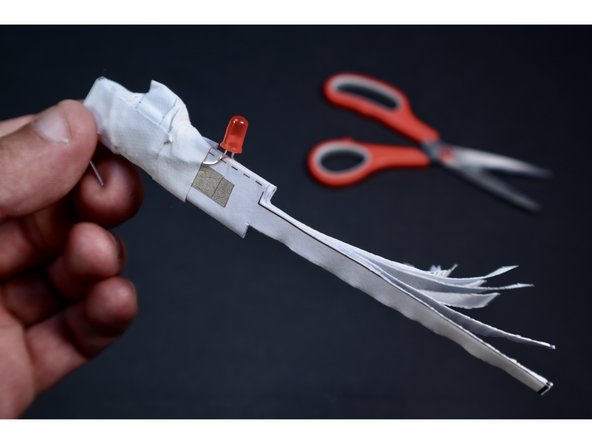
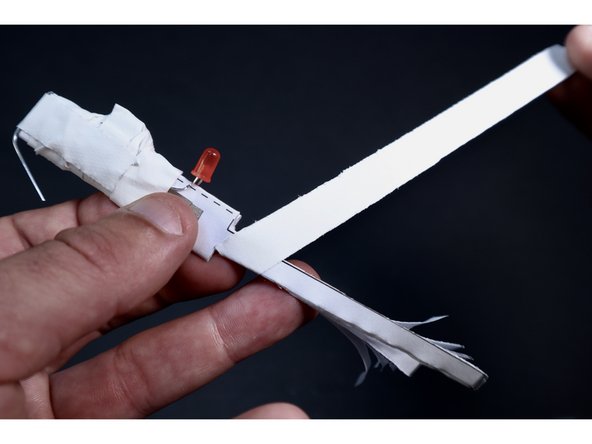
With a scissors, carefully trim along the template lines leaving you with a frilly, narrower section.
-
-
-
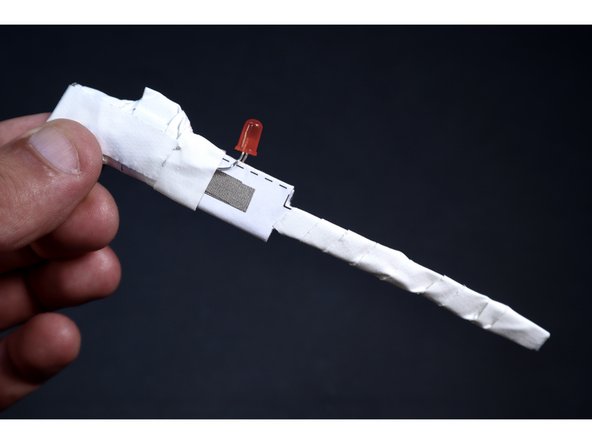
Start another piece of gaff/duct tape at an angle right where the narrow section begins. Spiral wrap all the way to the end, bringing all those frills together into a tidy package.
-
Wrap a small chunk of tape around the area where the width of the shape changes to neatly reinforce.
-
-
-
Print off the Whirlybird Rotor Template on heavy cardstock. Use a scissors to cut out one blade. Use your Exacto knife to remove the three slots that are outlined on that blade.
-
Fold the shape in half as shown on the dotted line that crosses the middle slot.
-
-
-
Fold the next set of dotted lines that are printed across the two outer slots in the opposite direction as the first fold (as shown).
-
Now fold at the remaining two dotted lines in the same direction. Thread the narrow shaft of the whirlybird body through the middle slot of the Rotor Blade to the lowest point possible.
-
Prepare two small pieces of gaff/duct tape.
-
-
-
Use the two tape pieces to cinch together the sides of the Rotor Blade around the narrow shaft.
-
-
-
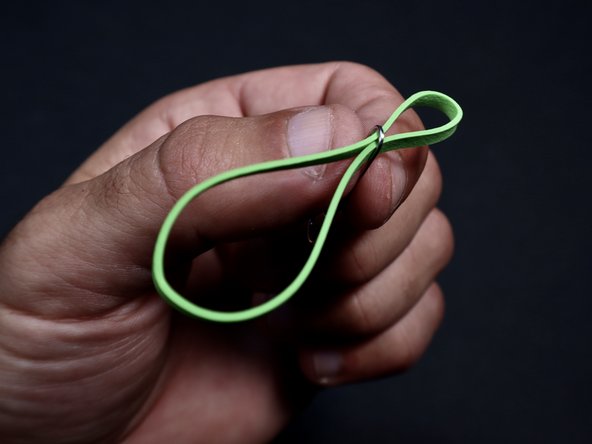
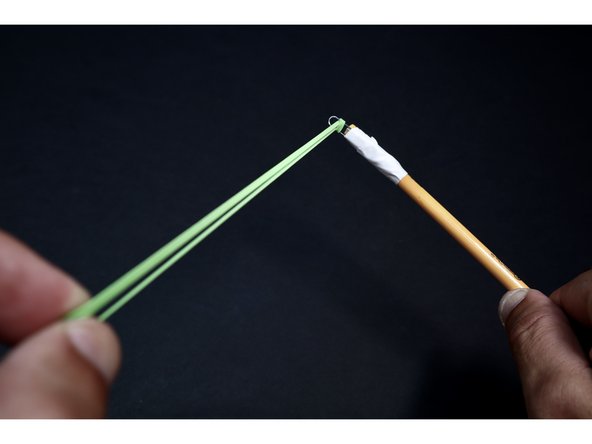
To build the launcher, thread your rubber band through the remaining paperclip to form two loops as shown.
-
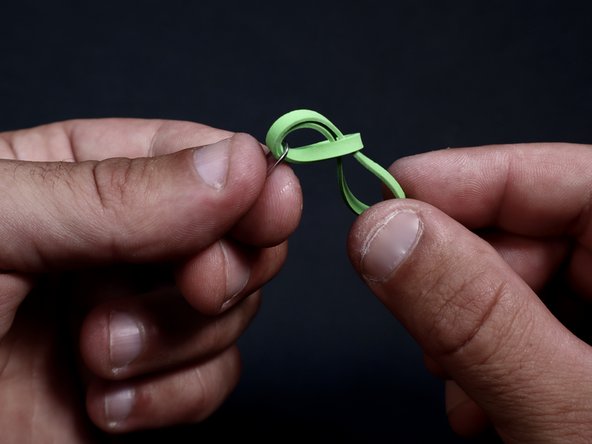
Grab one end of the rubber band and, bringing it OVER the paperclip bend, thread it through the remaining loop.
-
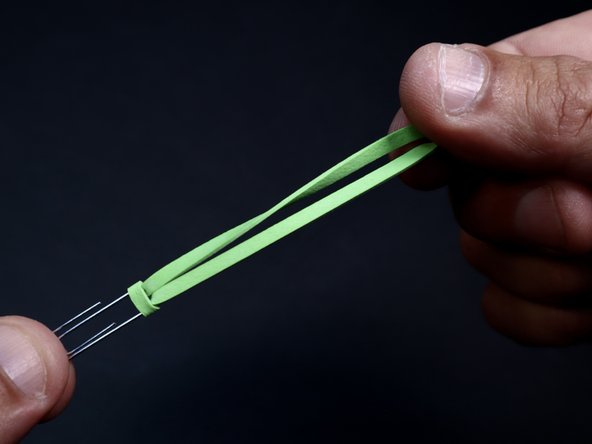
Pull it tight so it looks like the final photo.
-
-
-
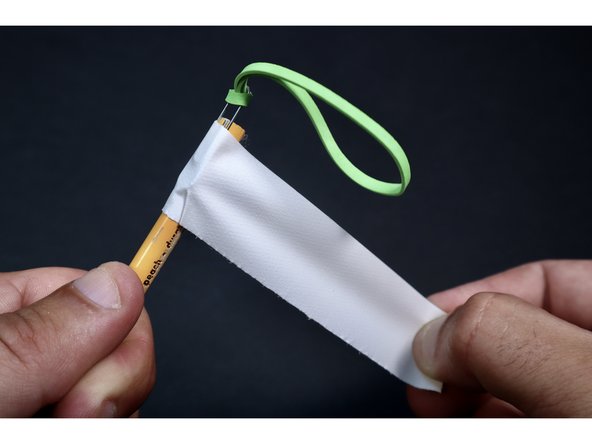
Tightly tape the paperclip to your pencil leaving about 1/4"-1/2" hanging off the end. Tight wraps are important here because the paperclip will be under considerable tension when launching.
-
-
-
To turn the LED on, simply use a final 1" long piece of Maker Tape to tape the remaining unsecured LED leg to the remaining patch of exposed Maker Tape underneath it. To turn it OFF, simply peel the section off (this is how we get out of creating a switch). You are now ready for liftoff!
-
To launch, hold the launcher in one hand. Now, place the paperclip peg from the whirlybird in the rubber band loop. Then, grab the skinny part. Pull back...aim straight up and release! It takes some practice but the whirlybird will get flung into the air and the blade will twirl as it descends.
-
Tips for better, safer flight: 1. Wear eye protection. 2. Aim STRAIGHT UP. 3. Keep pencil hand wrist locked. 4. Make sure the rubber band isn't twisted.
-
-
-
Insert wisdom here.
-


Use caution when flinging this! As with anything flung, it is wise to wear eye protection while launching this gadget. If you don't have this available, dropping it off something tall can also work (though less spinning will occur).
Use caution when flinging this! As with anything flung, it is wise to wear eye protection while launching this gadget. If you don't have this available, dropping it off something tall can also work (though less spinning will occur).