
Introduction
Turn the Bit Board Rover Tank into a cute penguin with this printable template.
Video Overview
Featured Document
-
-
If you haven't built the Tank's Main Body yet, see the Rover Tank Body guide first
-
Print the template of your choice.
-
We've included both templates in the single PDF file attached to this guide.
-
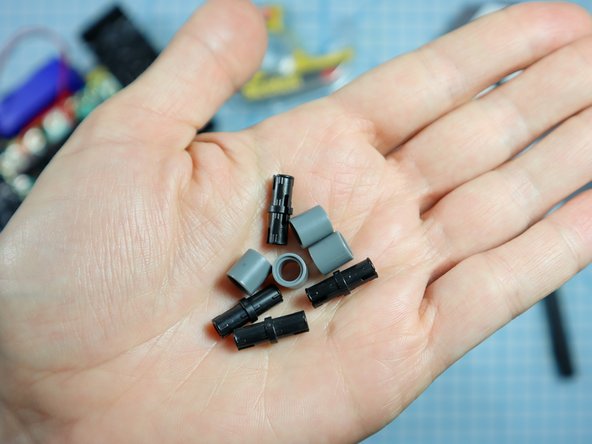
You will also need scissors, a hole punch, 4x LEGO pins (black) and 4x LEGO round beams (grey), and double-sided tape or glue.
-
-
-
If you chose the "Print and Color" template, color it in first, then cut it out.
-
Or, If you chose to print the "Print and Color" template on colored paper, cut out the pieces and tape them in place.
-
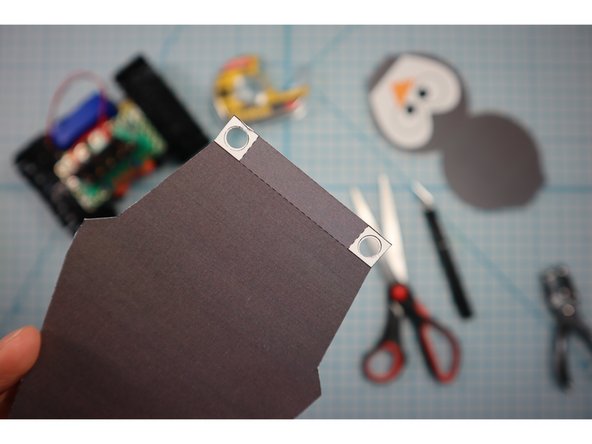
If you chose the grey "printable" template, cut out the template as shown.
-
-
-
Use a standard hole punch to punch out the circled where shown.
-
-
-
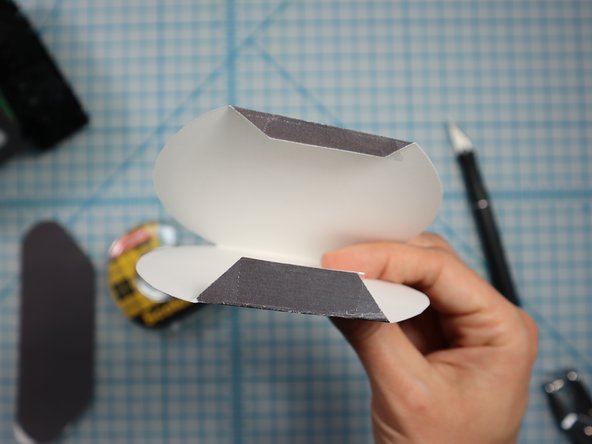
Fold along the dotted lines as shown.
-
-
-
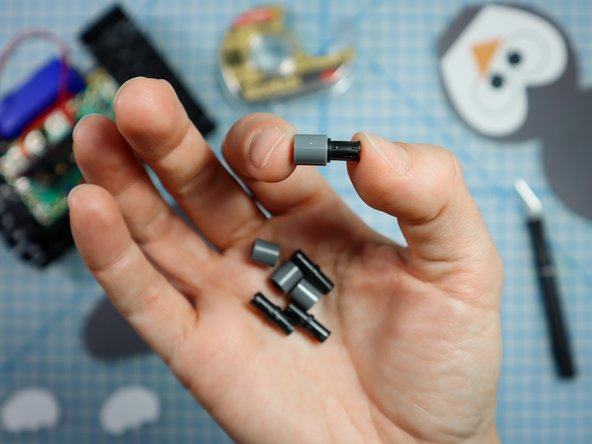
Connect each LEGO pin to a LEGO round beam as shown.
-
-
-
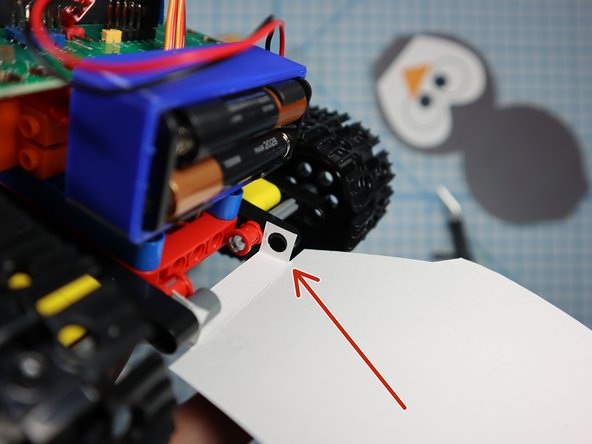
Place the folded paper between beams on the back of the Tank as shown.
-
Use two pin/beam sets to connect the back of the penguin body to the Tank as shown.
-
-
-
Use two more pin/beam sets to attach the front of the penguin body to the front of the Tank as shown.
-
-
-
Stick double-sided tape or glue to the bottom of the head flaps.
-
Adhere the head to the body as shown.
-
-
-
Fold the wings along the dotted line.
-
Add double-sided tape or a dot of glue to the center of the inside of the wings.
-
Thread the wings behind the penguin's body and squeeze the spot with the tape/glue to keep them in place.
-
Add double-sided tape or a dot of glue to each foot and glue them in place.
-
-
-
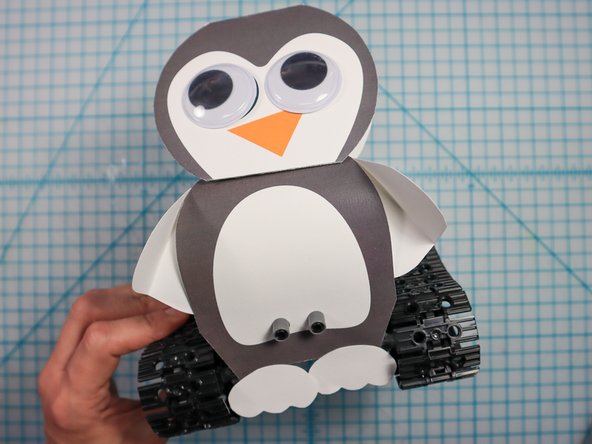
The penguin's eyes are 1.5-inch circles - perfect for a set of Googly Eyes! Add them if you wish.
-
-
-
Let your penguin roam around!
-


Cancel: I did not complete this guide.
One other person completed this guide.
Attached Documents
