
Introduction
The Plesiosaurus is a marine sauropterygian reptile. We added an LED eye and some Maker Tape to ours!
Tools
Parts
Video Overview
Featured Document
-
-
Print off the template, trace it, and cut out your Plesiosaurus body parts.
-
Use tape or glue to assemble the two parts together.
-
If you plan on freehand cutting your body, be sure to read all the directions first. Pay special attention to how we create the battery holder.
-
-
-
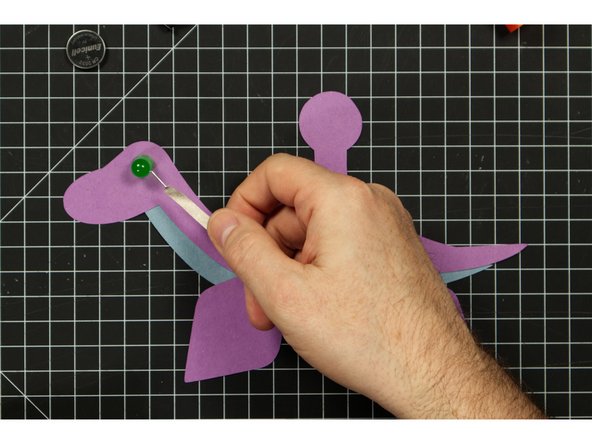
The long leg of an LED is positive, and the short leg is negative. For this project the positive leg goes on the back, and the negative leg goes on the front.
-
Bend both LED legs 90 degrees.
-
Stick the long positive leg through the paper. It may help to cut a small slit in the paper.
-
-
-
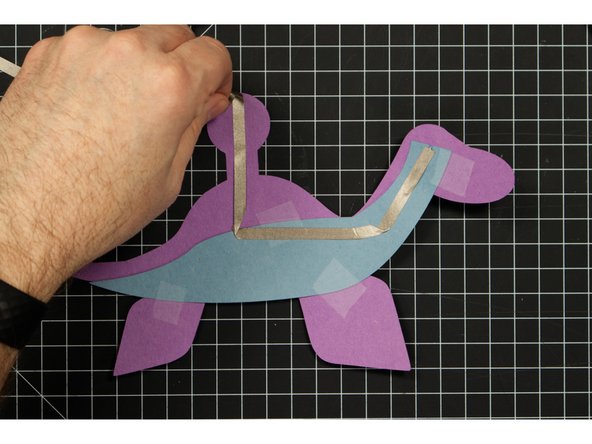
Run a piece of tape along the front of your Plesiosaurus, covering the negative LED leg.
-
-
-
Run a piece of tape covering the positive LED leg, down and then over to the round battery holder piece.
-
The tape should wrap around the round part to the front side of the Plesiosaurus.
-
You can choose to make a right angle turn or overlap multiple pieces of tape. Either method will work with Make Tape because it's conductive on all sides.
-
Do not connect the positive and negative tape lines. Doing so would cause a short circuit.
-
-
-
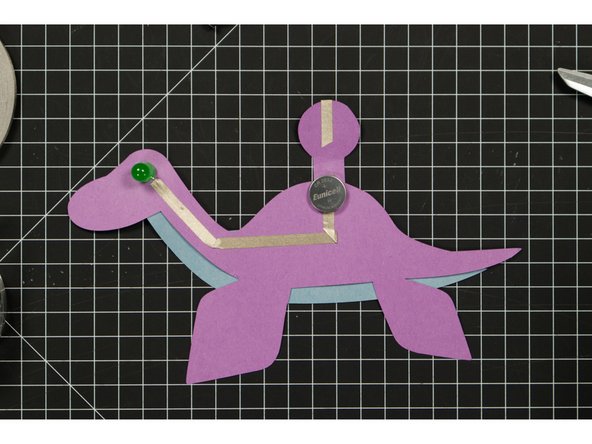
Place the battery so that bottom (negative) side is over the negative line of tape.
-
Fold down the round battery holder section on the back so that the positive line of tape make contact with the top of the battery.
-
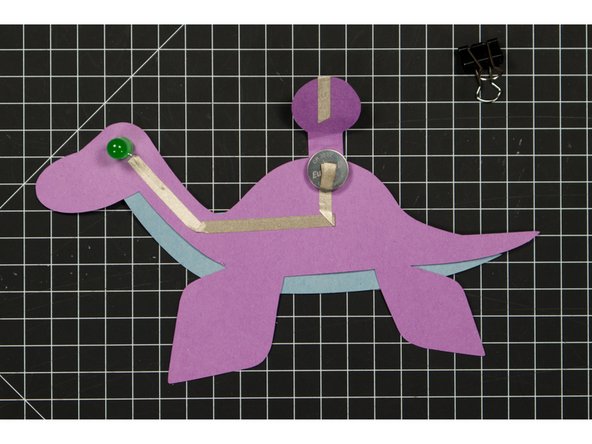
The LED should turn on!
-
If your LED does not light up, try flipping the battery over. If it still does not light up, make sure your tape is pressed down securely against the LED legs.
-
-
-
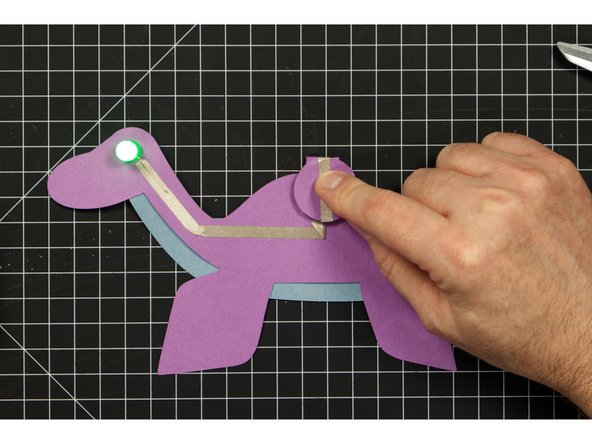
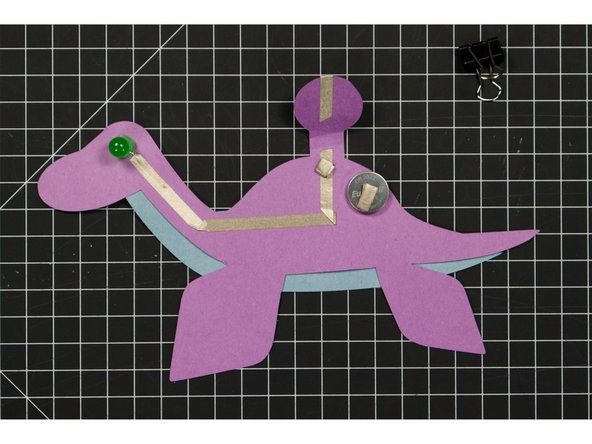
Use a binder clip to hold the battery in place.
-
To "Turn Off" the project, just remove the binder clip.
-
-
-
Since Maker Tape is conductive on both sides you can use it to make a tape loop that helps hold your battery in place.
-
If you wanted to, you could use two tape loops (one for each side of the battery) and turn on and off your circuit without the need of a binder clip.
-
-
-
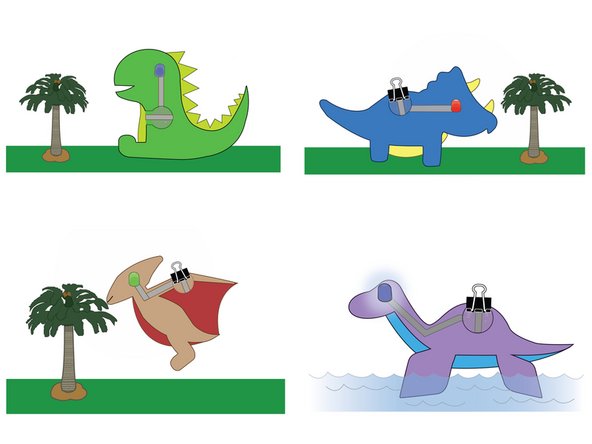
Check out our other Dino Friends; T-Rex, Triceratops, and Pterodactyl.
-


Cancel: I did not complete this guide.
One other person completed this guide.
Attached Documents
