Introduction
Use a Rotary Encoder along with a micro:bit to add a digital control that you can adjust by spinning a dial.
Video Overview
-
-
When it comes to using a dial to adjust something it’s common to find a potentiometer doing the job. A potentiometer is a variable resistor and typically turns about 290 degrees.
-
If you’ve ever used a volume knob on an old stereo and turned it all the way to the left for low volume and all the way to the right for full volume, you know how a potentiometer works.
-
A rotary encoder is a bit different. It’s still a dial but it typically doesn’t have limits where it stops turning left or right. Its rotation is sometimes called “endless”.
-
You can spin a rotary encoder to the right (or left) forever and you’ll never hit the end. This can be handy if you don’t want to be limited to a specific range.
-
If you’ve ever used a scroll wheel on a mouse you know it will scroll forever and ever without limits. That’s a rotary encoder! It basically counts plus one or minus one the current value.
-
You might notice that the rotary encoder “click” as it turns. It should click twenty times per revolution. (Other rotary encoders may have “higher resolution” meaning they may click hundreds or even thousands of times per revolution. (Also, not all of them will actually “click” when they turn.)
-
-
-
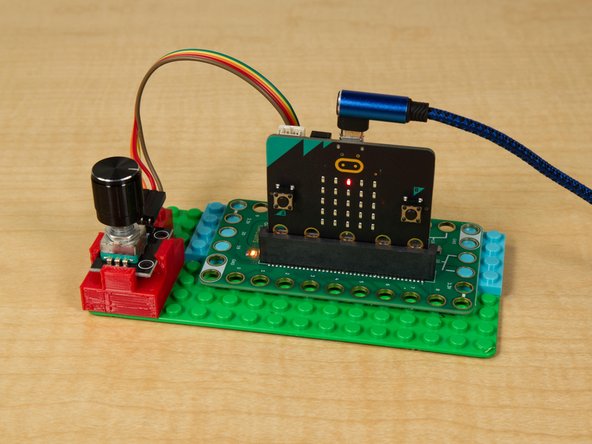
Now that we’ve got a basic understanding of how a rotary encoder works, let’s connect it to a Bit Board so we can use it with a micro:bit
-
There are five things to connect.
-
First let’s add power. GND goes to a ground (-) pin and + goes to a positive (+) pin.
-
We’ll connect SW to Pin 15. (SW stands for SWitch because the rotary encoder has a built-in button you can activate by pressing on the knob.)
-
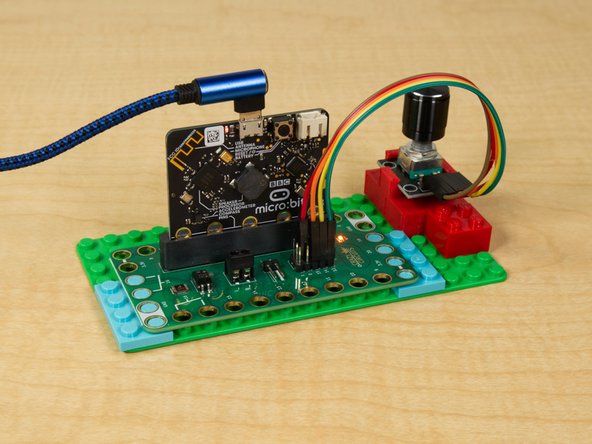
Connect DT to Pin 14 and CLK to Pin 13.
-
DT and CLK act like switches, and are either high (open) or low (closed) and the changing of the states of these two switches will be used to determine if the dial is turning left or right each time a change is detected.
-
-
-
Note: You do not need to add an extension if you use the code we link to in Step 5. The next two steps are here to show you how to do it and are purely informational.
-
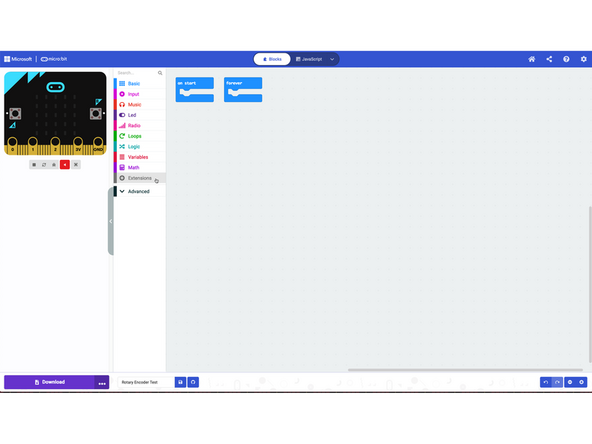
In MakeCode start to add an Extension as you normally would by clicking on the Extensions item...
-
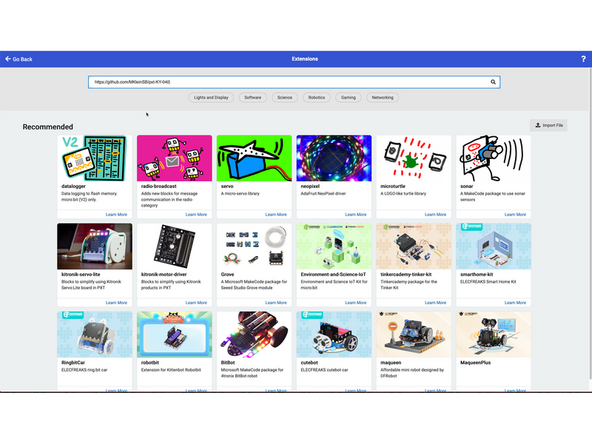
But instead of searching for an extension by name, paste in the following URL: https://github.com/MKleinSB/pxt-KY-040
-
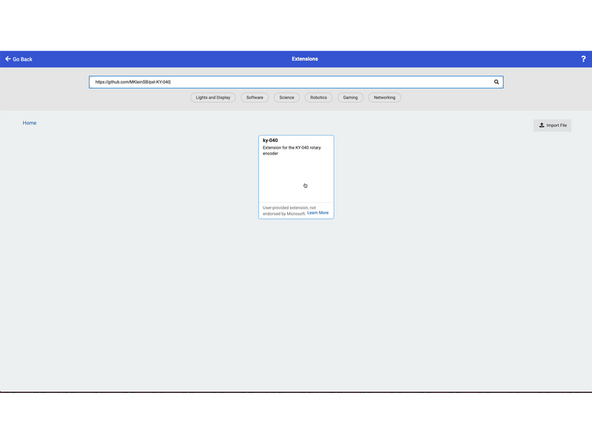
Click the magnifying glass and you should see the result, an extension named ky-040
-
Click on it to add it to your program.
-
You may find other extensions for the KY-040 Rotary Encoder. There's at least one old one that does not work with the micro:bit V2 so we tend to avoid that one.
-
There's one other KY-040 extension we've used, which is slightly different, but seemed to work in our tests. You can find that one here: https://github.com/dsssssssss9/ky40-test...
-
-
-
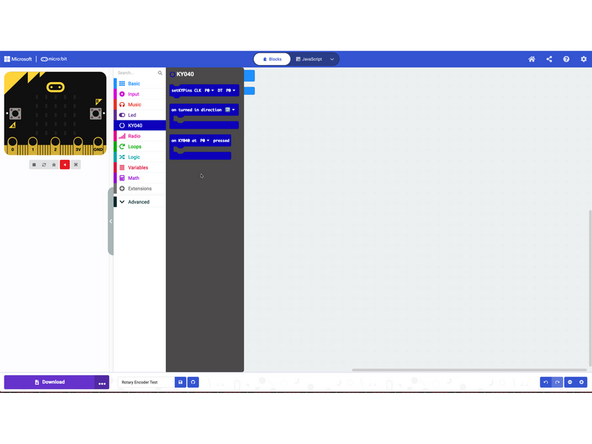
In MakeCode you can click on the extension to see what blocks are available.
-
There are three different blocks and we'll use them all.
-
The first one sets the pins used for the encoder.
-
The second one can check if the encoder is turning clockwise or anticlockwise. (The arrow can be changed to point to either direction.)
-
The third one can check if the dial is pressed down activating the switch/button.
-
-
-
If you've never used a micro:bit before you'll want to check out this guide: Bit Board V1 Setup and Use
-
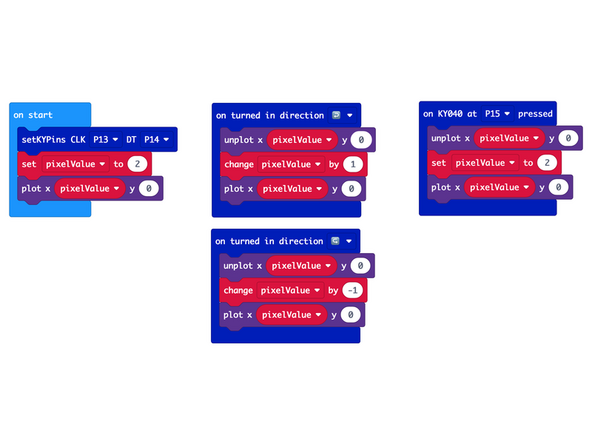
We’ll start with some basic code that will light up an LED on the built-in LED matrix on the front of the micro:bit when we turn the dial.
-
We're going to load the following code for our Rotary Encoder Simple Test program: https://makecode.microbit.org/_7F5HTRcbD...
-
-
-
After your code is uploaded the middle LED in the top row should light up.
-
Remember, the five LEDs are numbered 0 through 4 so LED number 2 is in the middle with 0 and 1 to the left and 3 and 4 to the right.
-
Turn the dial! Does the LED that is lit up change? Try turning the dial just a few clicks to the left, then to the right. If no LED is lit up that means we turned the dial too far and we’re either trying to light up an LED numbered greater than 4 or less than 0.
-
Now press the dial down to activate the button. The lit up LED should now be the middle one, LED 2.
-
If that all worked then you’ve got a rotary encoder connected. Let’s keep going!
-
-
-
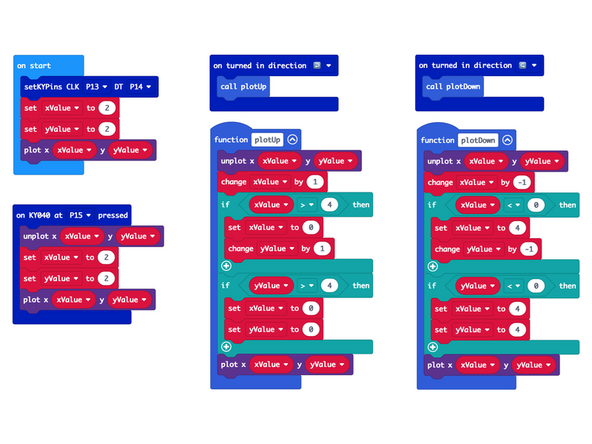
This code is a bit more advanced, but it will keep our lit LED visible thanks to some math.
-
Load the following code for our Rotary Encoder Built-in LEDs program: https://makecode.microbit.org/_FaTbqTbms...
-
When we get to the end of a row it will increase the row number and then reset the column from the last to the first. (It will also do this in reverse when the encoder dial is turned anti-clockwise instead of clockwise.)
-
-
-
Let’s try again. This time your code will go through all of the LEDs, changing columns and rows as needed.
-
Try turning the dial quickly through a number of clicks. Now try moving slowing, a single click at a time.
-
-
-
If you've ever used an interface that required you to repeatedly press a button to go up or down to a specific value, you might find a Rotary Encoder useful.
-
Besides allowing you to quickly change a value they can be precise by incrementing or decrementing a value by just one.
-
Can you think of uses for a Rotary Encoder in any of your projects?
-