
Introduction
This simple reindeer ornament lights up any snowy night with its pulsing red nose! Using simple sewing skills to bring Rudolph's nose to life. At the heart of this project is a Crazy Circuits Blink/ Fade Board which allows us to fade the red nose in and out. Remove the Blink/Fade Board to keep the nose lit all the time.
Featured Document
-
-
Print off the pattern.
-
Cut out the various parts from your fabric.
-
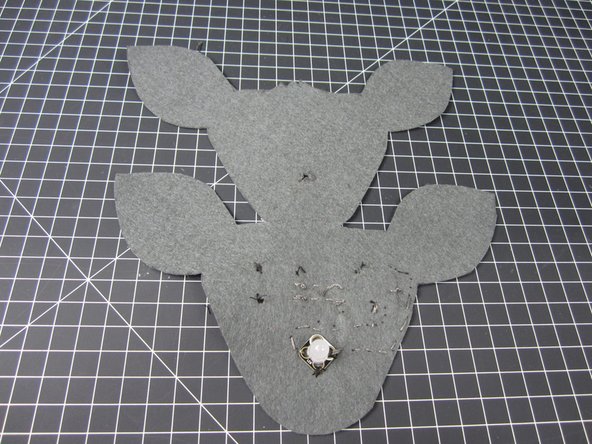
Remember to cut out the large face piece twice. One will have all your electronics on it, and the other will go over the top.
-
-
-
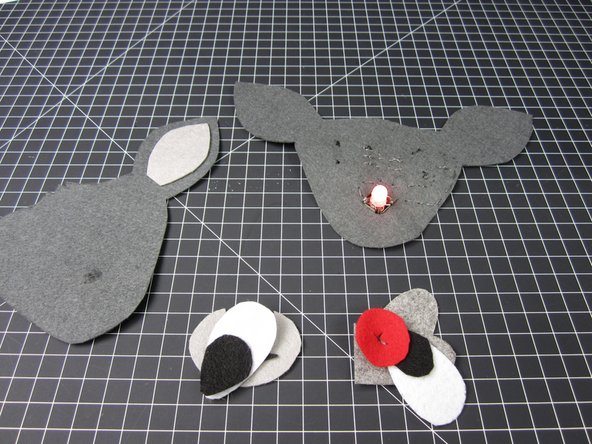
Lay out your electronics parts and fabric parts.
-
It never hurts to use a marker to draw out all your stitches.
-
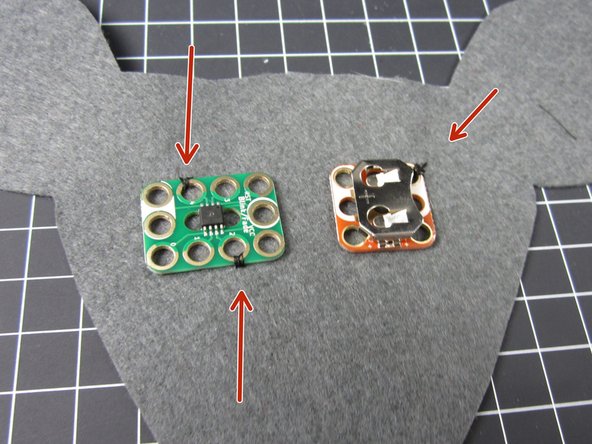
The Blink/Fade Board and Battery Holder will be on the REVERSE side of your face.
-
-
-
Use regular thread to sew on your electronics. This holds the parts down and makes life easier for everything else.
-
Make sure you're sewing through holes that you're not using with the Conductive Thread,
-
Again, make sure you have the LED on the "Front", and the Blink/ Fade and Battery Holder on the "Back".
-
-
-
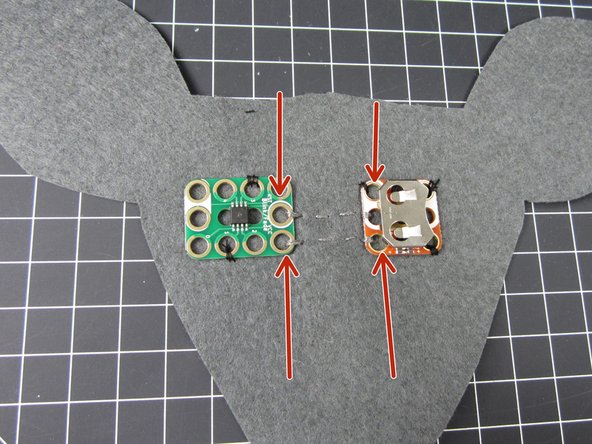
Using Conductive Thread, connect the orange colored hole on the Battery Holder to the VCC Hole no the Blink/ Fade Board.
-
Using a NEW line of thread, connect the corner white hole on the Battery Holder to the white hole on the Blink/ Fade Board. You'll want to use the white hole next to the VCC.
-
Make sure to do multiple loops around each hole. If at all possible make them as "tight" as possible for a better connection.
-
Tie off each hole and make sure no loose strands are connecting with the other line of Conductive Thread. This will cause a Short Circuit.
-
-
-
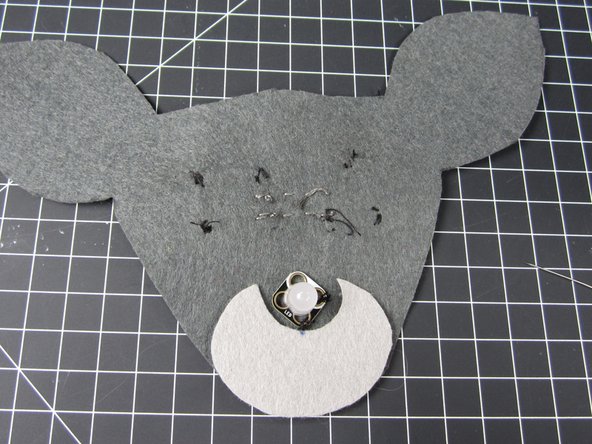
Connect one of the white holes from the LED with one of the white holes on the Blink/Fade Board.
-
Connect a colored hole on the LED to either Pin 0 or Pin 1 on the Blink/ Fade Board.
-
Pin 0 and Pin 1 both will case the LED to fade, however Pin 1 fades faster than Pin 0.
-
Again, make sure you're making tight loops around the holes and not trimming any excess thread off the back.
-
-
-
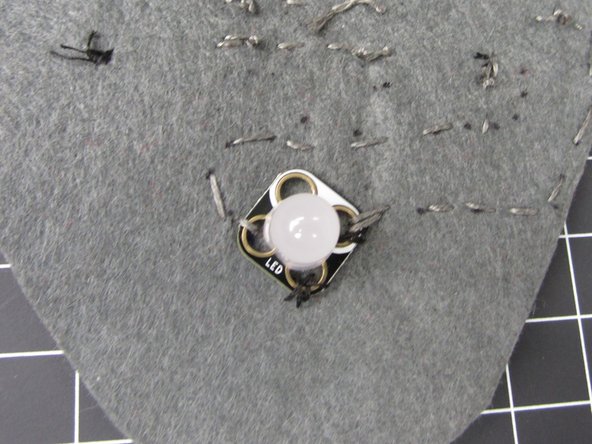
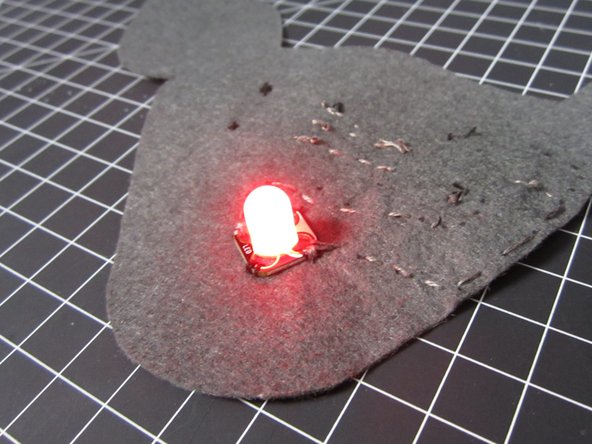
Insert an battery and see if things light up.
-
The most common problem people run into are loose connections. Either redo that line of conductive thread OR just use more Conductive Thread to tighten up an individual hole.
-
-
-
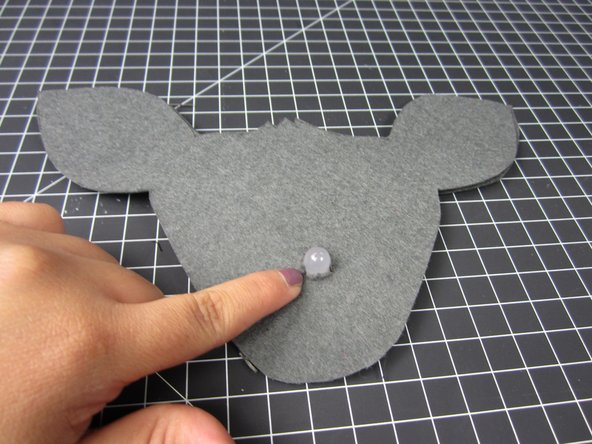
Cut a hole or slit in the second layer of your face for the LED to go through.
-
Use hot glue, fabric glue, or sew the second layer of face onto the electronics layer.
-
-
-
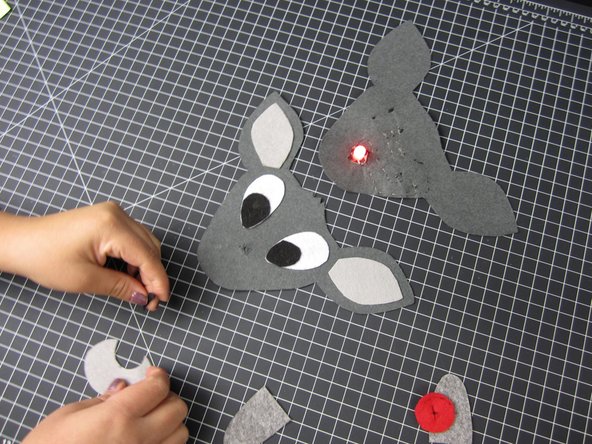
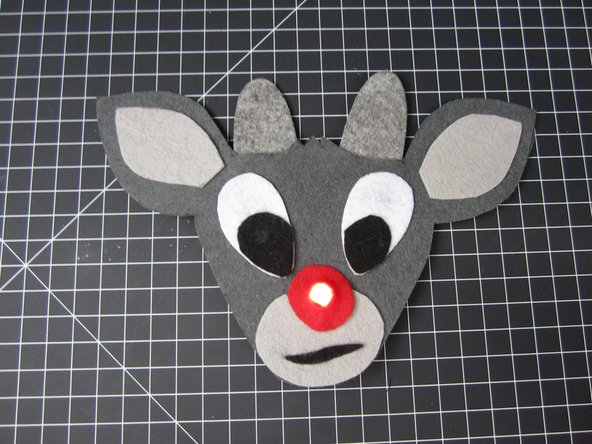
Add on all the other face embellishments. Fabric glue, got glue, or regular thread all work just fine.
-
We cut slits into the red fabric for our LED to go through.
-
If you REALLY wanted to you could add another face layer on the backside and fill your Rudolph with stuffing.
-


Attached Documents
