Featured Document
-
-
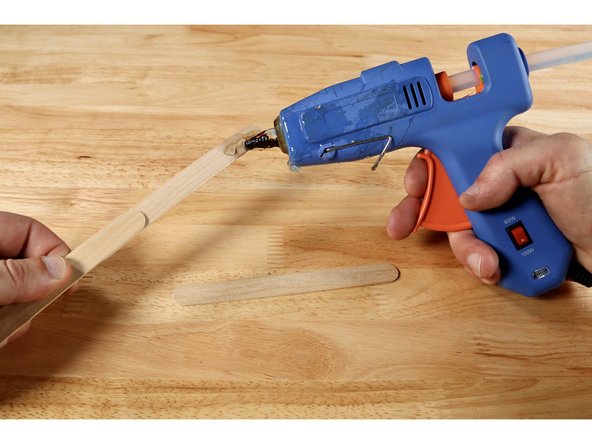
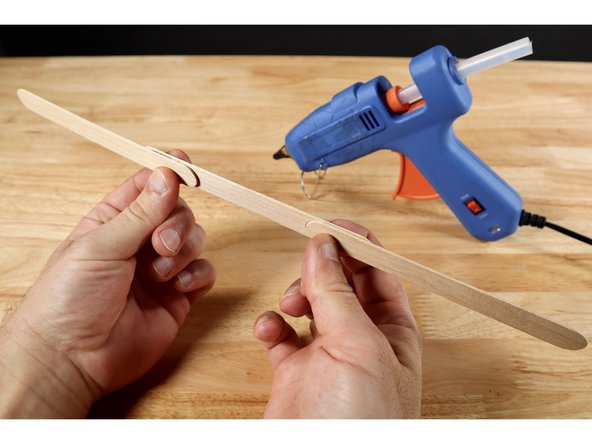
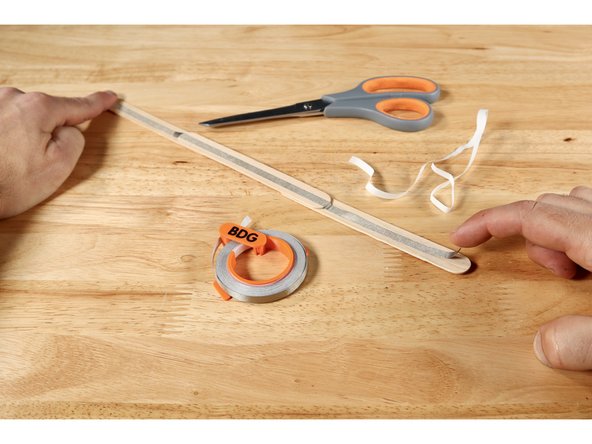
Attach 2-3 jumbo craft sticks by overlapping them and securing each overlapped section with either hot glue or wrapped (non-conductive) tape. Overall length is only cosmetic and the rest of the instructions will remain the same regardless of how long you choose to make your wand.
-
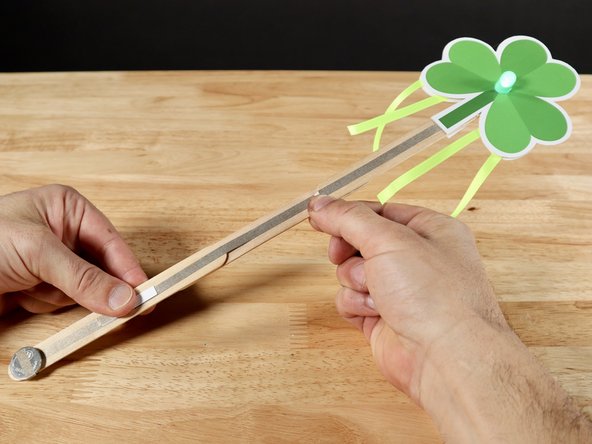
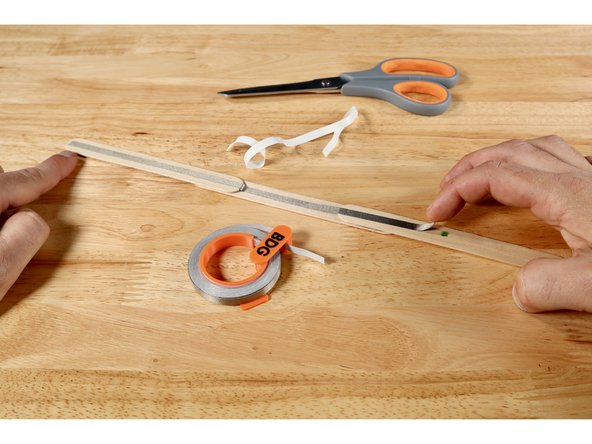
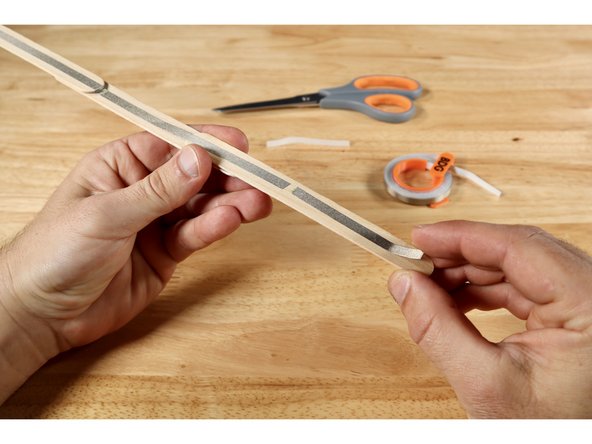
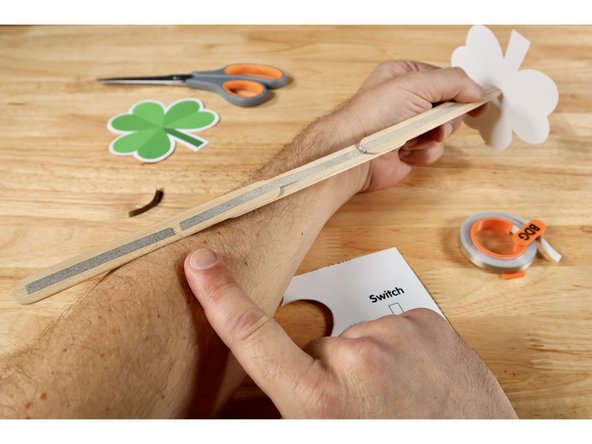
Grab your wand from the bottom and make a mark where your index finger naturally hits the wand. This will be the location of a simple switch that turns the LED on and off.
-
-
-
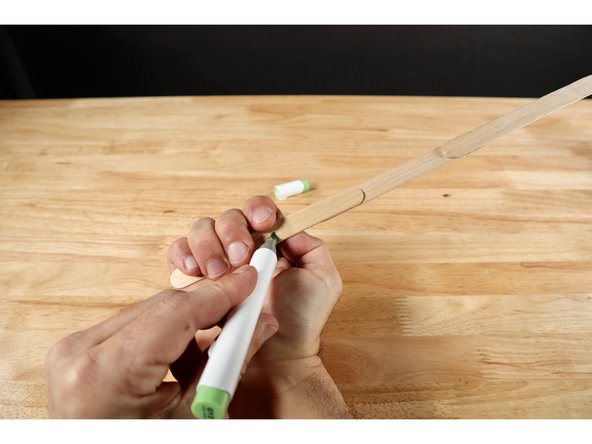
Measure, cut, peel, and stick a Maker Tape path end-to-end on the side of the wand handle that does not have the mark for your finger. Do NOT curl any tape from this side to the opposite side.
-
Flip the wand handle over. Measure, cut, peel, and stick a second piece of Maker Tape that reaches from the end furthest from the mark TO the mark itself.
-
Now measure, cut, peel, and stick a third piece of Maker Tape that starts about a pencil width away from the finger mark (which is now the end of the second piece of Maker Tape) and goes to the end of the wand handle nearest to it.
-
There should now be an uninterrupted end-to-end Maker Tape path on one side of the handle and another end-to-end path with a gap in it on the opposite side of the wand handle.
-
-
-
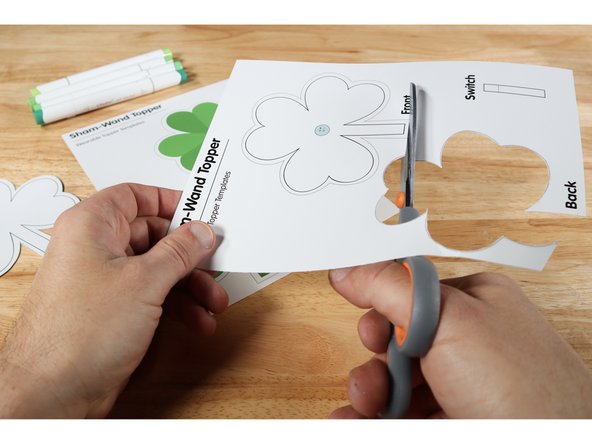
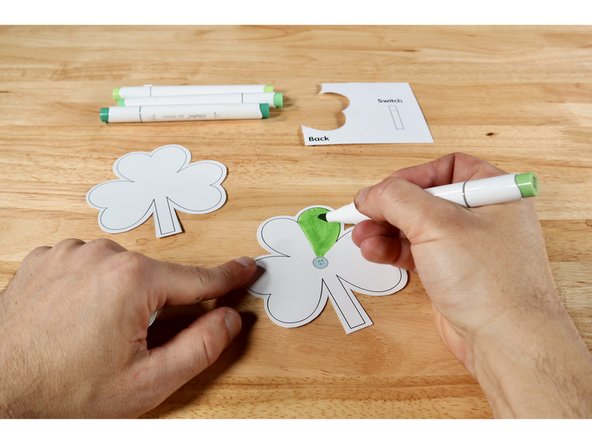
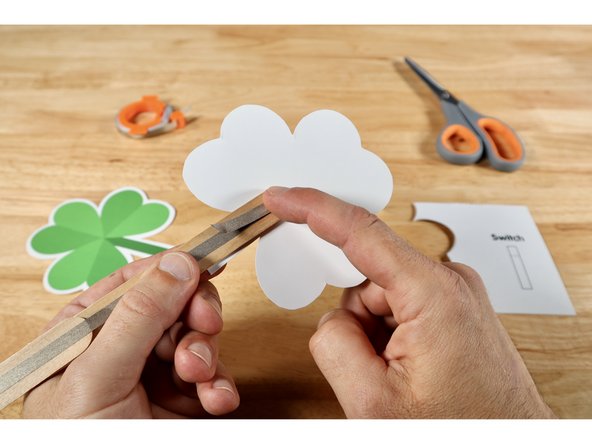
Decide whether you intend to use the already colored version of the wand topper or the one that needs to be colored.
-
Cut the two halves of the chosen topper out and use colored pencils or markers to color if you chose the blank version.
-
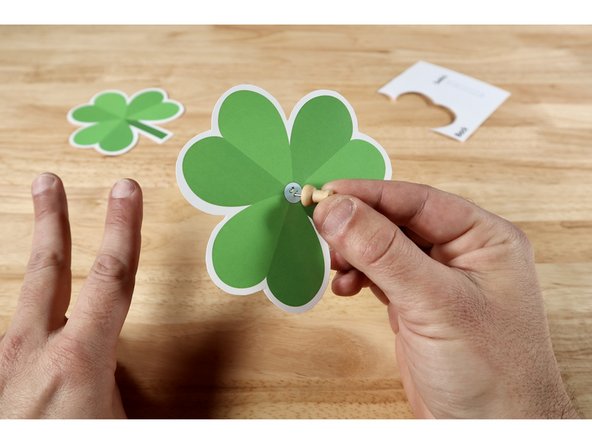
Use a push pin to poke two holes where indicated on the topper half that features an LED graphic.
-
-
-
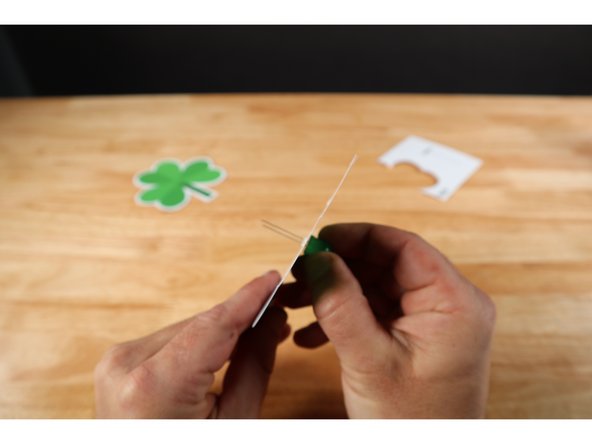
Thread the LED legs through the poked holes in the front portion of the topper so that the longer Positive (+) LED Leg goes through the upper hole and the shorter Negative (-) LED Leg goes through the lower one. ORIENTATION MATTERS!
-
-
-
Measure, cut, and peel a piece of Maker Tape that is about 2x the length of the short LED leg. This SHOULD be the leg that is going through the lower hole. Set aside; ready for use.
-
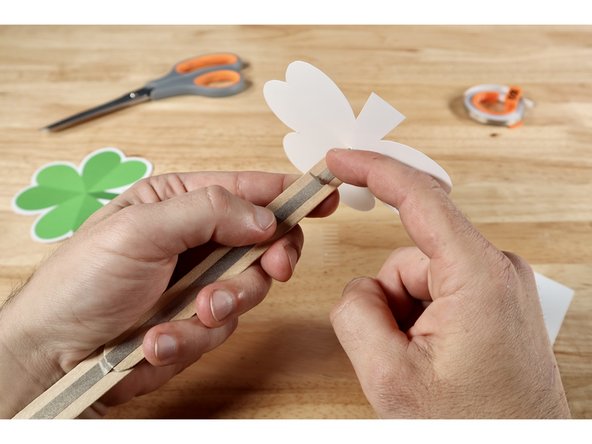
With the side of the wand handle with the gap in the tape path facing UPWARD in one hand, tilt the front topper piece so the stem is facing upward and the LED legs are aimed toward the end of the wand furthest from the gap.
-
Position the wand handle between the two LED legs and use the piece of Maker Tape you have ready to tape/secure the leg that faces you on top of the handle path below it.
-
-
-
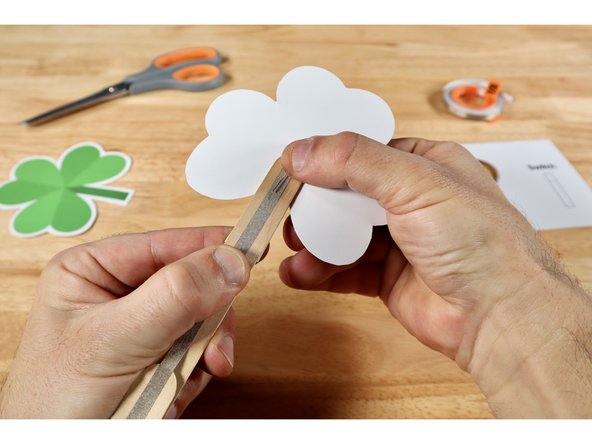
Flip the developing project over. Now bend the remaining long Positive (+) LED Leg over the top of the wand handle to the opposite side so that it's in line with and above the uninterrupted end-to-end path.
-
Measure, cut, peel, and stick a piece of Maker Tape that is about 2x the length of the long Positive (+) LED Leg.
-
Stick that piece of Maker Tape down atop both the LED leg and the path below.
-
At this point each LED leg should be connected to a single path on the wand handle. The LED legs should be sandwiched between their respective path below and the Maker Tape on top.
-
-
-
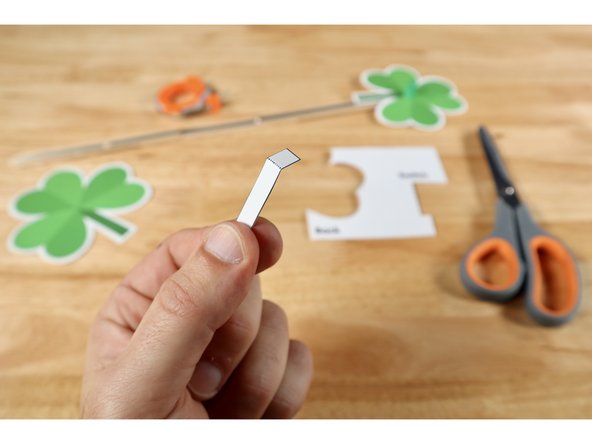
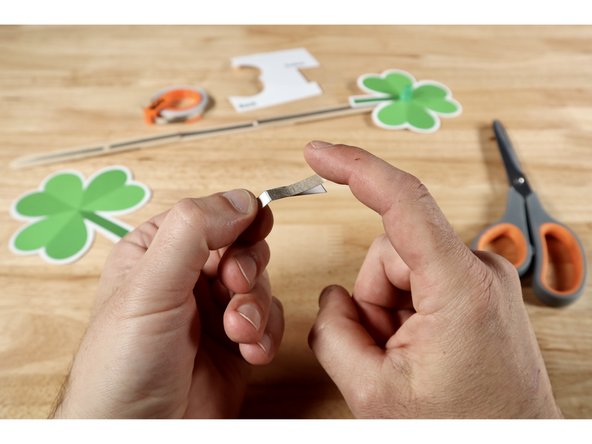
Cut out the rectangular switch template found on your template sheet. Fold it on the dotted line to create a hinge.
-
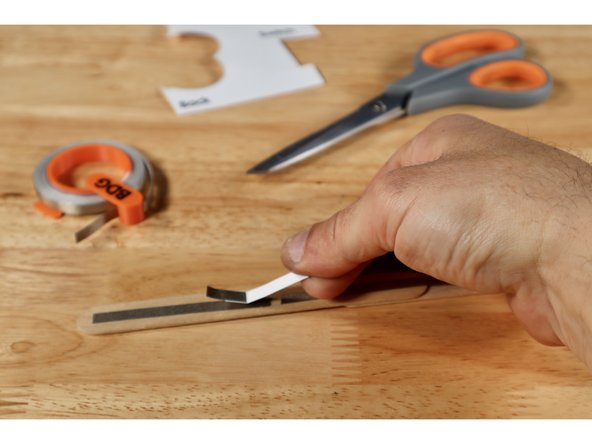
The fold now creates a long and short section. Measure, cut, peel, and stick a piece of Maker Tape that is the length of the longer section ONTO that same long section.
-
With the Maker Tape side facing down, align the switch over the gap as shown so that the conductive part bridges the gap. Use a small piece of Maker Tape to secure it to the wand handle from the top.
-
Note: All Maker Tape paths in this guide are involved in the CIRCUITRY of the project EXCEPT the one you just used to secure the switch. It's just there to hold the switch in place.
-
-
-
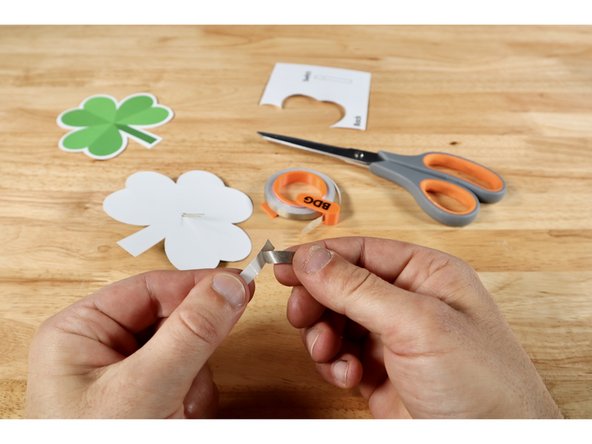
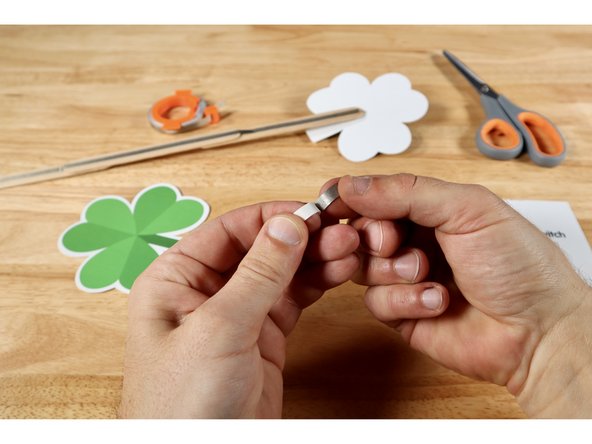
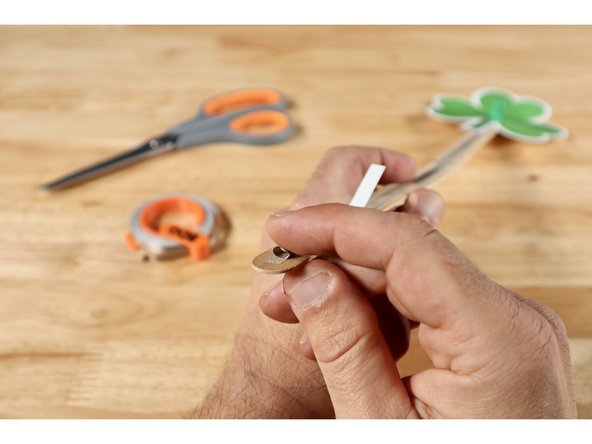
Measure, cut and peel a small piece of Maker Tape approximately 1" long. Then roll it into a small "sticky-side-out" tape loop.
-
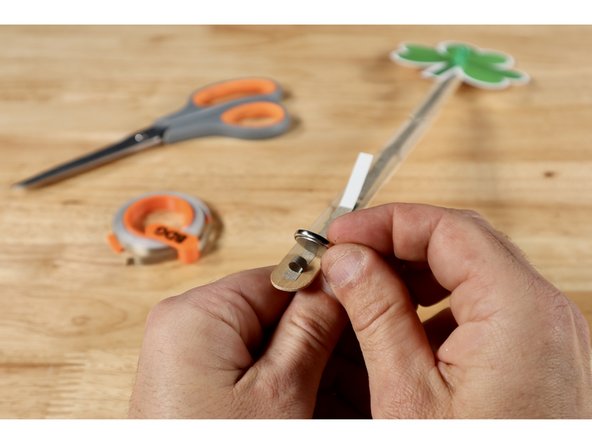
Stick that tape loop to the end of the smaller Maker Tape section located on the switch side one the wand handle. Then stick the battery on top of the tape loop Positive (+) Side facing UP. The dimpled Negative (-) Side of the battery is now in contact with the path that leads back up to the Negative (-) LED Leg.
-
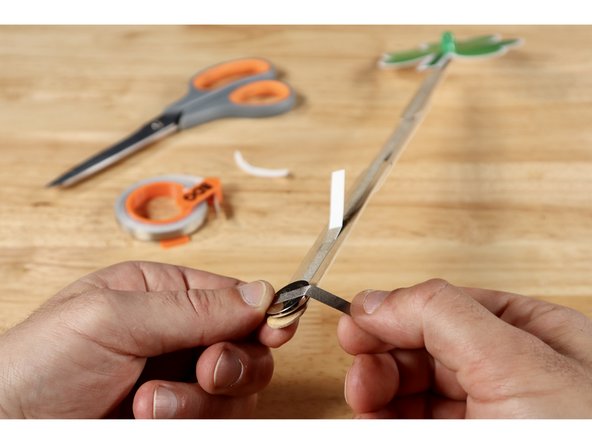
Measure, cut, peel, and stick one final Maker Tape path that reaches from the top of the battery around to the path on the opposite side. The Positive (+) Side of the battery is now connected to the path that leads back up to the Positive (+) LED Leg.
-
-
-
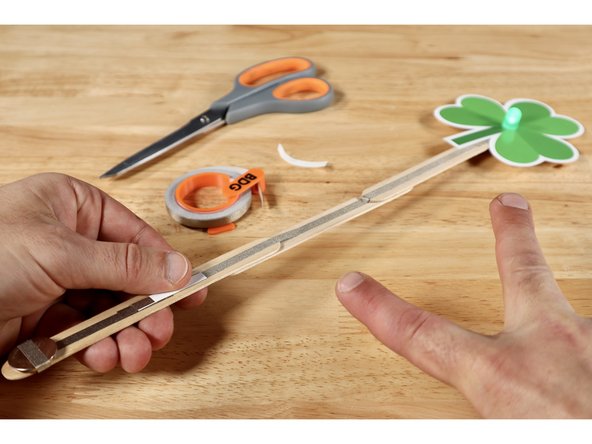
With switch and battery installed, your project is fully operational. The LED should not light up on its own. When the wand handle is grabbed and the switch is folded down to make contact with the path below, it will turn on. If it does NOT, the battery AND/OR LED legs may be flipped the opposite way.
-
The easiest way to remedy a problem related to orientation of either battery OR LED legs is to: disconnect the battery, flip it, and reinstall it. If your LED flickers when the switch is held tightly in contact, find and press the tape connections throughout the circuit (especially the LED leg areas).
-
-
-
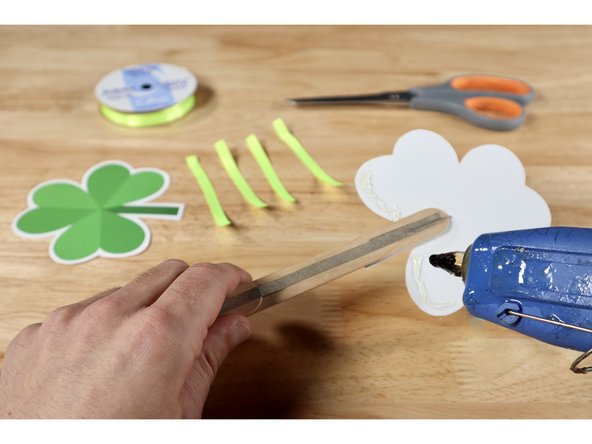
If you wish to add some frills to your wand, now is the time! Trim as many sections of ribbon as you want to whichever length you want.
-
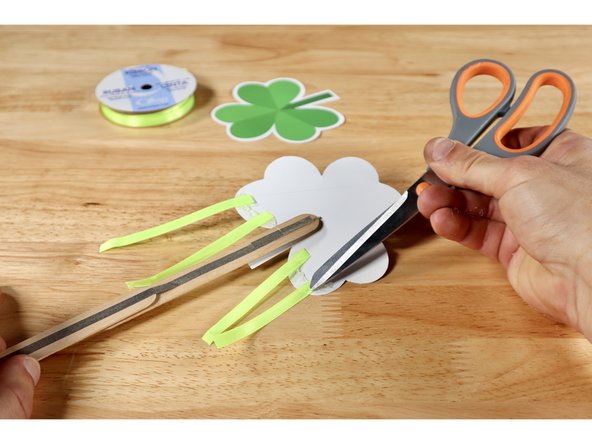
Squeeze a bead of hot glue along the two lowest curves of the shamrock shape on the back side of the front template.
-
Carefully place the ends of your ribbon atop the glue and press them into the glue with something that is NOT your finger. Remember: The glue is HOT.
-
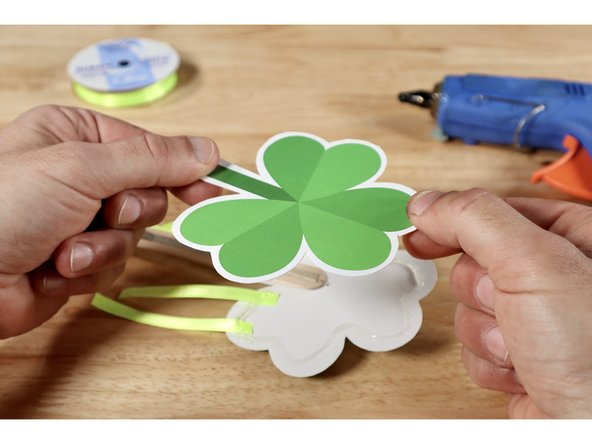
Now squeeze out a bead of glue around the entire perimeter of the shamrock shape on the back side of the front template and press the remaining template piece on top to match the front and conceal the LED portion of the circuitry.
-
-
-
The project is complete. You Sham-Rock!
-
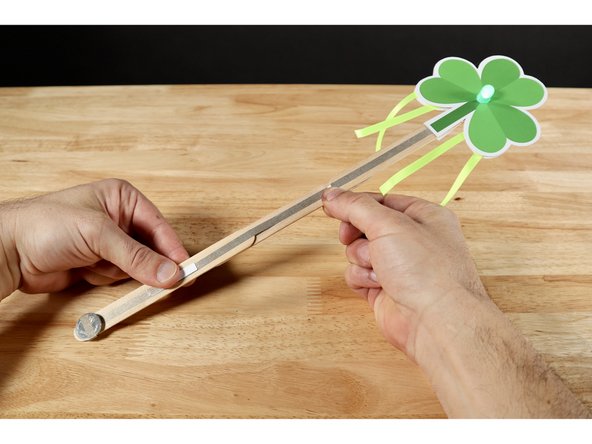
Your project is now complete! Go forth and make merriment with your new fancy wand!
Your project is now complete! Go forth and make merriment with your new fancy wand!