
Introduction
During our videostreaming workshops we needed a way for our on-camera person to let our video producer know when to change slides. This was a quick and simple solution to our problem using Crazy Circuits.
Video Overview
-
-
We do a lot of video streaming for workshops, and our setup includes one person on camera and another person as the producer who runs the software, monitors the chat window, and does the camera switching and advances the slides.
-
Our software can use the left/right arrow keys to change slides, but that only works when the software is the frontmost application. What we came up with was a way for the on camera person to let the producer know it’s time to change the slide without saying "Next slide!" every minute.
-
Our controller can send a MIDI signal to a custom application which catches the signal, displays a small window on the screen, and plays a sound the producer can hear in their headphones so they know when to change the slide.
-
-
-
The Crazy Circuits portion (a controller built with our Invention Board, LEGO, and Maker Tape) is covered in our Meeting Controls project.
-
If you need to build the controller, start with that project (Steps 1 through 3) and once you've got your controller ready continue here to add the new code.
-
-
-
We've got a GitHub repository called SlideControl with the Arduino code you'll need.
-
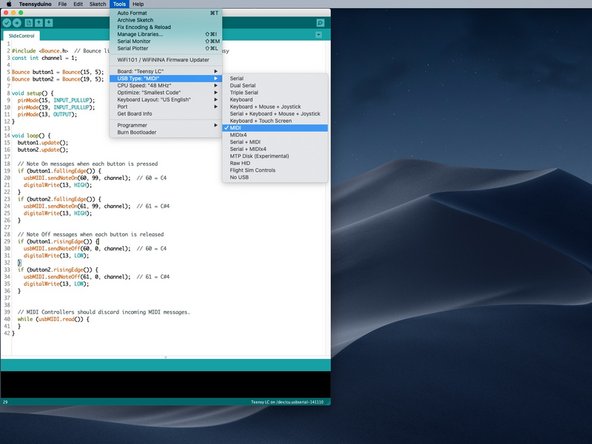
Under the Tools menu for USB Type make sure you choose MIDI. We could use Serial but since the serial port can change depending on the computer, USB port used, or a USB hub, MIDI was an easy way to make it work on multiple computers.
-
MIDI stands for Musical Instrument Digital Interface and it's the magic that will allow our system to work without too much configuration needed.
-
-
-
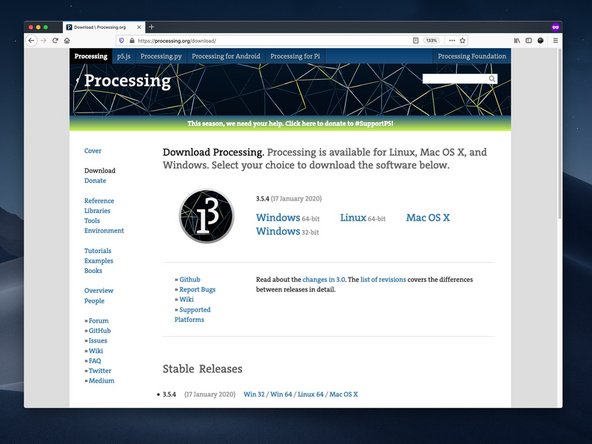
You'll need Processing installed, as well as theMidiBus library. You can find Processing over at processing.org
-
Processing is an application that allows you create "sketches" (which can then be exported as full applications) fairly easily. It's aimed at artists and students rather than software developers.
-
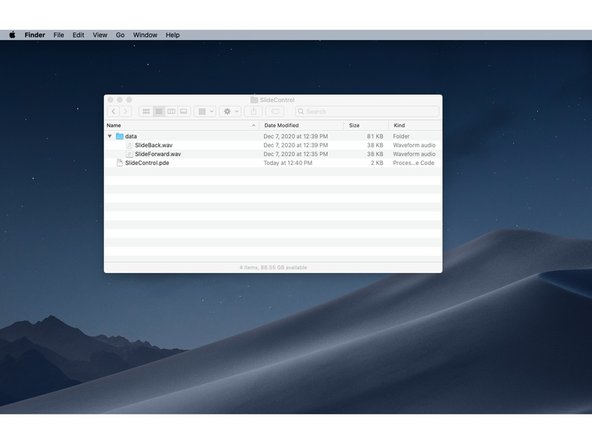
The GitHub repository for SlideControl also contains the Processing sketch you'll need. Open that in Processing so we can test it out.
-
-
-
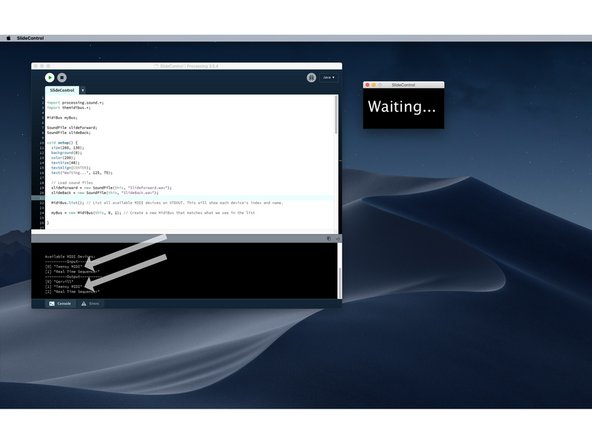
With the sketch open in Processing and your controller plugged in click the Run button. If it works, you're all good!
-
If you don't hear a sound when you press a button, or the "Waiting..." doesn't change, you may need to edit the MidiBus settings.
-
Look for the part that has MidiBus(this, 0, 1) and change the 0 and/or 1 to match the input/output as show in the console at the bottom of the window.
-
We want the Teensy MIDI device to be selected, since that's what our controller will show up as.
-
-
-
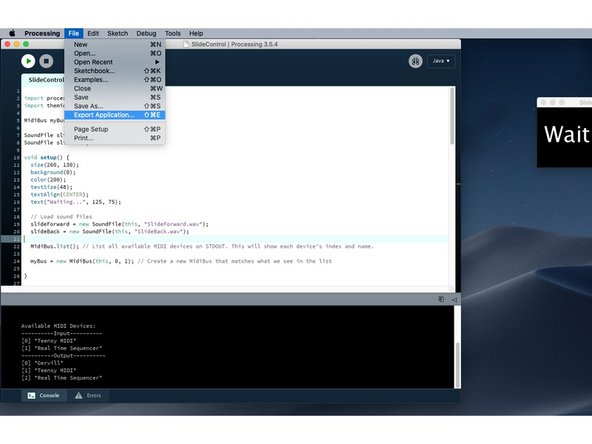
Once your sketch runs properly you can export it as an application that will run on any computer even if Processing is not installed.
-
Under the File menu select Export Application...
-
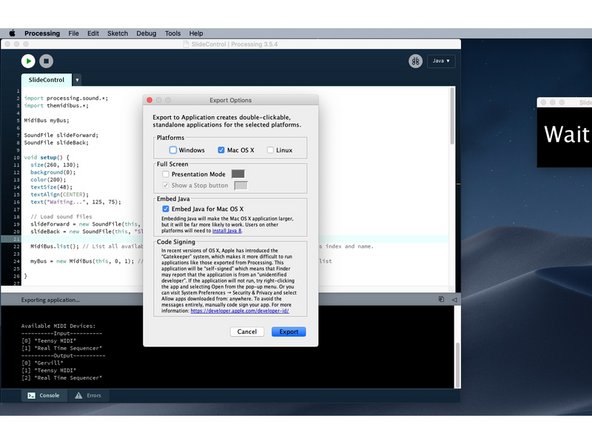
The Export Options window will appear and you can choose the appropriate settings.
-
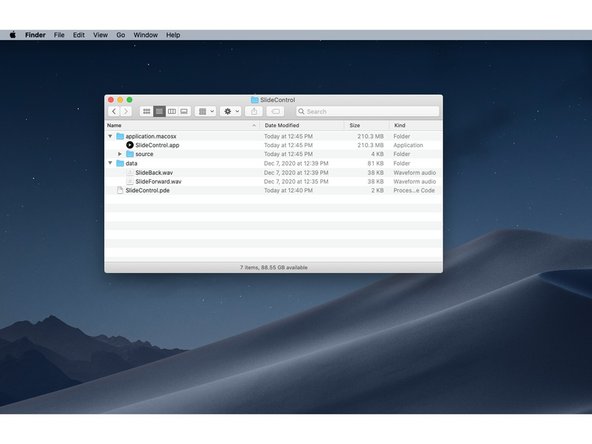
When the export is complete your sketch folder will have a new folder containing the newly created application.
-
If you are using Windows or Linux the folder will be named appropriately.
-
-
-
Once you've got your controller built, and your application exported, you can test it all out!
-
Plug in the controller, launch the application, and press a button.
-
Remember, this does not change the slides, you need a person for that. What this does is allows one person to let another person know when to change the slides.
-
As mentioned, this is a niche solution to a niche problem, but it worked well for our needs, so we wanted to share it.
-


Cancel: I did not complete this guide.
One other person completed this guide.
