
Introduction
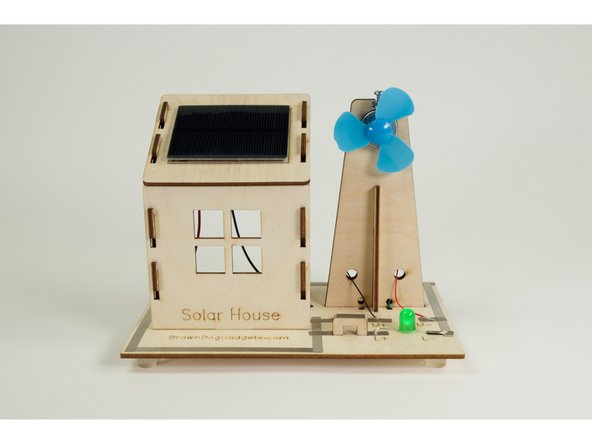
Build your own Solar House and use the power of the sun to turn on LEDs and an electric fan. This kit assembles using tabs and slot, with some twisted wire holding it all together, so no tools are needed. There is one (optional) bolt & nut used for the motor but it can be tightened by hand.
Video Overview
Featured Document
-
-
Your Solar House Kit should have the following parts:
-
9 laser cut wood pieces
-
1 Solar Panel
-
1 Green LED and 1 White LED
-
An electric motor, a fan blade, and a nut & bolt
-
4 Rubber Feet
-
4 (or more) short lengths of wire
-
A roll of 1/4" wide Maker Tape
-
-
-
Let's build a Solar House!
-
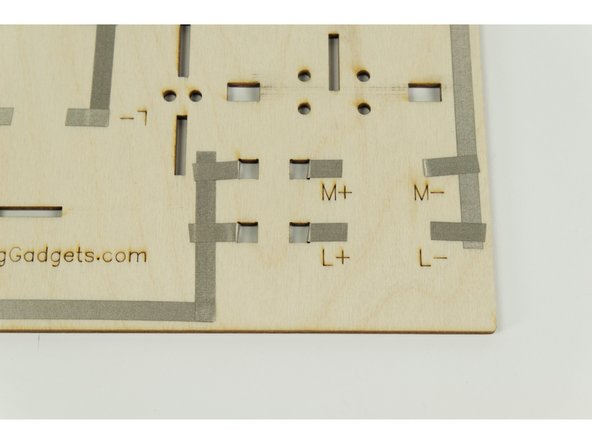
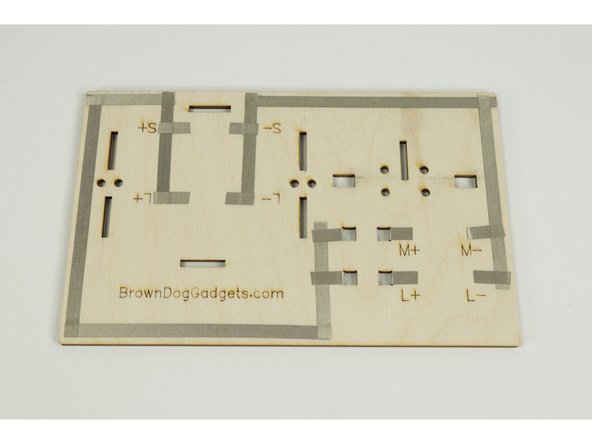
We'll start with the base of the Solar House Kit.
-
Apply Maker Tape to the base following the etched lines.
-
You'll need a pair of scissors to cut Maker Tape as it's a very strong nylon-based material.
-
The great thing about Maker Tape is that you can overlap it and it will still work fine because it's conductive on both sides and all the way through.
-
Note: The photos in this guide show a 1/8" piece of wood used for the base. In January 2024 we switched to a 1/4" piece of wood. This does not affect the assembly of the Solar House.
-
-
-
There are four square holes in the base that you'll need to push the Maker Tape through.
-
Wrap the tape around to the back side of the base as shown.
-
The holes create a gap in the circuit that we'll close using switches we'll make in Step 19.
-
-
-
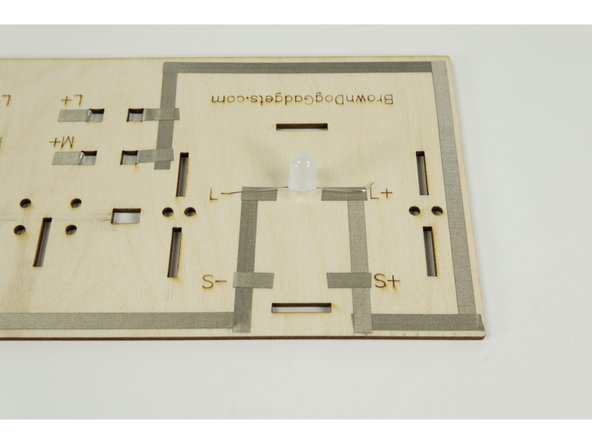
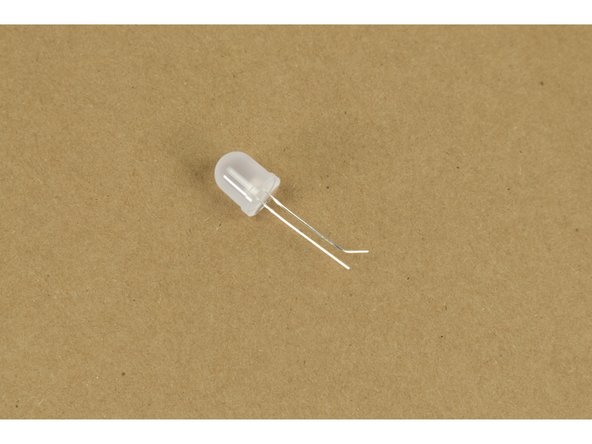
Next we'll add the White LED to the base.
-
Turn the base around so the back of it is facing you. You'll see an L- and L+ in the center of the section where the house will sit.
-
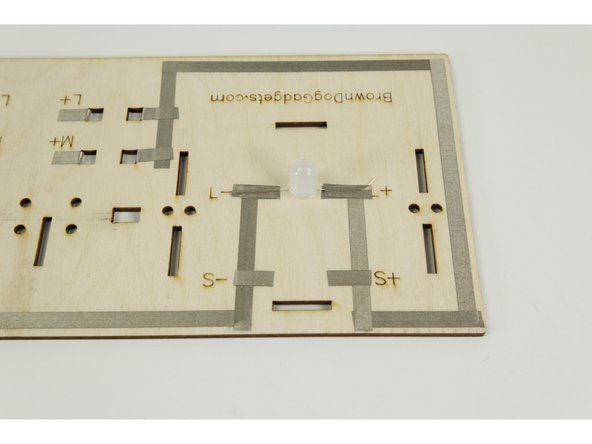
Remember! An LED has a Positive and Negative leg. The Positive leg is longer than the Negative leg.
-
Attach the Positive LED leg to the L+ side and the Negative LED leg to the L- side.
-
Tip: Since we need to bend the LED legs straight out it's easy to forget which one is the Positive (longer) leg! Our trick is to give a slight bend to the end of the Positive leg as shown in the photo.
-
-
-
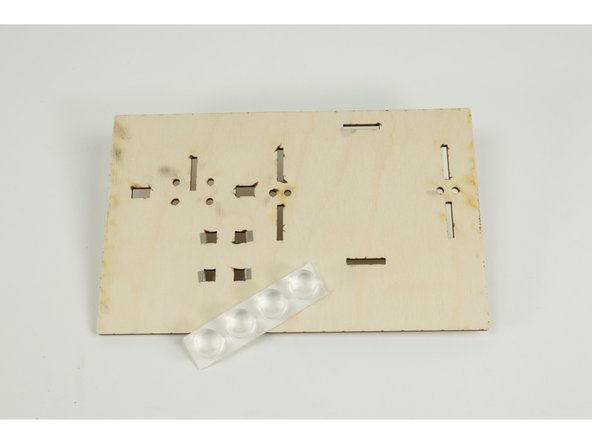
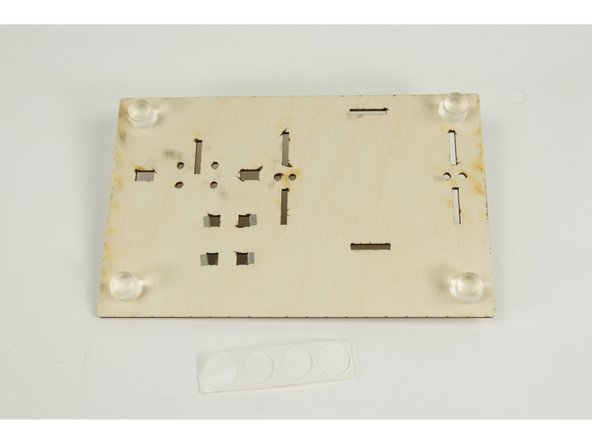
Flip the base upside down so we can add the four large rubber feet to the bottom.
-
Peel the feet off the strip they are attached to so you can stick them to the base.
-
Put one foot in each corner of the base.
-
-
-
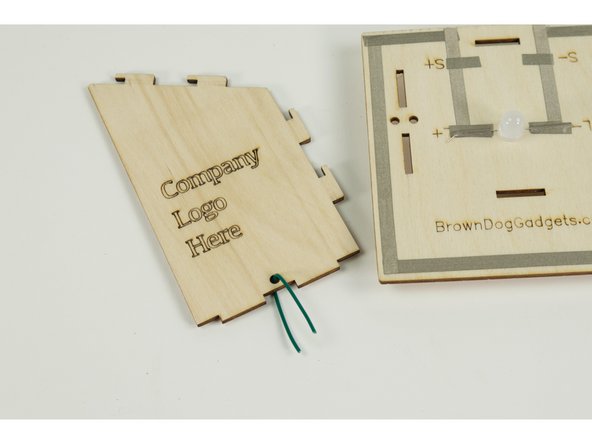
Note that the house can face forward or backwards, and you can easily change it later, but for this guide we'll face the house forward.
-
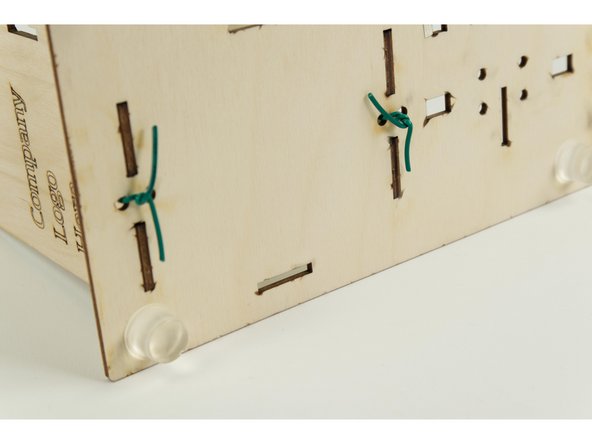
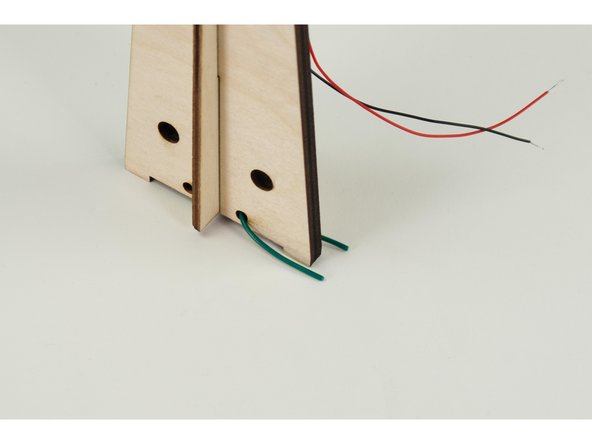
Take one of the short pieces of wire and bend it into a "U" shape as shown, then thread it through the hole in the bottom of one of the walls.
-
Insert the wall into the base, with the ends of the wire going into the two holes on each side of the wall.
-
After the wall is in place twist the wire together to hold the wall securely against the base.
-
Repeat this process with the second wall.
-
-
-
With the side walls in place you can now add the front wall of the house.
-
The front of the house will slide down towards the base, locking into the tabs sticking out from the edges of the side walls.
-
The front wall will be held down against the base after we add the roof in the next step.
-
-
-
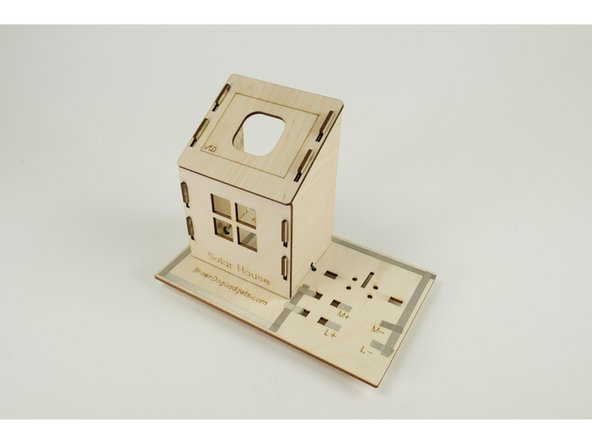
With the walls of our house up, we can now add the roof.
-
Just like the front wall of the house, the roof slides into place on the tabs on the edge of the walls.
-
The roof will slide in place sticking out just past the front wall of the house, to help hold it in place.
-
Your house now has three walls and a roof, and should stay in place on the base.
-
-
-
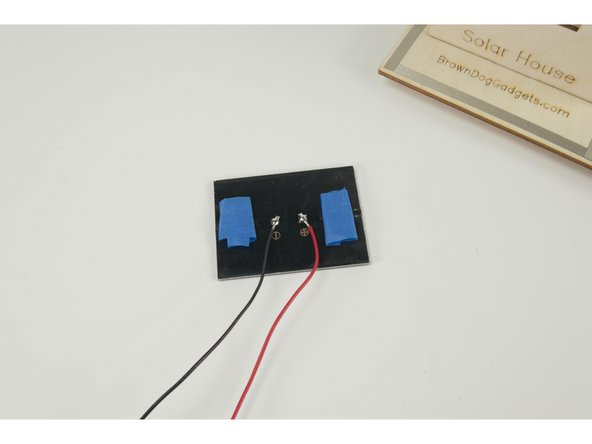
The solar panel will have two wires attached to it, a red wire for Positive, and a black wire for Negative.
-
Place the panel face down and apply the two pieces of tape to the left and right side of the panel as shown.
-
You can use masking tape, painter's tape, or any low-tack tape that is easily removable.
-
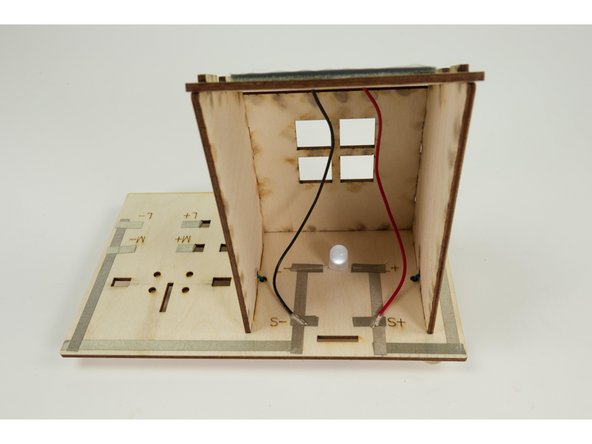
Thread the wires through the hole in the roof, line up the panel with the etched outline, and press it into place so the tape sticks to the wood.
-
If you haven't removed the clear protective film from the solar panel yet you can do that now.
-
-
-
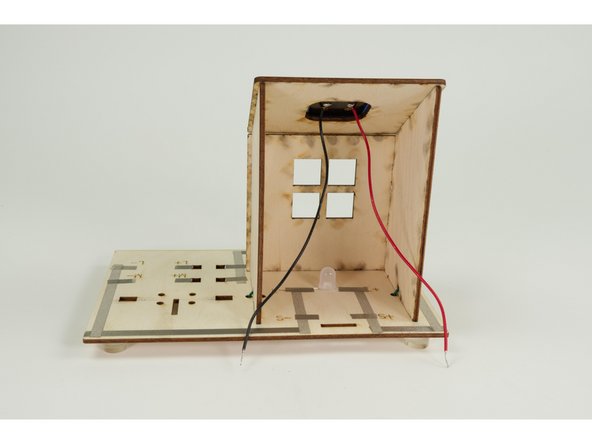
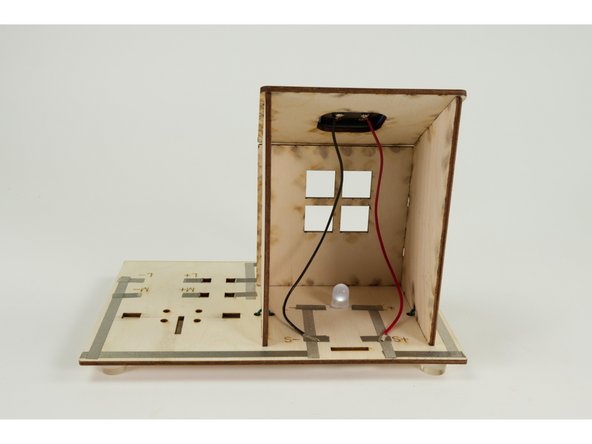
Cut a short piece of Maker Tape and use it to stick down the red (Positive) wire to the spot marked S+.
-
Cut another piece of Maker Tape and stick down the black (Negative) wire to the spot marked S-.
-
At this point you may see the white LED inside the house light up!
-
Even though the solar panel is meant to produce energy from sunlight you may find that some lights in your home/school/office will produce the right kind of light to power the house enough to light up the LED.
-
-
-
Next we'll build our windmill.
-
Calling it a "windmill" is a bit misnomer, since we'll be powering it from the solar panel to act as a fan.
-
For another activity see our Wind Generator guide which shows you how to light up an LED using the windmill and the power of moving air!
-
-
-
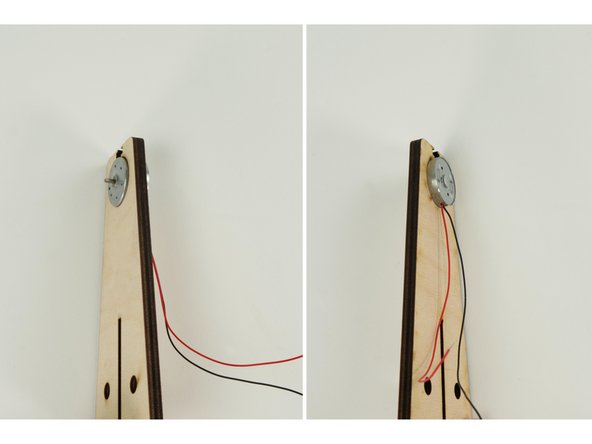
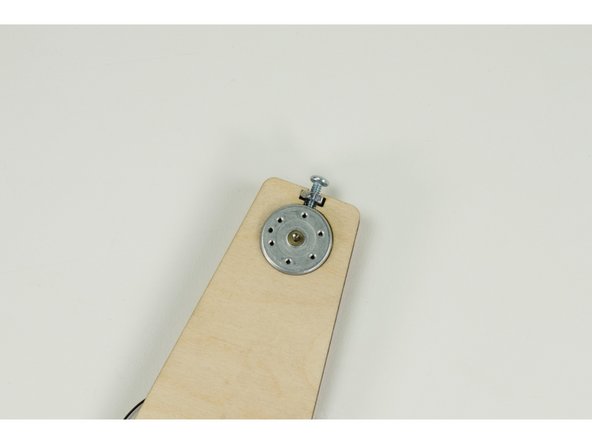
The motor should press fit into the round hole at the top of the windmill frame. (Press the front of the motor in place through the hole.)
-
Press the motor in no more than half way.
-
We want to make sure the attached wires on the back of the motor don't press up again the wood, and that they are oriented towards the bottom.
-
If the motor fit is too tight.
-
If you have problems pressing the motor into place you can sand the wood on the inside of the circle or use a small knife to carve away a little bit of the wood.
-
If the motor fit is too loose.
-
You can add the included nut and bolt at the top as shown to help hold the motor in place. Note the screw should not be overtightened and just needs to be “finger tight” to hold the motor in place.
-
-
-
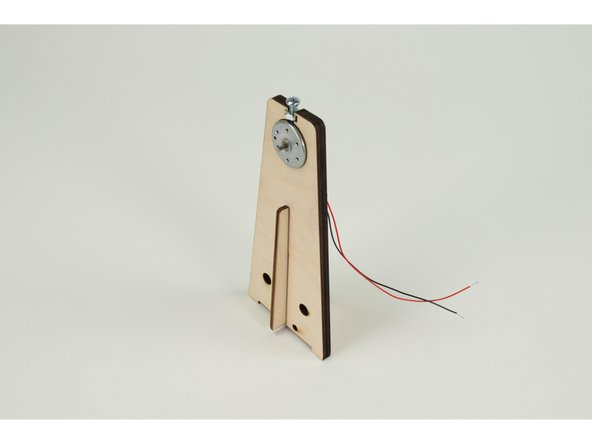
With the motor in place you can now slide the thinner piece of the windmill into place.
-
It just slots together loosely, but the entire assembly will be held down to the base using twisted wire, just the like side walls of the house.
-
-
-
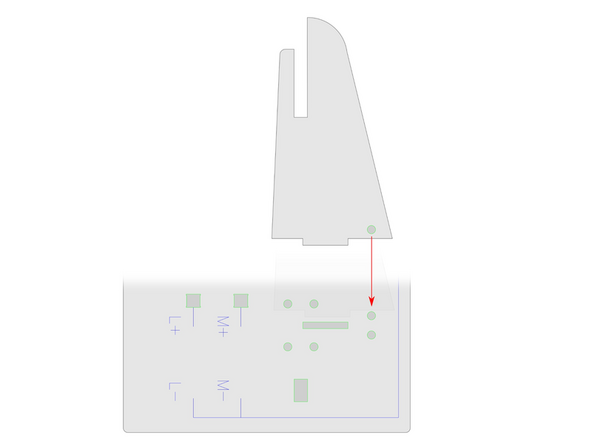
The thinner piece of the Windmill has been updated and now has an additional hole. You will secure this to the base the same way the thicker piece is secured using a wire as a twist tie.
-
The hole will not appear in the photos of this guide until the next revision, but the illustration shows the location.
-
-
-
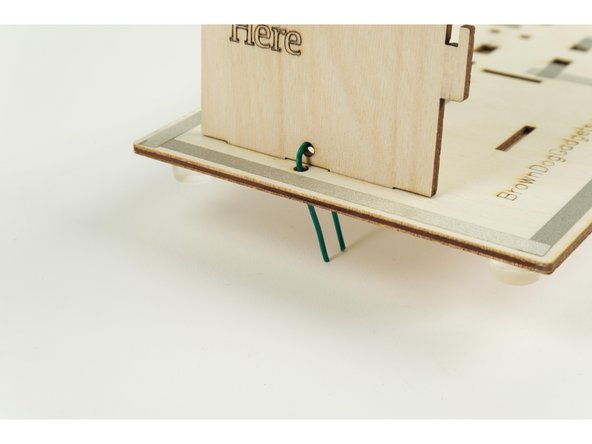
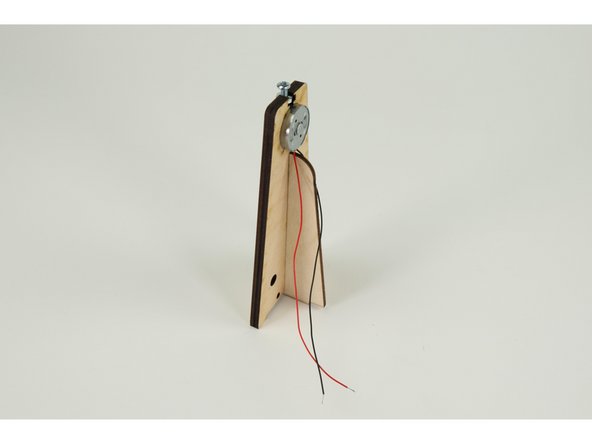
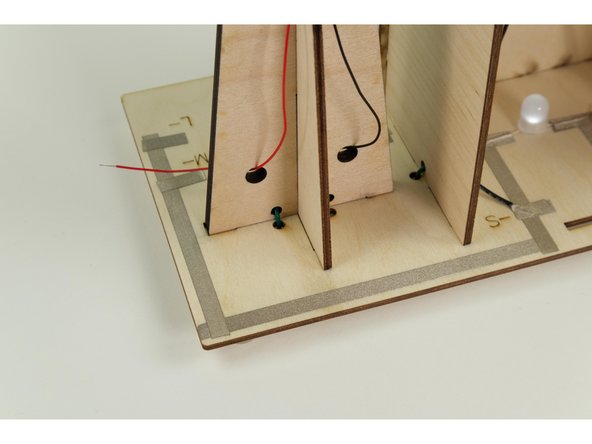
Take another short piece of wire and bend it into a "U" shape, then thread it through a hole in the bottom of the windmill assembly.
-
Insert the windmill assembly into the base, with the ends of the wire going into the holes on the base.
-
After the windmill is in place twist the wire together to hold it down against the base.
-
[Not Shown] Add the third wire to the thinner piece to hold it down to the base.
-
-
-
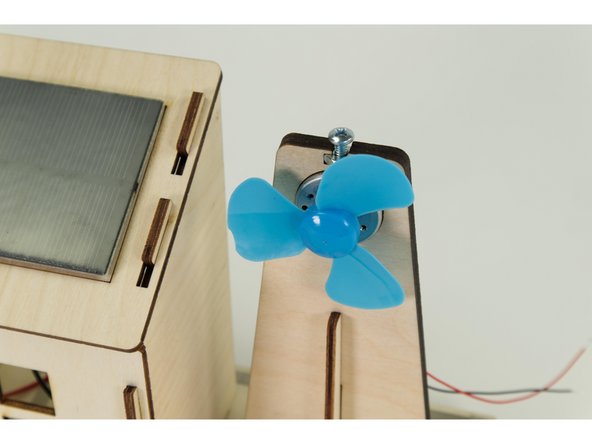
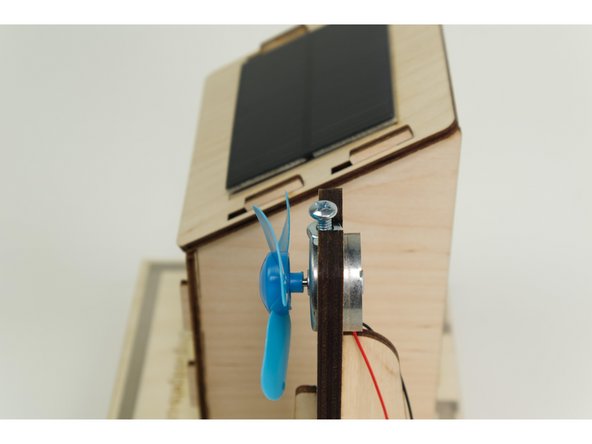
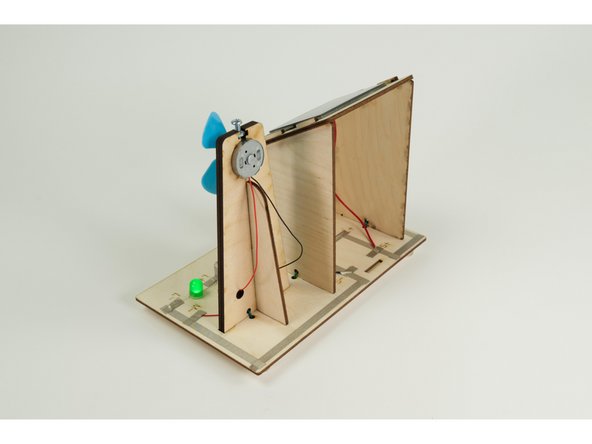
With the windmill in place you can now press the fan blade onto the shaft of the motor.
-
The blade should spin freely. If it does not, make sure you leave a small gap between the fan blade and the motor housing when pressing the blade onto the shaft.
-
Give the fan blade a spin with your finger, or try to blow on it, and make sure it spins.
-
-
-
The wires attached to the motor will get connected in front of the windmill, so we'll thread the wires through the holes as shown.
-
-
-
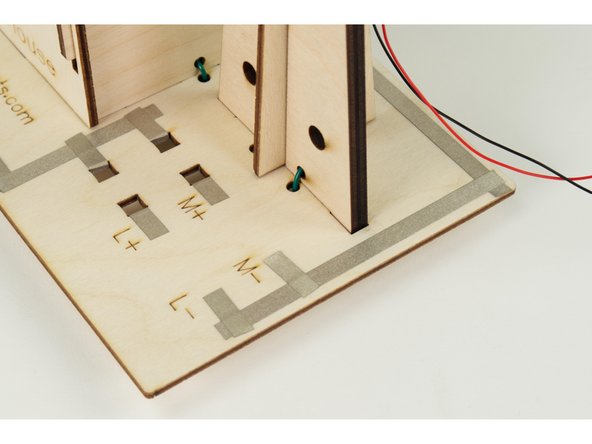
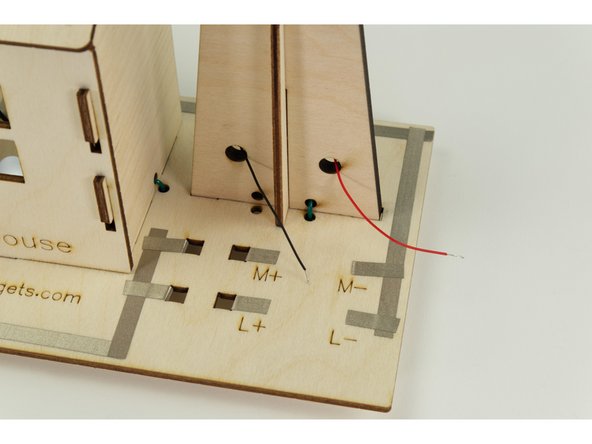
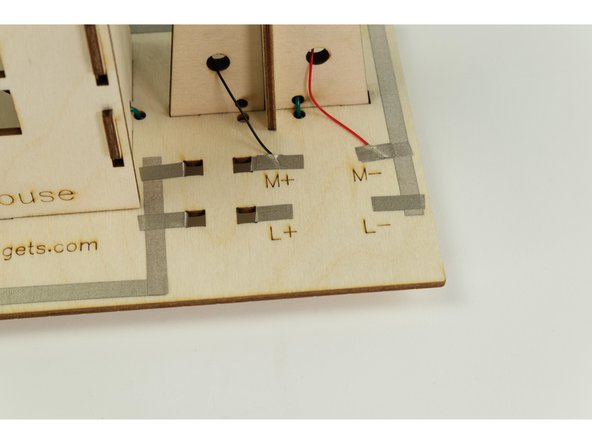
We're going to connect the red wire to M+ and the black wire to M-
-
Note: The wires in this guide's photos are reversed. It will work either way, but for clarity about polarity we are working on new photos for an update.
-
The nice thing about a standard DC motor is that reversing the polarity just reverses the direction the motor will spin.
-
Attach the red wire using a short piece of Maker Tape, then do the same with the black wire.
-
-
-
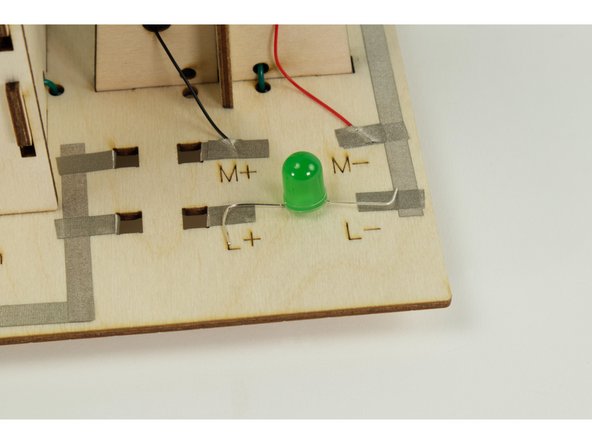
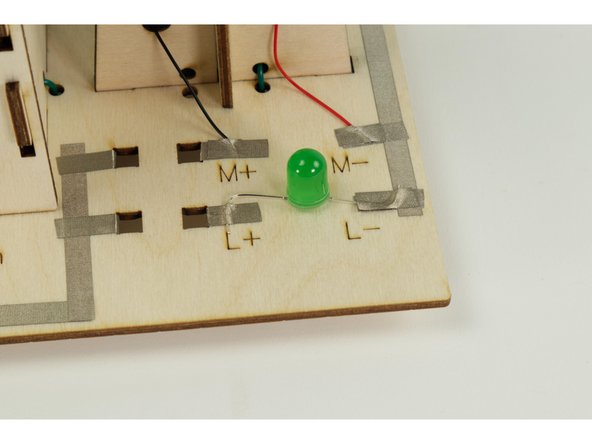
Next we'll add the Green LED.
-
Remember, the longer leg of an LED is positive, and the shorter leg is negative.
-
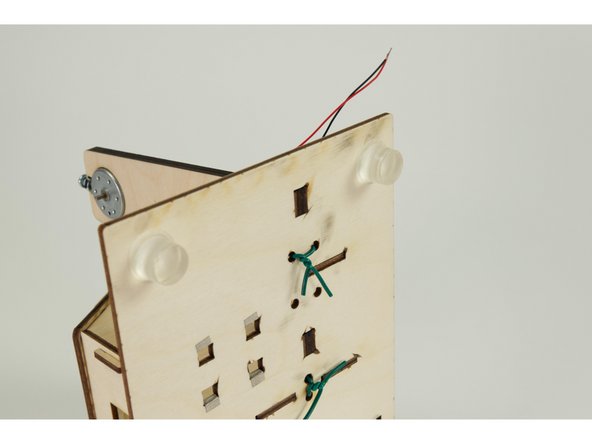
Using Maker Tape attach the positive leg to the L+ spot, and the negative leg to the L- spot.
-
Make sure the positive LED leg does not go over the hole area. Bend the end slightly if needed.
-
-
-
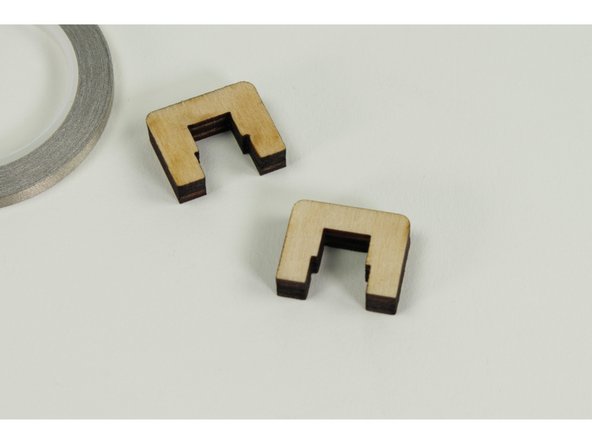
Our motor and Green LED are in place, but they will not get any power until we add a switch to allow current to flow.
-
Cut a piece of Maker Tape long enough to wrap around the outside, and part of the inside, of the small "U" shaped pieces.
-
When the switch is placed in the holes it will bridge the gap in our circuit and allow current to flow, turning on the motor or the LED.
-
If the switch doesn't fit tight against the Maker Tape on the base when inserted you can always add another layer of tape to the switch or to the base.
-
-
-
Is it a sunny day? Are you ready to head outside? Let's test our Solar House!
-
We'll start with the switches removed. If sunlight is hitting the solar panel the white LED inside the house should turn on!
-
It's brightness will be determined by how much energy the solar panel produces from light hitting it. On a sunny day it should be very bright, and on an overcast day you might barely be able to see it.
-
Now let's put a switch in next to the green LED. Does it turn on?
-
Now try adding the switch next to the motor wires. Does the fan start spinning?
-
Head back indoors and test some of the light inside. Try with the switches out and in, and see how much power is created from indoor lights, and if you can get both LEDs to light up.
-
You probably won't get the fan to spin without sunlight, or a bright light indoors. (It is possible with some indoor lights, but most will not work. Thank goodness for the sun!)
-
-
-
What did you discover about your Solar House? On a nice sunny day could you get both LEDs to light up and the fan to spin?
-
On an overcast or cloudy day could you get at least one LED to light up? How about two LEDS? Did you get the fan to spin?
-
You can repeat your tests each day and write down the results to get an idea of how much energy your house can produce from solar power.
-


Attached Documents
