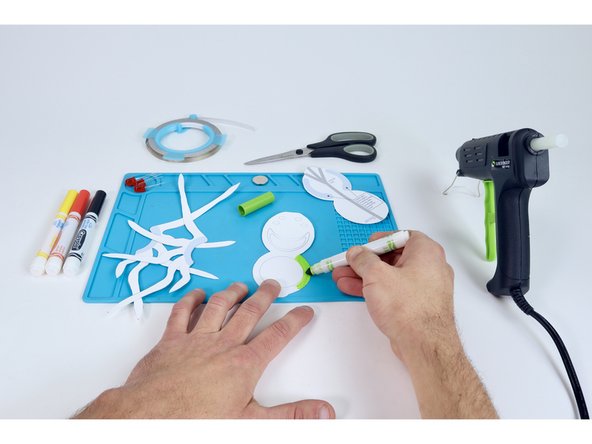
Introduction
Create a spooky spider paper craft with 3 LED eyes connected in a parallel circuit. It's a great Halloween craft, or suitable for any arachnophile!
You can make this project (and many more!) with our Paper Circuits Kit.
Featured Document
-
-
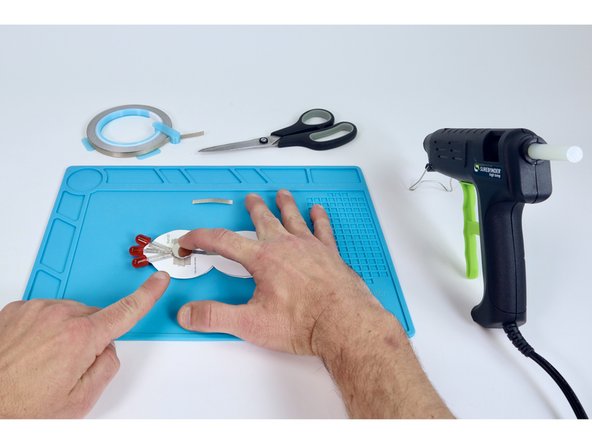
Gather the materials listed and print your desired templates from the files at the bottom of this guide.
-
-
-
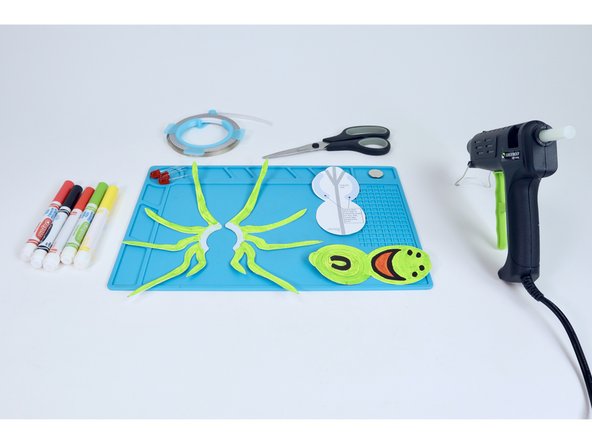
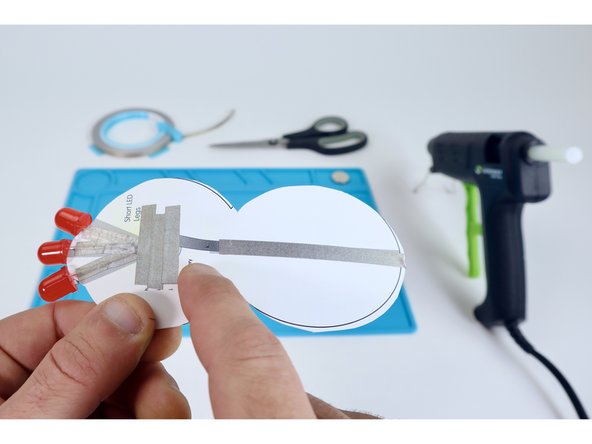
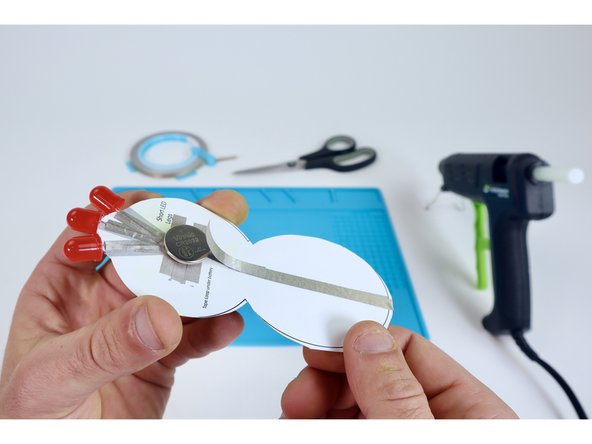
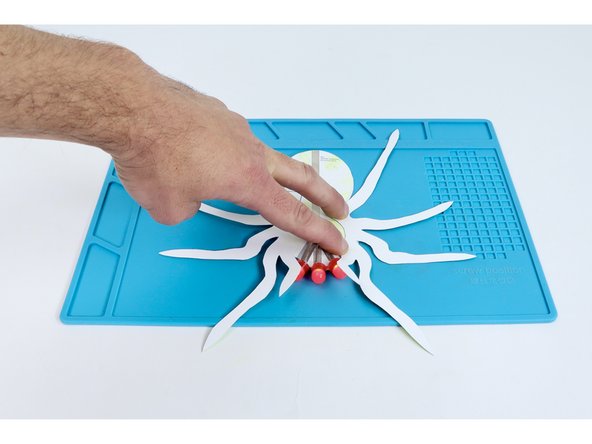
Cut out your spider legs, chosen top layer AND the one template with circuit diagram on it.
-
Note: There ARE already colored leg and top combos available to print but you will still need the circuit template if this was your decision.
-
-
-
Color the top layer and legs as you wish. If you chose a specific spider and want to make it realistic, research that spider and see if you can recreate its' natural colors!
-
Note: If you chose to simply use an already colored top and leg combo, skip straight to the next step.
-
-
-
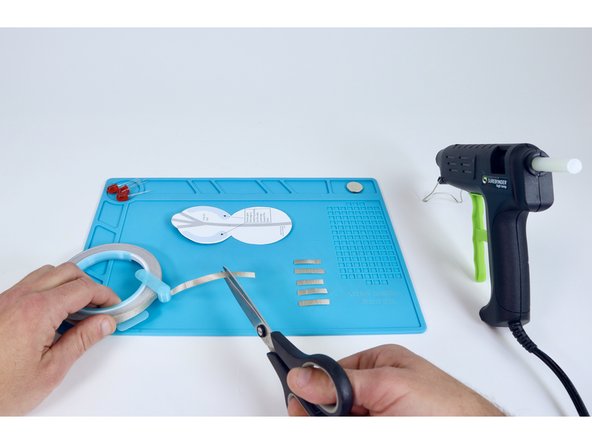
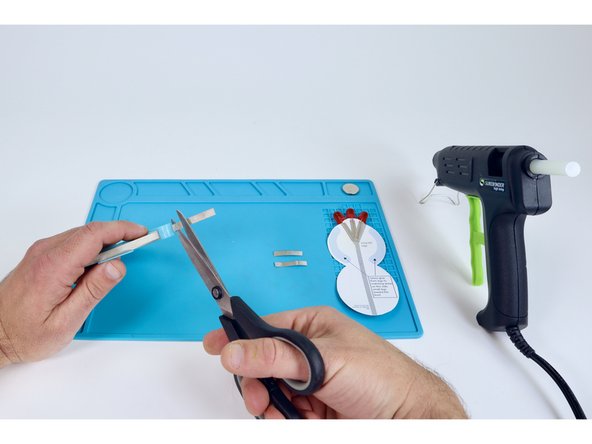
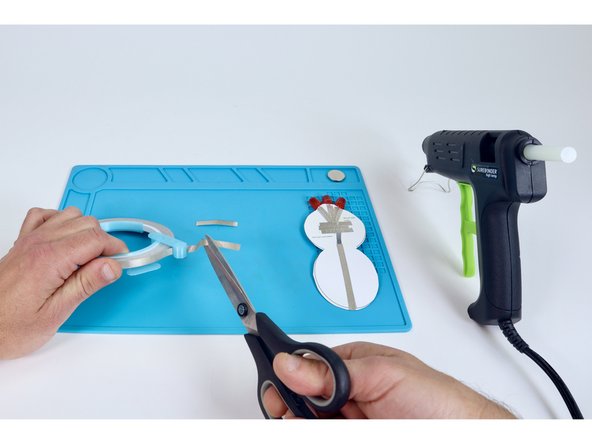
Measure and cut 6 pieces of Maker Tape that are about as long as your LED legs.
-
-
-
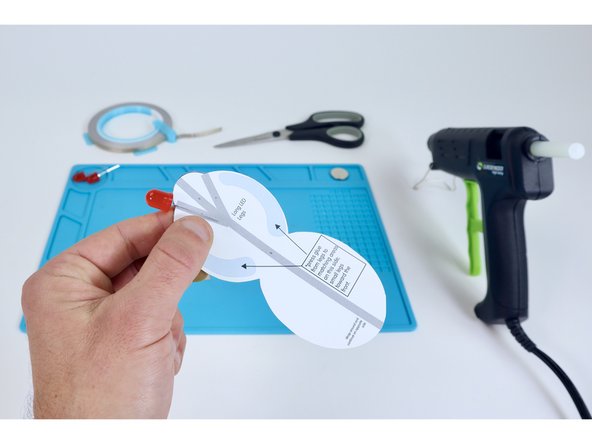
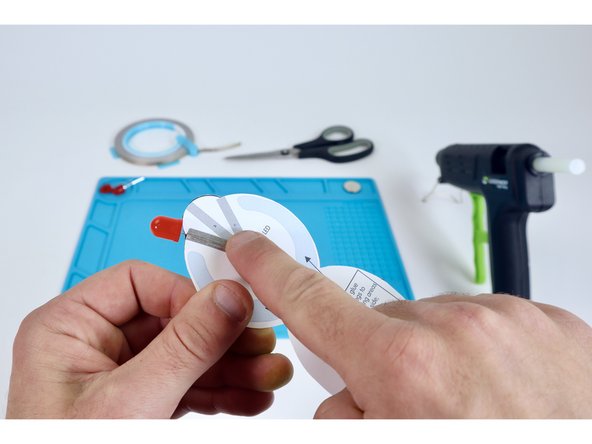
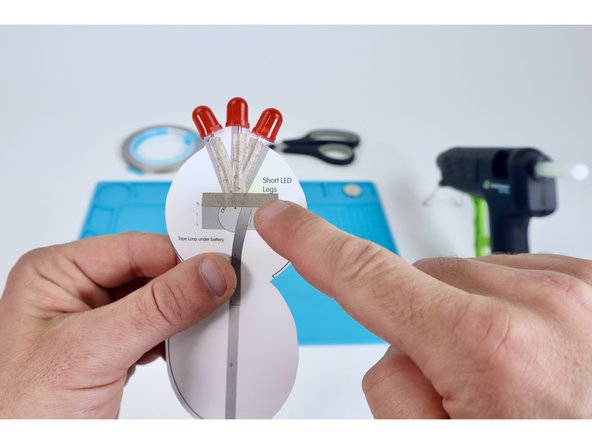
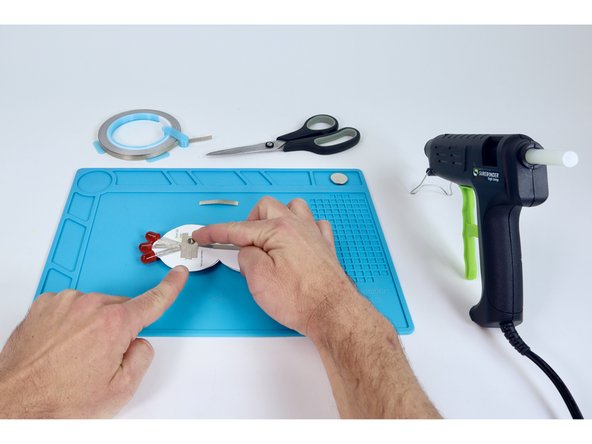
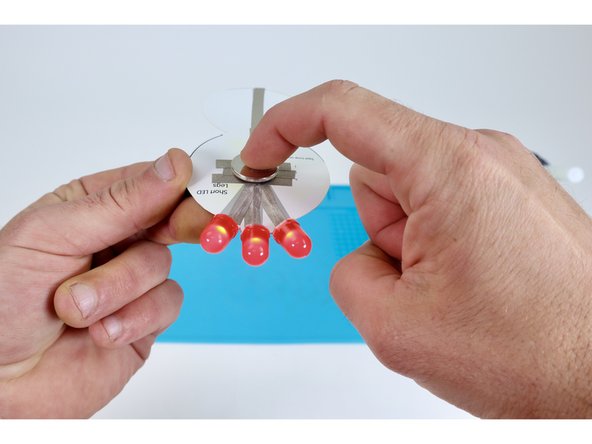
The long (+) legs from your three LEDS will need to lay flat against the side of the head (cephalothorax) shown. Position the LED legs as shown and secure each leg to the project with a strip of Maker Tape (labeled “A,B,C,D,E,F” on your circuit diagram).
-
Note: These first 3 LED legs may be a little awkward to secure but fear not... Once you get these three LED legs tacked down, doing the same for the three on the opposite side in the next step will be a breeze.
-
-
-
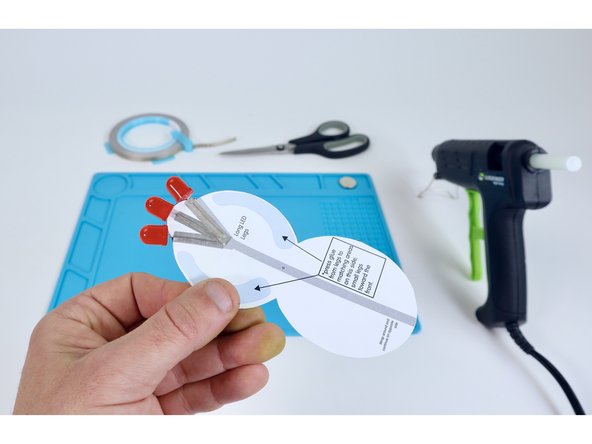
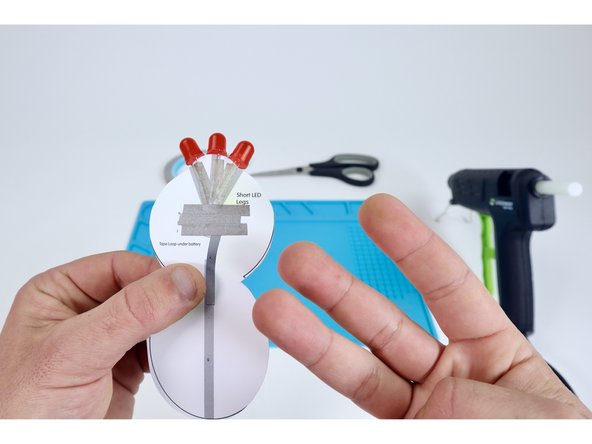
Flip your project over.
-
With the remaining 3 pieces of Maker Tape you should have already cut, secure each of the short LED legs in the same manner as you had for the long ones on the opposite side.
-
-
-
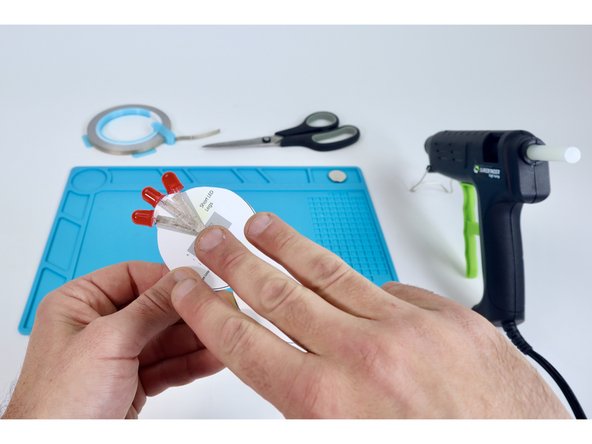
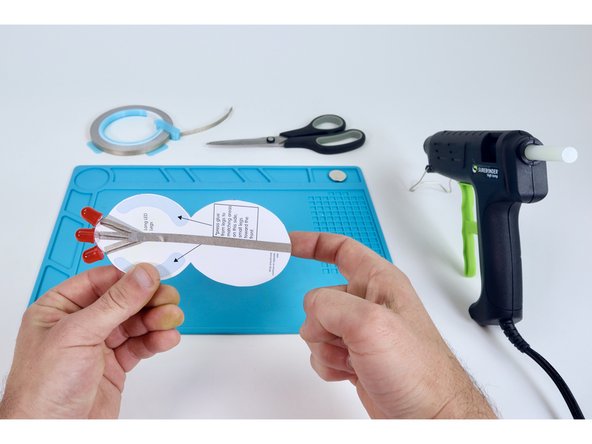
Use the circuit diagram to help you measure and cut three new pieces of Maker Tape for paths labeled "H,I,J".
-
Peel and stick these three pieces where shown so that each piece overlaps the next, forming a connected "pad".
-
-
-
Path G: On the "long leg side", connect a piece of Maker Tape to the spot where the three LED legs come together. Guide it straight down the center of the project to the back end of the project but don't cut the tape yet.
-
Now, wrap this tape length around the edge to the opposite "short leg" side of the project and continue following the path labeled "G" stopping to cut the tape at the spot on the diagram where there is a dotted line.
-
If done correctly, you should now have a small gap between the pad formed by "H,I,J" and path "G".
-
-
-
Now, cut two new pieces of Maker Tape that are each about and inch long.
-
Roll one of those pieces into a tape loop as shown.
-
Place that tape loop atop the pad created by "H,I,J".
-
-
-
Stick battery atop the tape loop so that the positive (+) side faces UP.
-
Now, peel & stick Maker Tape segment “K” so one end connects to "G" and the other connects to the top of the battery. This completes the circuit and turns the LEDs on.
-
-
-
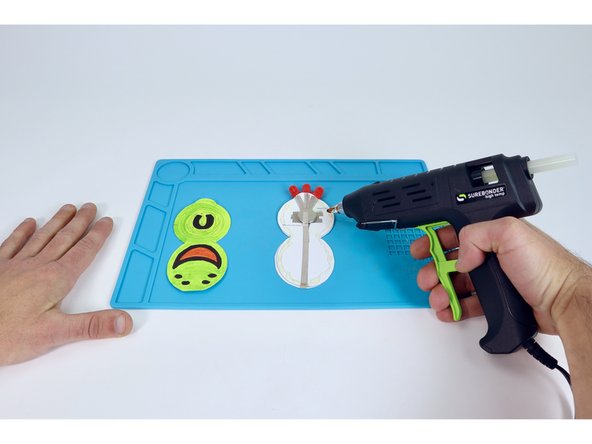
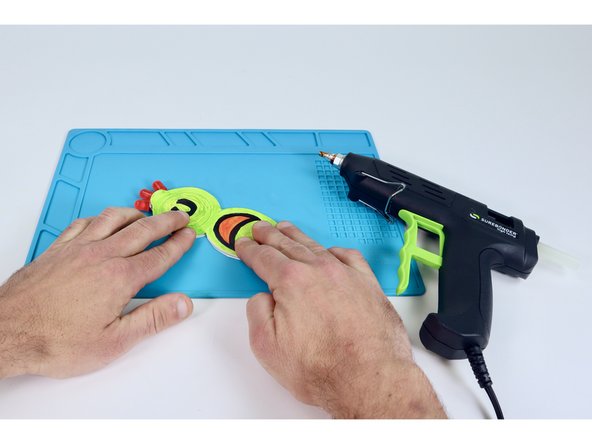
Use a hot glue gun to lay a bead of glue around the perimeter edge of the shape on the battery side (it's perfectly ok to go over your Maker Tape paths).
-
Press your colored top atop this glue bead so it lines up with the bottom shape and hides the battery.
-
-
-
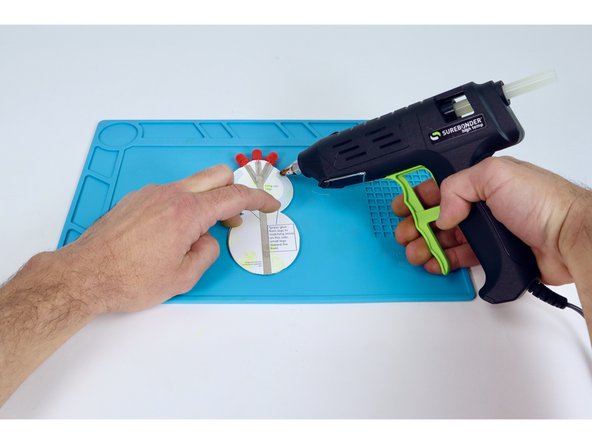
Flip your project over to the bottom and apply hot glue to one of the areas near the LEDs.
-
Choose the corresponding leg template and press it into place as shown so the smallest legs are oriented toward the LEDs.
-
-
-
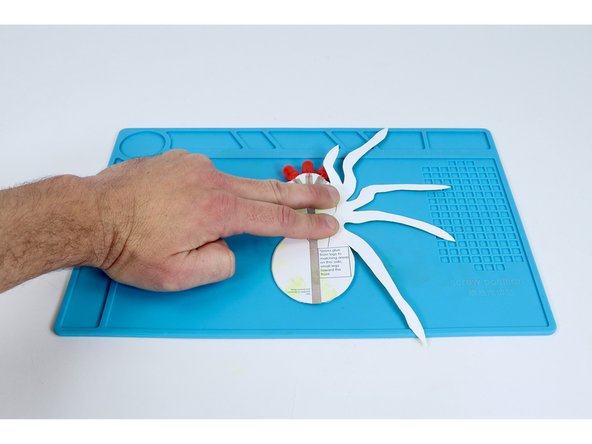
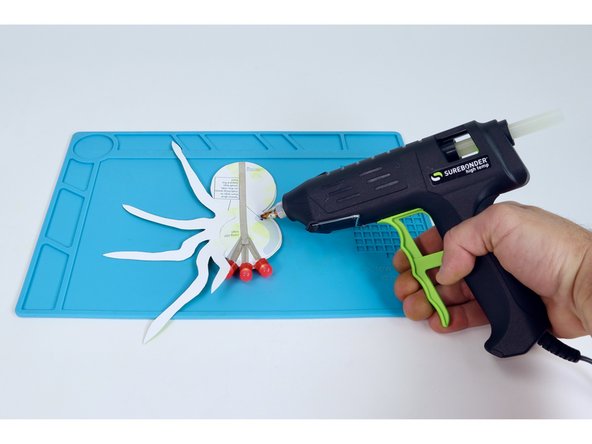
Apply hot glue to the remaining side in the same way you did for the first legs template.
-
Press your last legs template into place as shown so the smallest legs are oriented toward the LEDs.
-
-
-
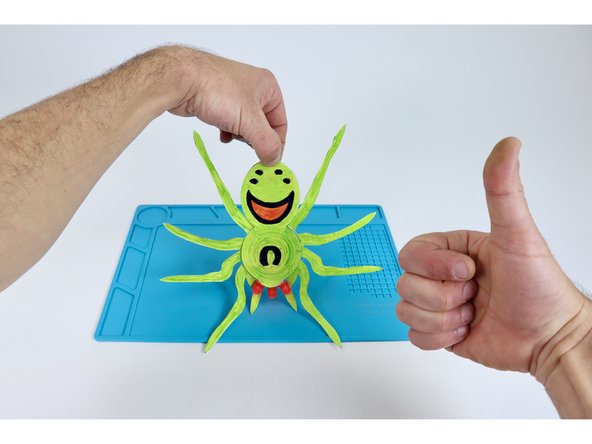
You've just created a spooky project with 3 LEDs connected in parallel. Is your spider sense tingling??? It should be!
-