
Introduction
Turning on LEDs is very simple with the Crazy Circuits Invention Board. In this example project we'll be using Squishy Circuits conductive dough as touch points to activate up to four LEDs. While conductive dough is fun to work with you can use any conductive material as a touch point for this project.
Video Overview
Featured Document
-
-
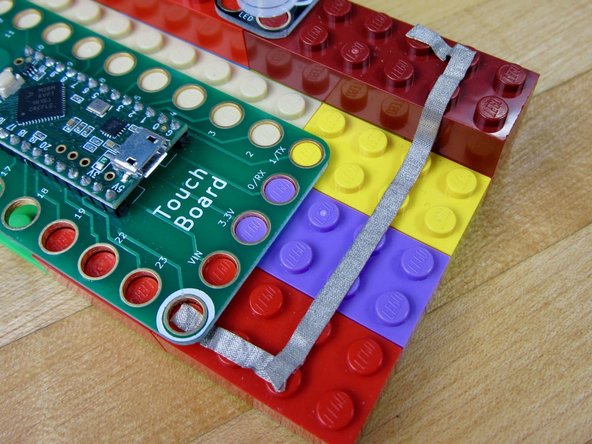
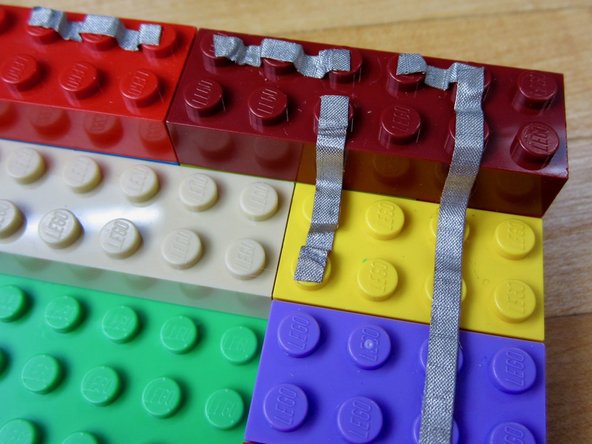
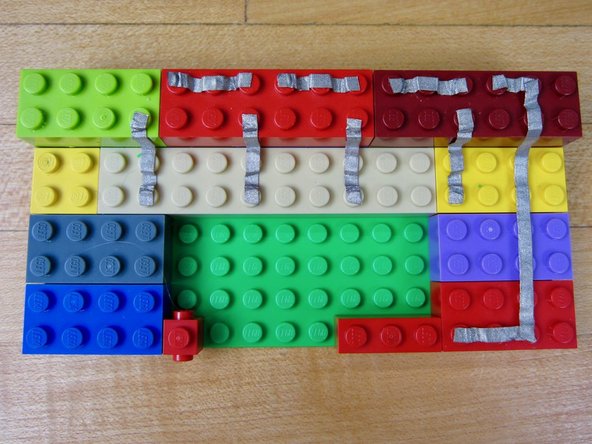
Use an 8x16 sized brick plate to build your platform on.
-
The goal is to raise up the Invention Board off the base plate.
-
Leave an open spot along the front so that pins 15-18 have no brick studs going through them.
-
If you want to use something other than alligator clips, put bricks into pins 15-18. You'll need to run Maker Tape from them to whatever you're using as a Touch Point.
-
-
-
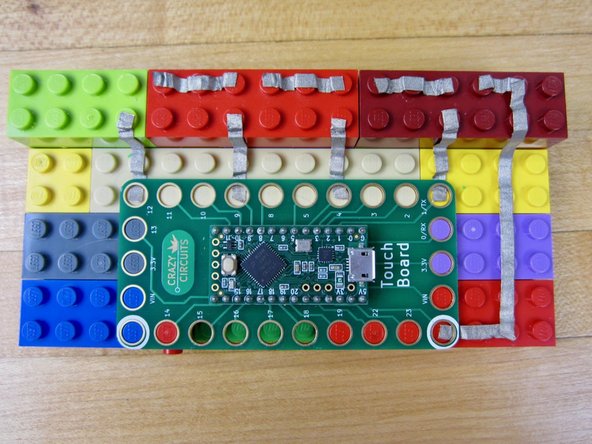
Since we're using a programed board, certain LEDs need to be connected to certain output pins.
-
For this project we're using pins 1, 4, 9, and 12 to light up our LEDs. You can easily change those in the code.
-
-
-
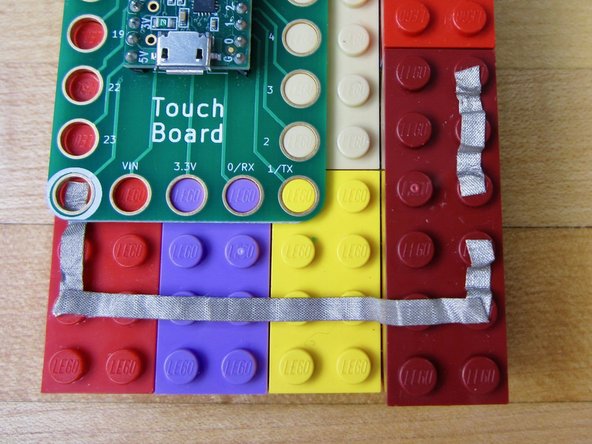
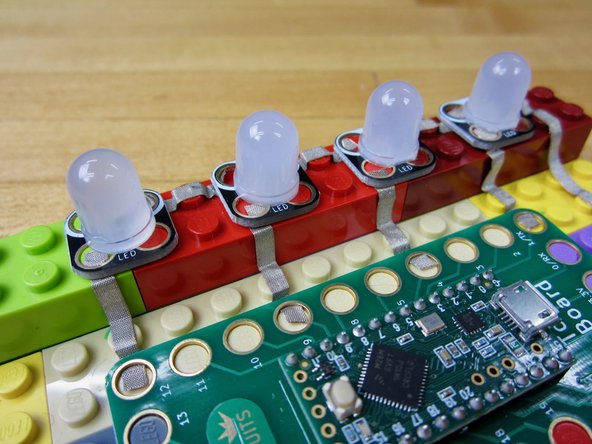
Run Maker Tape from the Ground (White) hole to the back of your LEDs. It will eventually connect up to the Ground (White) side of your LEDs.
-
While we used the Ground connection on the right side of the board, you could also have used the Ground connection on the left side. It doesn't matter which one you use.
-
-
-
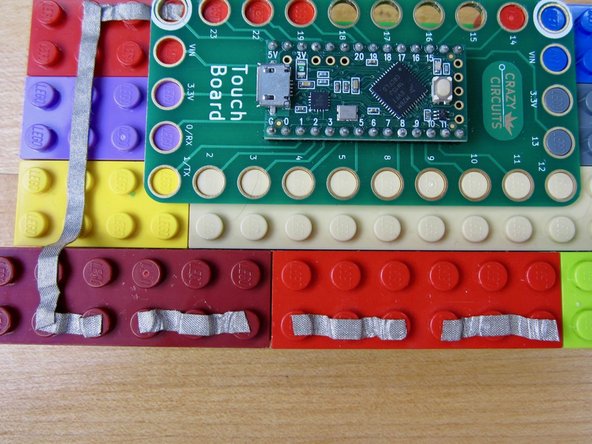
Use several small pieces of Maker Tape to connect the Grounds on each LED.
-
If you mess up your tape, peel it off and try again.
-
-
-
Put a line of Maker Tape from Pin 1 to your first LED.
-
Do the same things with Pins 4, 9, and 12.
-
-
-
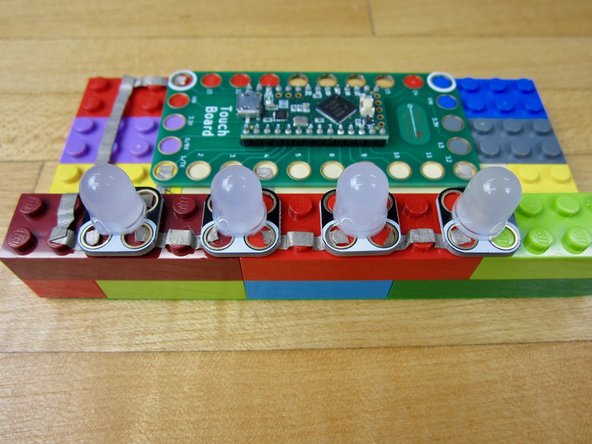
Add your LEDs in and double check that you've hooked everything up to the right output Pins.
-
Reference the diagram at the start of this guide.
-
Seriously, double check. If you wired up LEDs to the wrong output you can just change that in the code.
-
-
-
If you've never uploaded code to the Invention Board, please read about it in the Invention Board User Guide.
-
Open up the Arduino software on your computer.
-
Copy and Paste the code found here into a new project window in the Arduino Software.
-
Be sure to go to Tools and then to Boards and choose "Teensy LC".
-
Click the Upload button to upload your code.
-
-
-
Make four medium sized balls using Squishy Circuits Conductive Dough.
-
Attach one side of an Alligator Clip to Pin 15 and push the other side into the ball of dough.
-
Do the same things for Pins 16-18.
-
Go into the Pin Holes from the top, not the side. It makes for a better connection.
-
-
-
Once the code has been uploaded it will run automatically whenever the Invention Board is powered on. This can be from a computer or from a wall USB port.
-
When it first turns on it will take 3-5 seconds to calibrate. This means the board is sensing what is attached to the various Touch Points. During this time you should not touch anything.
-
The Invention Board shows when it's calibrating by turning on a small LED in the middle of the Invention Board. Once that LED turns off, you can start touching the dough.
-
If calibration didn't work for you, try reconnecting all the Alligator Clips and dough. Unplug the USB cable from the Invention Board and plug it back it. Doing this restarts the program.
-
-
-
Did you let your Invention Board Calibrate for 4-5 seconds when you first plugged it in?
-
Did your code upload properly? (Refer to the Invention Board User Guide)
-
Is your Piezo Speaker hooked up to the correct pin? Make sure that whatever pin it's physically hooked up to is the same as the pin designated in the code. (Step 6)
-


Attached Documents
