Introduction
Our office and workshop has very weird temperature zones; some way too hot and others way too cold. To prove to our landlord that we're not going crazy we decided to build a simple digital temperature device using a Crazy Circuits Robotics Board and a couple of cheap sensors off Amazon.
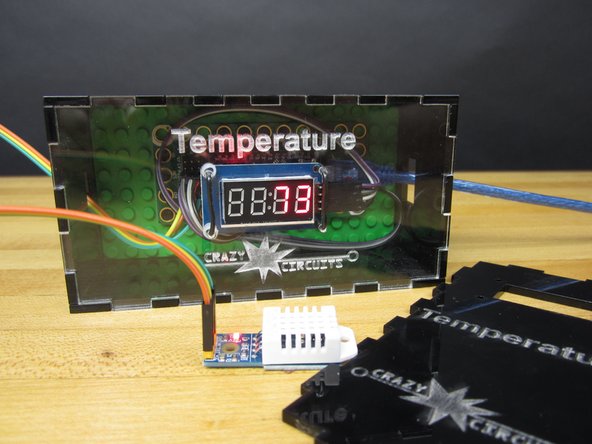
This is a great example of how to use an Arduino (such as the Robotics Board) to display readings from simple sensors. We're using an inexpensive DHT22 Temperature and Humidity Sensor to take our readings and then using a TM1637 Display to show those readings. By default our code displays both the Temperature in F and the Humidity in H, by blinking back and forth between the two.
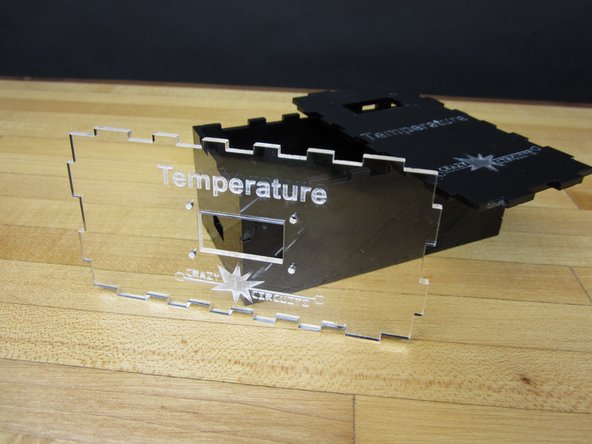
Overall this project is quick and easy to build in under 10 minutes. We took things a bit further and also built a little laser cut box for everything to mount it. We gave ourselves extra room so we could eventually install a 3 AAA battery holder to make things portable.
Tools
No tools specified.
-
-
Using some Female to Female jumper cables, wire up your Sensor. (Look at the diagram PDF for reference.)
-
Connect DAT to D3 on your Robotics Board.
-
Connect VCC to 5V.
-
Connect GND to GND.
-
Our sensor has four pins, most you'll find online have three pins. It doesn't matter which version you're using for this project.
-
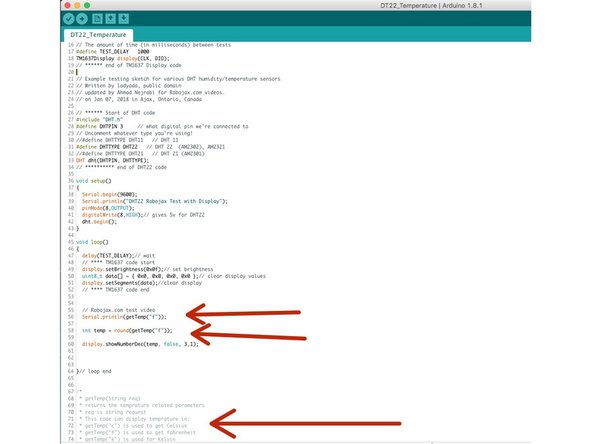
If you have an older DHT11 sensor that will also work for this project, but you'll have to comment out one line of code. (Super easy to do.)
-
Some DHT22 and 11 sensors just have a +, -, and OUT labels for their pins. If you have that the + goes to 5V, the - goes to GND, and the OUT goes to D3 on the Robotics Board.
-
-
-
Connect CLK to D5.
-
Connect DIO to D6.
-
Connect VCC to 5V.
-
Connect GND to GND.
-
-
-
STOP! If you've not used a Crazy Circuits Robotics Board before you should read through the setup guide. You'll need to install the Arduino IDE Software as well as Drivers for our Board.
-
-
-
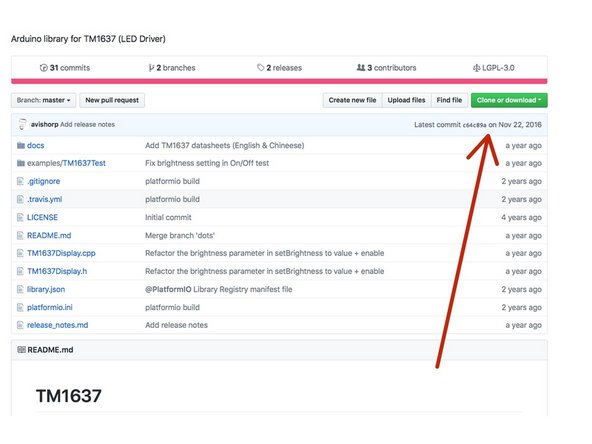
You'll need to install Libraries before you can start using the DHT22 and TM1637. Libraries are pre written code that make using things like sensors and displays easier. If you'd like more technical info on this project visit our GitHub Repo.
-
Follow this link and then click the "Download or Clone" button in the top right corner. Download a Zip File.
-
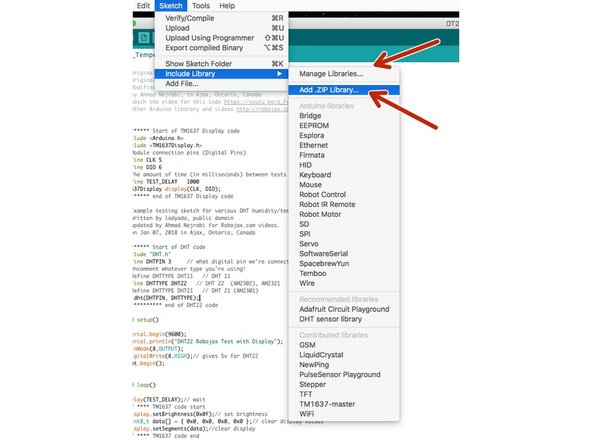
Open up the Arduino Software on your computer. Go to Sketch and down to Include Library and over to Add Zip Library. Select the downloaded Zip file.
-
In the Arduino software, again go to Sketch, then Include Library, but then choose Manage Libraries. Search for DHT22. Click on the one from Adafruit. Select Version 1.2.3 and click install.
-
You're now ready to Program your board.
-
-
-
Follow this link. Copy and Paste the code into a New Project window in the Arduino software.
-
Upload. Your Arduino should reboot and you should start getting readings.
-
We have already edited this code to make it work with our Robotics Board pin layout.
-
-
-
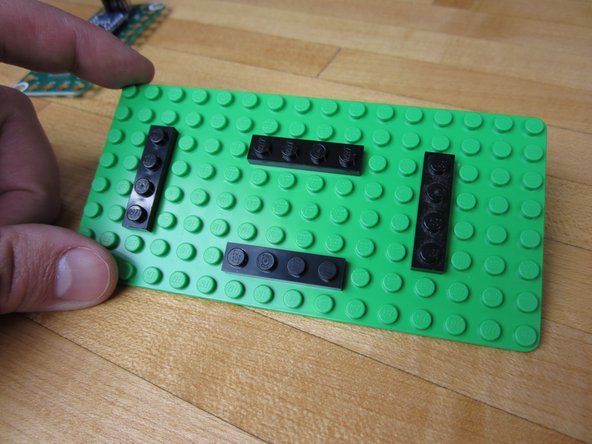
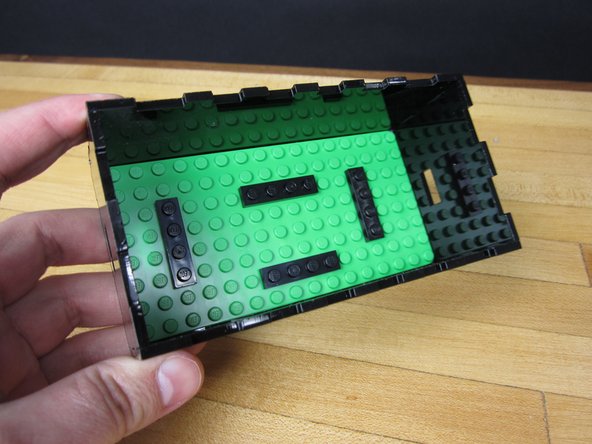
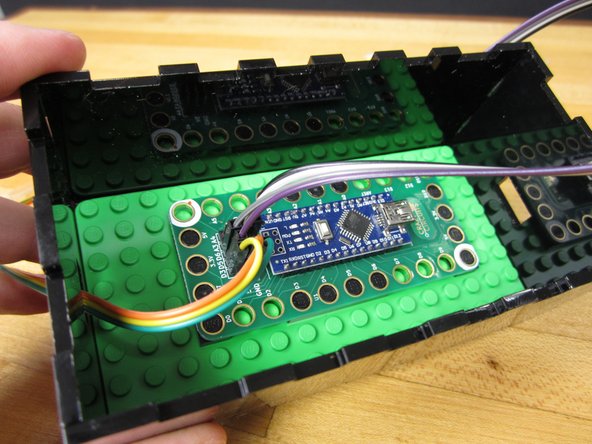
We threw on some 1x4 plates onto our 8x16 LEGO base plate in order to hold the Robotics Board in place before putting things in our box.
-
-
-
If you're not using our laser cut box design you can ignore the rest of this write up. Your project should be good to go. Enjoy!
-
If you want to laser your own box you can download our files at this link. Feel free to remix or change our design.
-
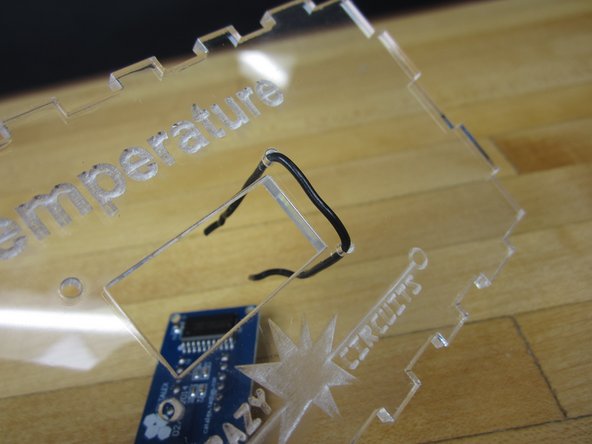
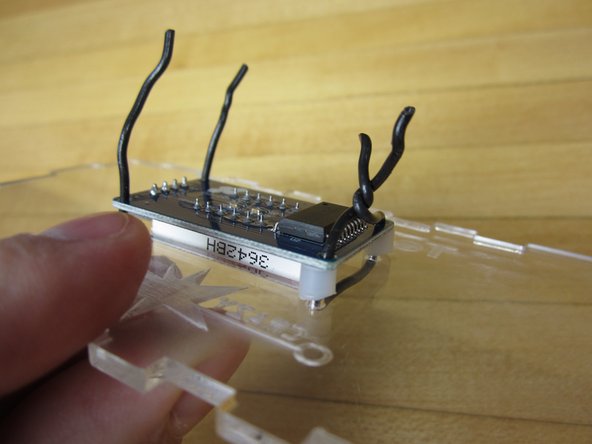
We used some Solid Core Wire to secure the display into place. Twist ties or zip ties would also work well.
-
We also used a random nylon spacer we had on hand to keep the left side in place. We cut a spacer into ever smaller chunks until everything fit. Literally anything non conductive would work for this.
-
-
-
We glued our box together and let it sit for a bit.
-
Put your LEGO base plate inside.
-
If you want your sensor outside the box, thread the sensor wires through one of the square cut outs and reconnect it.
-
Add the display and top. Glue down if you want, or use a bit of tape to hold things together.
-
-
-
By default you could just power everything via USB. A small USB Power Bank would work just fine.
-
If you want to go REALLY crazy, use a 3AAA or AA battery holder (with switch), a Screw Terminal Chip, and some conductive tape to wire in power to the Robotics Board.
-
Or add some female jumpers to the ends of your battery holder wires and just plug them into the Robotics Board. (You could just strip and solder the wires together.)
-
Either way, we left plenty of room inside the case for a small battery pack of some kind, or if not just make a new box and use our display spacings.
-


