
Introduction
Make a ticklish robot that waves its arms when you touch the Maker Tape on its feet!
Video Overview
Featured Document
-
-
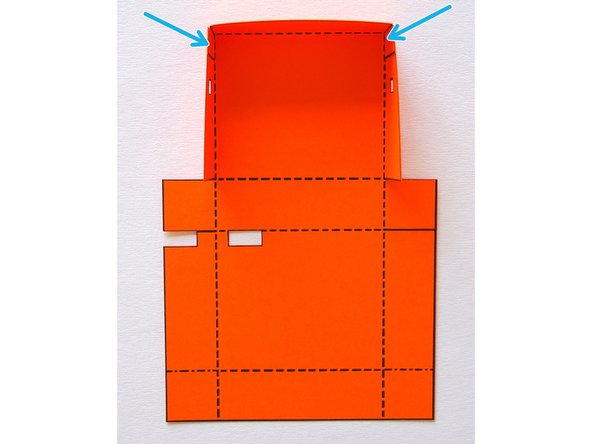
Print out the template.
-
Cut the parts out. You may find it easiest to use a craft knife or small scissors for the cutouts.
-
Make sure the scale is at 100% when you print the template.
-
-
-
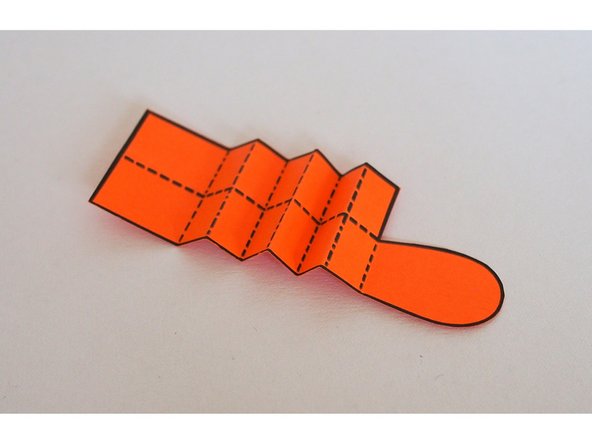
Prefold the creases on the body — this will make it easier to put together later on.
-
You can draw the face on before you assemble the Ticklebot. I did it at the end, but if you're planning to draw something detailed, it'll be easier to do while everything is still flat.
-
-
-
Fold the top part of the body and glue the tabs in place.
-
-
-
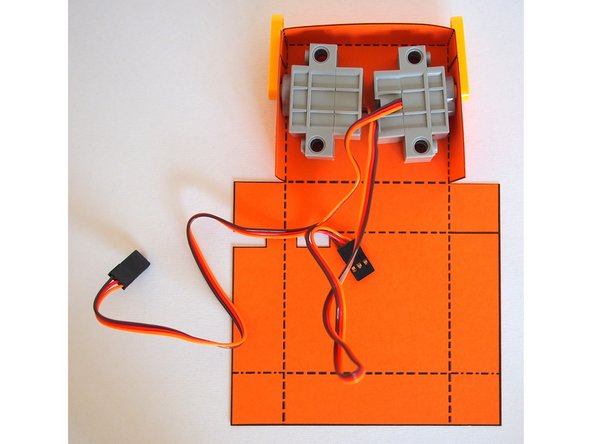
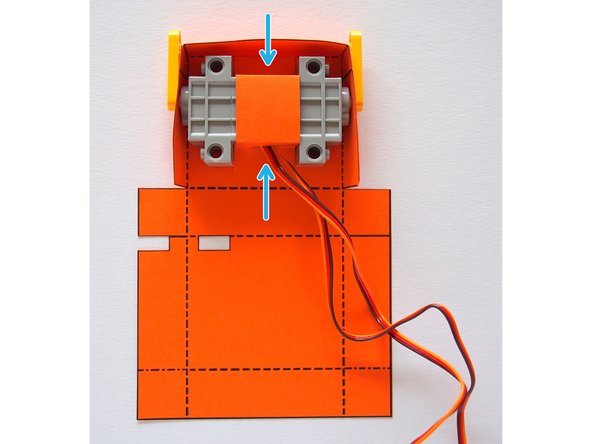
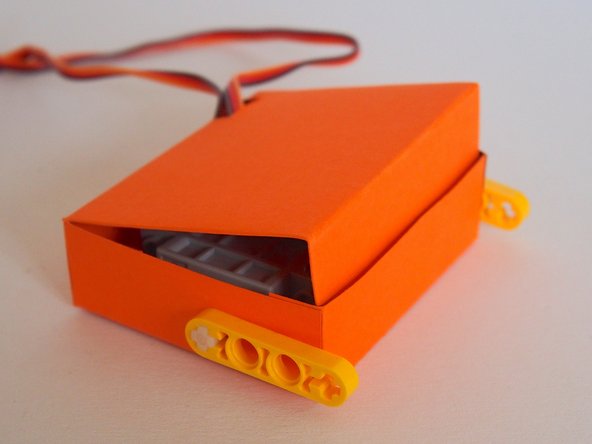
Put the servos through the cutouts.
-
Attach the LEGO axle mounts to hold the servos in place.
-
-
-
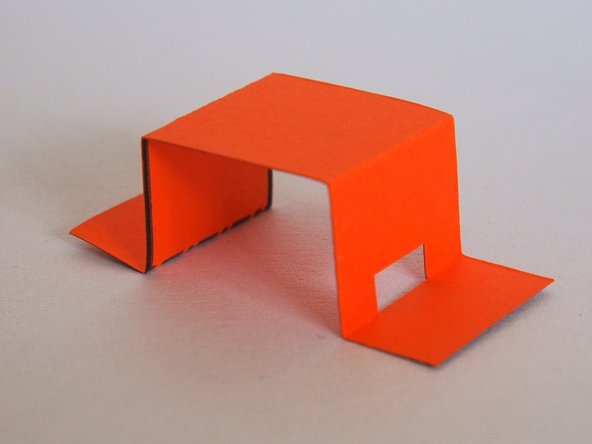
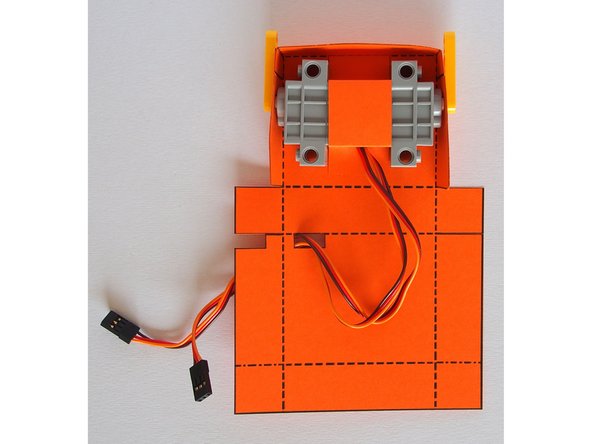
Fold the servo holder.
-
Thread the servo wires through the cutout in the servo holder.
-
-
-
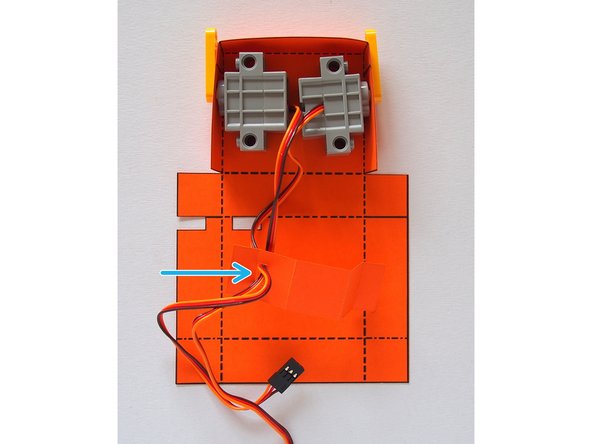
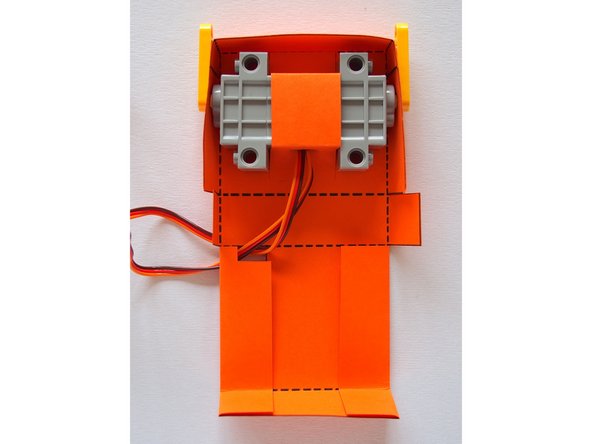
Glue the servo holder so it holds the two servos in position.
-
You only need to put glue on the tabs where they attach to the body, not on the servos themselves.
-
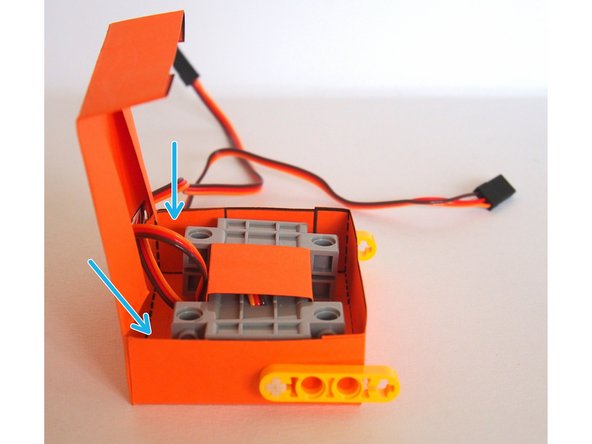
Thread the servo cables through the cutout in the body.
-
-
-
Fold the bottom of the body.
-
-
-
Fold and glue the middle tabs.
-
Fold the back in to close the body.
-
You can add glue if you want to keep the body permanently closed. I didn't, just in case I needed to access the servos.
-
-
-
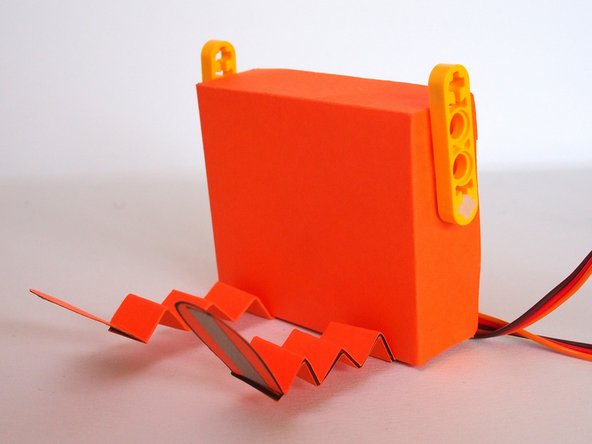
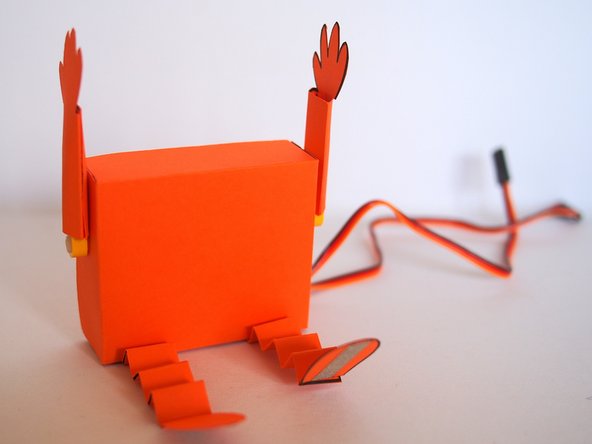
The body is finished! The servo wires should be coming out the back.
-
-
-
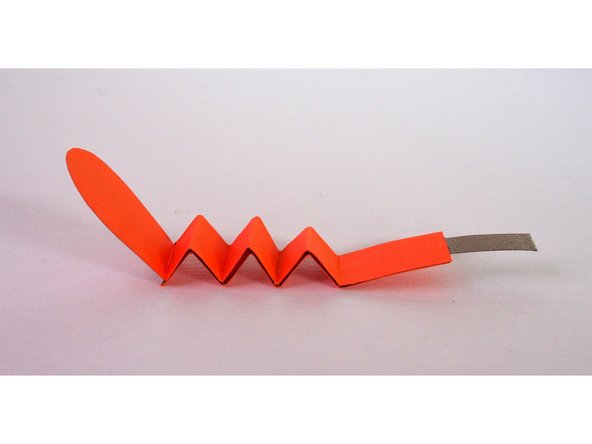
Prefold the legs. You don't have to do this, but the template lines will be hidden on the inside later. (Alternatively, you can fold the leg so the template lines are visible in the final version).
-
-
-
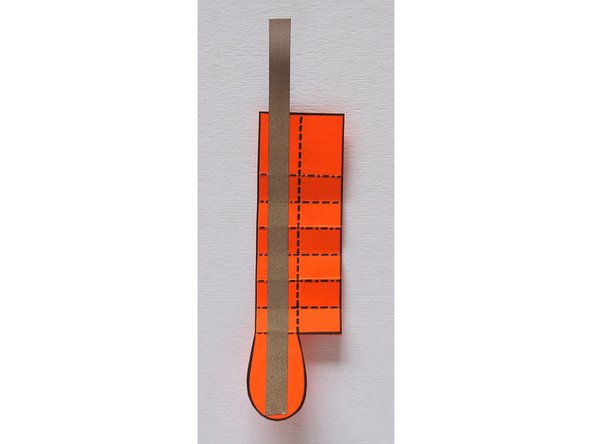
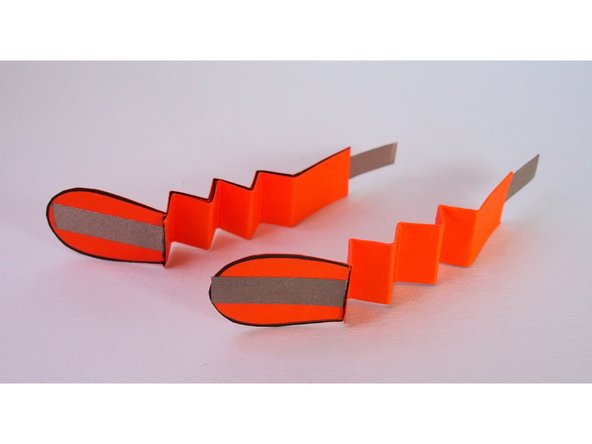
Cut and attach a piece of Maker Tape to the leg, leaving a little bit hanging off the end.
-
Fold the piece of tape hanging off onto itself to form a tab.
-
-
-
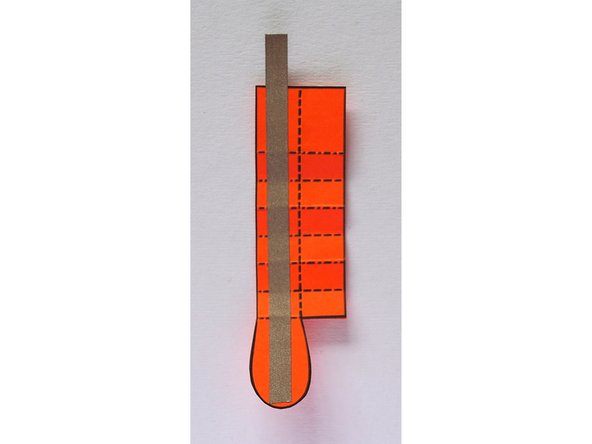
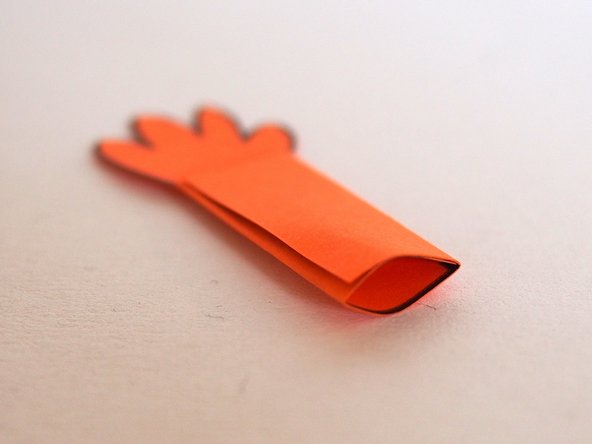
Fold and glue the leg in half.
-
Fold the leg in a zig-zag pattern using the creases you made in Step 10.
-
Make the second leg the same way.
-
-
-
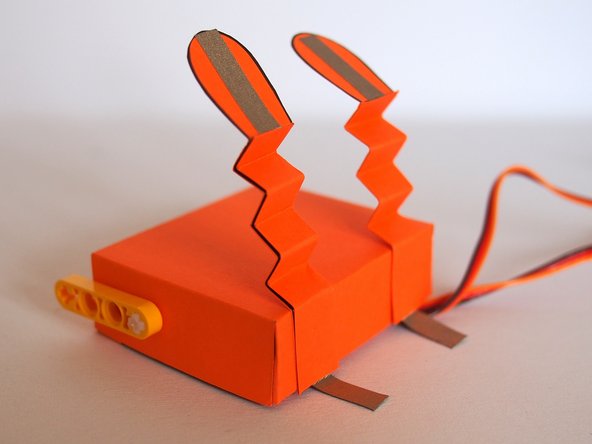
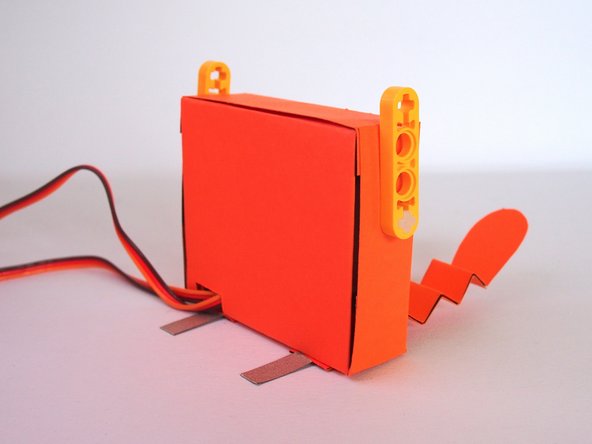
Glue the legs to the bottom of the body.
-
The tabs should stick out the back.
-
-
-
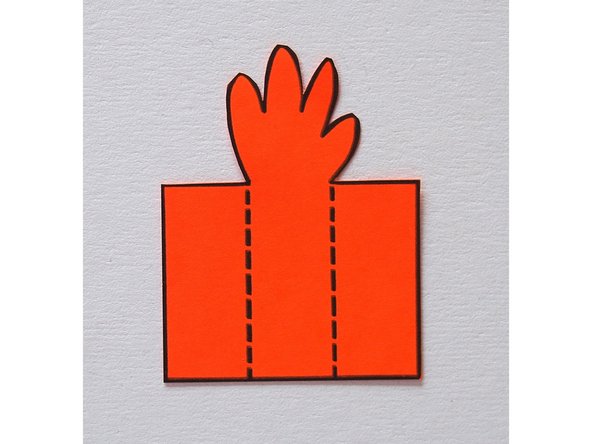
Fold the arms into thirds.
-
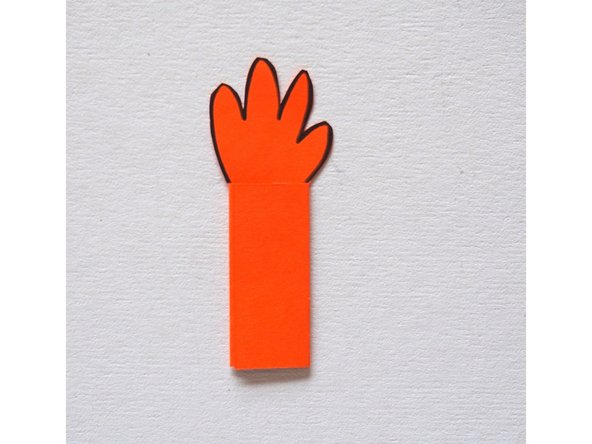
Glue the top flap down. This will leave a pocket in the middle.
-
-
-
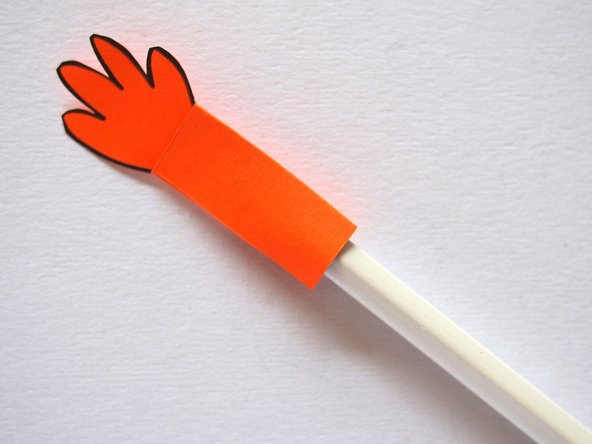
Use a pencil to open up the pocket in the arm. This will make it easier to slide it onto the LEGO axle mount.
-
-
-
Slide the arms onto the LEGO axle mounts.
-
-
-
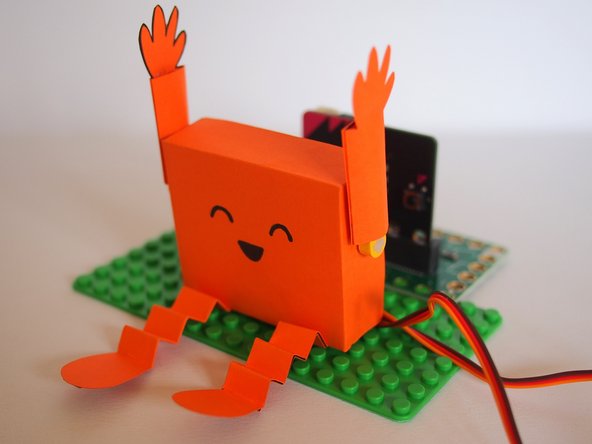
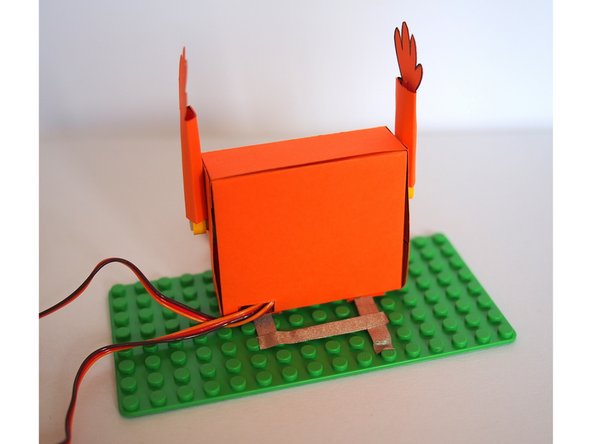
Give your robot a face.
-
Get creative — what other personalizations can you add?
-
Hair?
-
A bow?
-
Something in its hands?
-
-
-
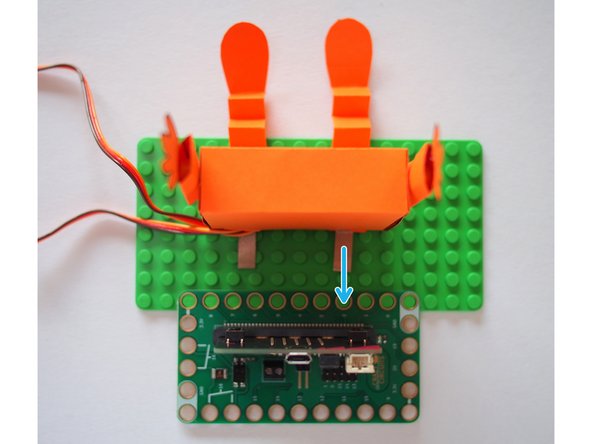
Before we add the Maker Tape, figure out how you want your Bit Board and Ticklebot to be positioned on the LEGO baseplate. This will make it easier to figure out where to put the Maker Tape.
-
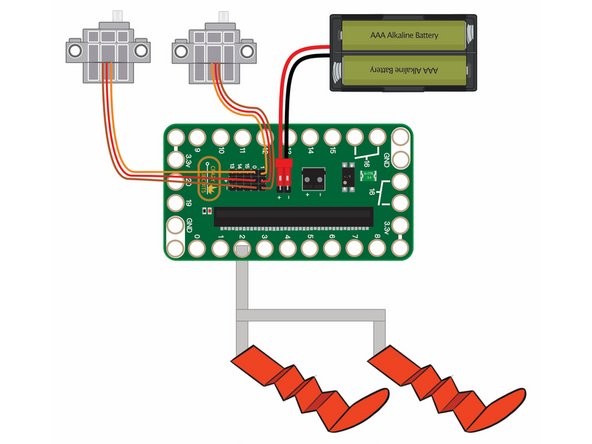
The diagram shows how everything will be connected to the Bit Board in the next few steps.
-
I suggest lining up one of the leg tabs with Pin 2 on the Bit Board to make it easier to connect.
-
For this project, both 1/8th and 1/4th inch Maker Tape will work.
-
-
-
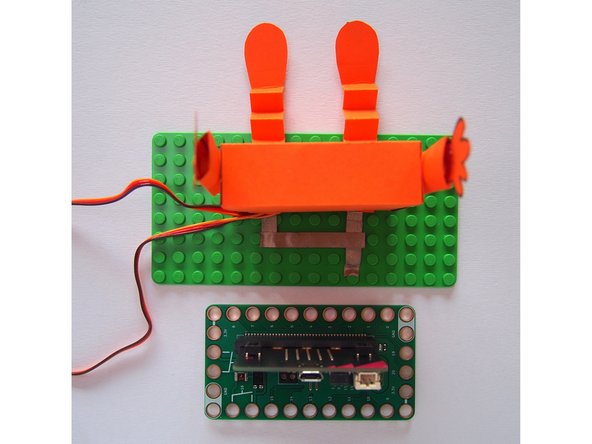
Take the Bit Board off the LEGO baseplate so you can access the area underneath it.
-
Add a piece of Maker Tape that overlaps with the leg tab and connects to where Pin 2 of the Bit Board sat on the LEGO baseplate.
-
-
-
Add another piece of Maker Tape that connects the two leg tabs.
-
This makes it so that both legs are conductive (and therefore ticklish).
-
-
-
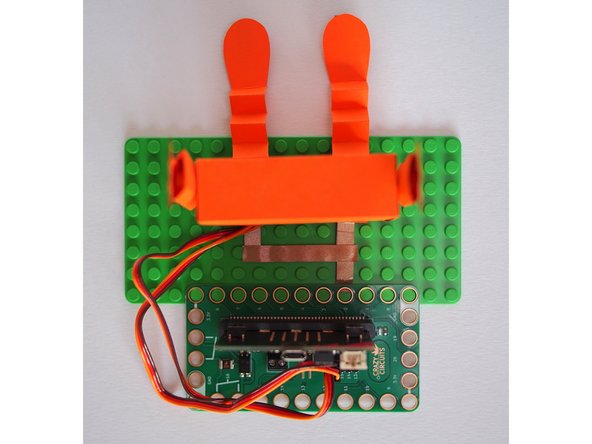
Place the Bit Board back on the LEGO plate and make sure that the Maker Tape is contacting Pin 2.
-
Plug the servos in to Pin 0 and 1 (on the back of the Bit Board). Make sure that the connector is oriented so that the red wire is attached to + and the brown wire to -.
-
Remember! You will need to add an external battery pack to power the servos. The battery pack can power the servos as well as the micro:bit so once you are done programming the micro:bit you can unplug the USB cable.
-
-
-
Upload the code to the micro:bit. Ticklebot Make Code
-
Tickle your robot's foot to see what happens!
-
If the arms are at a weird angle, take off the LEGO axle mount, then put it back on at the angle you want.
-
-
-
If you're using v1 of the micro:bit, you'll have to make a few small tweaks since it uses resistive touch instead of capacitive.
-
Change the touch mode in the first block to "resistive".
-
When you tickle the foot, make sure you are also touching the ground pin on the Bit Board.
-
-
-
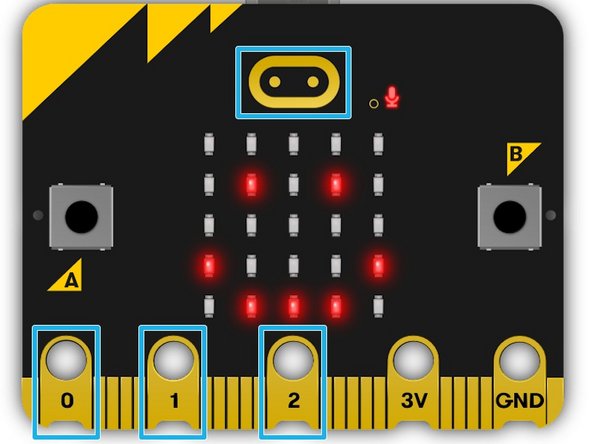
The micro:bit has touch sensors built in to pins 0, 1, 2 (and the logo in the case of the micro:bit v2). The Maker Tape in the foot provides an electrical connection to the touch sensors, so when you touch the foot, those sensors are triggered!
-
-
-
What else can you do to personalize your Ticklebot? Here's some ideas...
-
Play around with the timing and the angle of the servos to get the effect you want.
-
If you've got micro:bit v2, add in a giggle sound.
-
Try different shapes and sizes for the Ticklebot.
-


Cancel: I did not complete this guide.
One other person completed this guide.
Attached Documents
