Introduction
Making your own USB computer input is easy with the Crazy Circuits Invention Board. In this guide we'll show how to create a hand held USB controller in the classic NES style. The designs and code we present in this project can easily be applied to other projects. We did just that in our Giant LEGO NES Controller project guide.
Use your own custom controller with:
- Any Mac or PC
- A Raspberry Pi system
- Anything that can use a USB Keyboard as an input
Video Overview
-
-
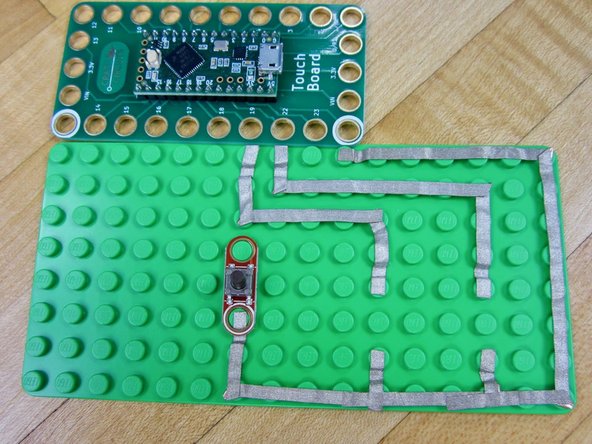
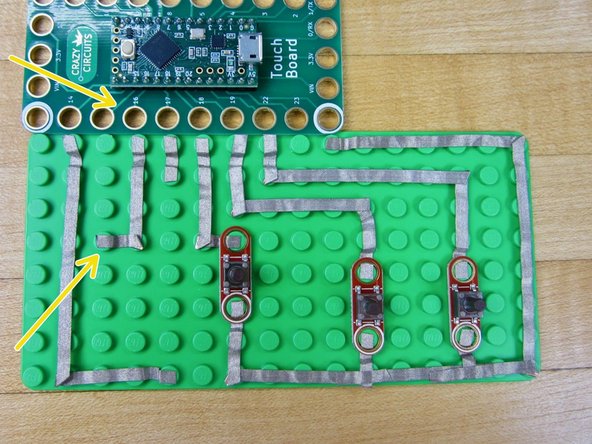
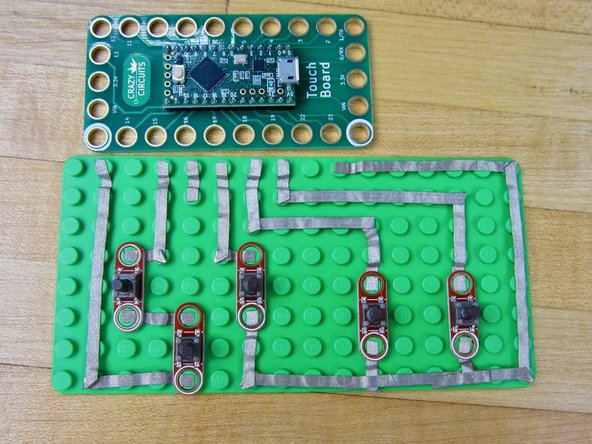
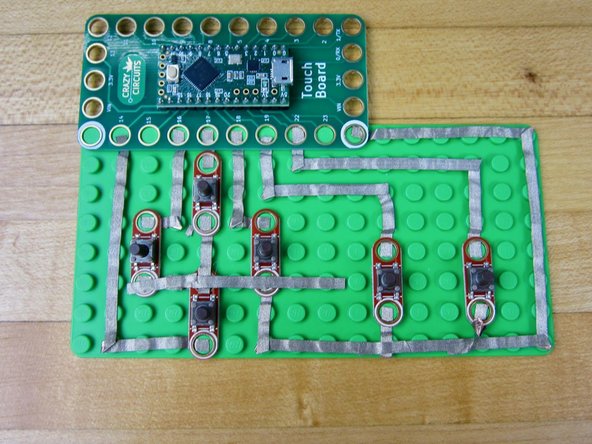
Lay your parts out as shown in the diagram.
-
When in doubt, count in the number of studs.
-
It's easy to get off by one row... Even we laid things out wrong when doing this documentation the first time.
-
-
-
All buttons must be connected to both Ground (White hole) and to a numbered pin.
-
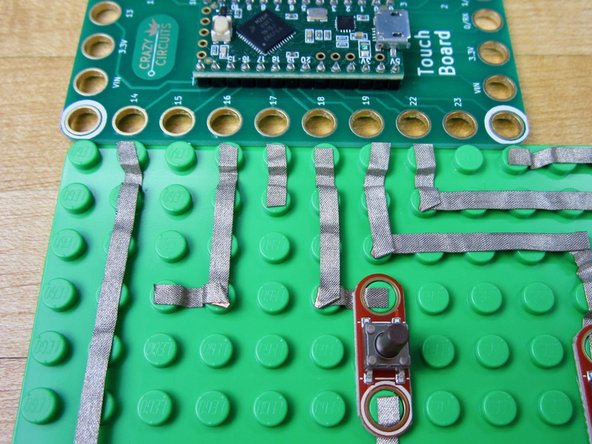
Lay out the start of your Common Ground starting at the right most Ground hole on the Invention Board.
-
End at the "Right" Pushbutton.
-
-
-
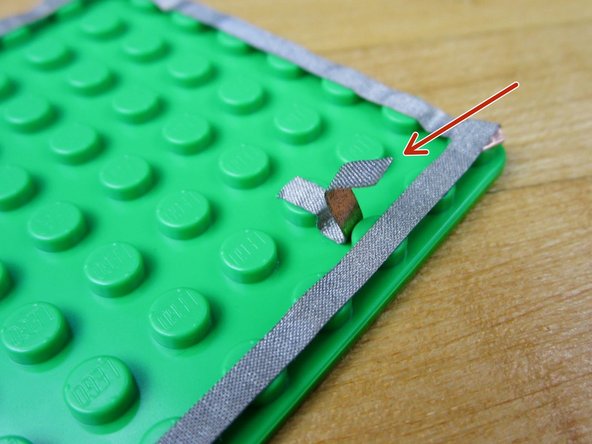
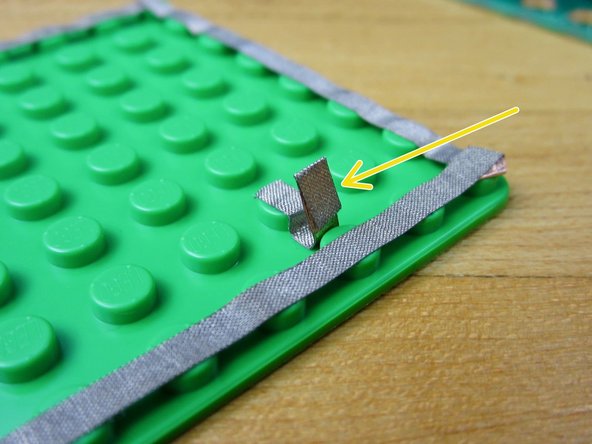
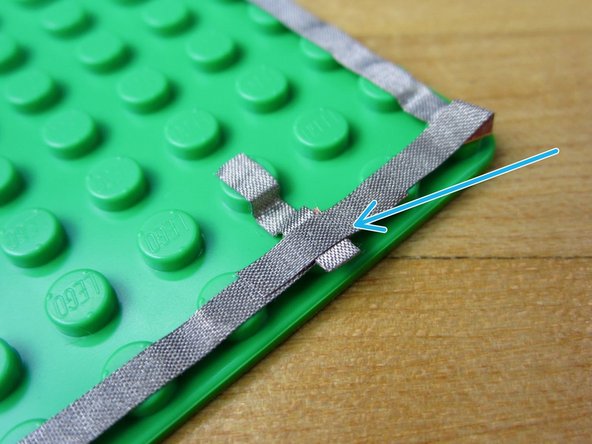
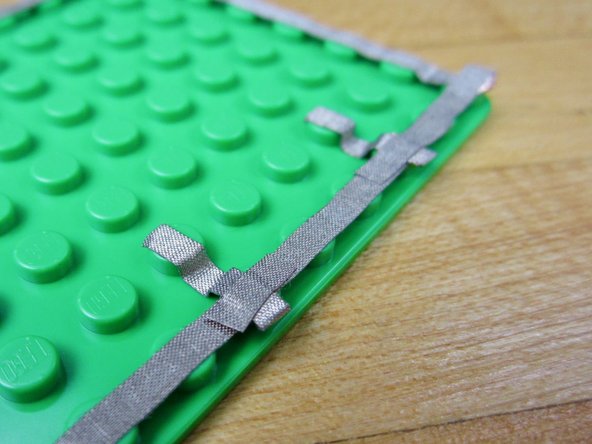
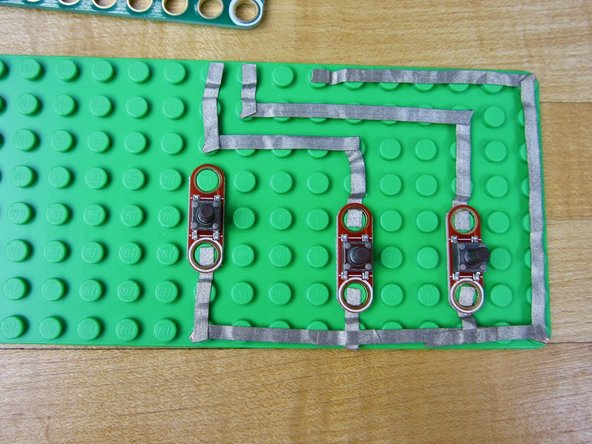
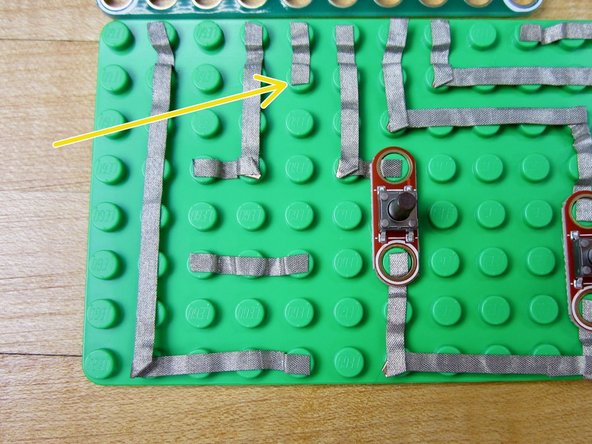
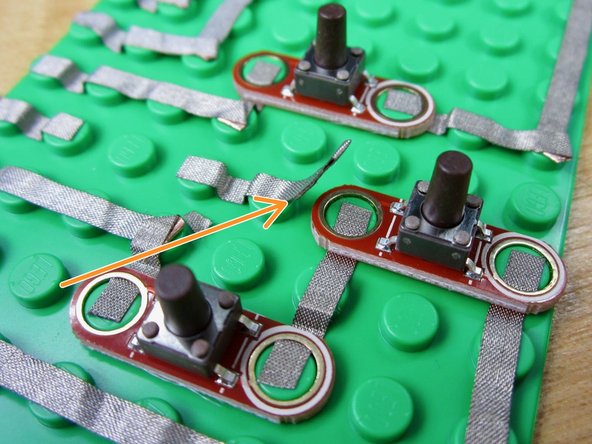
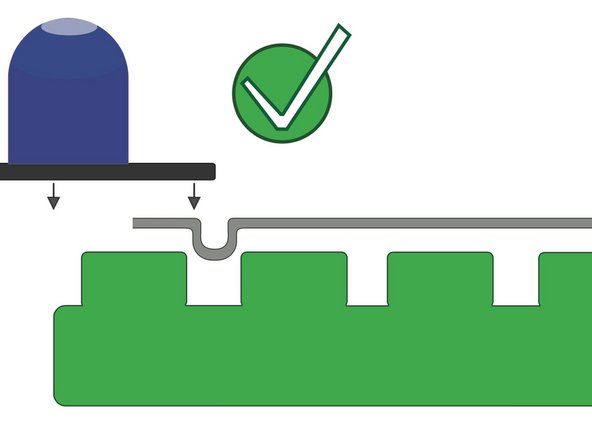
We need to create a tape bridge to connect our "A" Button. Since our Conductive Tape isn't reliably conductive on the sticky side, we need to do a bit of folding.
-
Cut a longer than expected piece of tape.
-
Fold over the end of the tape.
-
Use a second piece of tape to tape it down to the Common Ground.
-
-
-
Follow the same process as Step 3.
-
-
-
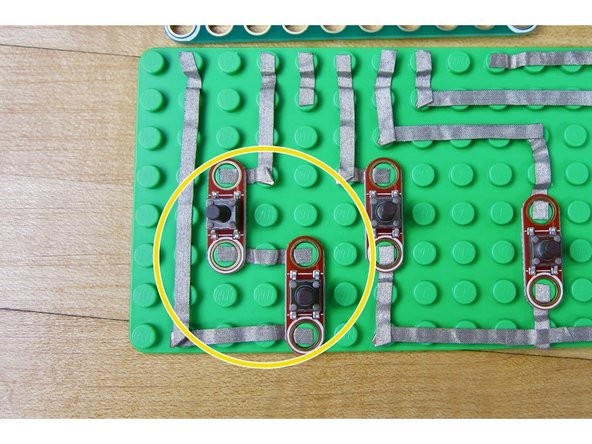
Following the diagram, connect "A & B" buttons to the Invention Board.
-
When you're finished, attach your Pushbutton Chips.
-
-
-
Connect the other side of your "Right" pushbutton to Pin 18 on the Invention Board.
-
-
-
Run a long line of tape from the "Down" button to Pin 14.
-
-
-
Connect the "Left" button to Pin 16.
-
-
-
Connect the "Up" button to Pin 17 on the Invention Board.
-
-
-
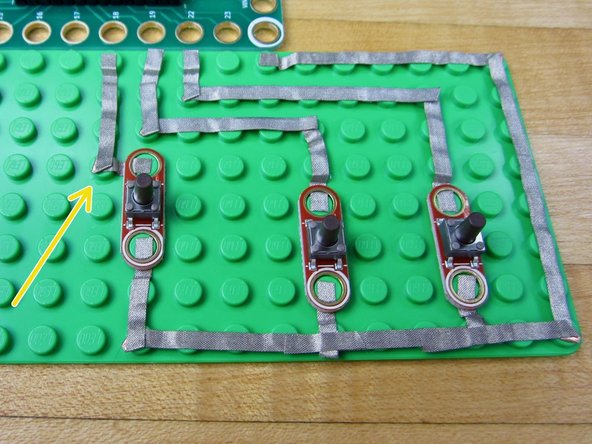
Connect "Left" and "Down".
-
When finished, put your buttons on the board.
-
-
-
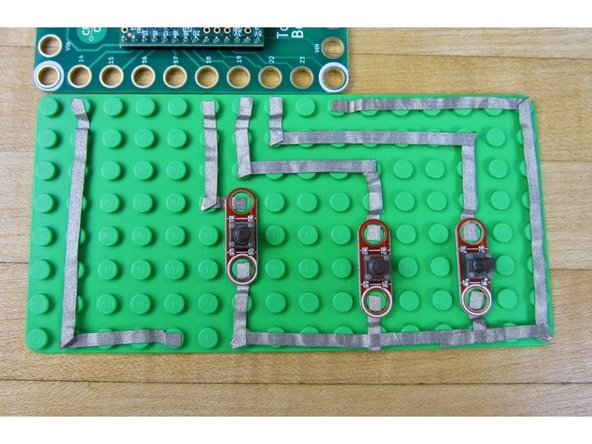
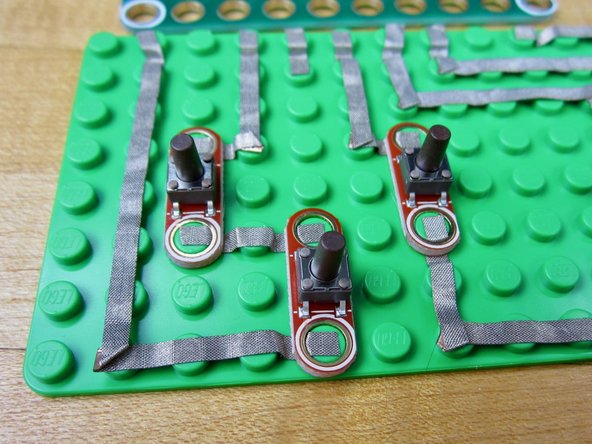
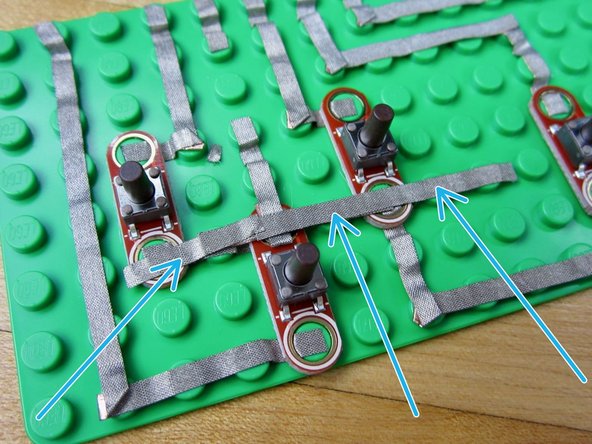
We need to bridge Ground between the "Up", "Down", and "Right" buttons.
-
Put down an extra long line of tape from the "Up" button to the "Down" button.
-
Fold over the edge. Same process that was used for the A & B buttons to bridge.
-
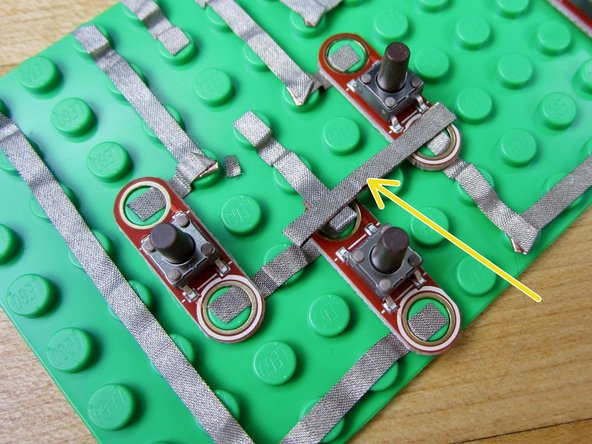
Take a long piece of tape and fold it in half so that there is no sticky side. Place it so that it touches the "Right" and "Down" buttons.
-
Take a long piece of tape. Start at the "Left" button and go past the "Right" button. This will hold everything down.
-
Make sure you don't go past the "Left" button, or make contact with the "B" button.
-
-
-
Add all your buttons.
-
Press on the Invention Board.
-
If things are not going on, make sure the ends of your tape are not too long.
-
-
-
If you've never uploaded code to the Invention Board before, please read our Invention Board Guide. It'll show you where to download the right software and has example projects to practice with.
-
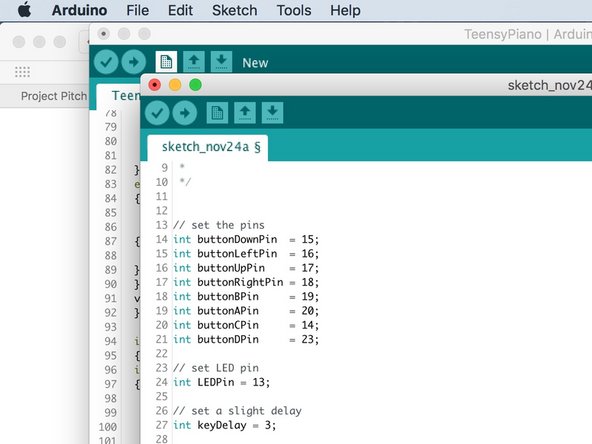
Plug in your Invention Board. Open up your Arduino software. Open a new project window.
-
Copy and Paste this code into the new project window.
-
Upload your code.
-
-
-
Our code turns the Invention Board into a very simple Keyboard.
-
When you plug your controller into any USB computer and press the "B" button, it will in fact type a B.
-
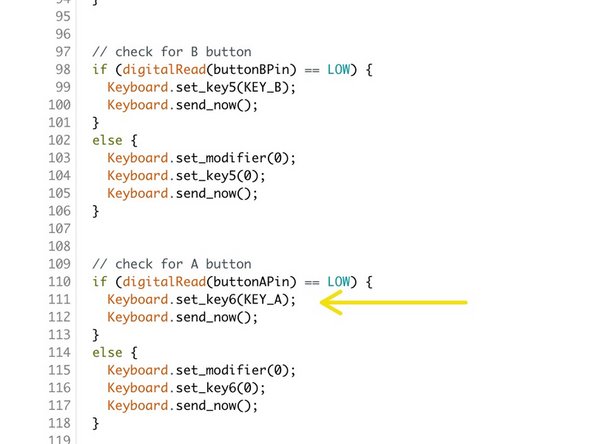
To change what key your button types, just change one line in the code.
-
Look at line 111 in the code. Change (KEY_A) to (KEY_D). Upload your code again. Now that button is typing the letter D when pressed.
-
-
-
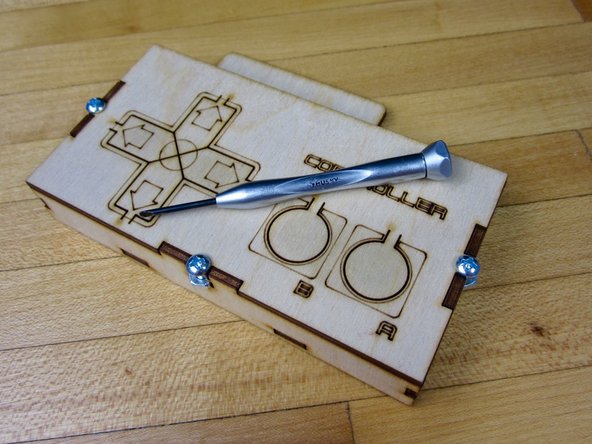
Use the three screws to assemble the wooden box.
-
Paint the faceplate if you'd like. If you have access to a laser cutter or CNC machine, you can make your own face plates.
-
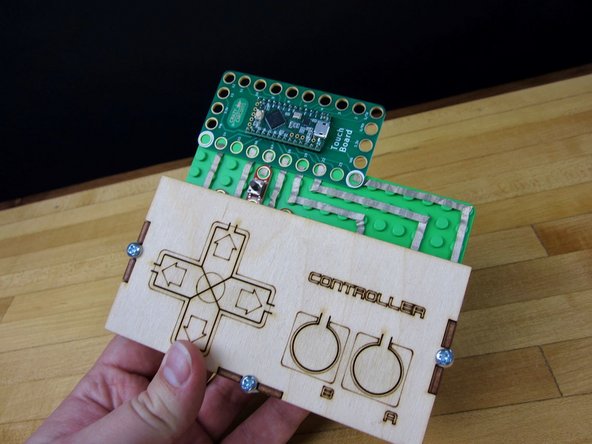
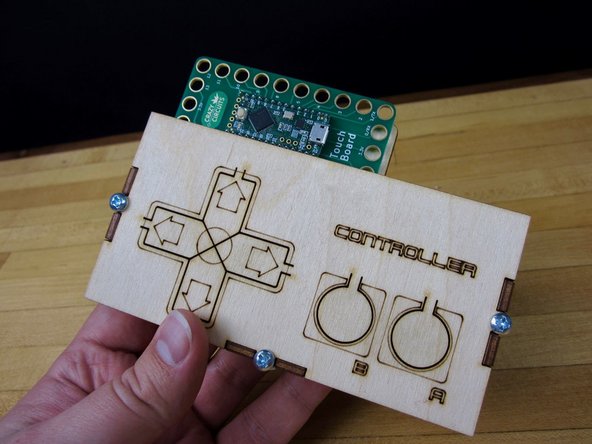
Slide in the green board.
-
The button cut outs on the wooden controller NEED to have the physical push buttons behind them, otherwise they will break. If you're going to be using this a lot it may be helpful to glue or tape down your green plate to the wood.
-
-
-
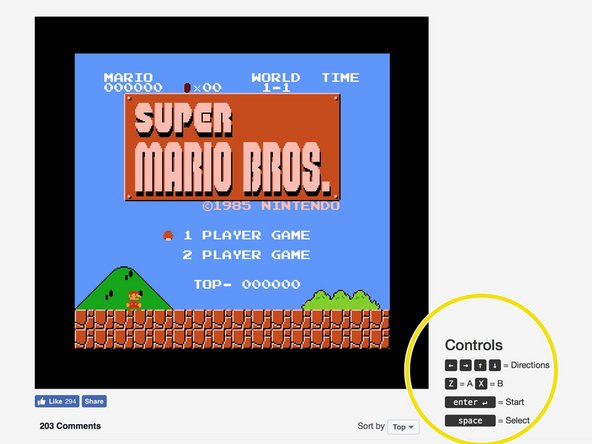
Use this link to play Super Mario Bros in your web browser.
-
Notice how this website requires you to use the Z and X keyboard keys to control Mario. You'll need to slightly modify the code and re upload.
-
There are many many places online that allow you to play classic video games in a web browser or on your computer.
-
If you've got access to a Raspberry Pi you can use your controller with that system as well.
-
Cancel: I did not complete this guide.
One other person completed this guide.


